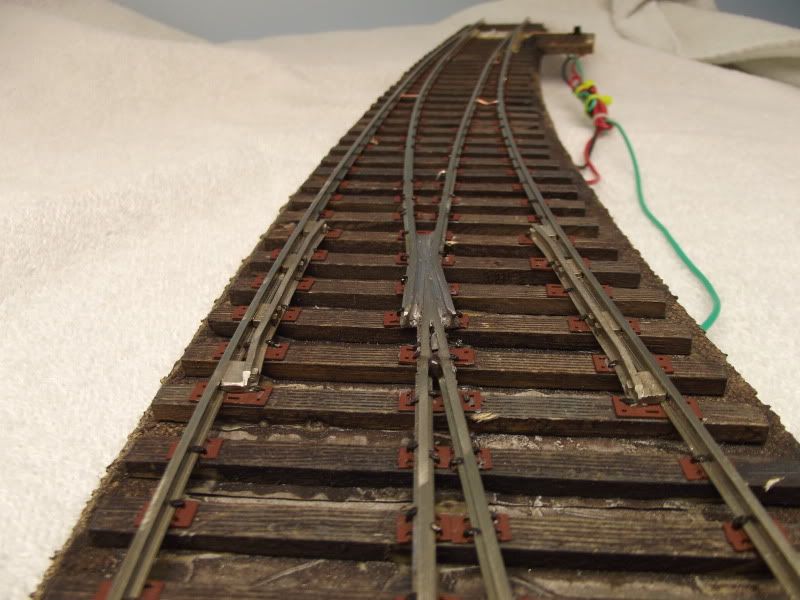
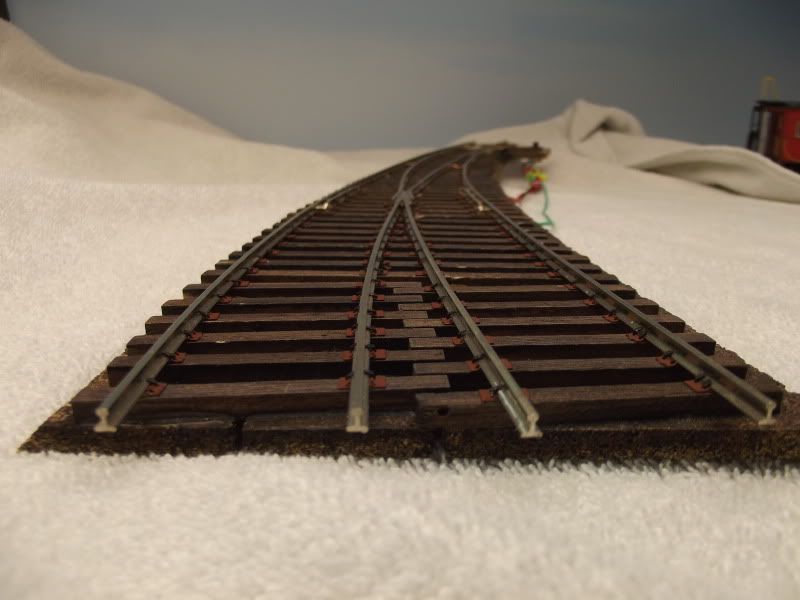
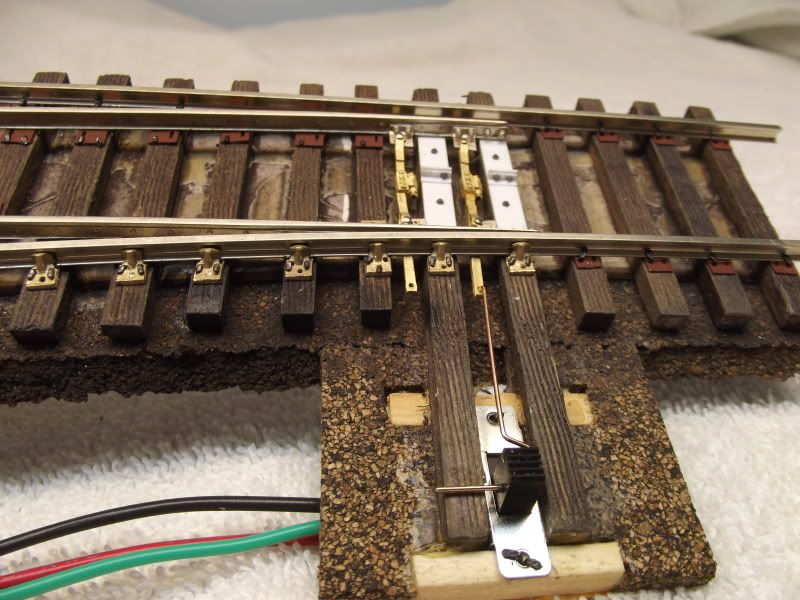
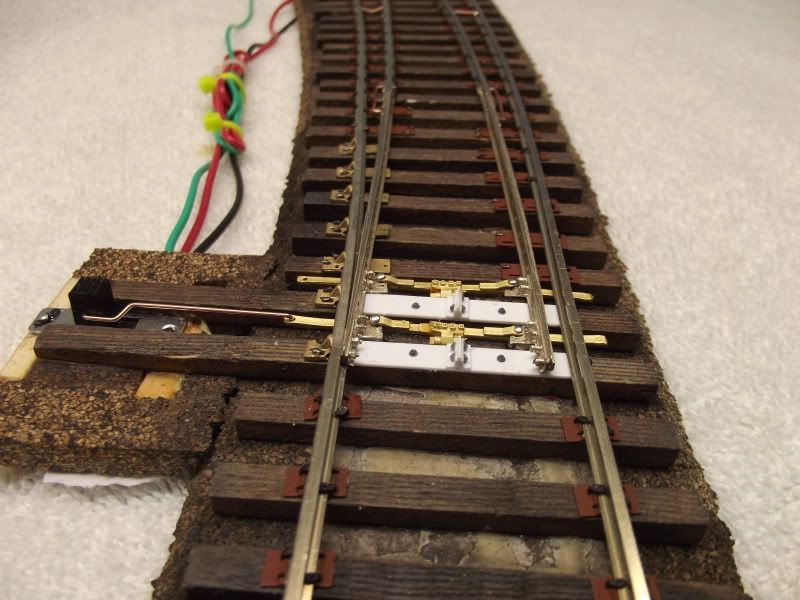
I thought building a curved turnout would be just like building a straight turnout but curved, WRONG! I am ashamed to say how many hours I have in this thing. Thank goodness it is the only one I have to have. Some of the ties look like pin cushions I reinstalled spikes so many times Frown. I did not have the correct size frog so I had to build my own and thats 2-3 hours of my life I cannot get back. Sorry about the wires they will go under the layout when installed.


Original Post

Replies sorted oldest to newest

Malcolm that is just spectacular, smooth and flowing. What a great job! It may not fit where it was intended but boy I would find a spot for it. Smile


quote:
Originally posted by R.R.:
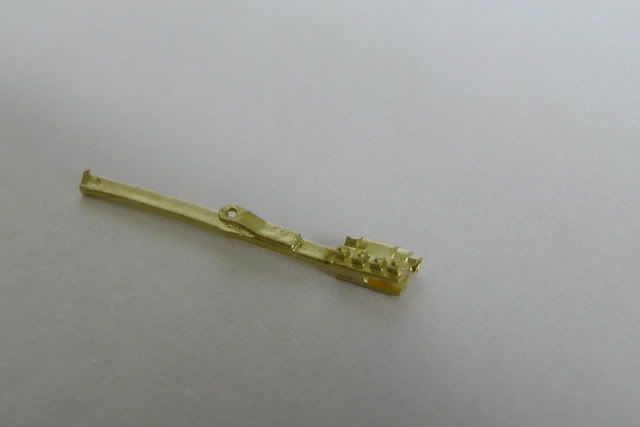
Would someone explain what keeps those castings at the points from shorting? How are they assembled/insulated?


I use paper, fold it over and glue it. The glue and paper insulate the throw bar which is 2 parts. If you look at the right end of this half of the throw bar you will see a pocket where the other part slides in. This part has the female end and you wrap paper around the male end and glue it and insert it into this part. After it has dried just file the excess off or cut it and it is insulated. The gauge plates look like they are styrene so no problems there. On mine I used castings and insulated those the same way I described.
What was it Hannibal said ( The A Team)? "I love it when a plan comes together!"

I kept moving that turnout back until it matched the curvature of the track on the layout. I found a place where it matched perfectly. It made my passing siding 6 feet longer than I had planned. I don't why I did not plan that to begin with. The extra length does not interfere with any scenery plans and I get an extra 6 feet of track.....I like it!

So, I get to use it after all. It was killing me to not be able to use that turnout after all the hours I put into it.

Thanks for the kind comments.

Happy New Year, malcolm
Post
×
×
×
×
Link copied to your clipboard.
×
×