If I intend to set my plywood on top of plastic folding tables, could I get away with using 1/4 inch thick and not worry about warping?
Replies sorted oldest to newest
Will the pastic tables be 100% below the plywood or will you have plywood betwen the tables?
I have a piece of 1/4" between two metal horses right now during contruction and it is warped and bent in just a few weeks.
It will warp like a banana here in Michigan... I use 1/2 inch plywood and the unsupported portions have warped in a mater of days even after sealing it.
If you paint it and seal on both sides and then screw it down to the plastic fully supported you may have a chance.
Then again not sure if you can screw wood to plastic, you may have to looking at a type of adhesive. This is a permanent layout?
Use 1/2" smooth sided OSB instead, its cheaper, lighter, and doesn't warp.
It will warp like a banana here in Michigan... I use 1/2 inch plywood and the unsupported portions have warped in a mater of days even after sealing it.
If you paint it and seal on both sides and then screw it down to the plastic fully supported you may have a chance.
Then again not sure if you can screw wood to plastic, you may have to looking at a type of adhesive. This is a permanent layout?
Overkill but I use 3/4 thick maple laminate on 2 x 4 frame. Costs about $50 a pop at Lowe's but super flat and great sound quality.
As a building contractor (retired), I can pretty much tell you that 1/4" plywood will not be sufficient for your purposes under any conditions. It's just too flimsy. It would have to be thoroughly fastened down to a substantial substrate in order for it to remain flat, which would defeat the purpose.
As J Daddy notes, even 1/2" plywood can be sketchy. I used 5/8" fir subfloor plywood covered by 1/2" Homasote, and it is very well supported by a dimensional lumber frame without any spans greater than 16".
The 1/2" sanded OSB would probably work, it is more dimensionally stable than plywood. The 3/4" maple cabinet plywood is like buying a Ferrari to drive to work in; nice, but I'd feel kinda bad covering that beautiful maple veneer with landscaping materials.
To avoid warping with any wood-based materials, the rule is to always do the same thing to both sides. Warpage is caused by uneven moisture absorption. If you paint one side (the top) and not the other (the bottom), it will warp, eventually if not right away.
For a free-floating board as you describe that is not fastened down, you should probably go for minimum 1/2" OSB, or 5/8" or 3/4" plywood, and try to get a coat or two of paint on the bottom before you flip it over and start putting paint and glue on the top surface.
Iam not sure what size the finish table top is? I would build a frame of 1x4 pine with inside supports 16" on center, than you can put any size ply on top you won't and it will be fine.
I used a 1/2" plywood, sign board (MDO), for most of the layout. MDO board has a smooth, paintable surface that resist moisture. I also use A/C exterior grade plywood on one section of the layout. (A) Grade, no knots, on the surface side, (C) Grade to the framing, 2"X 4", 16" OC.
2" X 4" material is White Fir, a tad better than Spruce or Spruce Pine Fir that has a tendency to warp/twist. IMO Sheeting grade 1" X material can also be a problem, (warp/twist), may be more so than thin sheet surface material mentioned. Though the Fort Pitt Highrailer's modules are done with Good grade 1" material, and 1/4" surface material. Finish side boards are 1 "X 6" clear pine. A recent hand-me-down module made my shop for extensive framing upgrade. It had become trouble-some.
Modular construction.
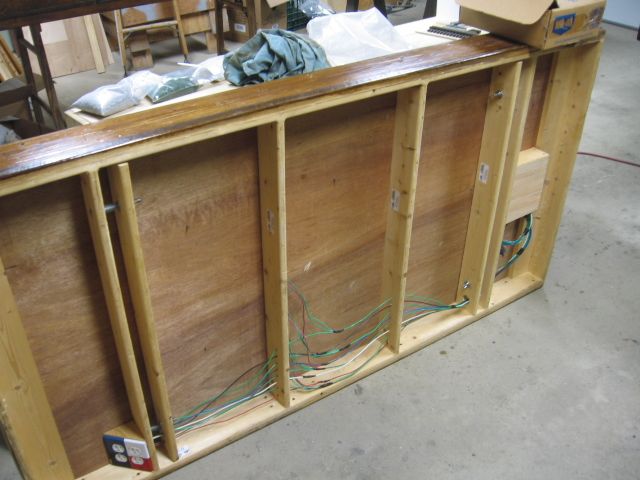
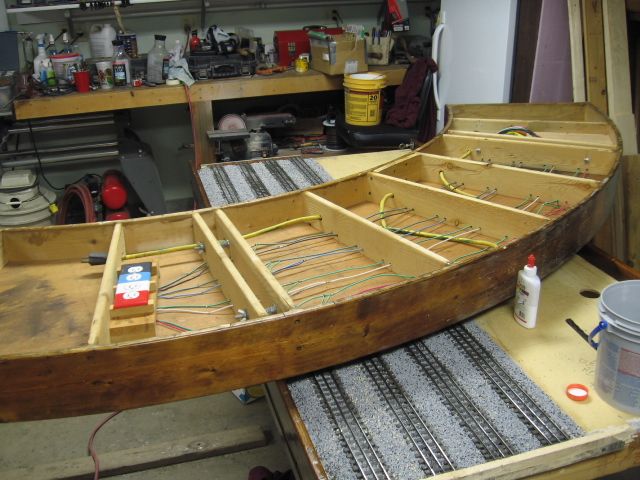
My layout framing. Train room additional space.
Train Room Expansion file. Click on the underlined phrase to access.
Coal Tipple addition. This section was done with 1/2" A/C exterior grade plywood.
If I intend to set my plywood on top of plastic folding tables, could I get away with using 1/4 inch thick and not worry about warping?
Replying to your original post on plastic folding table and plywood thickness on top. Spent last night at neighbors and giving him hand on his new layout. He has 3 folding tables, (we tested these tables by sitting and standing on each one, rated for 360# each. I weight 175, neighbor weighs 230#). Two are set almost together with space between to be able to use Fastrack 48" , and the other table is turned sideways, end to the other 2, making an"L". He tack glued 2" foam on table, covering the gap with no problem. He is grooving the foam to hide and eventually cover the wiring. The wiring is all going toward center and the gap. He bought a used step end table for 10.00, and is using this for his power supplies etc. So far he has run trains on this to check wiring etc. as he goes along, runs good, and the noise is not as loud as I expected, in fact downright quiet. He is gouging the foam outside track, and also across a gap for a bridge, and contouring.
1/2" or thicker. if you are setting it on horses or a table, 3/4" is best. Ive seen guys make boards with frames and everything using 1/4" and it still warped.
Layout tables L-Girder construction, trainboard 4' x 8' x 1/2" thick plywood, siderails 8 foot long crosssection 1" x 4" topped with 1" x 4", transverse framing 1"x 4" x 4' long, 1" x 2" attached to transverse framing to form T-shape crosssection, table legs 2" x 2" by 40" long, all wood joints glued(Elmers Wood Glue) and screwed together with countersunk wood screws. Plywood sheeting screwed to top of transverse T -shape that is 4 foot in length,diagonal leg bracing 1" by 4" at 45 degree angles. Tables approximately 40" high by 4' wide by 8' long. Free edges of plywood sheet butted to other plywood sheeted tables as required, on the butt joints I fasten below the table top 1" x 4" by 8' long edge stiffing, equally lapped at 1-3/4" glued and screwed with 1" countersunk wood screws, note all screws are phillips head.
NOTE: Apply basic number of transverse stiffeners to screw attach the plywood, on the top surface of the plywood sheeting, using a carpenters square, straightedge, tape measure and Number 2 wood pencils line draw all bottom mounted stiffeners and cleat mounts, this will locate free areas to bottom mount switch motor, I use Tortouses. Once the track and switch motors are installed addition transverse table top stiffeners can be added if necessary, this method will prevent interference between a stiffener and switch motor.
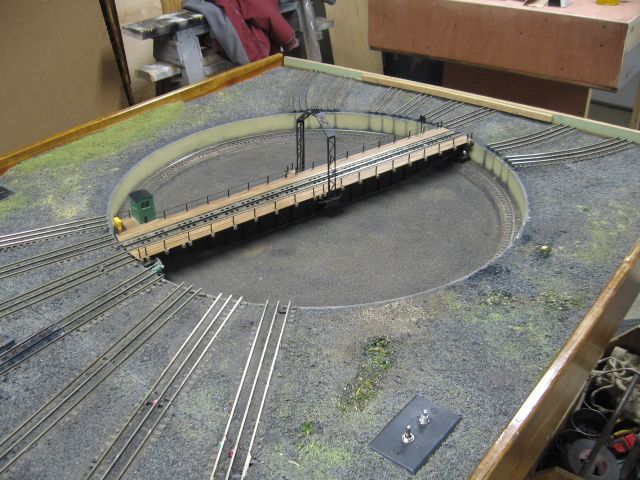
One of the nice things about a modular layout. Each piece, that needs work, can be up-righted. This piece, the Turntable access "T" module, is clamped to a set of "Stand-on" saw horses. It even required a step ladder for some of the wiring. ![]() Not many layout require a step ladder.
Not many layout require a step ladder.


The other side.
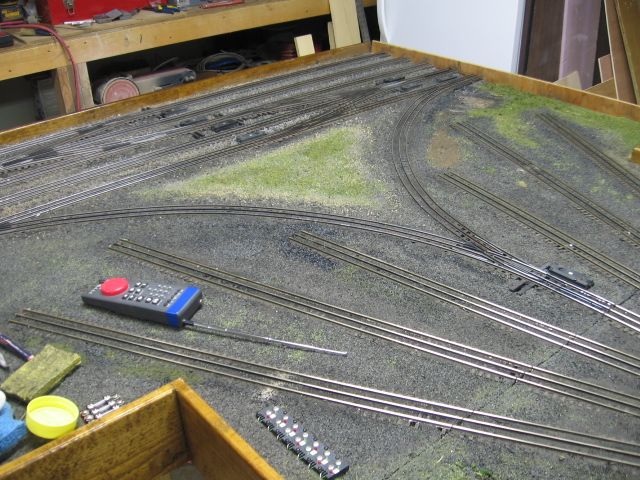
Hi Mike Ct Love the turntable and engine house your finish work is beautiful.
Thank you,
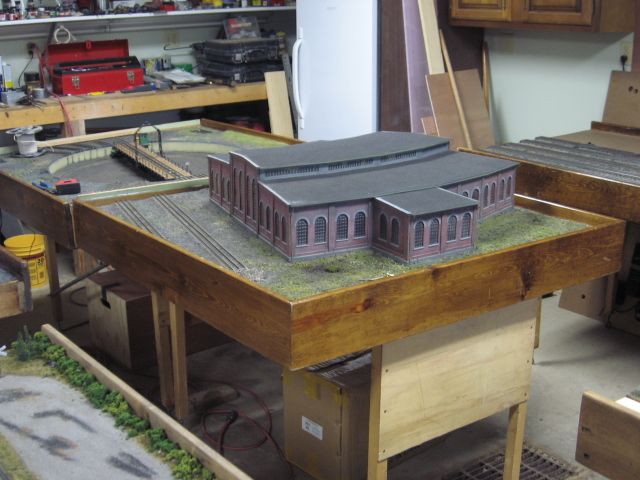
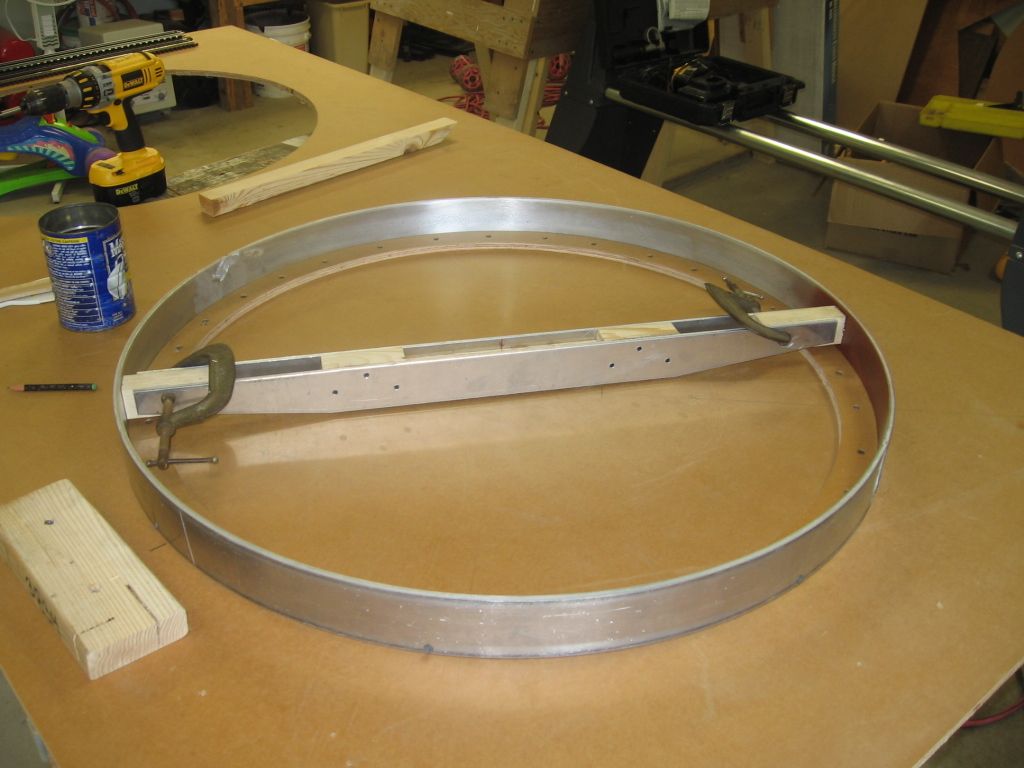
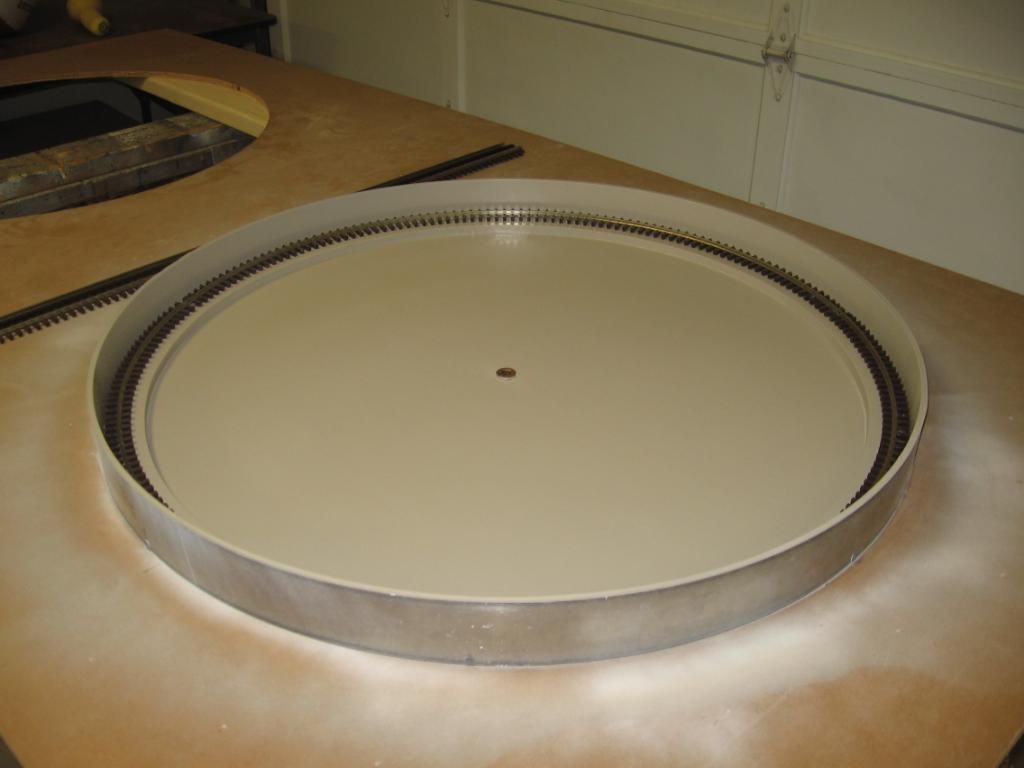
The modular TT has two boards. One at pit-base level, and the second board at track/ground level. Both boards are 1/2 MDO exterior grade plywood. One of the heavy-est modules. Relatively accurate piece of equipment, the module design was to inhibit twist and torque movement.
Final adjustments before transportation to York.
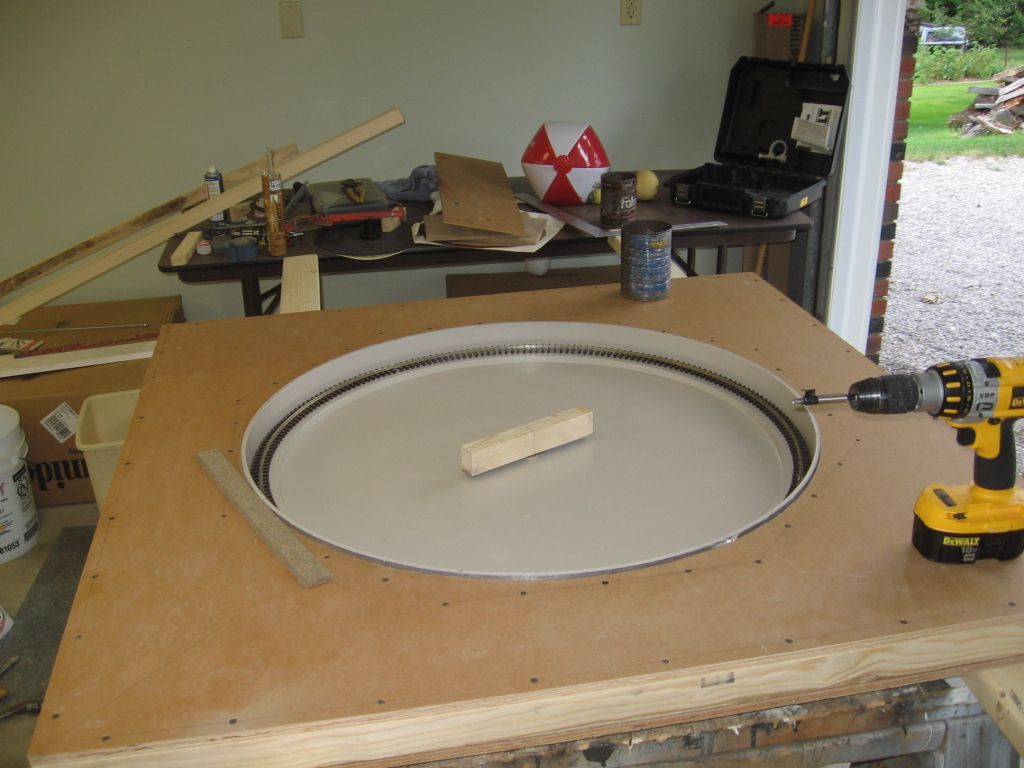
Base board with the pit wall aluminum ring installed.
Module frame work.
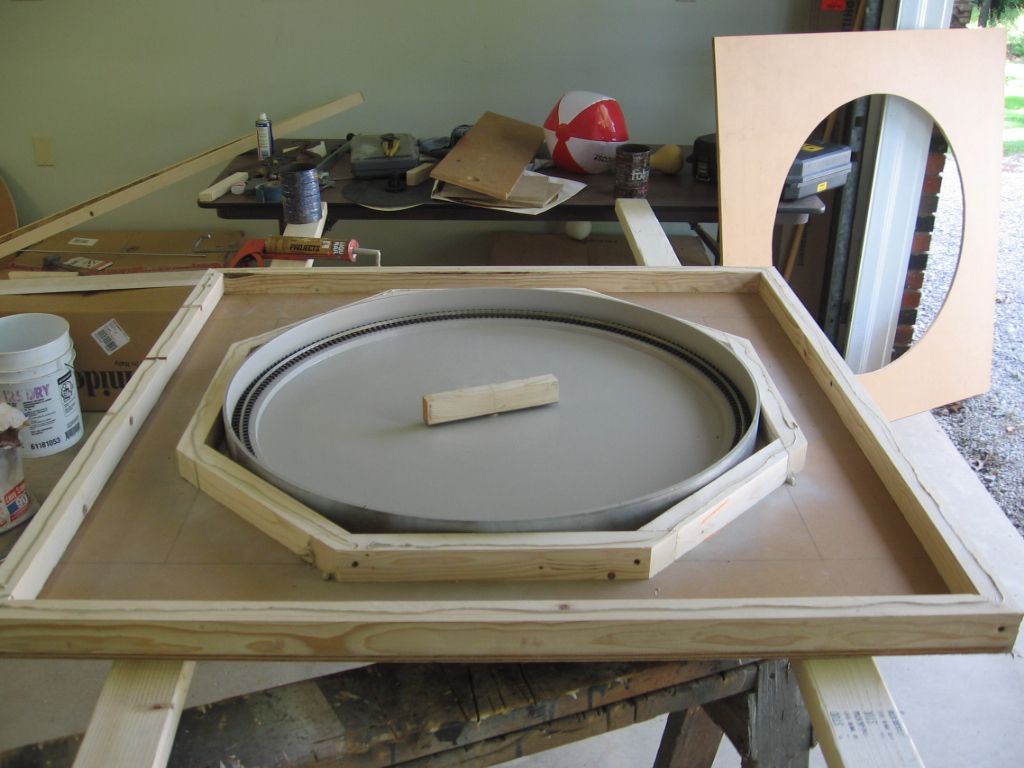
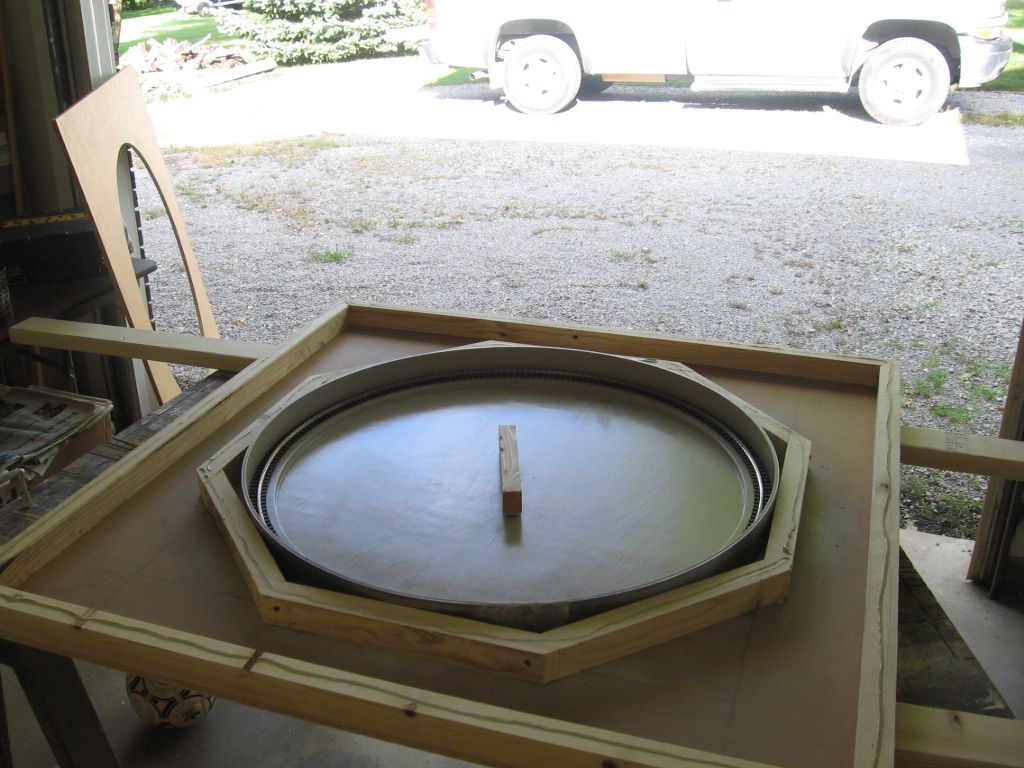
Track level plywood installed.
