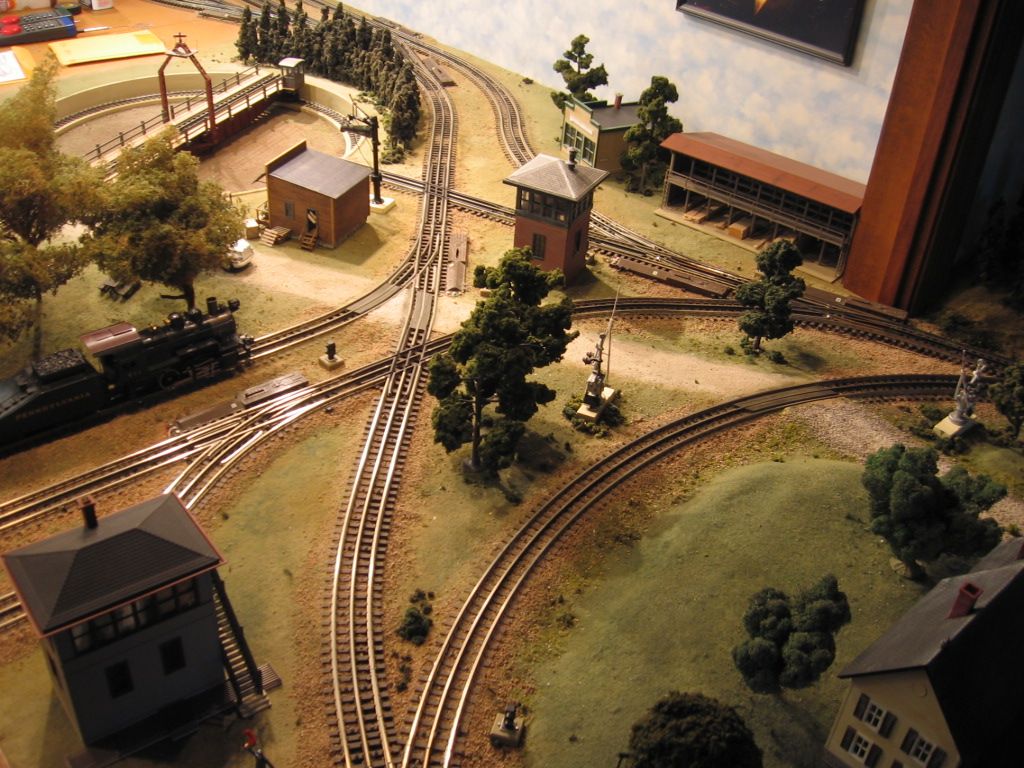
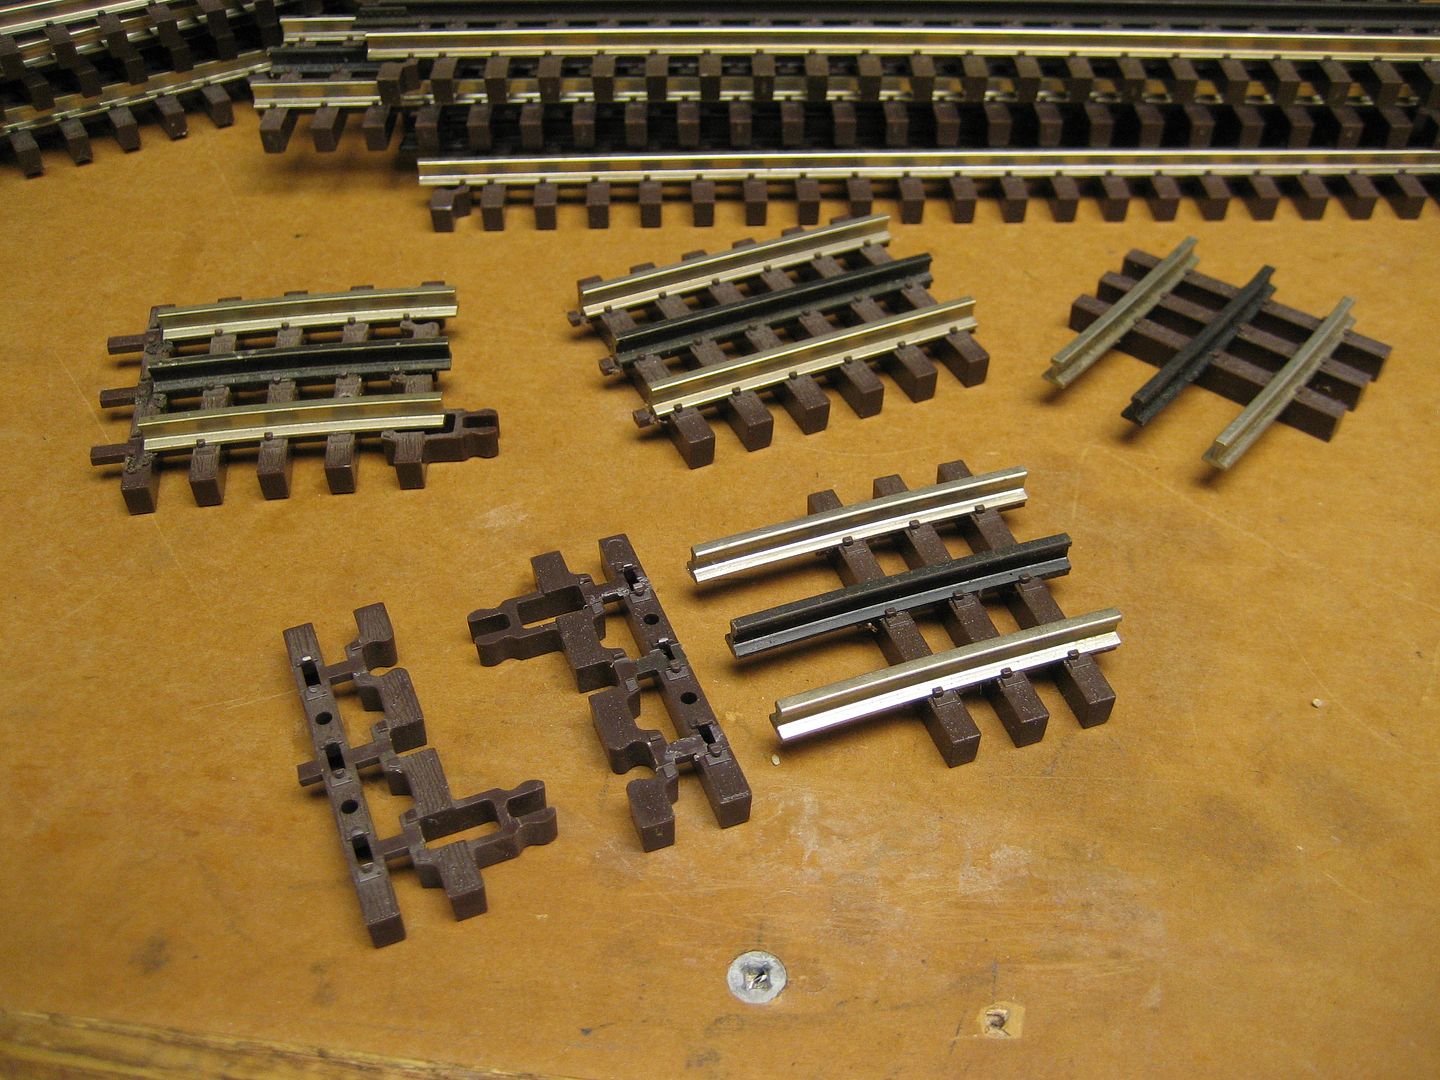
I built one using tubular track for similar geometry to what you have. It has seen trouble-free use on my yard entry modules for many years and trains back through it smoothly. I tried to work a Ross 30 degree crossing into the design but that didn't work out.
The basic construction is a plywood base (with thin ties glued on) and a diamond block that functions as the rails and guard rails within the crossing. The diamond is screwed to the base. The rails are cut to the correct angle, butted to the diamond, and spiked to the base. Guard rails are added to the approach to the diamond.
I considered gluing up the diamond from suitable plastic or plywood. This would be a good approach for those without shop tools as the parts could be cut with by hand and JBWeld works magic at assembly time. Ross uses Delrin for their frogs and diamonds so I decided to use that material for the diamond. Check out the the Ross #310 crossing for the the concept.
Tools I used are a table saw and a right-angle cutoff wheel for the track cuts. WARNING - build plywood jigs to hold the diamond for cutting and machining. The angles are too acute for miter saws. The diamond is too small a part to handle near blades. I built a jig for cutting the track at the correct angles. If I do another project like this, I would build jigs and use a router to machine the diamond. (Even better would be a CNC mill, but that's beyond the budget ;-)
I used black Delrin for the diamond. A surface planer got the Delrin sheet down to the desired thickness. (If I was to do this again, I would use a thinner sheet and shim the diamond to the rail height.) Baltic ply suitable for laser and CNC cutting may also be a suitable material for the diamond block.
Once the crossing angle was determined, I cut a diamond from the Delrin sheet. Then the diamond was run across the table saw with the blade height set to the depth of the wheel flange grooves (1/8 deep x 5/32 wide, IIRC). (Next time, I'll use a router for this.)
The diamond was mounted to the base ply using screws from the underside. The track was butted into place and spiked in. Finally, guard rails (cut from 1/8 ply) were epoxied to the base at the entrances to the diamond block.
I'll look for a decent photo of the crossing.


