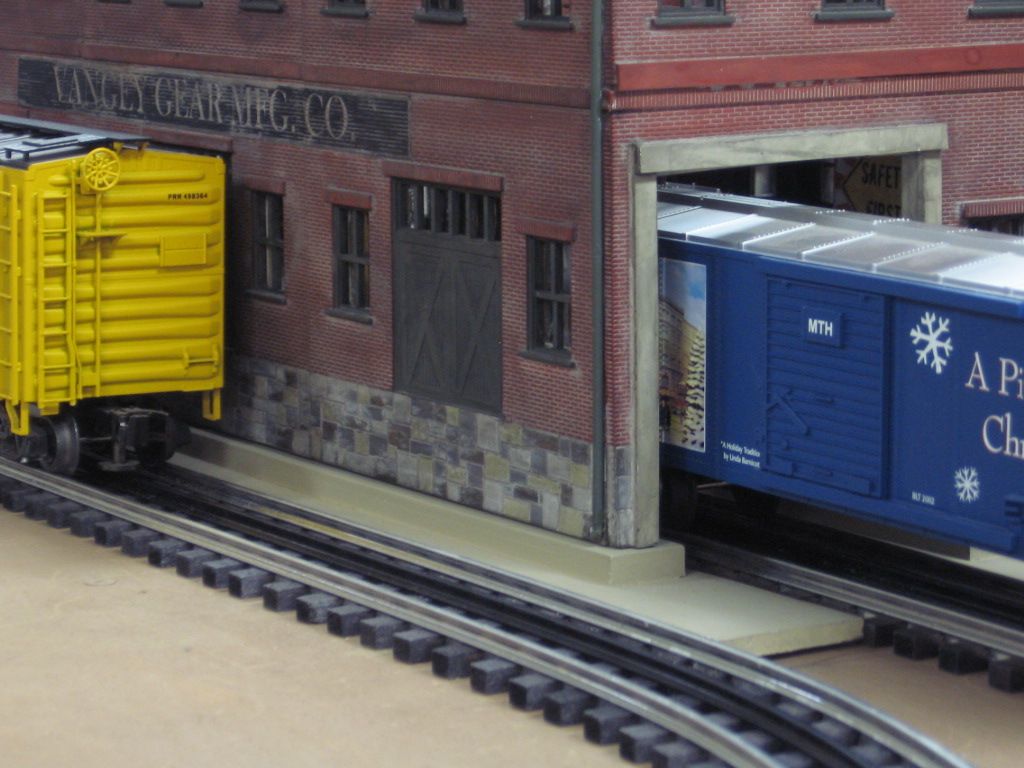
I want to use the first floor of an Ameri-town 1st National Bank building front on a kitbash of a railroad station.  What is the best way to separate the first floor from the upper floors?  Do I cut or score and snap?  If score and snap is the way to go do I score the front or the back of the building front?


Joe

Original Post

Replies sorted oldest to newest

That's it, Joe.


The only caution is that I just checked the photos on the OGR website, and the bank front wall is the one that has quite a few large window/door cut-outs. These might weaken the wall too much to do a clean snap in the right spot.


It might be safer to cut just about all the way though with the razor saw held horizontally, as in my first photo. If you leave too much plastic, it might snap in the wrong spot.


Jim


I can tell you if you score and snap you'll be disappointed , I know I was. It leaves an uneven surface . I found this out with some 2 story kits that were 3 story kits they scored and snapped off at the factory. When I received them I had to use a block plane to get a nice square edge .
The best thing to do is use the bricks for a guide and saw it the whole way thru.
Hit that edge with a sanding block and it'll be fine.
David

Originally Posted by Jim Policastro:

David,


I should have mentioned that some sanding to true the edges is needed whether you snap or saw. Actually, sanding to true the edges of the walls is a recommended first step with just about any kit of any manufacture or any material. 


Jim

Un - wanted spru maybe and I clean those up with an Xacto but I've never received "Pieces" of wall till I bought the Ameri-Towne kits Those panels are usually one piece . I had to shave a good bit to get them to fit without a gap much more than just cleaning up after sanding.
Even on the cheapest kits I've never sanded a wall to true it up not even a wood kit.
As I suggested use the bricks as a guide staying to one side of the mortar gap and true it up with a sanding block.
The bottom section is a little harder on the 2 story kits because of the store front molding . I used a small block plane to cut the ridge off of it.The plane allows you to shave the plastic and keep it square at the same time

David

I have kitbashed several of their (Korber?) large  3 story "pickle" factories, moving walls, doors, and windows around, and have always used several different hobby

saws....would not consider snapping them, anywhere near openings, or not.  My pain with these is gluing...I learned to frame them inside with 1/4" sq. stripwood from a big box home store, and use two part epoxy.  They recommend, I think, some kind of super glue in tiny tubes with a big price...any other glue I have at hand won't hack it...

Colorado,


Korber kits are not the same as Ameri-Towne. Korber are cast resin which is why the epoxy and super glues are recommended, and also why "snapping" isn't recommended.


Ameri-Towne are plastic and go together easily and securely using one of the liquid plastic cements, which are also much more economical. The welded bond produced by these cements is extremely strong.


Jim

To add to what Jim said, for those who may not realize it, the liquid plastic cements actually melt the plastic. This causes the two pieces to fuse together becoming one solid piece. If done correctly ie. using fresh glue and the proper amount, you will end up with an extremely strong bond. Also, all liquid plastic cements are not the same in terms of what they bond. Some can be used on alike plastics, others are designed for bonding dissimilar plastics. Read the labels.


If you're not sure if your kit is injection molded styrene or cast resin (two entirely different animals) read the instructions. They will tell you what they are made from and what type of cement to use. If you're new to kit building, it pays to follow the manufacturer's recommendations.  

Mike, as I look at your kit bash, I think you made it more difficult than necessary.


You could have sanded the edges flat. Then, attached a piece of styrene to one edge to provide a gluing surface and filed a small notch on the raised brick pattern and cornice. You could have then joined the corners without cutting the walls.


Last edited by DennisB

When we break the 3-story pieces to make the 2-story building kits here at OGR, we break them face down, bending the pieces downward over the edge of the work table. It is possible to break the bank faces, even though they have a lot of windows. Here's how we do it:


AmeriTowne Parts Break_01

Place the piece face down on the table, with the scribe line right at the edge of the table.


AmeriTowne Parts Break_02

Apply gentle pressure until the piece snaps. It will break cleanly on the scribe line.


AmeriTowne Parts Break_03

This is what you will end up with after the part breaks apart.


AmeriTowne Parts Break_04

You will have a slightly rough surface, and occasionally you will have a small burr at the end  of the piece like this. To sand this smooth, take a piece of 80-grit sandpaper and tape it to your work bench, rough side up, of course. Then just pass the piece over the paper a few times. The sandpaper will quickly cut this burr down to size and leave you with a smooth edge for gluing.


On some walls, we have to use a slightly different technique because the plastic is just a little thicker in the cut line area. For example, here is the 872 "Bill's Place" front.


AmeriTowne Parts Break_05


AmeriTowne Parts Break_06

On this wall we use a razor knife to score the back to get a clean break. These walls are just a bit thicker in the cut line area and we've found that this little trick helps a lot. Be sure to nick the slightly thicker part at each edge of the wall.


AmeriTowne Parts Break_07

Lay the wall face down with the cut line at the table edge, apply gentle pressure and it will break cleanly.


AmeriTowne Parts Break_08

Here again, you may need to use a little sandpaper to cut the burrs and give you a smooth edge for gluing.


Hope this help you folks do a little more kit-bashing with our AmeriTowne building parts. We will soon be offering more kit bash parts in the form of single-story wall pieces.

Attachments

Images (8)
  • AmeriTowne Parts Break_04
  • AmeriTowne Parts Break_01
  • AmeriTowne Parts Break_02
  • AmeriTowne Parts Break_03
  • AmeriTowne Parts Break_08
  • AmeriTowne Parts Break_05
  • AmeriTowne Parts Break_06
  • AmeriTowne Parts Break_07

I understand why you do it at OGR, but I don't recommend simply snapping for the modeler.  I repeatedly score the groove with an X-Acto knife until all the way through or I score and then finish up with a hobby saw. That way, you always get a nice clean edge. It's only a minute of extra work and produces a predictable and far better result!

Originally Posted by DennisB:

Mike, as I look at your kit bash, I think you made it more difficult than necessary.


You could have sanded the edges flat. Then, attached a piece of styrene to one edge to provide a gluing surface and filed a small notch on the raised brick pattern and cornice. You could have then joined the corners without cutting the walls.


 Not quite following you here Dennis.  Of the four building fronts shown, (3) 71B side walls were purchased. Each side wall panel was cut exacly in half, (bandsaw). Two side walls for each of the (3) buildings.  (2) of the half sections were cut to fit the shorter two story corner building. and the other (4) half wall sections were cut to fit under the Aluminum train shelf.  The factory edge of each 71B panel was glued to the fronts. Bandsaw cut edges are to the wall. 


The corner building was a Barrettsburg mistake from a member of the club.  There are or were instructions about this inside corner cut. Rather than pitch the mistake, I cleaned it up and purchased additional roof panels, also band saw cut, for this project.


The biggest problem was that someone installed the train shelf to close to the lay.   So what was suppose to be just store fronts glued to the wall changed.  As Jim P noted in another thread, adding depth to building fronts changes the look considerable. 

Mike    


Originally Posted by DennisB:
I was specifically talking about the inside corner cut of the corner building. Now that you've explained that you had cleaned up someone's Barrettsburg mistake, I understand. I couldn't figure out why you put it together that way since you're not a novice builder.

Thanks for the compliment Dennis.   Steve H is a very talented modeler. The detail paint work on the corner building was his, I  just hated to waste it. He called about the problem and we swapped some panels.  His second attempt was as good as the first with much better assembly.


We had some other issues with the Rail door opening that involved addind a base to the model after it was completed.


When we eventually placed the model on the module the track was as low as possible even with the model base.


I like to do a model base from the start. 
Last edited by Mike CT
Post
×
×
×
×
Link copied to your clipboard.
×
×