In addition to 3D printing customs and building command control locomotives, I also dabble in restoring classic tinplate. I've had a strong craving for tinplate this year and have been buying quite a bit of prewar Lionel, Marx and Hafner. This weekend's project was a prewar Lionel 257 locomotive that I picked up at the Allentown First Frost show last weekend.

I dismantled the locomotive last weekend and examined the situation. I determined that I needed a new geared wheel, a new set of idler gears and a couple of trim parts for the boiler. The wiring had disintegrated, the armature was questionably but the rest of the running gear looked alright. I ordered the parts I knew I needed and committed to making the motor work again.

Stripping down the motor

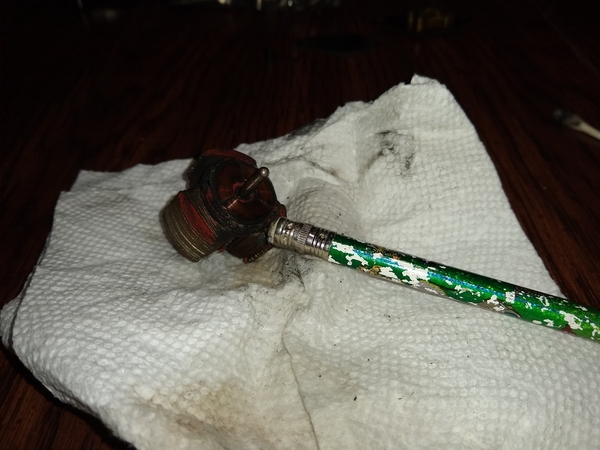
After lots of scrubbing with a IPA-soaked paper towel and a pencil eraser (the secret weapon!) I was able to put a shine onto the armature face. I refaced the original motor brushes, cleaned the whole mechanism thoroughly and replaced all the wiring with good-quality modern stuff. The motor ran smoothly on the bench!

Cleaning the armature

The parts arrived shortly after I got the motor spinning again. The new brass idlers (part SLS-11 from Henning's) seemed to fit pretty well with the original armature and wheel gears. I quartered the wheels and pressed them all back on with my vise.

Rebuilt, rewired and ready to test

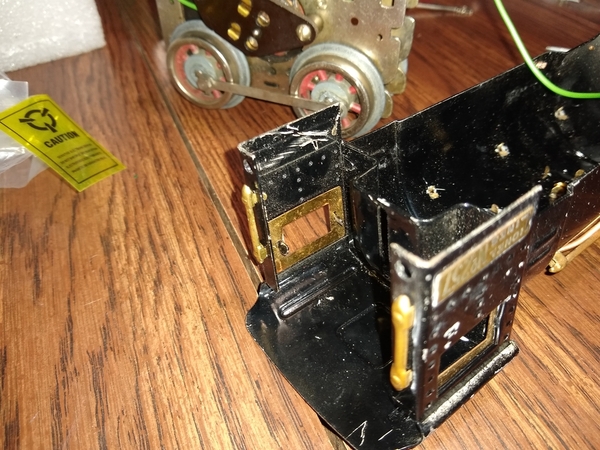
Now that the motor was sorted out I started working on the cab and boiler trim. I had to replace a little grabiron on the back of the cab. Several of the copper pipes on the boiler had come loose over the ages and needed to be put back in. Thankfully all of these little brass and copper details are held on by little tabs that are pretty easy to get on and off with a pair of pliers.

Fixing up the trim

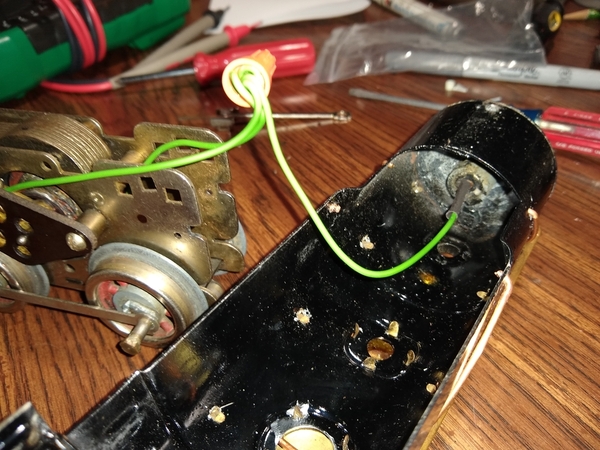
I also needed to rewire the headlight, which took just a hot minute (heh) with the soldering iron.

Rewiring the headlight

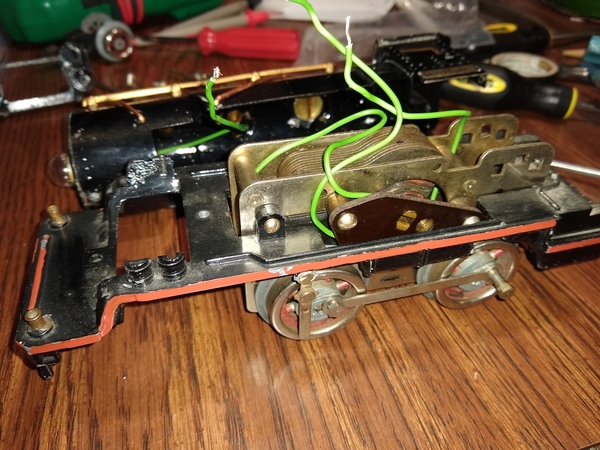
With all the pieces sorted out, it was finally time to bring everything back together. I started by reattaching the motor to the frame. It goes into a slot in the back and two screws on the front, kind of like a Marx motor.

Mounting the motor to the frame

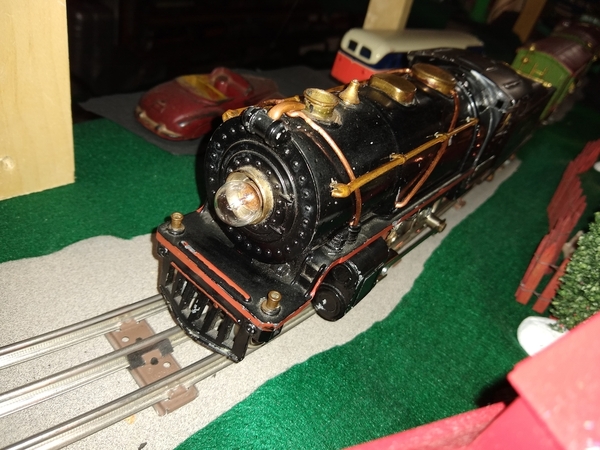
After a bit of monkeying around with the linkage and sourcing some missing hardware, the 257 was finally ready for the track!

A pretty tinplate face

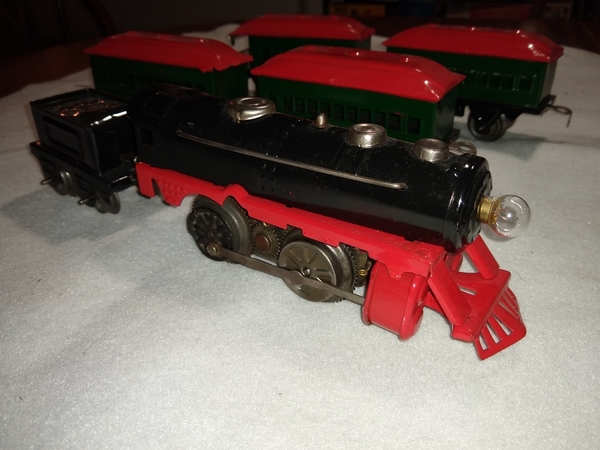
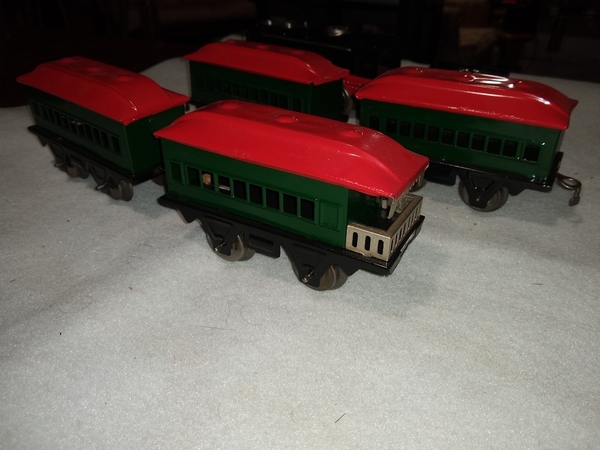
I linked up the rebuilt engine with its tender and dug out some dilapidated 4-wheel freight cars for it to haul around.

Finished locomotive

Here's a video of the locomotive whirling around the tinplate circle on the main layout table!

Attachments

Images (8)
  • Stripping down the motor
  • Cleaning the armature
  • Rebuilt, rewired and ready to test
  • Rewiring the headlight
  • Fixing up the trim
  • Mounting the motor to the frame
  • Finished locomotive
  • A pretty tinplate face
Last edited by Trainguy Ken
Original Post

Replies sorted oldest to newest

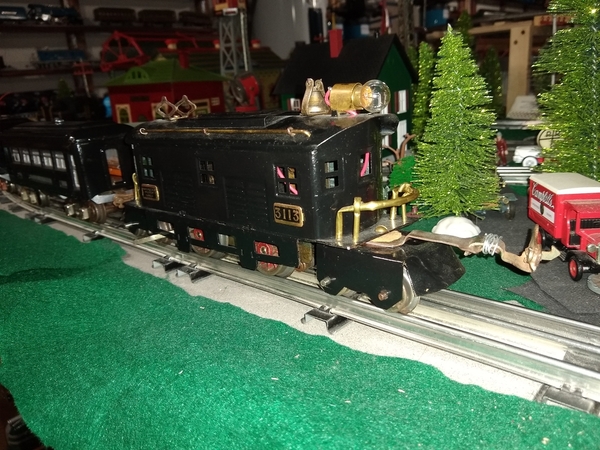
I started tinkering with old trains as soon as I got into the hobby thirteen years ago. Here's one of the first real "restoration" projects I ever attempted. It's a prewar Flyer locomotive that I modified into a 4-4-4 boxcab electric; I call it the Blackbird!
Prewar AF Blackbird Custom Locomotive

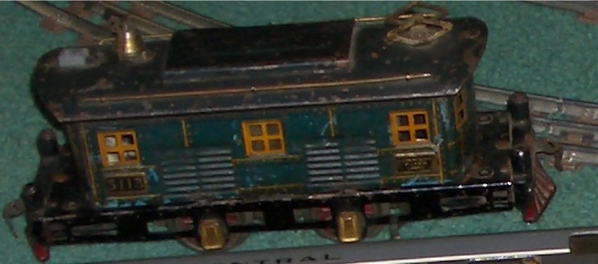
The locomotive started off as a rust-bucket American Flyer 3113 "Bluebird" locomotive that I bought for a pittance at one of the first TCA shows I ever attended. I managed to find a small cell phone picture of the original locomotive for your entertainment. The motor was complete and included a working manual reverse unit, but the zinc wheels were badly cracked and seized up. I was able to buy another motor with better wheels out of a junk box and scavenge the parts that I needed to get this one running.

The original AF Bluebird locomotive

Here is the back of the Blackbird. The railings were hand-bent from brass tubing. The front and rear trucks were hand-drawn on a piece of cardstock, then transferred to a piece of sheet brass, cut out and painted. You'll notice that a lot of the metal detail parts are still a bit rusty. At the time I didn't have any power tools so everything I did, including scraping rusty parts, was done painstakingly by hand with steel wool and hand tools, and I couldn't figure out how to get all of it off. Removing the lithography from the engine body took hours of tedious scraping! I was able to borrow a can of Brasso to clean up all the trim, which came out very nicely.

Rear of Blackbird

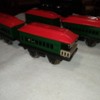
Later that summer I made a Craigslist find of a box of hulked out old tinplate trains, including a number of very dilapidated old coaches. This gave me enough parts to build a couple matching cars to run with the Blackbird.

Blackbird coaches as I found them

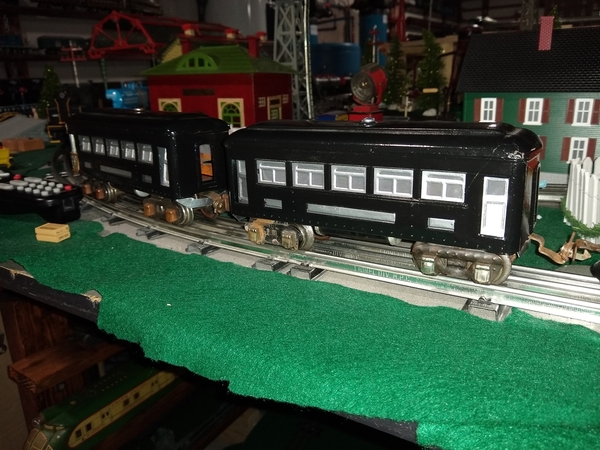
I settled on a black and silver paint scheme. The carrier irons were gone from the cars (probably when the previous owner added those postwar trucks) so I cut new ones from aluminum and glued them on. I rigged a spare Lionel coupler on to the Blackbird so it could link up with them.

Blackbird coaches

I decided to take the Blackbird down off the shelf and run it on the tinplate loop for a little while. The ancient AF motor with its twist-lever reverse still runs pretty well!

Attachments

Images (5)
  • Prewar AF Blackbird Custom Locomotive
  • Rear of Blackbird
  • Blackbird coaches
  • Blackbird coaches as I found them
  • The original AF Bluebird locomotive

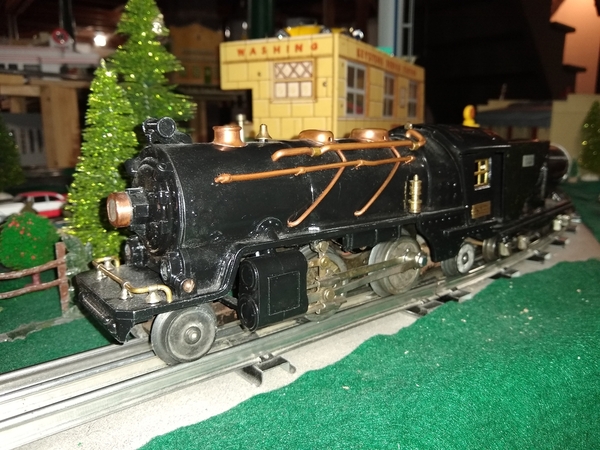
While I'm reminiscing on old projects, here's another summer project from my younger days in the hobby. I bought this Lionel 262e with a hideous paintjob drizzled all over the top of it. On close inspection it seemed to have all of the boiler trim and a complete motor assembly, so it looked like a good candidate for a rebuild.

Restored 262e

I disassembled it, polished up all of the trim, cleaned out the motor and put it all back together. Other than a crack in the locomotive's frame, all of the original parts were there so there wasn't much to add. The motor started up and ran smoothly--E-unit and all-- after a cleaning and lubrication.

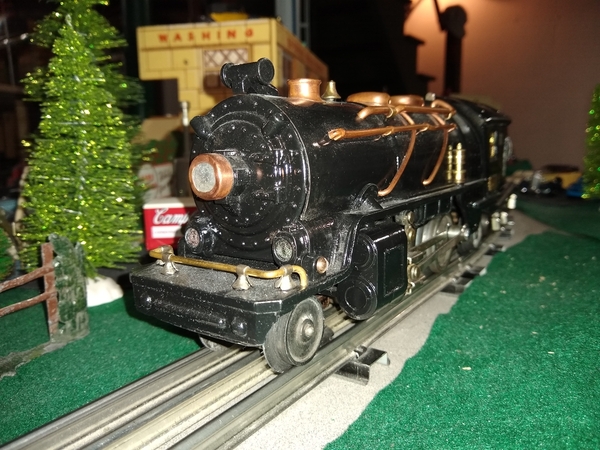
Boiler front

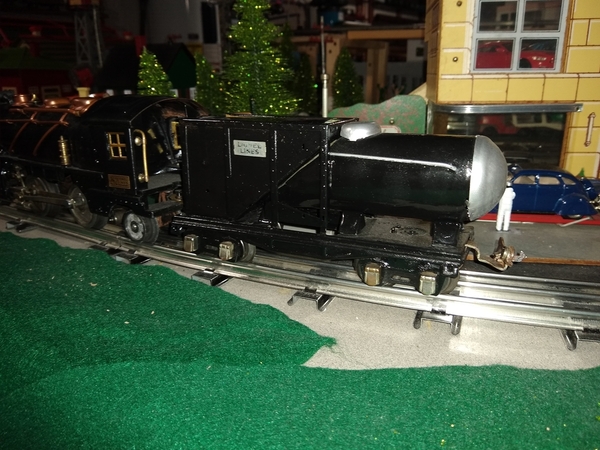
I needed to come up with a tender for the new locomotive. I didn't have any spare tender parts but I did have a hulked-out 652 hopper car and a Marx tanker. After a bit of tin-knocking and a quick paintjob I had a unique Vanderbilt tender to accompany my 262e.

Custom tender built from 652 hopper and Marx tanker

Still runs smoothly after eight years!

Attachments

Images (3)
  • Restored 262e
  • Boiler front
  • Custom tender built from 652 hopper and Marx tanker

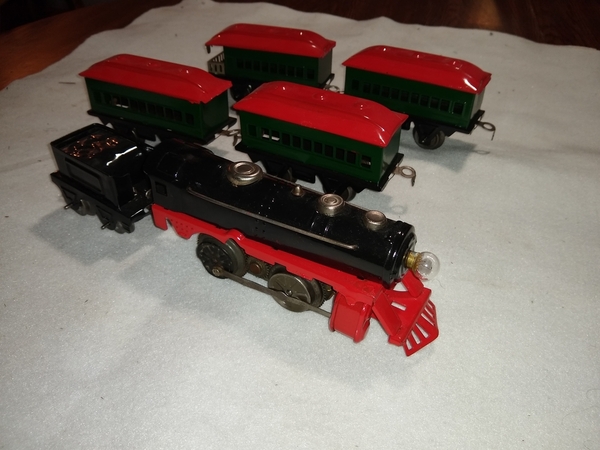
Here's yet another tinplate project from my early days in the hobby: my sole piece of Girard Joy Line. This was a Louis Marx set back when Mr. Marx himself was an employee of the Girard company, probably from the very early 1930s.

Kens Kustom Joy Line Set

I had bought a large boxed lot of ratty trains on eBay for almost nothing (which happened to fit my budget as a broke college student) and was immensely pleased to find this uncommon Joy Line set at the very bottom. I dug up these "before" pictures from my archives so you can see that the whole set was in appalling condition. Many of the cars were badly rusted and the lithography was beyond hope of saving. The locomotive had all the boiler trim and motor components but was missing a wheel and the matching side rod.

Before picture 1

I happened to have a busted up old Hafner locomotive and I managed to scavenge a wheel and drive rod from it and get them to fit on the Joy Line motor. I think I sourced the remaining missing wheels and axle from another rustbucket Marx car that was in the box.

Before picture 2

It took an entire weekend but I dismantled the entire set tab by tab, ground off all of the rust and flaking paint and finally repainted and reassembled. I had a bench grinder at this point so I was able to get through all the rust and give everything a fresh coat of paint and oil.

Repainting with Rustoleum paints

Here's what the locomotive looks like today. Pretty sharp!

Closeup of locomotive

Here's a view of the Joy Line motor. You can see that I left some of the faded original paint on the bottom of the locomotive. Astonishingly, the original motor is intact and functioning-- all I did was add the one missing wheel and clean everything else. It has the original armature, commutator and pickup (those tiny brass pickups are often found broken). The back drive wheel is made of hard rubber which really helps the locomotive's operation.

View of Joy Line Motor

Here are the passenger cars. I ended up painting the roofs red since I already had the aerosol can for the locomotive's frame. I have since discovered that Joy Line did make red-roofed cars, they are one of the rare and expensive variations that I will probably never find a real example of. Good thing I already made my own!

Passenger cars repainted with red roofs

Check it out on the tinplate loop on my layout!

Attachments

Images (7)
  • Kens Kustom Joy Line Set
  • Closeup of locomotive
  • Passenger cars repainted with red roofs
  • View of Joy Line Motor
  • Before picture 1
  • Before picture 2
  • Repainting with Rustoleum paints

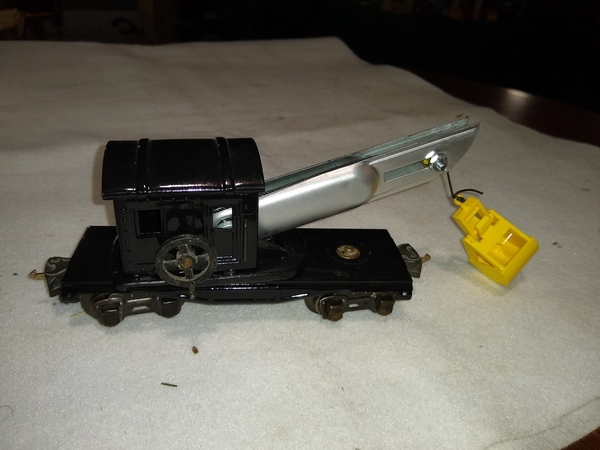
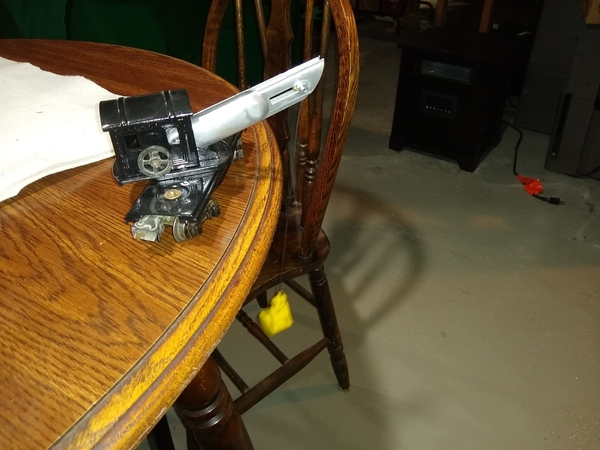
I was down in the train room waiting for the laundry to finish and found myself playing with another old tinplate project from my college days. This is a prewar Lionel 2660 series crane car that I put back into service with some "Yankee Ingenuity".

IMG_20220103_153239106

I acquired this as part of a tattered old Lionel set that I was given by a friend of a friend when they heard I was into trains. (I distinctly remember that she was the first person I met who called me "the Train Guy"!) I was able to find a "before" picture in my archives. As you can see the crane was in tough shape with rust, missing parts and a completely shattered Bakelite boom.

2660crane_2620lightcar

I wasn't very familiar with late prewar Lionel at the time so I struggled to repair the set. I was able to find replacement booms for sale but they were a little expensive ($30 with shipping was a fair bit of the train budget back then). I was pawing through my toolbox while working on something else when I picked up a box cutter with a missing blade and felt a moment of inspiration.

IMG_20220103_153248687

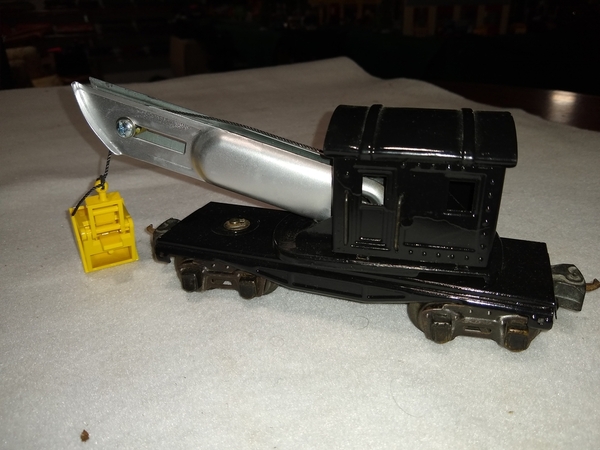
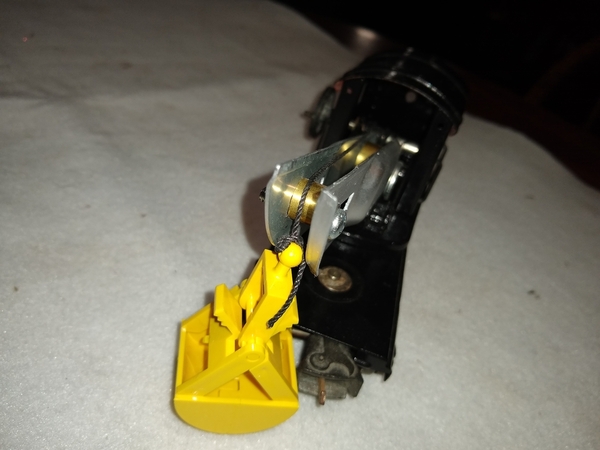
The boom is nothing more than the body of an old box cutter, painted silver, with a few washers and sections of brass tubing to set the spacing. I wanted to make the crane a little different so I borrowed a coal scoop from a LEGO set and rigged it up with some thin cord. The rest of the crane car got a quick grind off and spray on to clean it up.

IMG_20220103_153417645

Of course it works-- turn the crank and the bucket goes up and down. Can't get more simple than that!

IMG_20220103_153317602

I suppose that I could take this car apart again, use my 3D printer to make a new boom and make it look more "realistic"... but I feel like the story associated with how it got to where it is today is more entertaining.

Attachments

Images (5)
  • 2660crane_2620lightcar
  • IMG_20220103_153239106
  • IMG_20220103_153248687
  • IMG_20220103_153317602
  • IMG_20220103_153417645

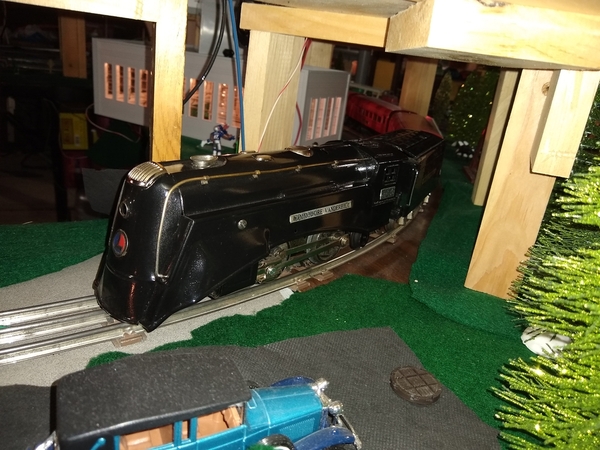
Here's another project from my college days: a black Lionel 264e Commodore Vanderbilt locomotive that I completely restored.

IMGP3369

I started off with this rough hulk that I picked up on FleaBay one summer day. As you can see, the locomotive was originally a black 264E rather than the more common Red Comet. A bunch of trim and linkage was missing, the paint was peeling everywhere and the body was badly dented and warped. The tender is correct for this locomotive but is not original to it-- I think I picked it out of a junk box at a train show. I managed to get the E-Unit working again and had it running as a hulk before I committed a weekend to restoring it.

Original paint

The first order of business was stripping the locomotive shell of remaining trim and straightening out the body. I had to remove the steamchests to do it right, which required drilling out a couple of rivets (I replaced them with 4-40 screws that you may notice if you look closely at the pictures). Here's what it looked like after I straightened the sheet metal body out.

Dented front skirt

I did this locomotive before I had my bench grinder so all of the paint removal was done by hand. The original paint was so badly peeling that most of it came off easily with an Exacto knife.

Stripping paint from 264e shell

The dilapidated tender came apart too. The only major issue was a broken piece of sheetmetal in the front of the body which I patched over. I needed a new drawbar so I fabricated one from a piece of an Erector Set. Most of the original trim parts were present and cleaned up nicely with a little rubbing alcohol and Brasso.

Waffle tender parts breakdown

I shined up all the trim and repainted the locomotive and tender with my usual go-to, Rustoleum 2X. The paint has held up pretty well over the last ten years.

IMG_20220219_080341303

I have a set of 1670 series streamlined passenger coaches that I typically run with the 264e. These were nicely restored by a previous owner but were missing the original locking mechanisms to hold the cars together. I found that a 3-stud-length Lego Technic axle worked quite nicely as a stopgap. You can sneak the axle into the vestibule of the next car at an angle and then lock it in place by straightening it up. The bushing keeps the axle from falling out of the car.

IMG_20220219_075036147

The set sure does run nicely!

IMG_20220219_080311267

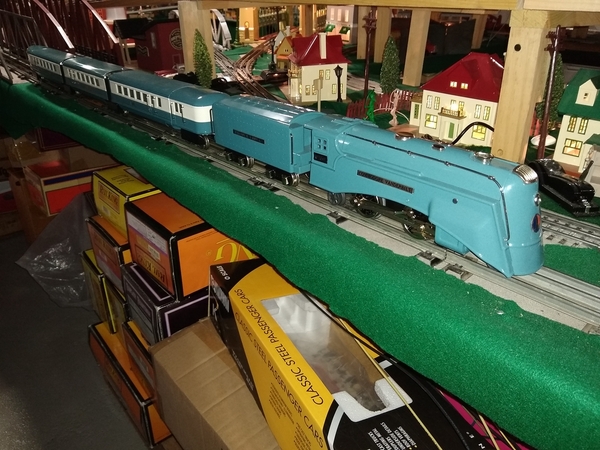
Although I don't usually go for duplicate engines in my collection, I make an exception for tinplate since I like to display a modern command-control reproduction set alongside my restorations. The companion for my black 264e is, quite naturally, the 265e in my MTH Lionel Corp Blue Streak set. This engine was technically a "project" as well since when I bought it brand new from the local hobby shop it had a defective light bulb that popped the circuit breaker on the transformer. Thankfully, it has been a merry runner ever since.

IMG_20220219_080504123

Here's a video of both Commodore Vanderbilts running on the layout. Old restoration and new reproduction!

Attachments

Images (10)
  • Original paint
  • Dented front skirt
  • Stripping paint from 264e shell
  • Waffle tender parts breakdown
  • IMG_20220219_080341303
  • IMG_20220219_080311267
  • IMG_20220219_075036147
  • IMG_20220219_080311267
  • IMG_20220219_080504123
  • IMGP3369

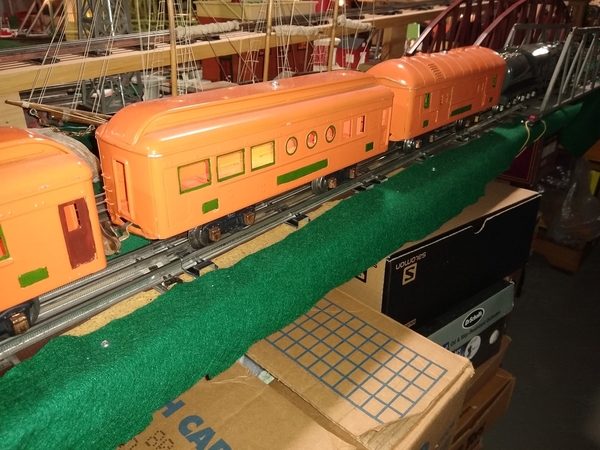
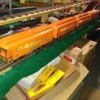
This set is a real oddity that I picked up from everyone's favorite online auction site some years ago. It came to me as a set of four 710 series coach bodies that had been painted and customized by a previous owner with some very skilled Bondo work. I also acquired a large bag of trim parts that seemed related to the cars. Most of the work was already done so I just had to mount the trucks, add a few missing bits and wire up the interior lights to get them running.

Custom Orange 700 Series Coaches

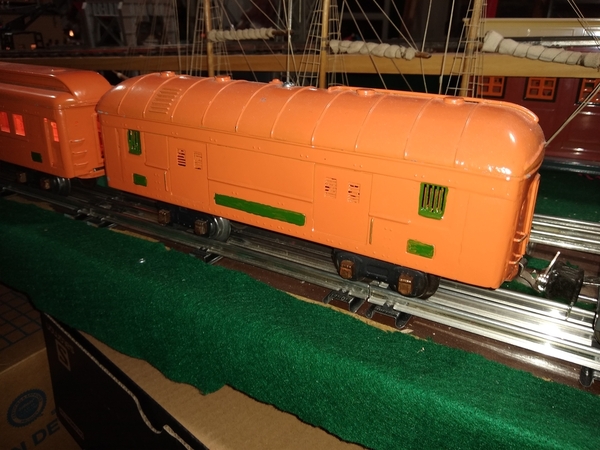
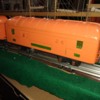
The set has this fascinating hand-made baggage car that was built from a rusted-out 700 series body. The car is quite heavy since the entire roof and most of the frame is made of scraps of metal held together with Bondo.

Custom Baggage Car

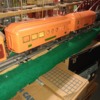
The set also includes a custom Dining or Combination Car. The original windows have been cut out and metal plates have been Bondo'd in to add in the custom windows. None of the cars have the original brass steps on the corners or the air tanks underneath-- they look alright without them so I haven't tried to add any.

Custom Combo or Dining Car

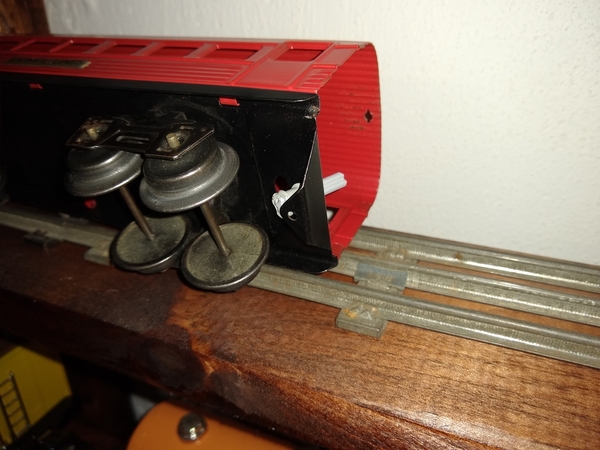
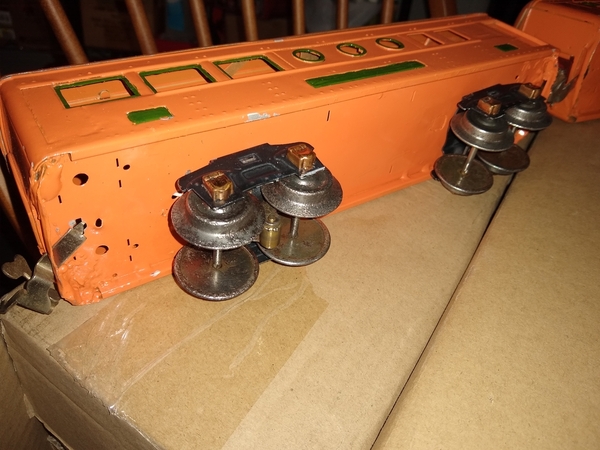
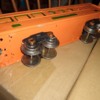
All of the cars have these interesting 4-wheel trucks with gigantic, Standard Gauge sized wheels. I believe that these are original to the trucks since the truck sideframes are tall enough to accommodate the big flanges and it doesn't appear they have been regauged from Standard. Unfortunately, the oversized wheels don't ride very well on modern track switches so I have to be very careful running them to avoid derailments.

Huge Standard Gauge wheels

Today I'm pulling the set with my MTH American Legacy 763e in gray. This locomotive has a different boiler from the black 763e (more of the details are cast-in on this model) and seems to have a slightly different sound system, even though they are both early PS2 command control units.

MTH American Legacy Gray 763e Hudson

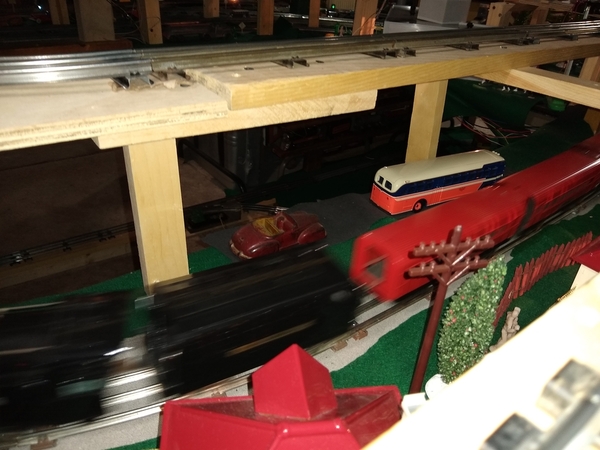
Here's a video of the coaches running behind my gray MTH 763e Hudson.

Here's what those big Standard Gauge wheels do on modern track switches-- a O72 tubular switch on the left and a Fastrack 72" switch on the right!

Attachments

Images (5)
  • Custom Orange 700 Series Coaches
  • Custom Baggage Car
  • Custom Combo or Dining Car
  • Huge Standard Gauge wheels
  • MTH American Legacy Gray 763e Hudson

Add Reply

Post
×
×
×
×
Link copied to your clipboard.
×
×