
Hello everyone! I’m a new member to the forum and I didn’t see an introduction section; therefore, I decided to post here.

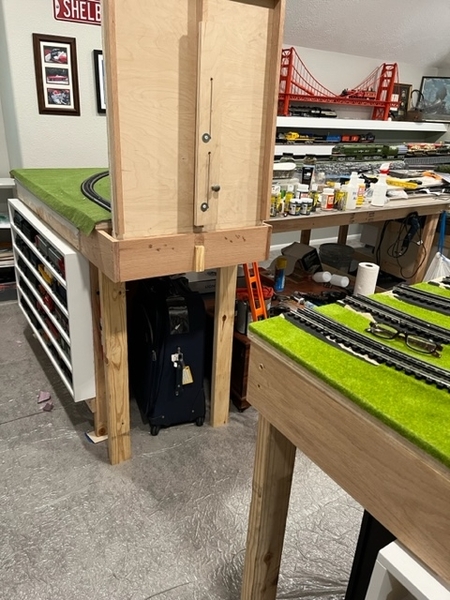
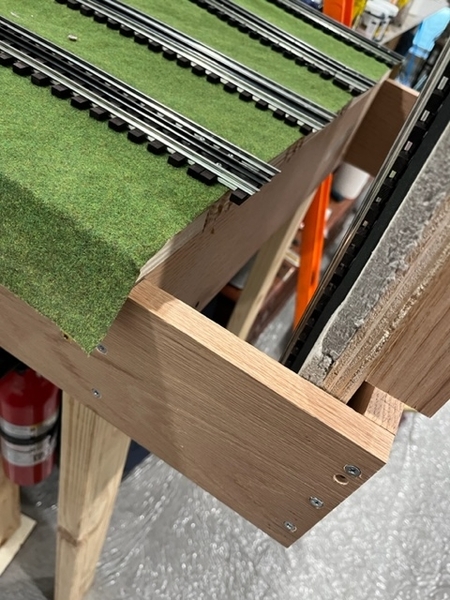
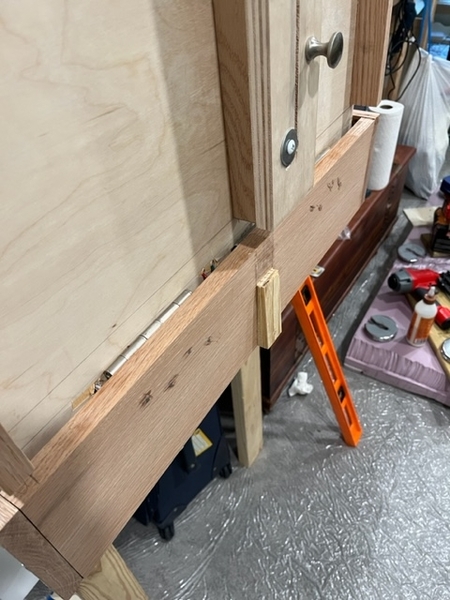
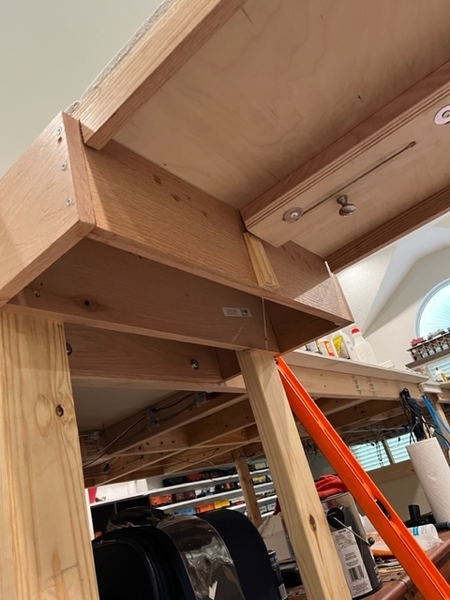
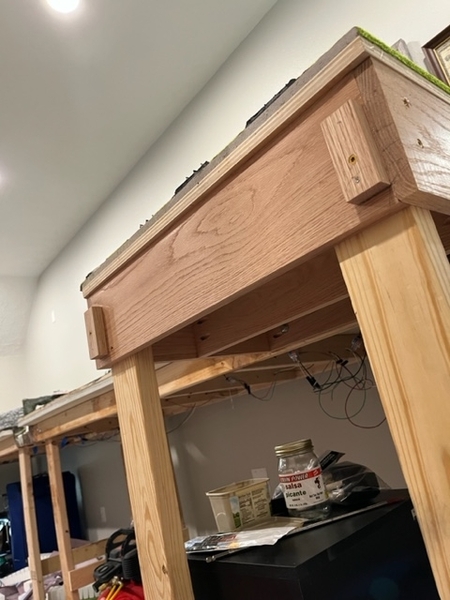
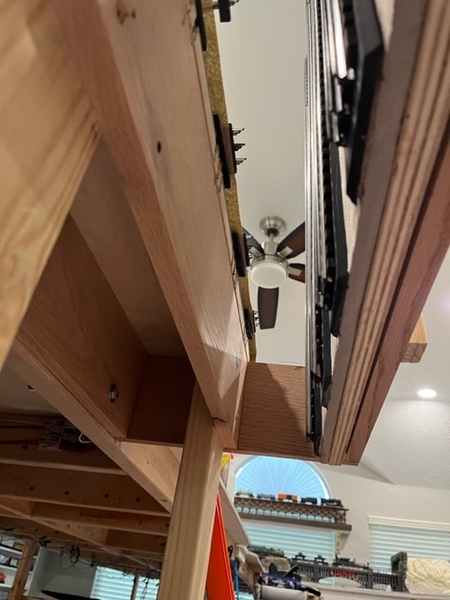
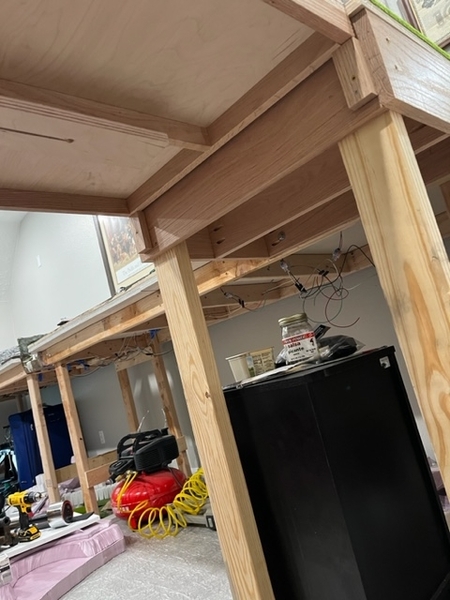
This is my second layout attempt on benchwork as the first one didn’t go as planned with operation, viewing, and scenery issues.


I’m currently working on learning to measure to do angle cuts for my benchwork that will not have shelving underneath it.

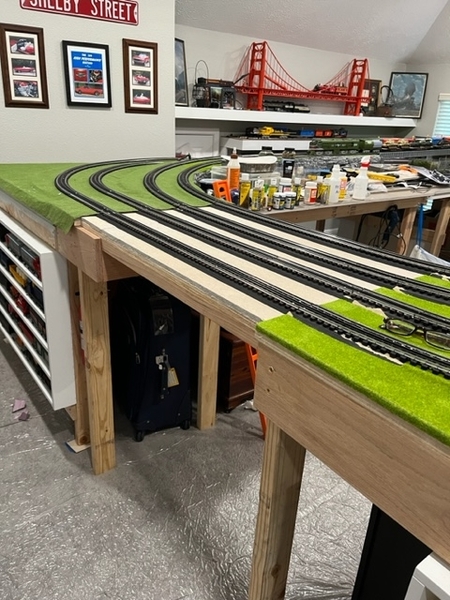
The room is 11x19. The layout will have either two complete lift outs or lift bridges for access to the closet and guest getting into the room. I had the realization that the sections may need to completely lift out as there will be a grade in that area. For this build, I have boxed up the fastrack and using ross, thanks to my supportive wife. The curves will be 080,096, and 072 with a committed twice around the room mainline with a large passing siding. Here is rough idea of what I drew up in railmoder pro. I have a section drawing that excludes the 072 inner loop in exchange for a small engine maintenance area and yard.

Attached are some of the previous layout photos.

Zach

Attachments

Images (5)
  • IMG_6855
  • IMG_6854
  • IMG_6819
  • IMG_6820
  • IMG_6824
Original Post

Replies sorted oldest to newest

Layout update and bench work question

Today, I made the braces for the legs. They turned out well but I wish I’d done that before I pushed the tables up against the wall and anchored them down.

For this build, it’s in a climate controlled room. I opted for 1/2 plywood as it would have been cheaper to by fresh decking than buy what I needed in 3/4 while salvaging the rest from my previous layout. For three of my tables, I used 24 inch bracing for the plywood to lay on. There are two areas that I do intend to run  a perpendicular brace for with a have to kneel on the four foot table.

Should I add them throughout the three tables? My thinking is, I have the materials on hand and rather do it know verses working around wiring later. On the other hand, I’m running model trains, not building a fortress.

Thanks,

Zach

Attachments

Images (1)
  • image

Thanks Mark!

For bench work construction, I went back and reworked cross member spacing for the three tables that had 24 inch spacing.

I was torn between foam or homasote  as a top barrier but after looking around, I decided for neither! I did use Mr. Muffins idea to use tender twig paint on the top surface, I think it’ll make scenery in between tracks much easier!

The next things are

1. finish my under the layout shelves

2. Determine how I’m going to complete my lift out sections. The lift out sections will feature tracks at different grades. Therefore, I’m starting to think to make separate girder bridges. I always like layouts with a gorge and after reading Jim Barrett’s building a layout book. I think I will like to build on casters in front of the closet doors that can be mobile.

Attachments

Images (2)
  • image
  • image
@PRRMP54 posted:

Mark, I think that this is the first time that I have seen an "over all" view of most of your layout. I like it. And now your photos of various sections are falling into place.

Dave, Thank you!!  As you can tell it is so hard to get an overall view of the layout since I am in the doorway and against the wall, and still it doesn’t give the whole layout.  This is about the only angle that will give that much.

We built two bridges today. They still require some painting. I did these from scratch looking at photos real girder bridges and from layouts I’ve seen here.

The front one is built on a single beam 1x3, t cross led with another 1x3, and 1/2 plywood. I’ll have to cut out some bracing for stability.

The aft one uses two 1x3 beams, stacked with a 1x3 and layered with the 1/2 plywood.

I used balsa wood for the detailing.

Attachments

Images (3)
  • IMG_6920
  • IMG_6922
  • IMG_6921

Got a plan for the entryway to the room and the layout lift section.

I can really use some opinions though.

I’ll be attempting to a vertical lift out. The Lowes in my area only had 24 inch sliders in stock. I much rather had 30 inch sliders because in this configuration, taller people will still have to hunch a little bit to enter, including my myself. In the up position, shed sliding locks will be used to lock it.

Am I building something overly complicated, when a lift out module will suffice? The walkway spans about 25 inches and the benchwork will be 34 inches deep.

Attached is a mock up for what I have so far and the 2 bridges after being paint.

For the front bridge, I used copper hammer finish spray paint. The back one is painted with a rubberized black and cleared with a green gold effect paint.

Attachments

Images (3)
  • IMG_6933
  • IMG_6934
  • IMG_6935

Zach, I don't think it is overly complicated.  If you built a lift out section, where would you put it when it is in the open position?  That is why I used the lift up approach for my bridges; they are always in place not blocking the aisle when the walk through is open.  I am going to build a couple of removable scenery sections to give access to track below.  Someone suggested I build them with a hinge, so I don't have to find a place to set them when I lift them out.

Zach, not to muddy the water, but I just saw your post.   My design has been up 2 years and has proved rock solid.  Take a look.  Sorry the pics loaded out of order, but if you study, you'll see it's more of a cantilever/pivot design and has proved to be very strong and open closes to the exact position every time for 2 years now.  No worries if it doesn't work for you, but I'll check in tonight anyway to see if it's helpful to you.   I have video but can't get it to post.  Outside of my expertise.  (age)

Attachments

Images (10)
  • mceclip0
  • mceclip1
  • mceclip2
  • mceclip3
  • mceclip4
  • mceclip5
  • mceclip6
  • mceclip7
  • mceclip8
  • mceclip9
Last edited by 42trainman

Feeders to the 4 tracks come from under the swing bridge, up through a small hole to the bottom side of the track itself.   Then, the wires come through to the small area on the inside of the hinges, then out the side and over to the table where they are tied in.  Here are a few pics to illustrate.   Good luck.

Attachments

Images (3)
  • mceclip0
  • mceclip1
  • mceclip2
@Mark Boyce posted:

Zach, I don't think it is overly complicated.  If you built a lift out section, where would you put it when it is in the open position?  That is why I used the lift up approach for my bridges; they are always in place not blocking the aisle when the walk through is open.  I am going to build a couple of removable scenery sections to give access to track below.  Someone suggested I build them with a hinge, so I don't have to find a place to set them when I lift them out.

Mark,

If I went with a completely removable section, it would been placed on the floor or on a shelf under the benchwork. I ended up ordering some heavier sliders , 34 inches tall. Those should be in today.

I figured since I’m going through this trouble installing it, I should get some height to alleviate any ducking. If needed, I’ll use screw heads or furniture pegs to ensure proper line up when it’s lowered.

Zach

@42trainman posted:

Zach, not to muddy the water, but I just saw your post.   My design has been up 2 years and has proved rock solid.  Take a look.  Sorry the pics loaded out of order, but if you study, you'll see it's more of a cantilever/pivot design and has proved to be very strong and open closes to the exact position every time for 2 years now.  No worries if it doesn't work for you, but I'll check in tonight anyway to see if it's helpful to you.   I have video but can't get it to post.  Outside of my expertise.  (age)

42Trainman,

Thanks for the post and good information. Your design looks solid and provide a reliable alignment when close.

I was originally thinking a hinged section ,but I’m unsure it would work for me since the tracks on my layout will be on curves and different grades for that section.

I was thinking I could line up two different sections but that may introduce scenery limitations or breakups in scenery latter in the construction process.

I ended up ordering some taller drawer sliders and hope to get that section completed today.

Zach

I was torn between foam or homasote  as a top barrier but after looking around, I decided for neither! I did use Mr. Muffins idea to use tender twig paint on the top surface, I think it’ll make scenery in between tracks much easier!

I don't know what tender twig paint is, but it looks like you’ve used grasscloth. Will that give you enough sound deadening of the track noise?

IMG_6951IMG_6952Thank y’all! Tonight, my wife and I worked on the up locks. I was designing/constructing this on the fly with the wood on hand made my cuts shorter for the lower 1x3s.

I could have ran them longer so the lift out would had its own legs but it seems plenty sturdy as is in the down position.

My initial supply of Ross track is clean. At least going into the weekend, there will be a train rolling out! 🍺

Attachments

Images (2)
  • IMG_6951
  • IMG_6952

Add Reply

Post
The Track Planning and Layout Design Forum is sponsored by

AN OGR FORUM CHARTER SPONSOR

OGR Publishing, Inc., 1310 Eastside Centre Ct, Ste 6, Mountain Home, AR 72653
800-980-OGRR (6477)
www.ogaugerr.com

×
×
×
×
Link copied to your clipboard.
×
×