1) Roadbed: What type/brand offers the most flexibility? I was considering Cork, Woodland Scenics Track-Bed, or Hobby Innovations Flex Bed. If you would recommend an entirely different product, please let me know. Which is the most flexible? Which has the best sound-deadening properties? What provides the most prototypical appearance once ballasted?
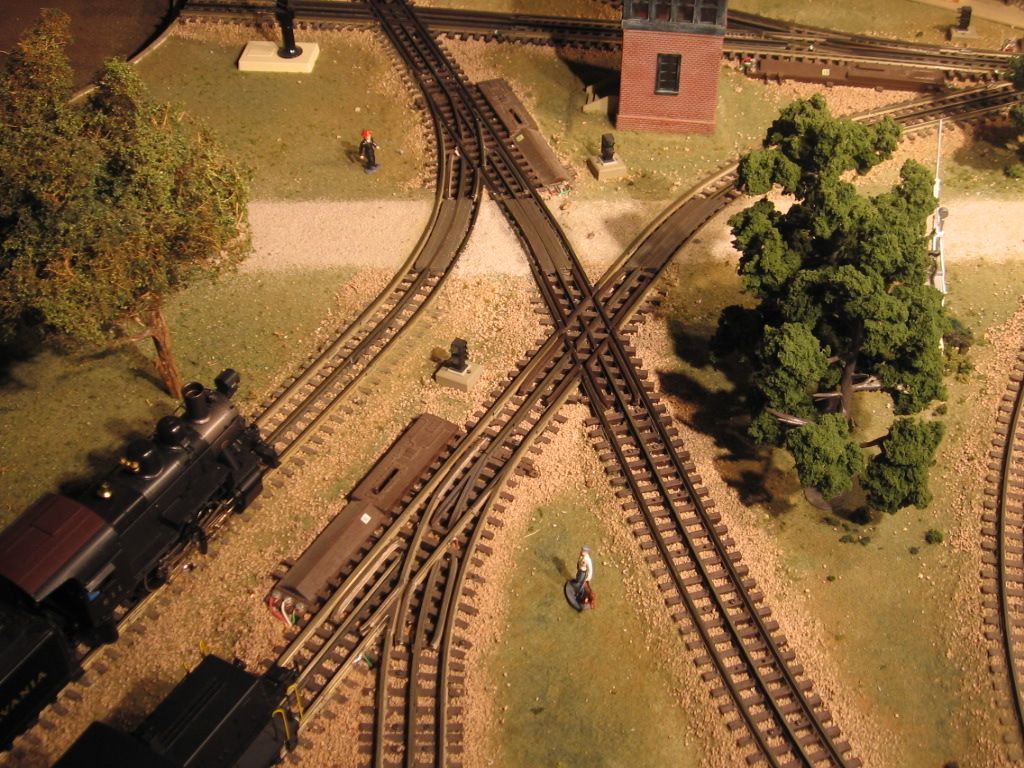
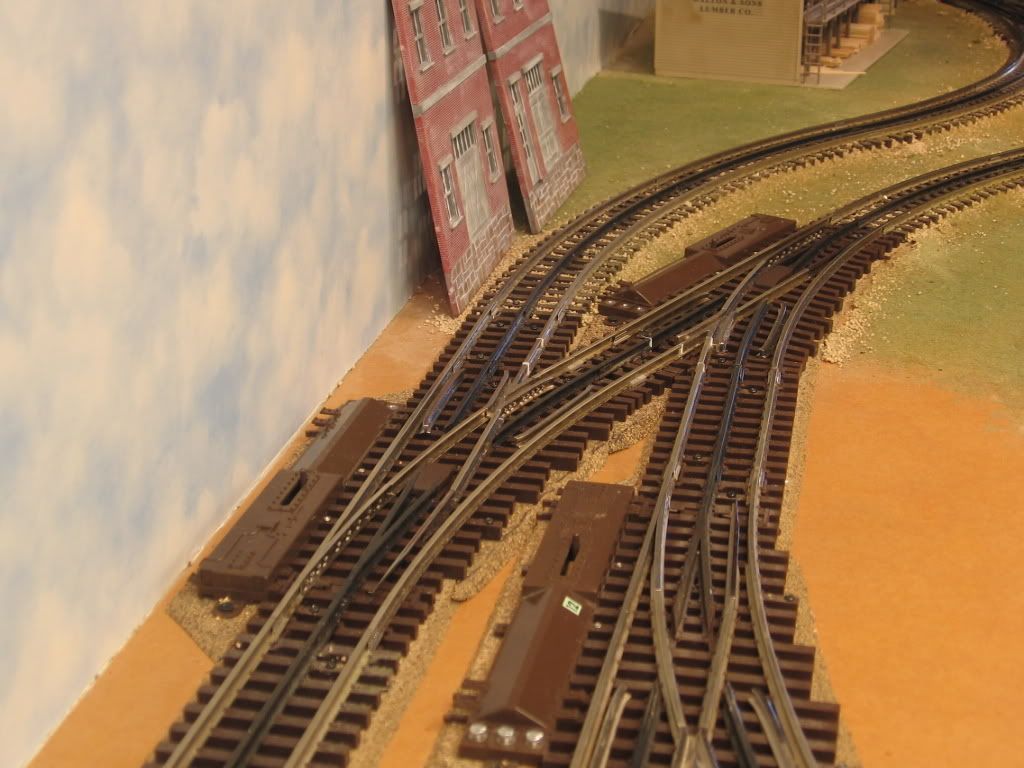
I use the Woodland Scenics Track-Bed. When laid on top of 1½" foam the trains run as quiet as a church mouse! The slope profile for ballast is very good. I buy the 24' roll and cut them into two foot strips to make it easier to handle.
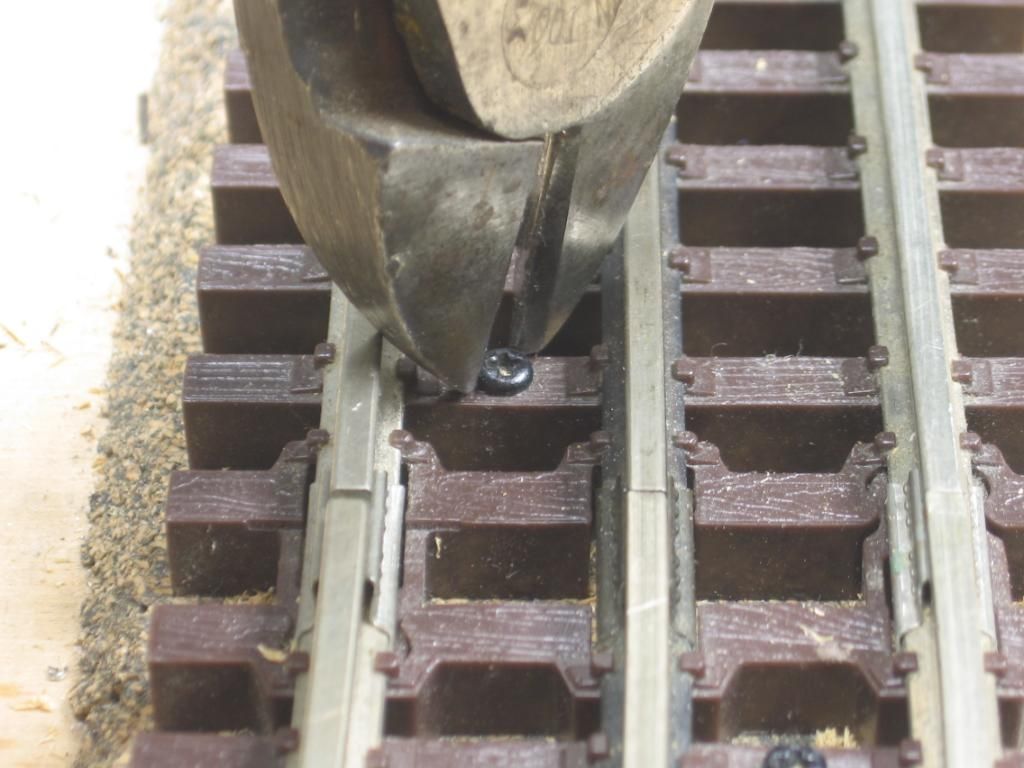
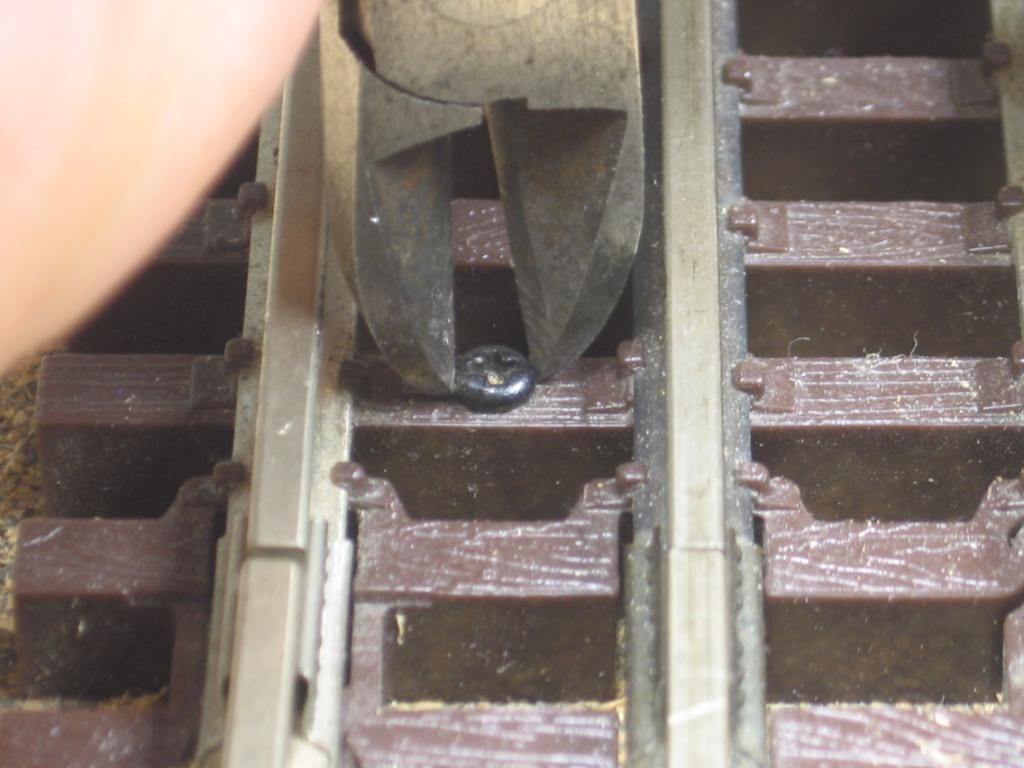
2) Track Screws/Nails: What are your experiences with Atlas O's track screws? Are they long enough to extend through the track, roadbed material, and provide a secure bond to plywood at the same time? If you would recommend another product, what is it?
Forget using screws. I use two-sided carpet tape to attach the roadbed to the foam and the track to the roadbed. It's strong enough to hold carpet it'll be strong enough to hold a piece of track! Also no worries about sound transfer between the screws and plywood. I first used it about 14 years ago and it still is holding solid. Plus, if you need to make changes you can pull it up. Several times I've pulled it up to make changes and reused the same piece. I just use about a 4" piece where the tracks join. On a 40" straight track I'll use 3 or 4 pieces.
3) Power: What type of power connection is best for use with DCS? (ex: rail joiner clips, saudering, or the 10" terminal track section?) I was personally leaning towards the clips at this point. It is a small DCS-only layout, powered by a Z-1000, sometimes using the wi-fi module.
For my DCS, Legacy and TMCC powered layout connections to the track, I'm using 16 GA. wire. (For DCS, remember to use the Atlas O plastic rail joiners about every 10th center rail track joint to isolate the DCS signal in the block) I secure it to the track by stripping about ¼" of insulation and twist it tightly. In the middle of the block (between the plastic joiners) I drill holes next to the rails for the wires to come through. Then I remove the rail joiners and slide the twisted wire into the joiner and slide it back onto the rail so that the wire is against the rail inside the joiner. Once the adjoining track it attached, it locks the wire tightly in place. It's a little tedious at first, but moves quickly once you do a few. Again, I've had this method in place for years with no DCS or Legacy/TMCC problems.
For connections to power, I have an around the walls layout and use the bus wiring method, where the power wires attached to the transformers circle the room under the layout near the front edge using 12 GA. wire. I connect the feeder wires from the track to the bus wiring with Posi-Tap connectors. You connect the Posi-Tap to the bus wire then you can insert up to four track feeder wires into it. With the bus wiring near the layout edge, I can just sit in a chair and connect the wires. And these connectors have worked great for all conventional or command control. I order the connectors directly from the website. They are available in some auto and big box stores but none had the variety or quantity you can get from the website.
And with both the feeder wires in the track joiners and the Posi-Tap connections, if you need to make any changes they are easy to remove and reuse!
There is not a drop of solder on my layout and the trains run great with these connections!
What ever method you choose, good luck and have fun with your railroad!
![]()


