Hey Ted....take a breath. You are making this more difficult than it really is.
First, get Dave Frary's book "How to build Realistic Model Railroad Scenery" and read it cover to cover....a few times.
Second, buy some 1/2" or 1" foam (pink or blue) and cut it in descending concentric shapes and glue them together in a shape of a mountain peak. Make it maybe 12" to 15" across at the base to keep things manageable.
Third, cut some cardboard into 3/4" to 1" wide strips. Buy some "plaster cloth".....and some "Sculptamold".
Items #2 and #3 are all I use to make pretty good looking terrain. I run TMCC exclusively and never had an issue with the signal. I admit I also use "Gunrunnerjohn" signal booster but then my new layout is fairly large and passes thru (3) rooms.
I would never use "metal" screen and paper towels / plaster anymore on a model railroad. The cardboard strips and plaster cloth are the way to go. Much, much easier, no cut fingers and a whole lot cleaner.
Yes, cutting foam with a hot wire will produce not so nice fumes to deal with. If you want to try the hot wire to shape the foam, do it outside or in front of a powerful fan. I just use an old serrated kitchen knife, a screwdriver, awl and sandpaper to shape mine. If you seal the foam with a "water based" paint, then you will never have issues with it melting. Solvents will do just that.
You are going to try these techniques to get used to the products, No need to incorporate into a layout at this point.
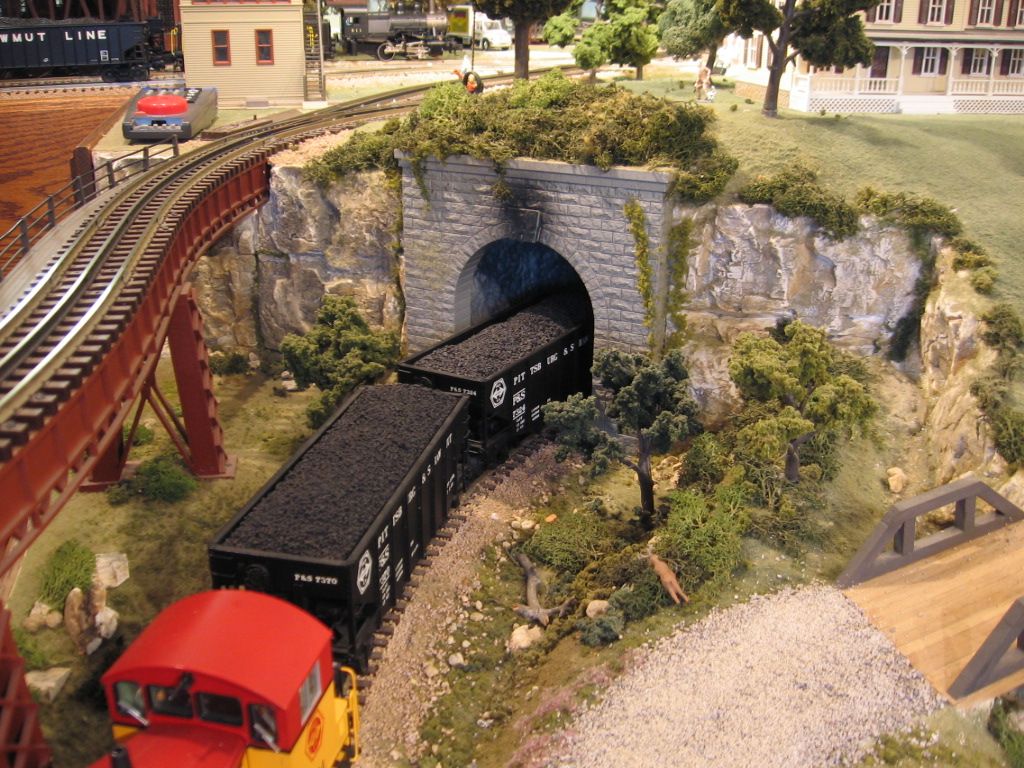
Using your weapon of choice, start to "carve" the foam shapes into something that resembles a slope. No need to be fancy at this point, anything irregular looking is fine. Play around with making some rock outcrops by sticking in either the screwdriver or awl and popping out a section of foam. Chances are, it will look like a jagged rock face or fissure. Keep some areas smooth and do this with the sandpaper. When satisfied, using Dave's techniques, paint it all a scenery black paint color and let it dry. Finish with "rock tones" like a sienna or gray and highlight with a cream. I use all cheap tube acrylics for this. For the smooth areas, cover with a layer of thinned down Elmers and apply some ground up foam for ground cover. All of these techniques are described in detail in Dave's book.
Make yourself a little diorama using two levels of plywood. All that is important is some vertical distance between the two levels. Again, keep it small. Take the cardboard strips and hot glue them together in a mesh pattern, weaving them together. This is your basic land form. Get your plaster cloth and drape the wet sheets over the cardboard strips. Use at least two layers. Fill in any gaps or make some rock outcroppings with Sculptamold. Let dry and paint and detail as above.
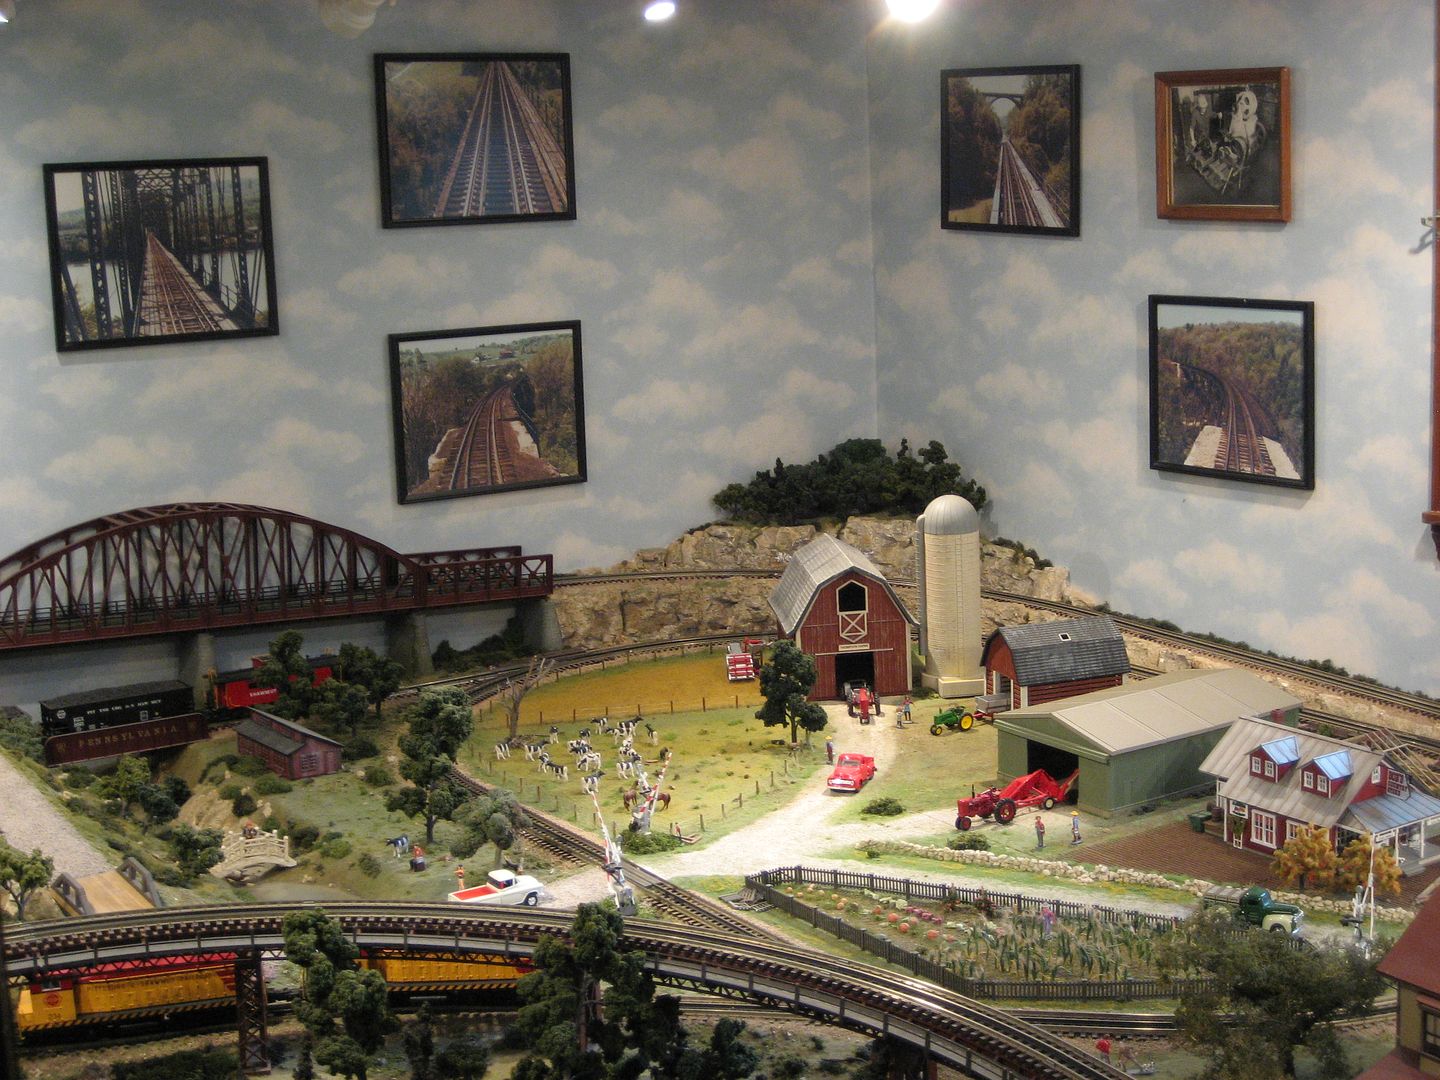
Again, this is just for practice to get used to working with the scenery products. There are a ton of preformed mountains, rock castings, walls, etc available that can be used in conjunction with the above simple techniques. The key is to gain confidence in your ability to build believable looking scenery over your cookie cutter layout.
To close, I have been in the hobby for over 50 years and have built a number of layouts. My old layout was featured in RUN 255 a few years ago. My new layout under construction will be featured hopefully in OGR starting next year. Allan and I are working towards that goal.
And I cannot cook either!
Have fun and just get started. That is the only way to learn and gain confidence.
Donald