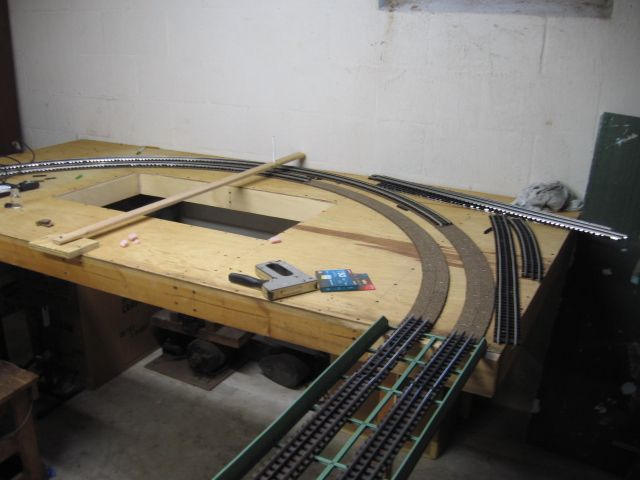
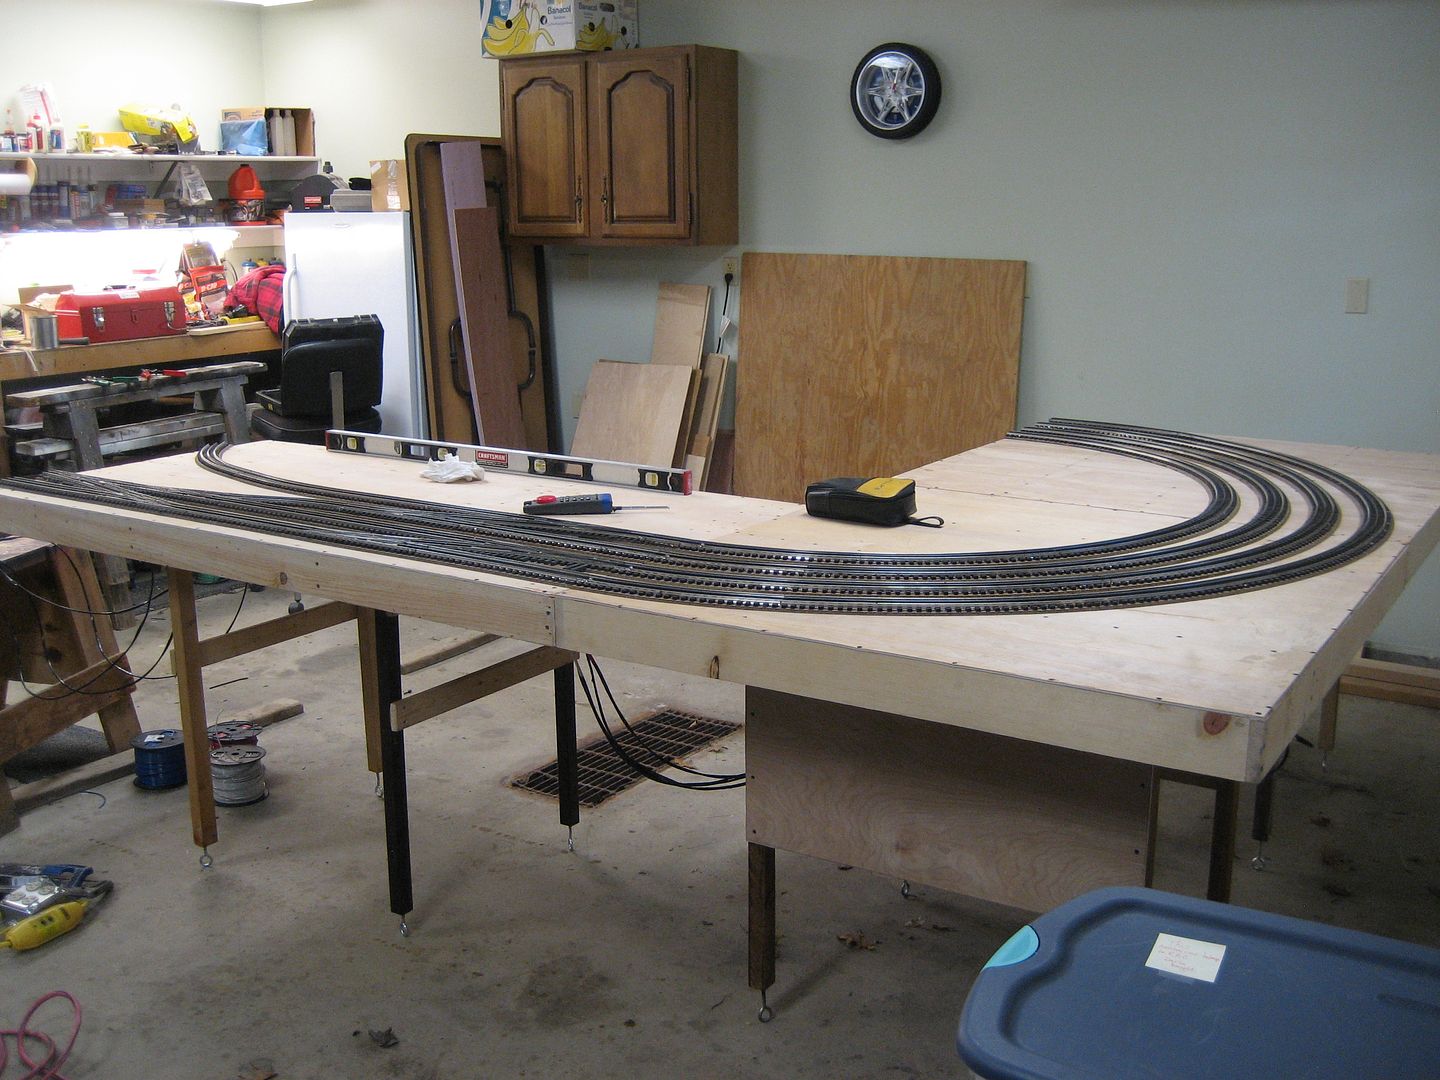
I just finished this latest project in preparation to hand lay track on my O-Scale 2-Rail Layout.

This is made from Walnut.

I used 1/4-20 allen head bolts that were turned down to 6mm for the bearings I purchased on e-bay for $6.60 including shipping.

The knob is a spare radio nob.

A plastic overlay was to keep the rail from sliding and scratching the Walnut.

It works great and is easier to use than I had imagined.

The plans were configured on Solidworks.

Thanks...   Tom

Attachments

Images (3)
  • P1070280
  • P1070281
  • P1070282
Original Post

Replies sorted oldest to newest

Very nice Tom. And in walnut no less.

Since you had the ability to turn down the stock bolts, perhaps you could have replaced one of the bearings with a disc, with an attached crank-arm. This would make it easier to feed the rail through. How are you doing it now, push and pull?

Allegheny, the farther apart the rollers are, the longer the un-bent portion is at the beginning and end of each section of rail. Also, the center roller could be adjusted to just touch the rail and not bend it at all.

Dave

Last edited by Dtrainmaster

Very interesting. Some day I want to try making something like this myself for 3-rail track.

One of the tricks with bending rail is maintaining the curve smoothly all the way to the end of the rail. For sharper curves where I can't avoid a rail joint in a curve, I might cut the rail end back after pre-curving the rail. Or solder the rail joint and then bend the curve. And use a bunch of spikes to help align the rail ends.

Last edited by Ace

Kazar - Dave has it right on the narrow part.  If you want a 30 foot radius curve, this will do it.

Dave - I only have $6.60 into it, so the bearings appeared to be the way to go.  Yes, I could have turned out a disc on my Unimat, but what material would I use that would hold up as well as a hardened steel bearing?  Also, there is no friction by using the bearings.

A crank arm is not needed at all.  You push the rail through.  It also takes zero effort (maybe because of the bearings).

If you don't have a lathe, you can easily chuck up a 1/4-20 bolt in a hand drill and file.  There is not a whole lot of difference between the OD of the bolt and 6mm bearing.  The remainder of the pieces were cut up on a table saw.  The walnut cuts well  and nice and clean as opposed to pine or oak.  I also added a return spring at the top which works well.  I hand chiseled out relief in the back sides for the 3 bolts.  I used square as opposed to hex nuts.


I'm tickled with the outcome and was very surprised as to how easily and well this arrangement works.

Thanks...

If all you want to do is bend rail by it's self then check with Fast track in Canada.  I got one of their benders which is intended to be used to prebend rail for hand made switches.  About $90.

I got rid of it because my need is for flex track.  Shoving entire  rail lengths back into tie strip can get real old real fast..

Last edited by Tom Tee

Add Reply

Post
The Track Planning and Layout Design Forum is sponsored by

AN OGR FORUM CHARTER SPONSOR

OGR Publishing, Inc., 1310 Eastside Centre Ct, Ste 6, Mountain Home, AR 72653
800-980-OGRR (6477)
www.ogaugerr.com

×
×
×
×
Link copied to your clipboard.
×
×