Hello all.
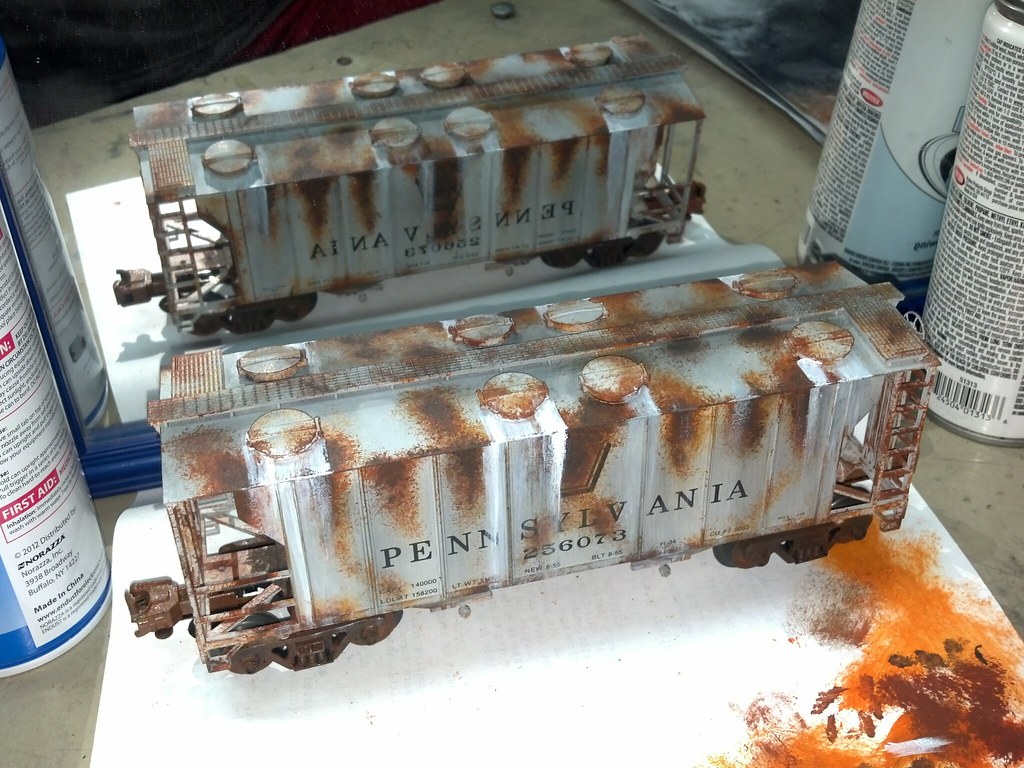
After talk, I decided to do a step-by-step how to of how I weather my rolling stock and motive power.
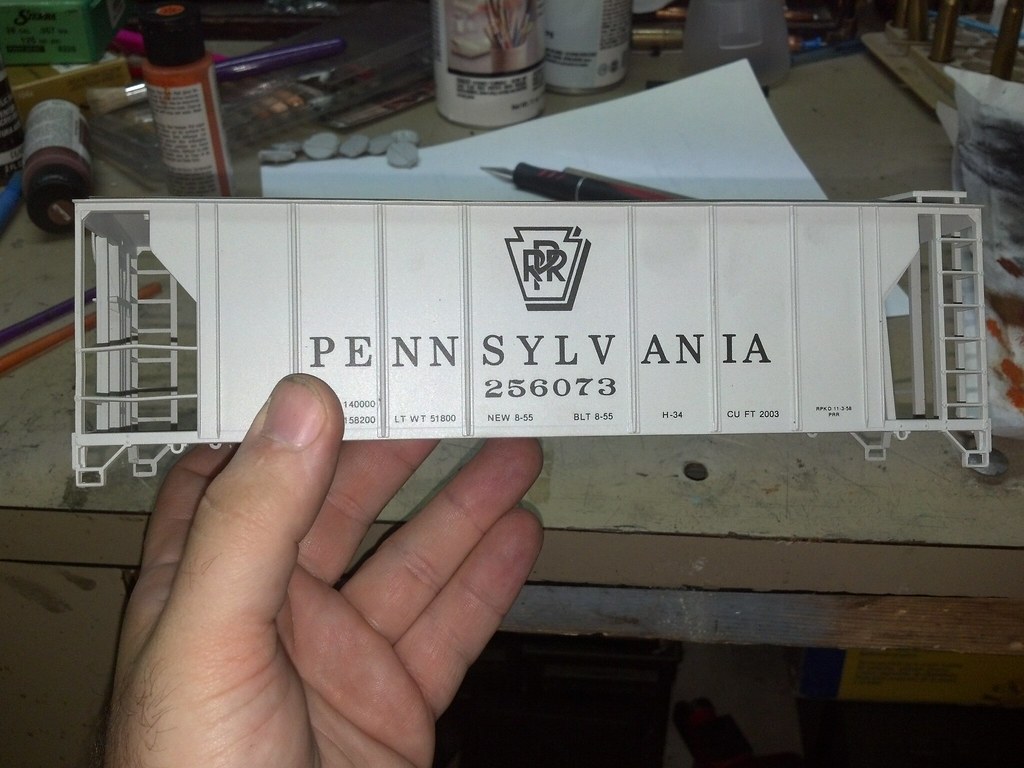
BEFORE: Stock Lionel MDT Michigan Central Reefer.
STEP 1: Krylon Camouflage Ultra-Flat Brown: Trucks, roof and under frame.
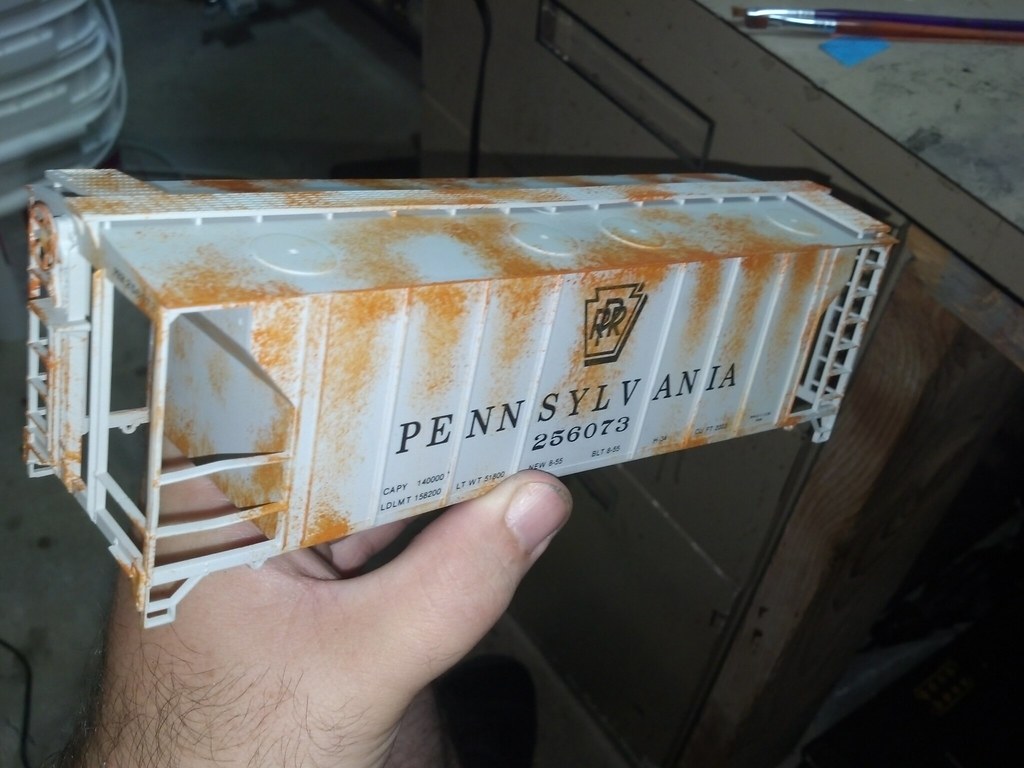
I use this paint to dirty the under frame and centerline of the roof, and it's "ultra flat", so there is no sheen whatsoever. I loosely mask off the car sides; I say "loosely" because overspray isn't necessarily a bad thing.
STEP 2: Testor's Dullcote: Entire car.
This is a critical step, as its the dull coat that provides the "tooth" for the pastels to stick. I've tried others, including acrylics, but they provide a too smooth a surface.
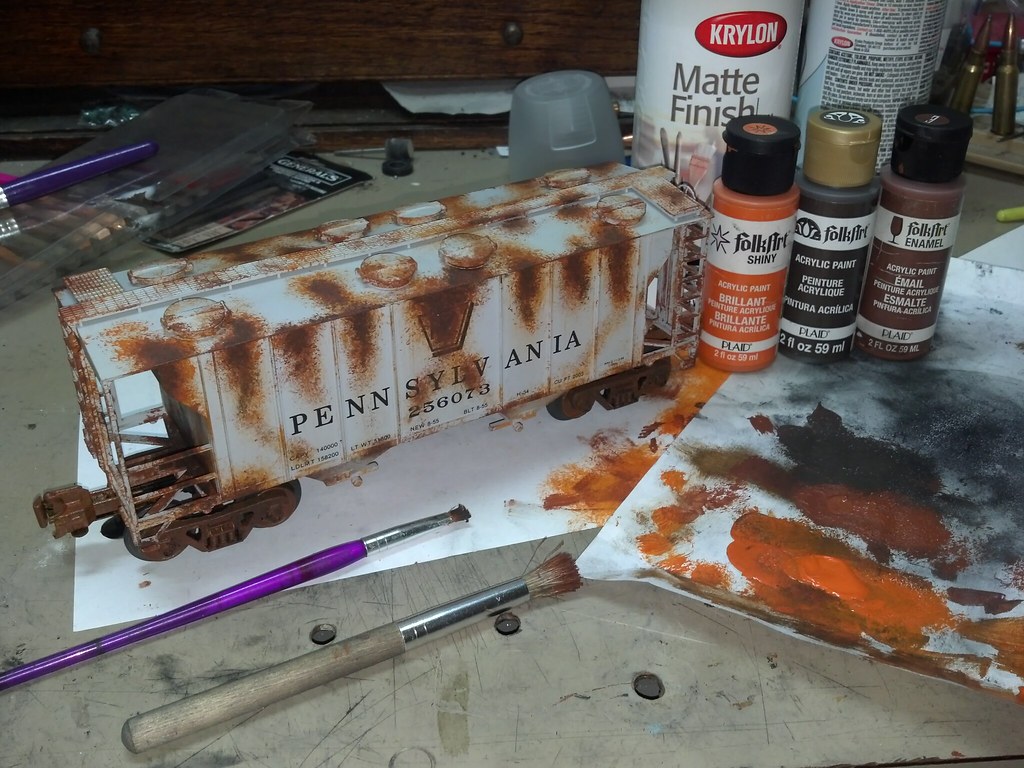
STEP 3: Layout your tools: Brushes, makeup sponges, paints, pastels and small dish of water.
Here we have multiple size brushes for getting the pastels in the tight corners and details, the bottles of paints for dry brushing: PRR Tuscan Red (old rust), Oily Black and Chevy Engine Red (fresh rust), the PanPastels and the most importantly, makeup sponge for covering large areas.
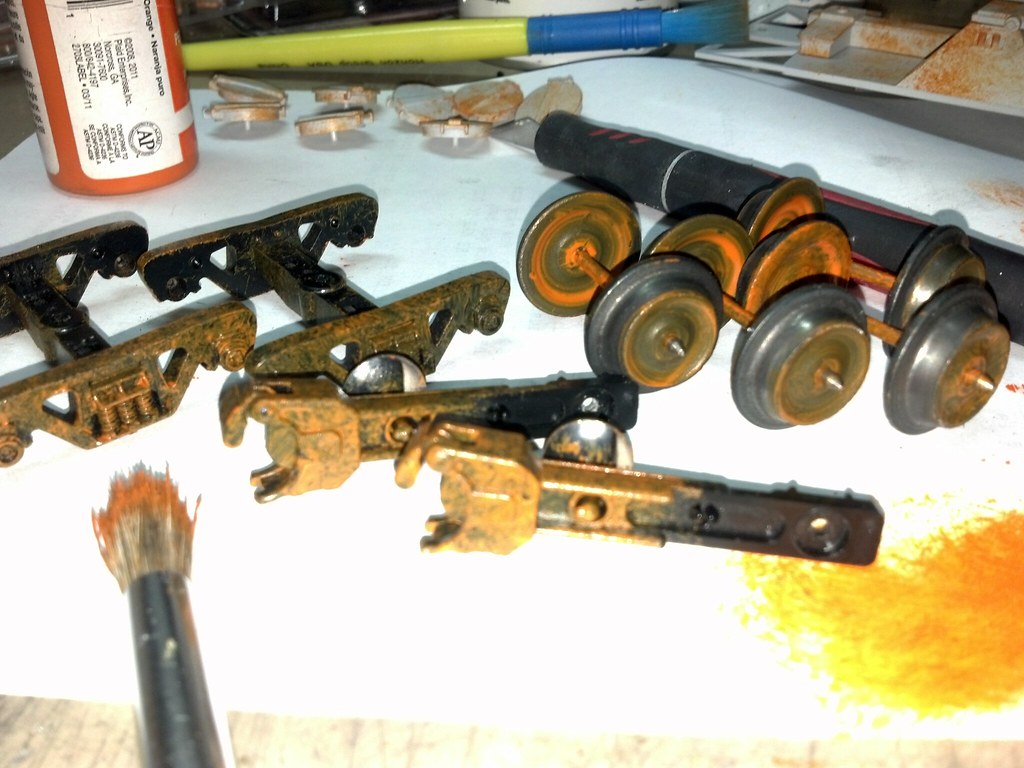
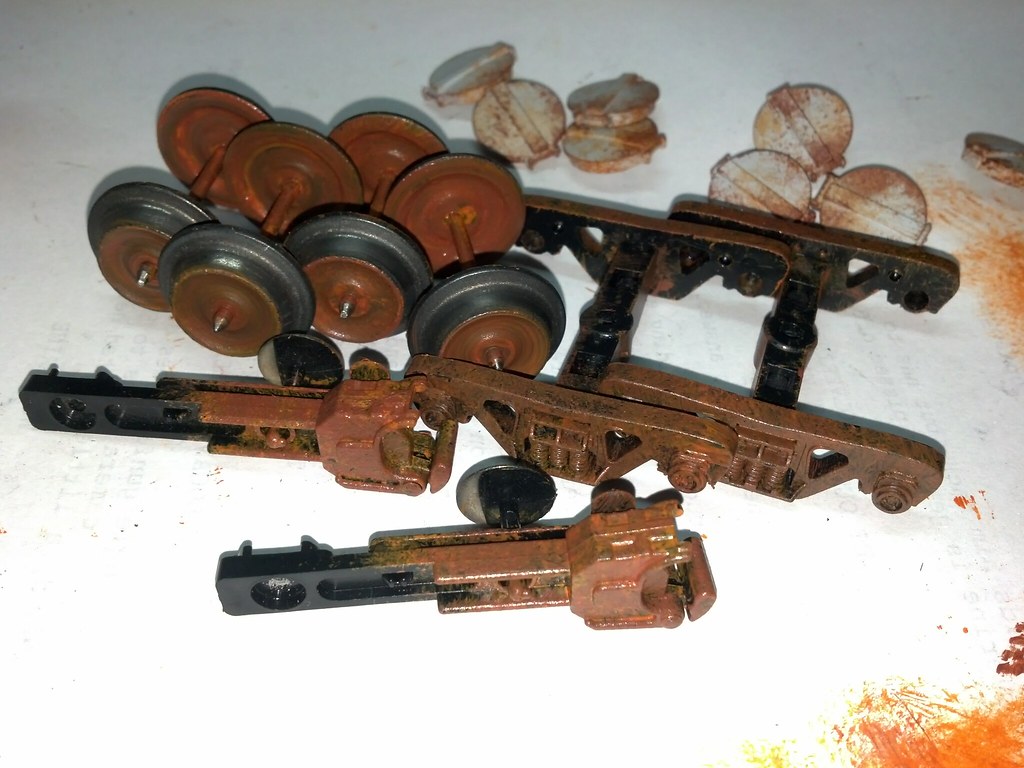
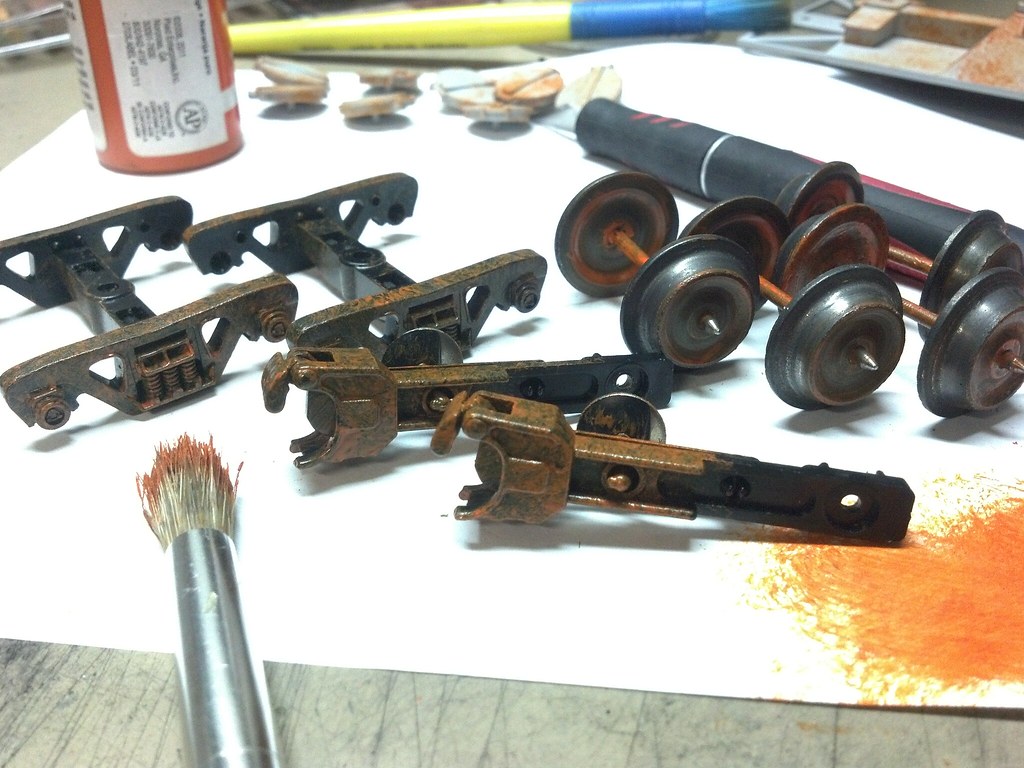
STEP 4: Tuscan Red & Oily Black: Brush paint the wheel, dry brushing and in multiple layers.
Don't forget the couplers...
STEP 5: Body-color pastel: Off white to tone down the lettering.
The first part of putting actual color on the car is easy, and one of my favorite step... using the pastel closest to the body color and cover the sides to fade the lettering.
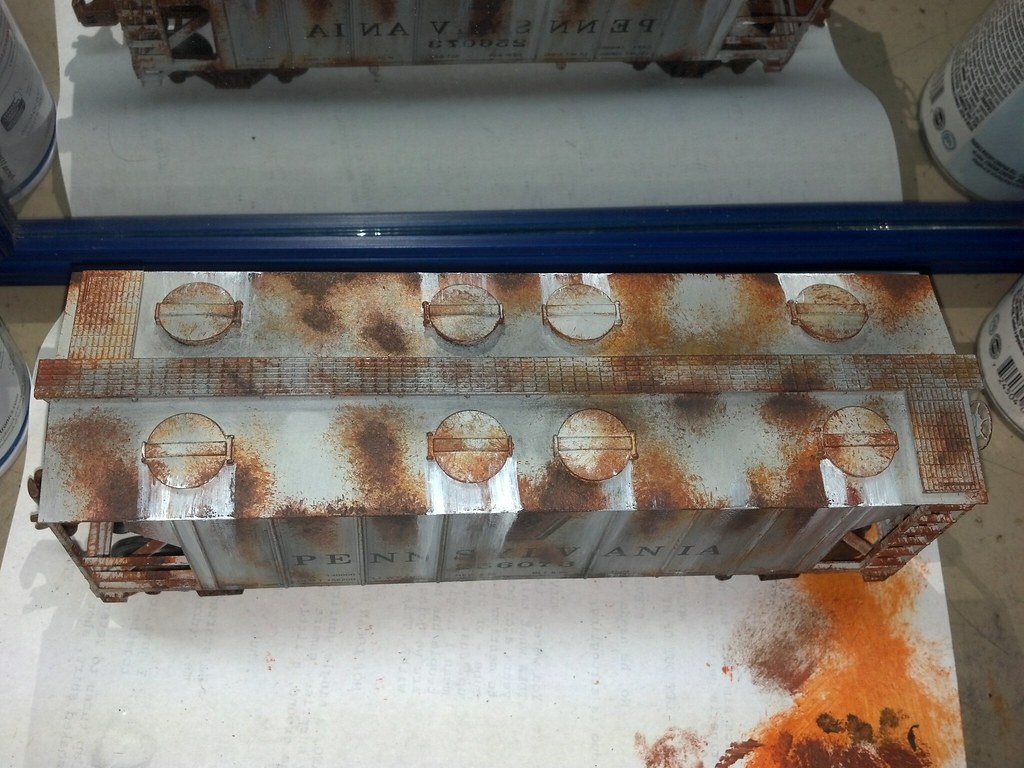
STEP 6: Soot the rook: dark colors on the roof and top of the sides on down.
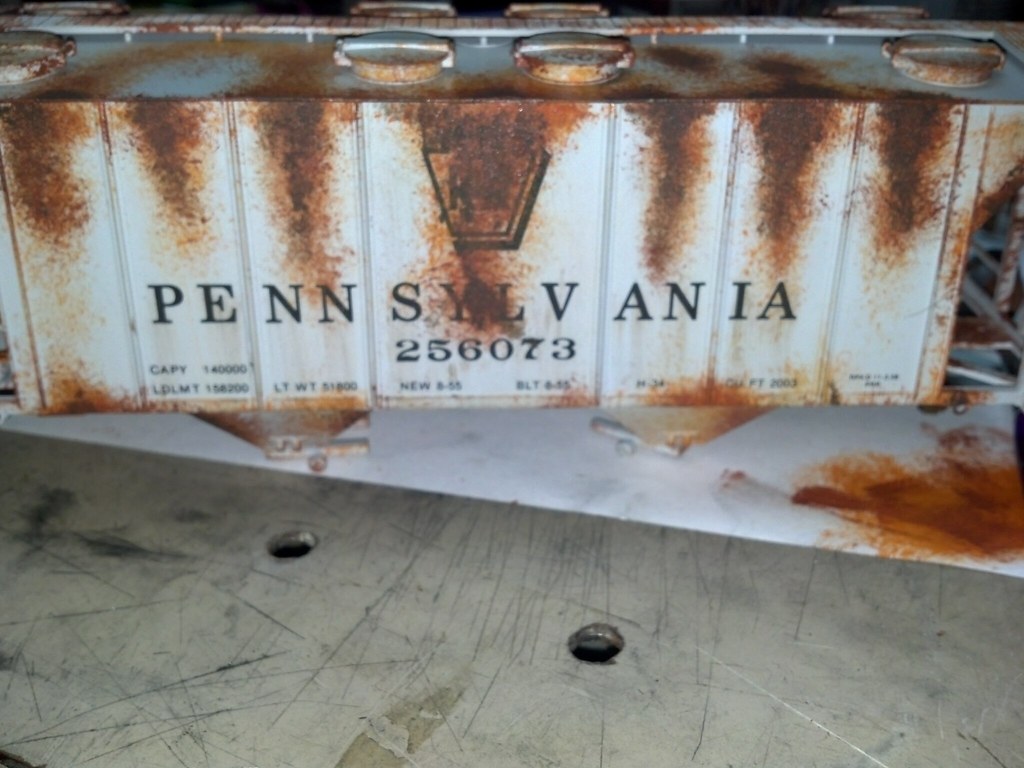
In the era I model (1947-1957), there was plenty of Mikes, Mohawks and Niagara-class power roaming the Water Level Route, so soot on the roof is a must! And, with rain, it washes down the sides. Use a pencil to highlight each individual board (Left side with pencil, right without)
STEP 7: Dust, dirt, mug & grime: grays and browns from the bottom up.
I use lots of layers of lighter colored grays, off-whites, and light browns to add dust and mud that kicks up from the wheels, and the sand dust from the engine. Pencil marks up close... Brush off excess with makeup sponge.
STEP 8: Car ends: Soot down from the top and mud up from the bottom.
One of my favorite weathering details is the mud and dirt spray up from the wheels, adding vertical streaks of light-colored grime the same width as the wheels. Pencil the vertical boards, as well.
STEP 9: Trucks! Layers of grease, grime, dust, mud, dirt, grease, mud, dirt and yuck!
Trucks are my forte! just pile on layers of grease and grime, I love the green and brown and black pastels for this... then use the khaki to add dust along the bottom. Really get in there, inside the arches, with some rusty browns and then dry brush the springs with the Chevy Engine Red, and while wet, brush in some dry rust pastel.
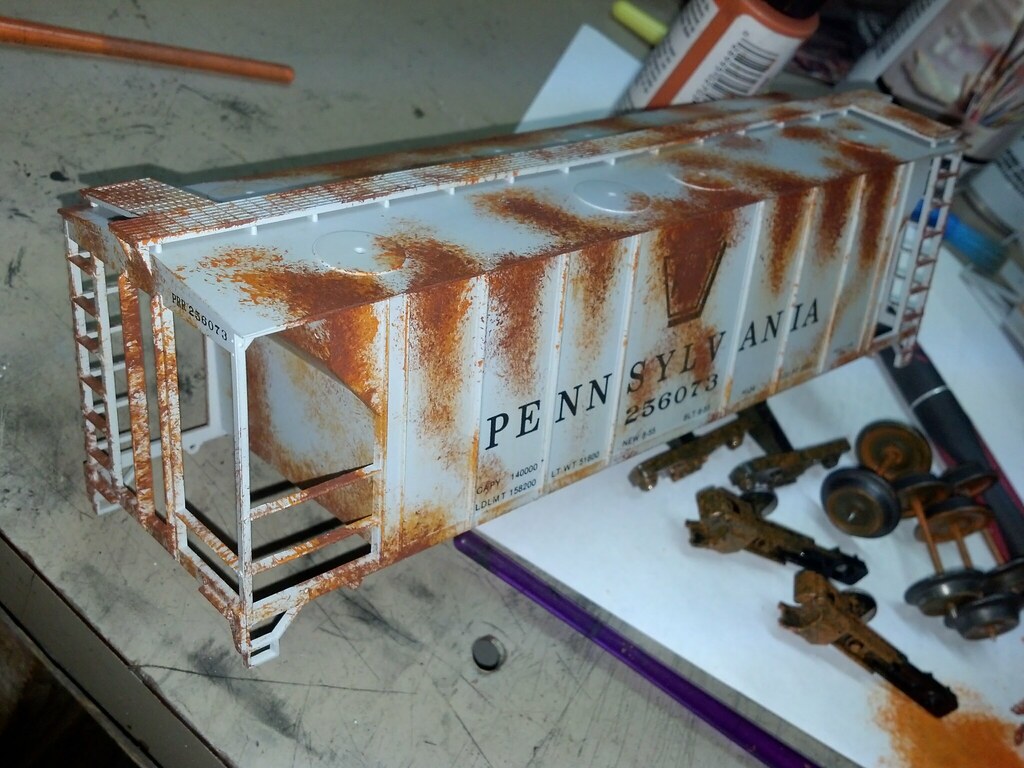
STEP 10: Rust! Do the same on the couplers!
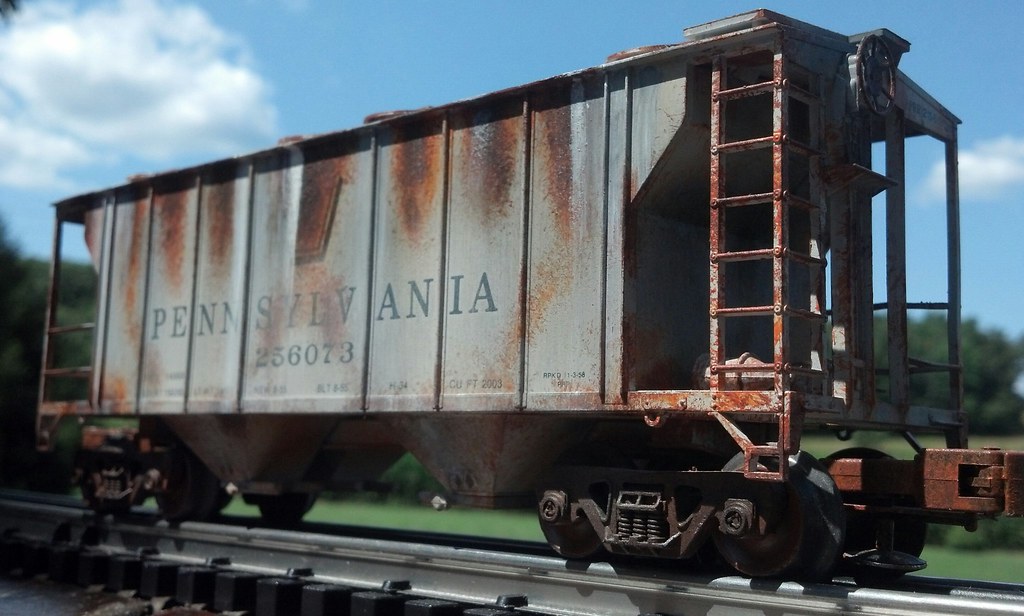
Adding layers of dry brushed paint / wet pastel / dry pastels really builds up the layers of rust, especially on the couplers. It look almost three-dimensional. So cool.
STEP 11: Enjoy!
Put it on the layout, take it outside, get up close with "macro" or "super macro" on the camera and get up into that dirt and grime!
I hope you enjoyed this! I'm going to try and get some outside pictures a little later on.
Thanks!
- Mario


