This is how I do it, and I hope this gives another perspective to Lionel's great FasTrack system, especially to those who may be considering going with Fastrack.
A custom length fitter section can be made when needed, using any standard full length section, straight or curved. This is done by making two cuts in the section, discarding the center piece, and re-connecting the ends. This avoids disturbing the FasTrack end pins and connector tabs.
Say you need a fitter 8.75 inches long. You would take a 10” long piece and cut out 1.25”.
The standard FasTrack fitters sometimes will not allow a loop closing gap of much less than one inch. I usually consider a custom fitter anytime I need two or more standard fitters in a section, or whenever standard fitters just won’t do it, or when a special trip to the LHS is just not timely.
First examine the underside and mark the cut locations carefully so as to miss rail jumpers, tabs, braces, and the ties on top.

I start cutting by placing the piece upside down in a miter box and cutting the roadbed through with a hacksaw. This keeps the cuts square.

I then finish the cuts through the rails from the top side with a Dremel wheel fitted on a flex shaft. This is best done in short spurts on each rail alternately, so as to avoid overheating and melting the plastic roadbed.

After cutting, use a file and dress the two cut ends to square them off and remove all burrs etc.

Complete the re-assembly using O gauge tubular track pins in the mating rail ends to align the rails and provide electrical continuity, just as with tubular track. You will first need to drill out the plastic filler nubs in the tops of the rail ends using a 7/64” bit in your Dremel. (The nubs are located directly above each tie.)

Then insert the pins into one section until they butt up to the next plastic filler nub. This should leave about half the pin length protruding. You should find that the pins are a nice tight fit and no further crimping is required.

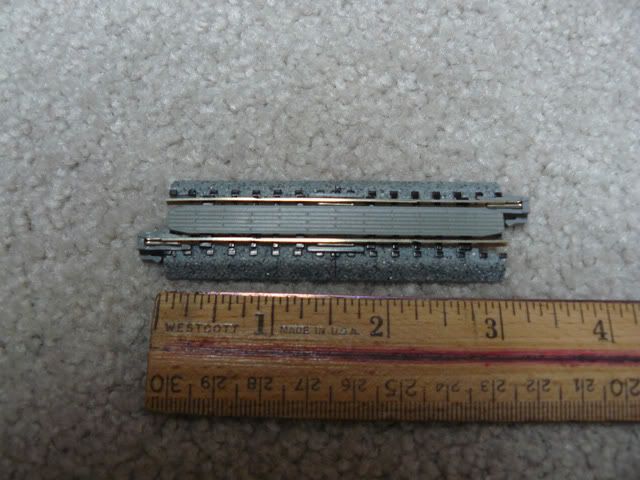
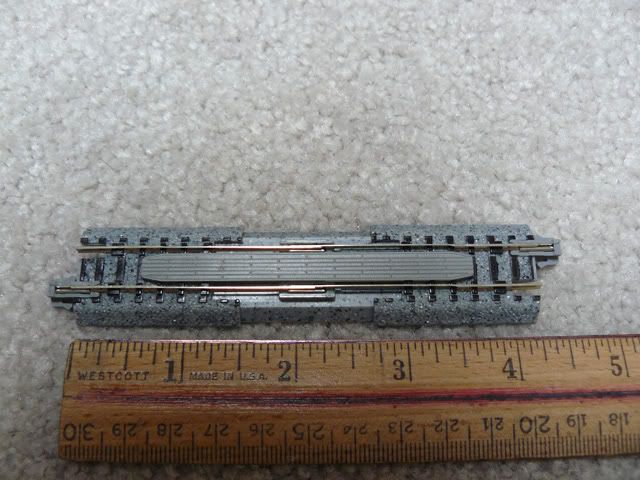
Does this look familiar???
Then firmly push the other track end onto the pins and snug up the roadbed sections. Though not necessary, plastic cement can be used optionally to glue the two roadbed pieces together, thus making the custom fitter a permanent piece.

Other considerations for custom fitters:
It is best to make no cuts closer than about 1-1/4” to either section end, so as not to disturb the end connectors or the screw holes used for fastening the track down. This means that the minimum practical custom fitter length is about 2.5”, though with a little finagling it could be made shorter.
Say you needed a fitter ¾” long to fit between two standard length sections. Since this is too short to make out of a full length section, you would be better off to replace one adjacent 10” section with a half section, and make a custom fitter 5.75” long.
A custom fitter can of course consist of a straight section mated to a curved piece if required. If you need an odd portion of a curve (something other than a half or a quarter curve) then a custom cut curve will fill the bill.
If you want to exactly match the FasTrack tie spacing, the removed section needs to be multiples of .4167”; or 3 ties every 1-1/4”. This corresponds to a scale tie spacing of 20”. If this can’t be met, then there will be a slight but virtually unnoticeable hiccup in the tie spacing. Try to make the section cuts so as to miss the ties in any case.
Finally, if the fitter can be positioned where you need a block break or an insulated outside rail break, simply leave out the appropriate pin when re-assembling the two cut sections. Remove the outside rail jumper underneath if appropriate. How handy is that!
Rod


