A while back I wrote a tutorial on assembling hydrocal kits and while it got good response I still feel that there is a sense of trepidation or hesitation from some modelers who may still be intimidated by a plaster kit. Stop it already! : ) It's a couple of pieces of plaster and some plastic doors and windows, they won't bite you. And as I mentioned before, most manufacturers who offer hydrocal kits are more than glad to replace any pieces that might get broken, no matter what the reason. Try one, you'll like it! : )
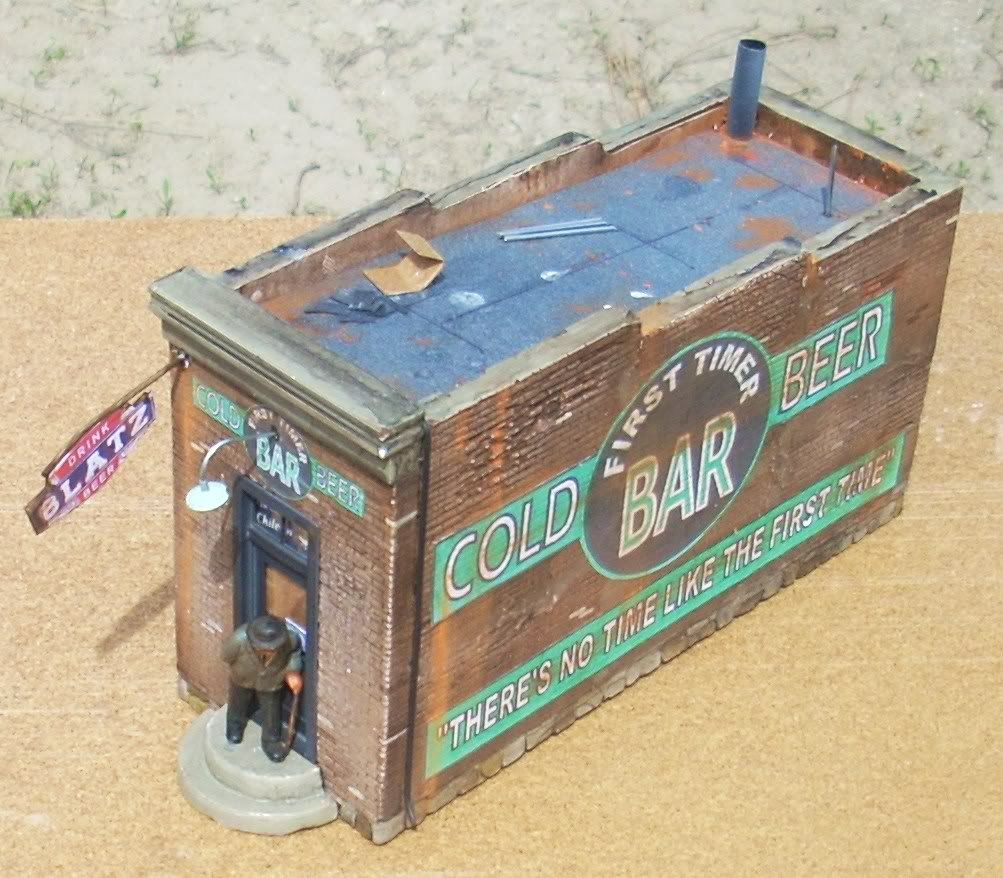
For this build I'm going to use the simplist kit we offer. The First Timer Bar. This kit is available in N, HO & O Scales and if you'd like to build along we me I'm offering a special deal on this kit, see details at the bottom of this post.

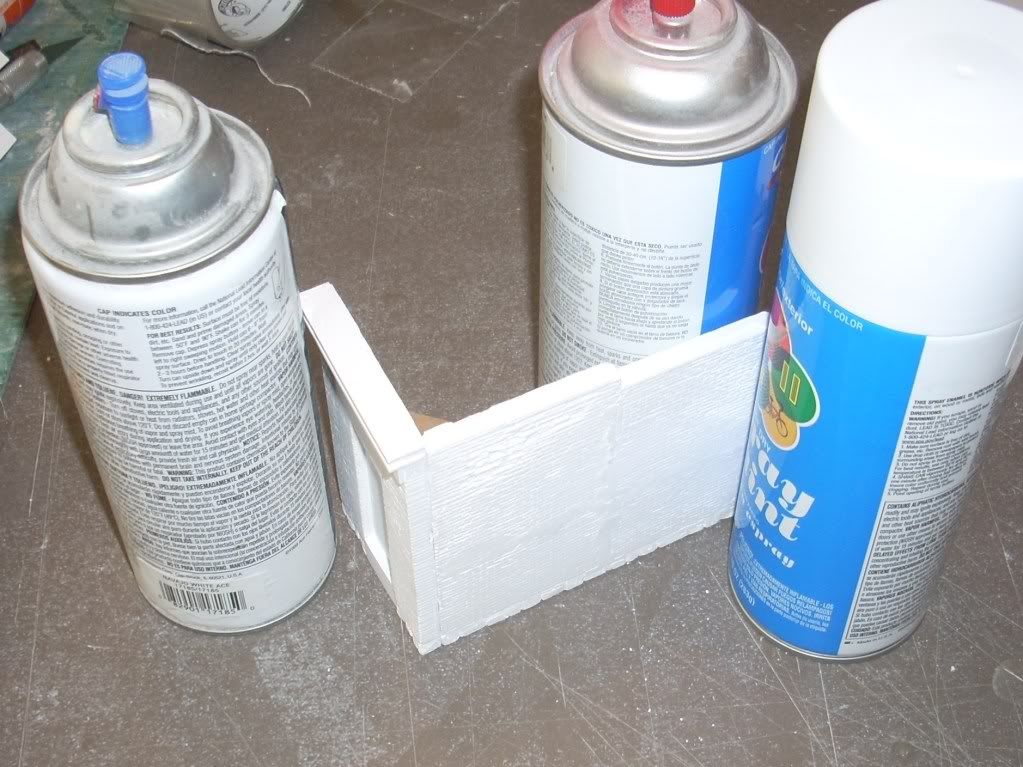
Start by cleaning up the edges of the castings with a sanding block. Pay special attention to the bottoms of the walls and places where the castings will join.
I use 5 minute epoxy to glue the hydrocal castings together. Yes, you could use either Elmer's White or Yellow glue. But then you have to wait over night for the glue to dry + joints could become weak if you use a lot of water when you paint and age it. And yes, you could use ACC (super glue), but since hydrocal is so porous you'll need to keep soaking the parts and what happens to me is I always seem to "wiggle" the wall just as the ACC "goes off" & then I've got a crooked joint. With the 5 minute epoxy, it gives you a couple minutes to make sure the part is where you want it but you don't have to wait all night for the glue to set. Wham bam, move on to the next step. 5 minute epoxy is available in all hardware stores and even box stores like WalMart. Make sure that you mix the epoxy well!
It is important that you assemble the castings in the order specified in the instructions. This is because since the hydrocal is so hard, you will not be able to "tweak" the last wall in place like you can with wood or plastic. The plaster will not bend. : ) So I have you assemble the walls in a certain order, with the wall least likely to be seen (usually the back) glued in place last, just in case you need to sand or fill it a bit to fit.
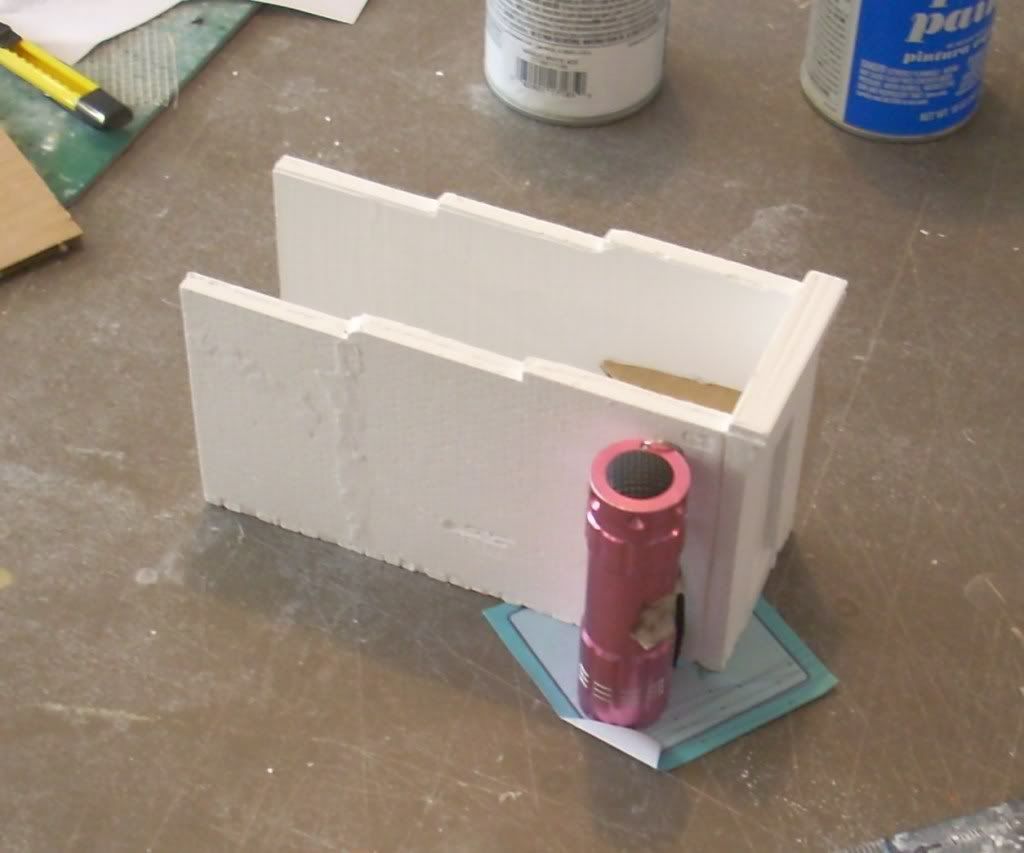
Start by gluing the right wall to the back of the front wall. Make sure the wall is straight & true. I usually use a scrap styrene that has a perfect corner to make sure the wall joint is square. Make slight adjustments as needed until the epoxy sets.

After the epoxy has set, glue the left wall in place. I sort of prop the castings up as the glue sets.

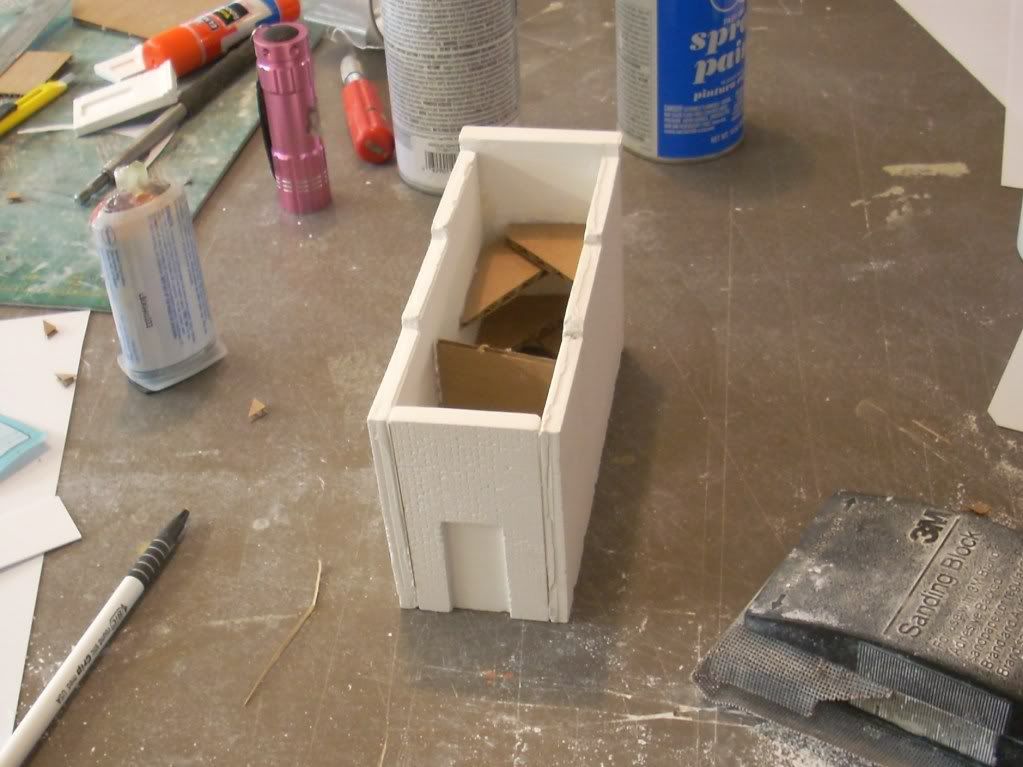
After the glue set I cut little cardboard "triangle" & cross braces and hot glued them in place to beef the structure up a bit.
Test fit the rear wall. You may find that you need to sand a little bit off of one or both of the sides of this last part to get it to fit into place. Use a sanding block, work slowly & check your progress often. Don't be tempted to try & force it into place, you will regret it. : ) If you find out that somehow you ended up with a bit of a gap it can be easily filled with standard lightweight household spackle.

OK, that's it for today, we've got the 4 walls glued together. All in all I spent about half an hour on this step. That's the great part about the epoxy, you can work fast!
If youo want to order one of these so you can build along we're running a special on them. O Scale $39.95.00. HO $29.95. N Scale $24.95. Free shipping while I'm doing this build + I'll throw in a few "practice " castings so you can practice your painting. If you want one either give me a call (406-821-0181) or email me (downtowndeco@montana.com). We take CC or Paypal, heck, if you want you could send a check or MO (Downtown Deco PO BX 335 Conner MT 59827)
Questions? That's what I'm here for, so just let me know.
Cheers!
Randy Pepprock
Downtown Deco
http://www.downtowndeco.com


