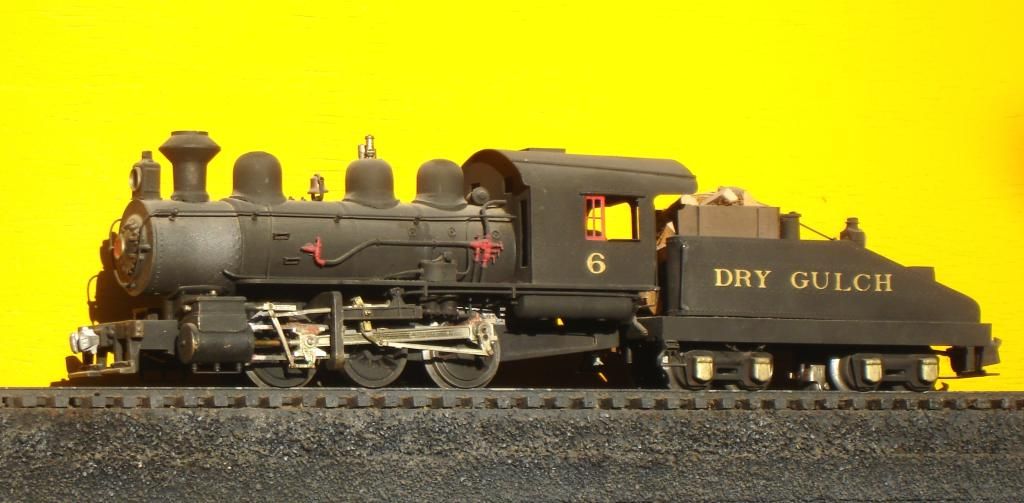
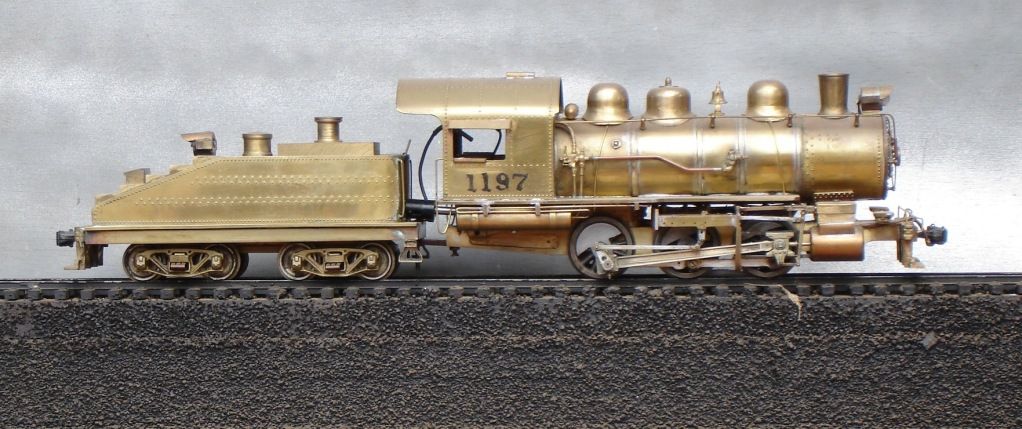
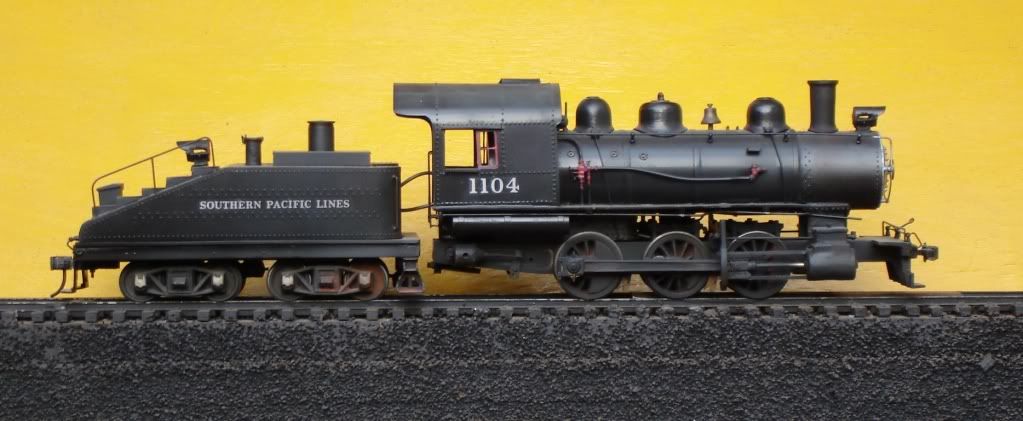
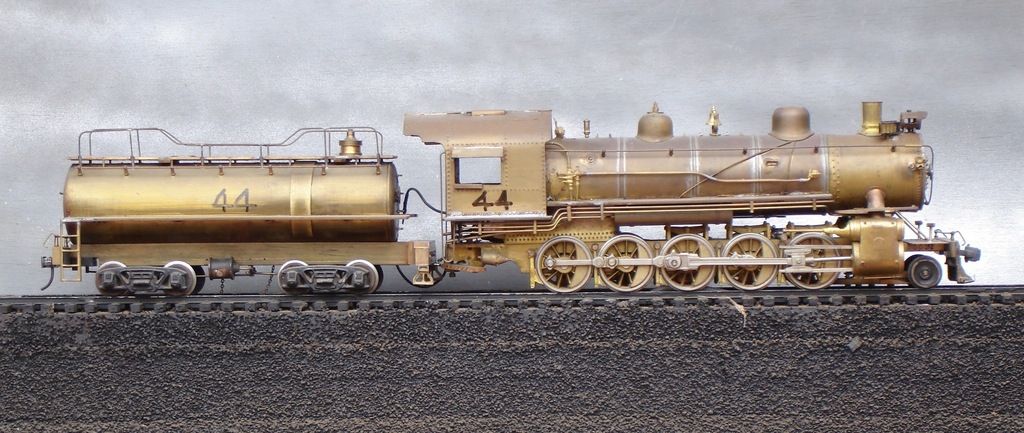
After reading a recent forum post about modifying a Williams ten wheeler, and a visit to Caboose Hobbies today, I wonder how hard it really would be to start out with a brass tube and Precision Scale parts? Obviously one would need a motor and drivetrain, but with all the detail parts available and rivet decals, I'm considering possibly giving it a try. Anybody have any thoughts or opinions, or better yet, done it?
Replies sorted oldest to newest
Contributor, "bob2" has been scratch building steam locomotive models in O Scale for probably some 40 years.
bob2 has scratch built some stunning locomotives. I know he'll be a valuable asset if you do this project.
There's a few of us here who have been working on heavily modified brass steamers. I suggest you check the 3RS forum as there are a few recent posts (Ron H) on different projects.
Some basic tools will make life much easier. Some special tools really are worth the money because they make life easy.
I can tell you this-it's harder than you think but not impossible. Requires lots of time-research, parts, designing brackets etc, laying out parts from sheet, and soldering/electrical work. It can be simple or insanely complicated. All this is the fun part for me.
Now get busy. It's a ton of fun and an incredible feeling too know you can build something no one else owns.
Good luck, can't wait to see your progress.
There was a series of articles may years ago in MR magazine on building an HO steam engine from scratch. You could probably use that as a starting point, provided you could find the articles. Unfortunately, my copies are long gone. I'm thinking 1970s or 1980s. If you are a member of the TCA, you might check with the library or archives at Headquarters and see what they can find. IIRCC, it did not take an specialized tools other than a micrometer. It did take a good deal of patience and attention to details.
Scratchbuilding an engine for your first project is sort of like going to college but skipping 12 years of grade school. You could start with a brass engine that is short of detail like Williams or Weaver then redetail and super detail it. Then try a kit. You can find older kits on the auction sites or get one from Stephenson Preservation. This will give you a better idea of what goes into making one of these as well as work on soldering skills and see if your equipment is up to the task.
Pete
I picked this up at the used book store. Think I gave $3 for it.
Good reference, will get the gears turning in your head. The rest I learned on my own and asked lots of questions here.
There's a chapter on scratch building. This will give you an idea of the content.
I've even googled the subject and read many incredible articles from various scales.
Norton gave some solid advice in my opinion.
Attachments
Good advice posted above.
I have modified my Williams ten wheeler by adding handrails and changing to a square headlight. I've built quite a few kits, and am working on a couple scratchbuilt cabooses.I know it isn't easy, but it looks doable.
Just couldn't believe all the parts that are available from boiler fronts to pilots to a complete cab kit.
I think it's the motor and drivetrain that would be the big problem.
Heck I'm in the opposite camp. I'm fairly content with the detail and appearance of Lionel's postwar classics. I would like to obtain better control and a more realistic speed range with a "scale" chassis setup: quality can motor, flywheel, lower gear ratio, etc.
I've pondered the idea for years. One of the problems is that the original "parallel plate" motor/chassis are so different in shape. It seems they descended from clockwork mechanisms and Standard gauge? The mounting points are different from a Williams brass loco, so a chassis transplant isn't possible. It might just be easier to make a new boiler out of brass that looks like a 2037!
The scratch building chapter in the MR book above looks VERY much like the series of articles I remember. You might check w/ the publisher to see if it is still in print. Otherwise, look on daBay.
Chris
LVHR
PS I agree with the posters above: Try a smaller project first and hone your skills. You will want them for a project as involved as this.
Just couldn't believe all the parts that are available from boiler fronts to pilots to a complete cab kit.
A forum member pointed me to PSC, NWSL, Stevenson. It was like a beacon in the night! I was blown away. Quickly learned some of those parts are well worth the money in time spent to make them.
I think it's the motor and drivetrain that would be the big problem.
The 'mechanism' can come from damaged locomotives. I've bought several old MTH ProtoSound locomotives for hardly nothing, just to get the mechanism and Pittman motor.
The Bay has stuff pop up every now and then.
The other extreme is buying drivers. Milling 'tires' and quartering. Making your own frame. See how quickly it can get insanely complicated?
lehighline,
The book could possibly be those old articles. It has other chapters from different MR articles-such as detailing, weathering, etc. It's a nice book for a beginner.
Here we are on the OGR forum, and nobody mentions the "for beginners" series in OGR in the early 1990s? I was quite proud of that series - the only difficult part was finding drivers, and Joe Foehrkolb can now help with that, along with Bob Stevenson.
Without re-printing the entire thing, I can tell you I started with brass tube and sheet, and showed how to build a locomotive from scratch. At least six readers sent photos of locomotives completed using my articles.
And I am happy to post some photos - give me a minute to find them.
Bob,
I'd love to have a copy of those articles. But, I haven't been able to locate them.
If they're still available, please tell where.
Since OGR was tending toward 3-rail in the early '90s, I did the model in big flange/Lionel trucks/couplers mode. I had no idea smoke and sound was such a big deal even then, and left them out of the project. Myron published the entire series, but did not care for the locomotive - it stalled on his switches. I should have put rollers on both pieces, I guess:
This one was an identical but longer model - I mocked up a 4-4-0, a 2-8-0, a ten-wheeler, and this thing, showing how the techniques could be used to create almost anything. Then I finished this one - all drivers are powered, all have ball bearings on the axles (don't do that), and as you can see, the thing is 2- rail.
Here is a scratchbuilt B&O E-27, in process, by a friend. The only commercial parts (other than fittings, etc.) are the drivers, from an MTH cheapie 2-8-0. He skinned off the web behind the drivers in his lathe (uh, oh). Here's the thing: the loco is made form PVC and styrene, except for the frame.
Attachments
Go for it, you'll have fun.
I recently had a better experience soldering than I have had in the past, so I am tempted to tackle something like this, to get the 2-4-4-2 I want, that will never be available commercially. I had trouble getting some of those parts supposedly easily
available, for my Lionel loco kitbash, so made do without, but I am not patient. I definitely would suggest, if soldering brass, to first build something "simple", like a bobber caboose? to get that skill level up, if you do not have it. Hard for me to believe a loco was cranked out in four days...would probably take me four months, but, again, there is that skill level to be acquired. We should look for that MR book posted above. I think I and you should get one of those electrical soldering "things" before venturing here. Do that and go for it.
(I would be building mine on "borrowed" three rail mechanisms, as described in a post above.)
First of all, start with a running locomotive; I have never built, nor do I want to build, the frame, drivers, valve gear, etc - believe me, don't try that for a few years. Brass is easier to work than zinc (as a basher, I hate zinc - hard yet soft, can't solder to it, hard to work, but delicate, too...). Plastic steamers would make my projects so much easier.
A few examples; I have noticeably bashed a dozen-plus steamers. A few more to come. Can be very rewarding to see a pretty fair model of something that no one will ever offer, and I guarantee that I've got the only 3-rail, O-scale model of a GM&O Heavy decapod on the planet.
So, go for it. Worse thing that you can do is completely ruin it, after all.
============
NYC 0-8-8-0 hump switcher (they had 14 or so); used to be a RK USRA 2-8-8-2. Pretty correctly scaled; scratchbuilt sand dome, smokebox front, headlight, deck details, slide valves on low-pressure (front) cylinders, shortened pilot deck; other details; operating front Electrocoupler; old AHM tender; TMCC:
Was a Williams brass Mikado; pretty accurate GM&O Heavy Decapod (a bit long; the drivers are somewhat larger than they should be); scratchbuilt domes and Coffin FWH;
ERR Cruise Commander, sound:
Freelance Garratt; so-so model, but I like it. Except for the running gear (Atlas IR 4-4-2)
and the Weaver flatcar body, it's ALL styrene, basswood and a couple of cast details.
Attachments
Amazing. I'm on vacation right now. I take all my old magazines out here in case I run out of reading material. After Bob's above posts, I went through my "collection" and found the articles he wrote. Run 134-136. 1994 was the year. Found two more how-to articles, also. Scratchbuilding a Santa Fe Woodside caboose, and an old-time boxcar. Very useful articles for me. Too bad those kind of articles aren't popular anymore. All about the ready to run I guess.
If I do decide to do this project it'll be using the Williams ten wheeler as a starting point. Finding an affordable junker with the correct wheel arrangement is next to impossible in Kansas.
.... Was a Williams brass Mikado; pretty accurate GM&O Heavy Decapod (a bit long; the drivers are somewhat larger than they should be); scratchbuilt domes and Coffin FWH;
ERR Cruise Commander, sound:
D500,
How'd you extend the frame for the extra driver? Very interested how you did it.
I've got several 10 driver locomotives to build and those 'mechanisms' are hard to find.
Thanks
They are! In 2-rail, you are better off buying the entire model, and selling the leftover pieces. Often a good mechanism costs more than the model from whence it came.
Making a mechanism is not that difficult, but you have to start with suitable drivers, and for 3-rail, that probably means it is lots easier to just use a completed mechanism. Three rail drivers are usually pressed in place on the frame, which raises a whole bunch of issues.
My method uses only a drill press and a small propane torch, in addition to the normal hand tools. Check it out, if you have access to those old issues.
Years ago when I was a kid on the local t.v. station.Was a show called carolina camrea about locacal people.Well story thay did was about a man who built electric trains from scratch.I can rember what scale it was.But is was very well detailed.He had a few small towns trees.All his freight trains had 100 boxcars he also had sounds to.We got to see 1 or 2 long trains with caboose.There another story who built a live steam locomotive and train you could ride.He was a retired machine worker.I wish I could do something like that.
PSC has kits listed in the Catalog, as well as super detailing kits. BTS made attempts at a couple of model kits, IMO, limited success. Years ago AHM did a plastic model that had a motor upgrade kit. Indiana Harbor Belt 0-8-0.
Start points for those interested in this part of the hobby.
I should finish my two caboose kits from Mullet River Model works.
I built this little On30 freelanced geered lokie years ago out of styrene and an Athearn EMD switcher chassis. It's not 3-rail, it just kinda fits on half of a three rail track! lol

There is a long series on scratchbuilding a steam locomotive in Model Railroader starting in October of 1997 and lasting I think one year. The author is Stephen Anderson. The model is an NYC 4-6-0. Based on the graphics from the steam book above, I think this might be the same series of articles amalgamated into one article. The article covers everything from building a frame and mechanism to the superstructure and detailing.
I sometimes find old MR's on sale at Caboose Hobbies. I love to look through them and find gems like this series, or prototype drawings. Both things that sadly don't seem to grace the pages of MR very often any more.
Jim
86TA355TR (whew - long handle; what does it mean?) -
===========
D500,
How'd you extend the frame for the extra driver? Very interested how you did it.
I've got several 10 driver locomotives to build and those 'mechanisms' are hard to find.
=================
As with most of my modeling, it's largely done with smoke and mirrors. I did not extend the frame. The Mike rear truck was removed, of course (it will re-surface in another project, I'm sure), which left enough existing frame in which to "machine" (patience, care, Moto-Tool and a rat-tail file) the bearing surfaces/grooves for the new axle.
The #5 driver/axle set is K-line; I was lucky enough to find, on Mr Bay, a few years ago, a K-line Mikado frame with drivers, rods, front and rear (I think) trucks, some valve gear. I wanted to use a flanged #5 driver, but it would not go around 072 without disturbing the #4, so I left the #4 driver flanged and made the #5 blind (3rd Rail offered a Decapod configured like this). "Machined" (vice; brass; file; drill) the side rod extension (I made and ran big styrene mock-ups to get the right measurements - funny sight).
Tested and shimmed the new axle; no wobble (uh, this took a while). The apparent frame extension is just some cut sheet brass that is just for show.
Can't believe I forgot this: after "completion", it just looked too, too long. I cut 3/4" from the boiler and the frame, and re-joined them.
Because I did not disturb the original Mikado flanged driver format, the locomotive still thinks that it's a Wms/Samhongsa brass USRA Mikado, and runs like it (well).
I won't tell it if you won't.
Here is a scratchbuilt B&O E-27, in process, by a friend. The only commercial parts (other than fittings, etc.) are the drivers, from an MTH cheapie 2-8-0. He skinned off the web behind the drivers in his lathe (uh, oh). Here's the thing: the loco is made form PVC and styrene, except for the frame.
Way cool!
I agree! I love models in this state. It makes it easy to see all the parts and pieces that have been fitted together or added to get to the finished product. It's almost a shame to paint. I think it's beautiful as is.
Jim
Fred Icken did an SP P-13 in O Scale in MRR in the 1930s. Fred, Roy Egolf, Ed Alexander, and others created O Scale steam that still stands the test of time.
Fred used the same technique for tapered boilers that I thought I invented. Nothing new under the sun, I guess.
D500,
Thanks for the info. I like how you did that- enjoy reading about different ideas.
My handle means, 86 Trans Am, 355 (motor), Super chaRger. I used to drag race this combo (legally, bracket racing at track) back in the day. Lots of fun. Eventually, it got a blown 406 small block.
Learning how to taper boilers is my next step. Then the sky is the limit!
Hope to start making rods by the end of the week.
Nice work there Bob ![]()
Ed Rappe gave me a deal on a Weaver 4-6-0 chassis a couple of years ago and I had mounted an old MTH Railking 2-8-0 boiler to after I elongated it by gluing a plastic pill bottle onto the front. Here's what it looked like before painting:
Never did like it so a few weeks ago I made a boiler out of a length of PVC solid round stock and transferred all the brass parts over to it. I cut the RK cab off the old boiler shell and used super glue and JB Weld to attach it to the PVC boiler:
Attachments
D500,
Thanks for the info. I like how you did that- enjoy reading about different ideas.
My handle means, 86 Trans Am, 355 (motor), Super chaRger. I used to drag race this combo (legally, bracket racing at track) back in the day. Lots of fun. Eventually, it got a blown 406 small block.
Learning how to taper boilers is my next step. Then the sky is the limit!
Hope to start making rods by the end of the week.
Aaron, do you still have the car?
Man if you make some rods, you have to show your technique.
Ron
Ron,
I sold it about 4 yrs ago. Kept the motor and supercharger though ![]()
I can't find FEF rods like I want, so I'm going to make them. I 'layed' a set out in brass but haven't cut them from sheet yet. The holes for the rod bolts are my challenge. If not accurately located, the rods will bind the wheels. I can't use the orginal rods as templates/patterns because there is too much 'play' in them. Stock it's a generic 2 piece type used by Weaver.
Have a few ideas but haven't been able to test'em yet. I'll send you pictures as it progresses.


