Here we begin using the razor saw. You can go straight up and down or go a little squervy. I recommend short and squervy strokes with the razor saw.
Do not worry about any fuzz, just leave it.

Next, place the down into the bottom of you work of art. Just use a jewelers screw driver to make the hole.

In this pic, you can see that I added a little root structure at the bottom of the trunk. I used a jewellers file for this. Not totally necessary in background, but it does add a nice touch. Escpecially if the tree is more toward the front of the layout.

Color the trunk of your tree with your favorite shade of ink and alcohol mix. I use a brown and a black mix. Sometimes one or the other. In this pic, you will notice that it is not the same trunk as above. No root structure. It is also cut for a hillside plant.

Once this has dried. This next step is a matter of preference. Personally, I really like the effect.
Spray only one side of the trunk with super adhesive. Let it set for about 20 sec., then sprinkle the yellow, green ground foam up and down the trunk. Set aside and let dry.

Do not worry about the brightness of the simulated moss. That can be toned down with I/A mix. Again, you are the master of your own domain.
At this point, it has taken me 15 mins. to make the one trunk. Not too bad.
This is western sagebrush. I will gather bunches of the stuff when I make my sojourns to the East side of the Cascades. I use this to make the primary branching on my conifers.

I will break off twigs of various sizes and and configurations. Anything you do here, I guarantee you will find it in nature. Go for forked, curved, straight, bent, long, short. For these, we want larger at the bottom and work our way up, getting smaller and smaller. Then, sometimes not...
As in nature, do in your modelling. If I have found out anything, it's this. You will always find the same look in nature.

Using your small screw driver or drill bit. Begin making the mounting holes for your branches. Do this all the way to the top of your tree. Stagger them and try not to be perfect. Mix them up as far as their shape and direction of curve. Do not glue them in yet.

Once you are satisfied with how it is going to look. Begin removing them from the bottom up. I usually do 4 or 5 at a time. Do this in your own comfort zone.
Now we will begin to do the secondary branching.
For this, I use sisal rope fibers. I will cut 1/4, 1/2, 3/4 inch lengths into a container.

Next step is to make what I call, "rollers." This is taking a clump of the sisal fibers in one hand, then roll is back and forth between both hands. The fibres will realign.
Once I have this, I will then pull them apart in the middle. It just makes them easier to work with.


Holding your branch in tweezers, or if you prefer clothes pins, spray them with the super adhesive. Don't spray all the way to the base. Leave some branch that will still show through the tree when it is finished.
Let sit for about 20 seconds, then taking the half roller, and begin just touching it to the adhesive. All up and down the branch and both sides. Don't let it clump too much. But, you can always thin it out later.
Once you are satisfied, set aside and do the next one.


By the time you get to number four, you can go back and spray the branches again with super adhesive. I can't seem to find the pic of doing this.
Then gather up some of your flocking mix and sprinkle it over and under the branches. When they are covered to your satisfaction, shake off the excess and affix with the hair spray. Set aside and let them dry.
I will actually place them into a piece of foam core board with holes punched to hold them at the end where there are no rope fibres or flocking. You really do not want to just lay the branches down

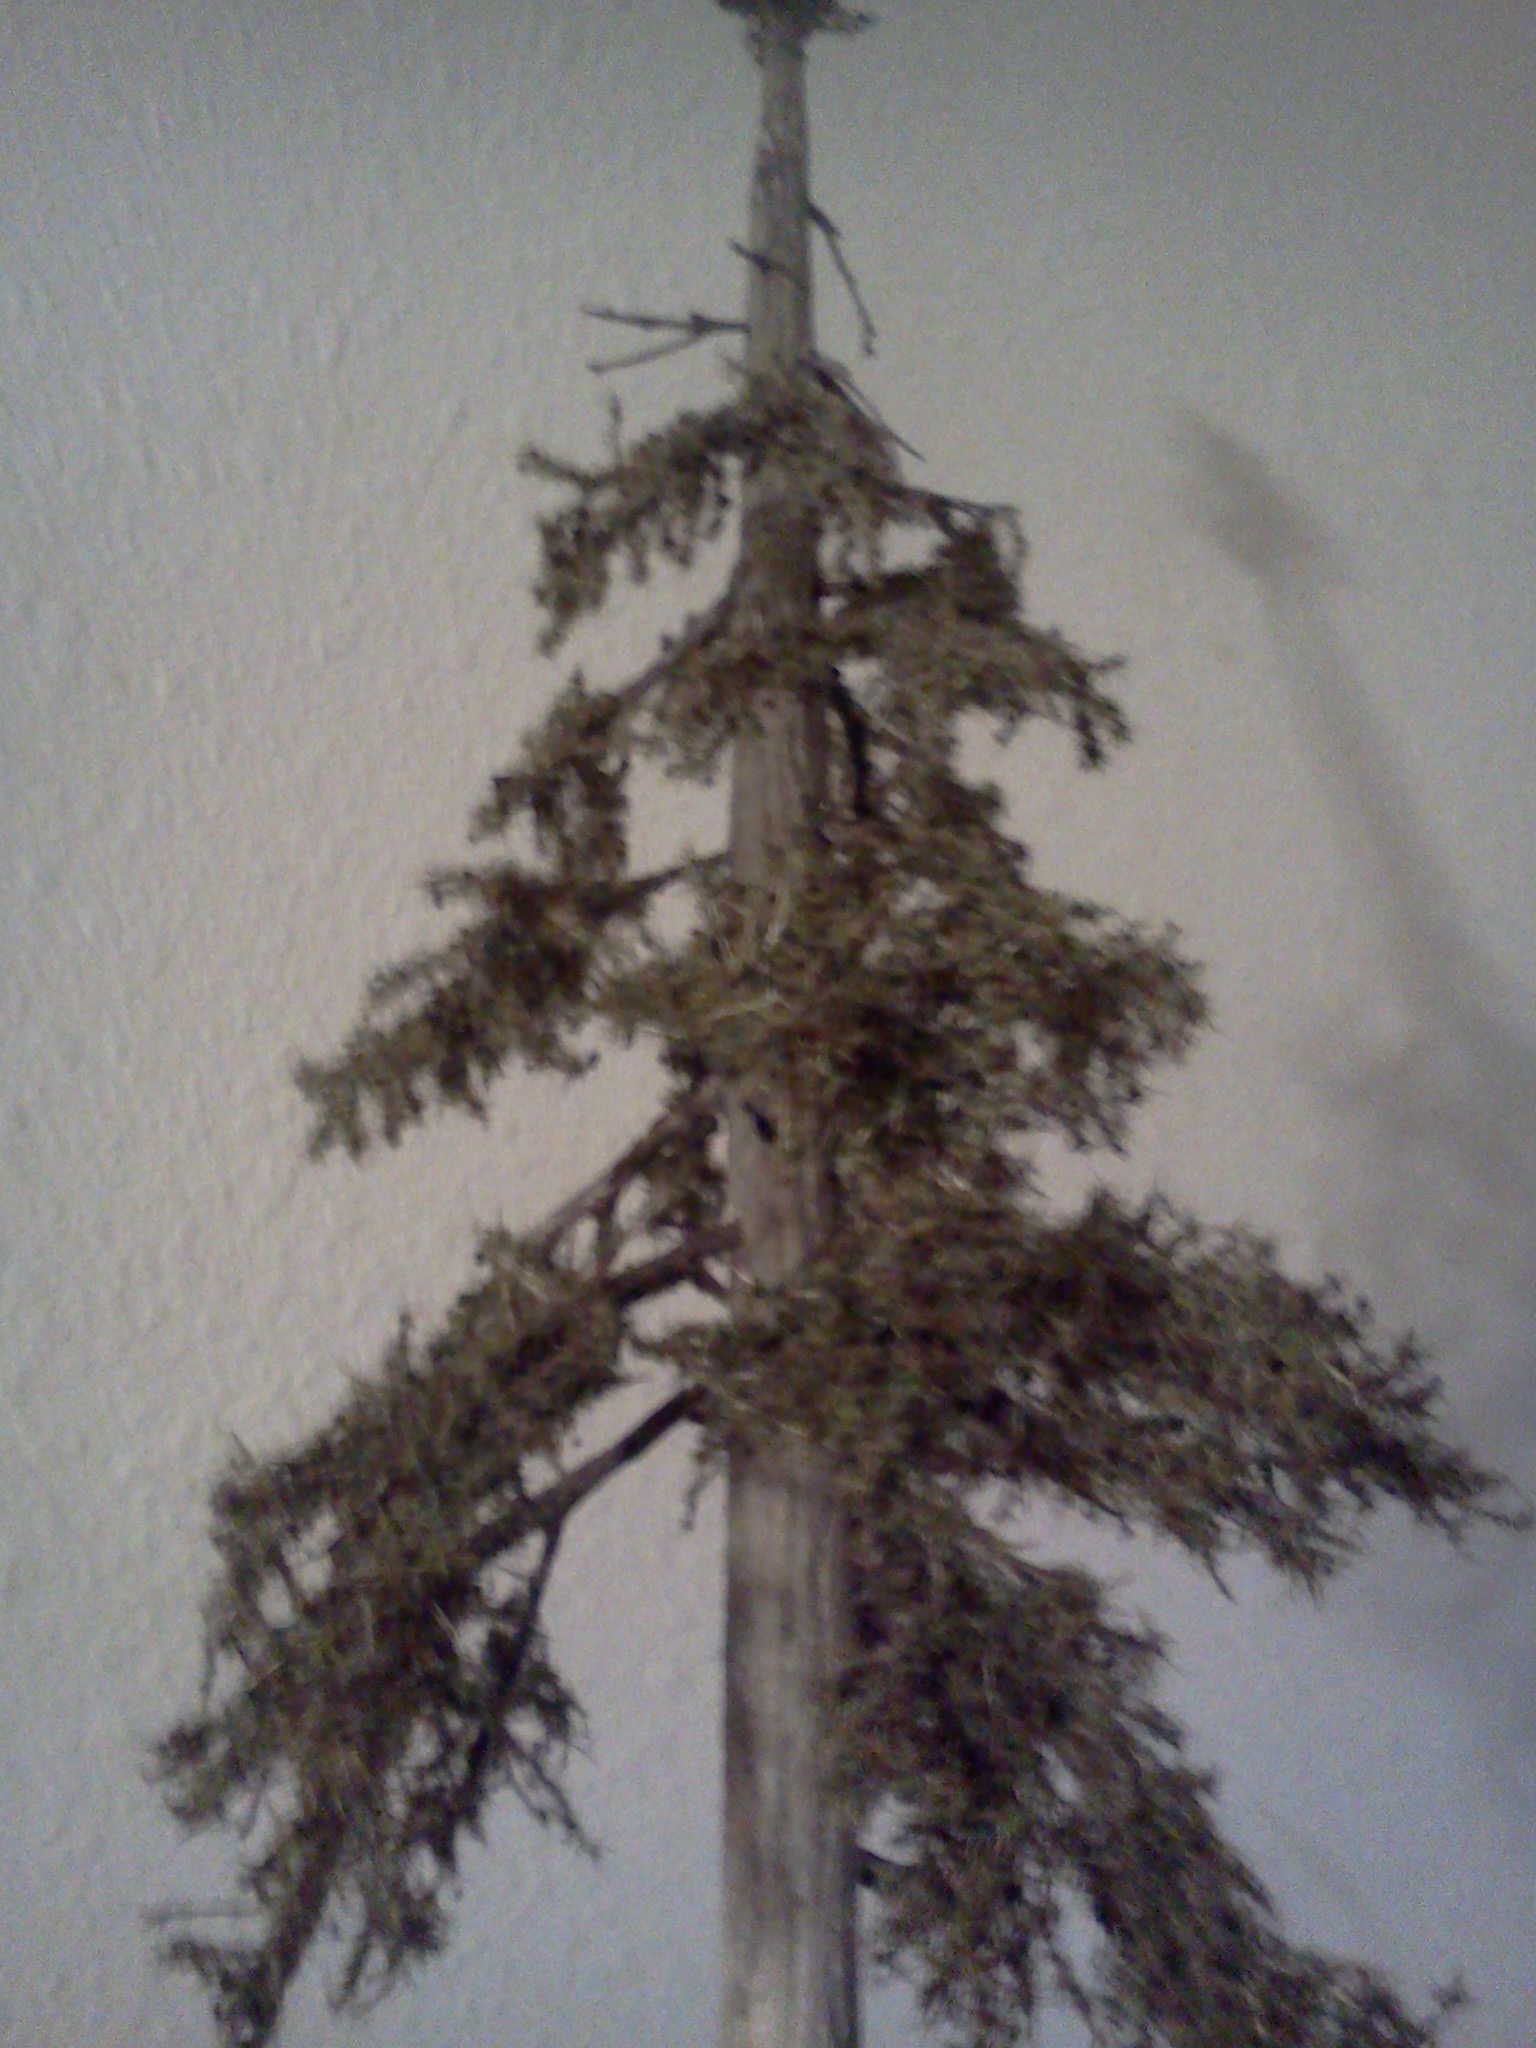
Now, once you have gotten all your branches for a tree finished, you can begin placing the branches where they belong. Start from the bottom and work upward. It's a lot easier this way.


Sorry about the fuzziness of the pic.

This is just a quick tree. You can place as many or as few branches as you desire. When you get to the top of the tree, I generally will only place a twig that has been made for the topper, straight up.
Experiment, get creative! You can see or find all sorts of configurations in nature. Do not be concerned with perfection. There is perfection in imperfection. In nature though, what we see as imperfection is actually, perfection.

These trees, are very delicate and do not take to a lot of moving around. Try to plant the once. You can have all your scenic materials in place before planting the tree. Then all you have to do is a little touch up around the base.
I have been told I should market them. They are just too delicate and would never be a shippable item.
Next, I will show how to wrap a trunk, before the branching of course, in sagebrush bark.
Right now, I think I will go do a little trout fishing in the town of William Creek!
A pic of my favorite spot.

Dave


