I am preparing to redo my elevated track and I needed to build berms for the early part of the elevation.  Soooo, I pulled out my temporary O27 lead up.  See picture 1.  Next was to develop a curve from the lower level to the riser.  It took a lot of fenagling to get the right entry point and a workable elevation.  Once I found the right set-up the next step was to develop a bern that could be decorated into a nice part of the layout. 


I decided to use paper mache.  The support base was firmly attached to the layout surface so all I really needed was to mold some sides and create a sloping area.  I used parts of a plastic milk bottle for one side and used a cardboard paper towel roll for the other side as the form.  1/2 white glue, 1/2 water and strips of newspaper were used to cover the form and give the whole berm strength. 


It will take a couple of days to dry and then I'll weather the track, ballast and cover the berm with vegetation.  This will hopefully be done on Sunday and I'll add some updated pictures.


All suggestions are very welcome.


Temporary riser:


Elevation 1

Elevation 1


Forms:


Paper Mache 2


Finish with Paper Mache:


Paper Mache 1

Attachments

Images (3)
  • Elevation 1
  • Paper Mache 2
  • Paper Mache 1
Last edited by Wood
Original Post

Replies sorted oldest to newest

I stumbled across an article somewhere where the modeler did pretty much what you describe here. He wanted hard-shell that didn't require a forklift to transport, plus had a little flex so it wouldn't crack. He used paper towels soaked/painted with non-diluted white glue. The glue dried clear and smooth -- almost plastic-like, but remained flexible. He painted it with latex paint and sprinkled the ground cover onto the wet paint. Interesting technique.

Thank you all and good suggestions.


Spackling paste, plaster cloth and latex paint for adhering the ground cover.


I definitely like the flexibility the paper allows - this is not a static ramp.  I have some pretty heavy loads riding up this riser from the yard and I know it will slightly flex the track and the berm.  Hopefully the paper will have enough give not to crack after it is all completed. 


My next task is to add ground cover and I know on the left side I will try to create a mowed grass like appearance.  On the right side, which is closest to the yard, I have a junk yard and some welders for display.  So, I want to have a very dirty scrubby appearance to the ground cover and overgrown nasty plants.  That will be my artistic challenge.


Mike, that is a very nice Tipple.  Have you installed it yet?  I would like to see a pic of it on the layout...  Thanks

Originally Posted by Wood:

 . . . .  On the right side, which is closest to the yard, I have a junk yard and some welders for display.  So, I want to have a very dirty scrubby appearance to the ground cover and overgrown nasty plants.  That will be my artistic challenge.

Projects like that are a lot of fun!


Excuse the lousy photo, but this shows my attempt: the "spare parts yard" I bashed on the Woodland Scenics Bike shop (which is on sale at ModelTrainStuff today, BTW).  Anyway, in my eyes, what kind of capped off this scene the way i wanted it is the high grass growing up out of some of the barrels and all, which shows the length of time some of this stuff has been in "storage."  Its sprigs of JTT high grass cut and glued down.  I bought some green and some light yellow (straw) and mixed them up.  I like the look.

DSCN7089

Attachments

Images (1)
  • DSCN7089
Last edited by Lee Willis

I promised to send pictures and here they are.  The first is my best Grandchild helper.  His name is Luke.  He's a neat little boy and one of the things I enjoy so much about him is that he loves to sit and build things.  He has a whole layout of the battery powered children's trains and has made his own great layout complete with skydiving locomotives and crashing batman trains.  But, I digress. 


He asked me if he could help lay down some crushed gravel someday and of course I told him he could help.  This past Sunday we spent the afternoon laying the gravel and weathering this spot on the layout.  Very good helper and fun conversationalist.  We got into every subject you wouldn't think a 6 year old would know anything about.... 


I hope you like it.  Clearly there is still some clean-up left and more detail to be added but for now it is finished. 


Elevation - Luke

Elevation Finished

Elevation with Santa Fe

Attachments

Images (3)
  • Elevation - Luke
  • Elevation Finished
  • Elevation with Santa Fe
Videos (1)
Elevation Video 1
Last edited by Wood
Originally Posted by Wood:

Mike, Those are some very impressive models.  They look super and I can imagine how nice that will fit in to your layout.


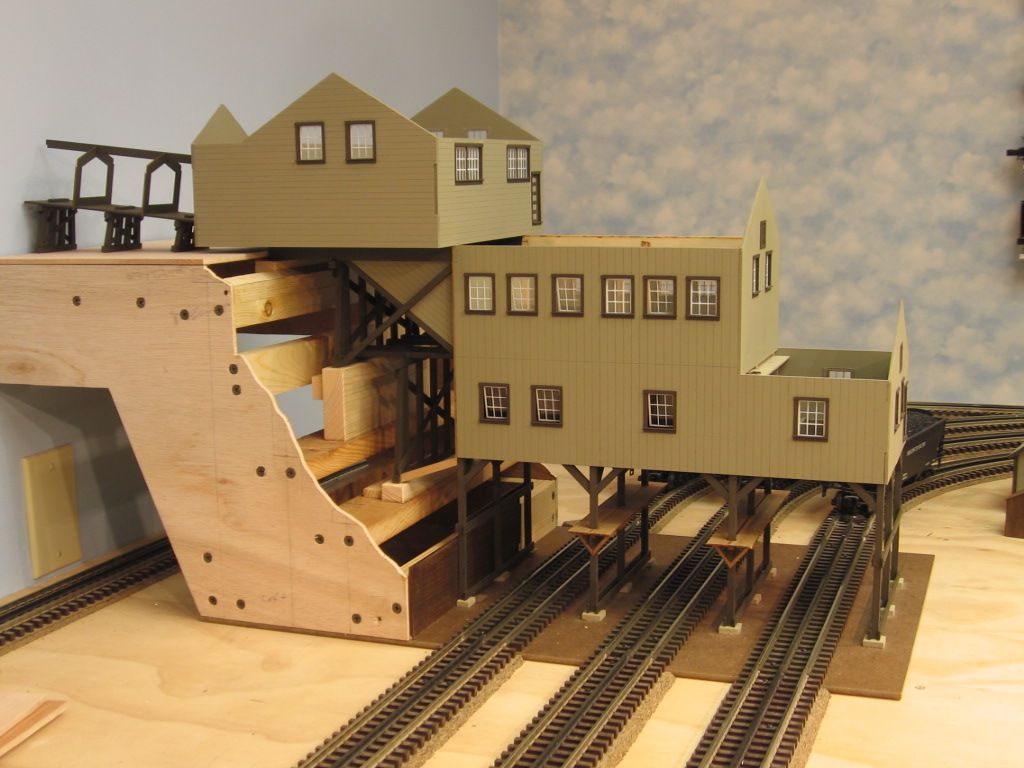
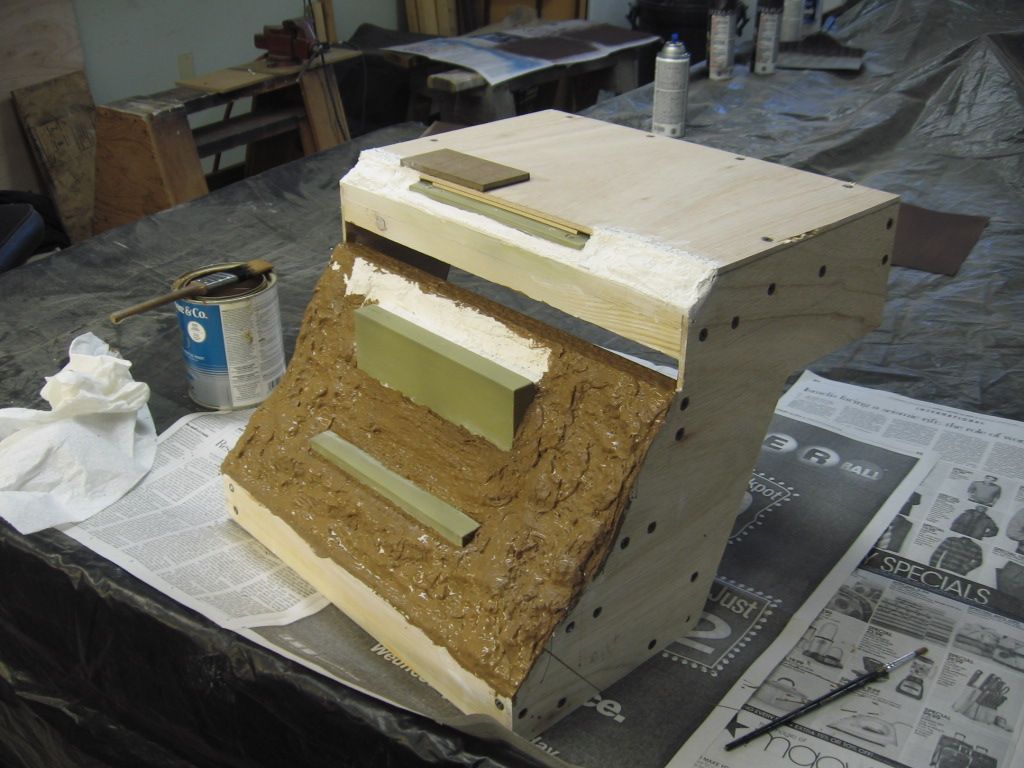
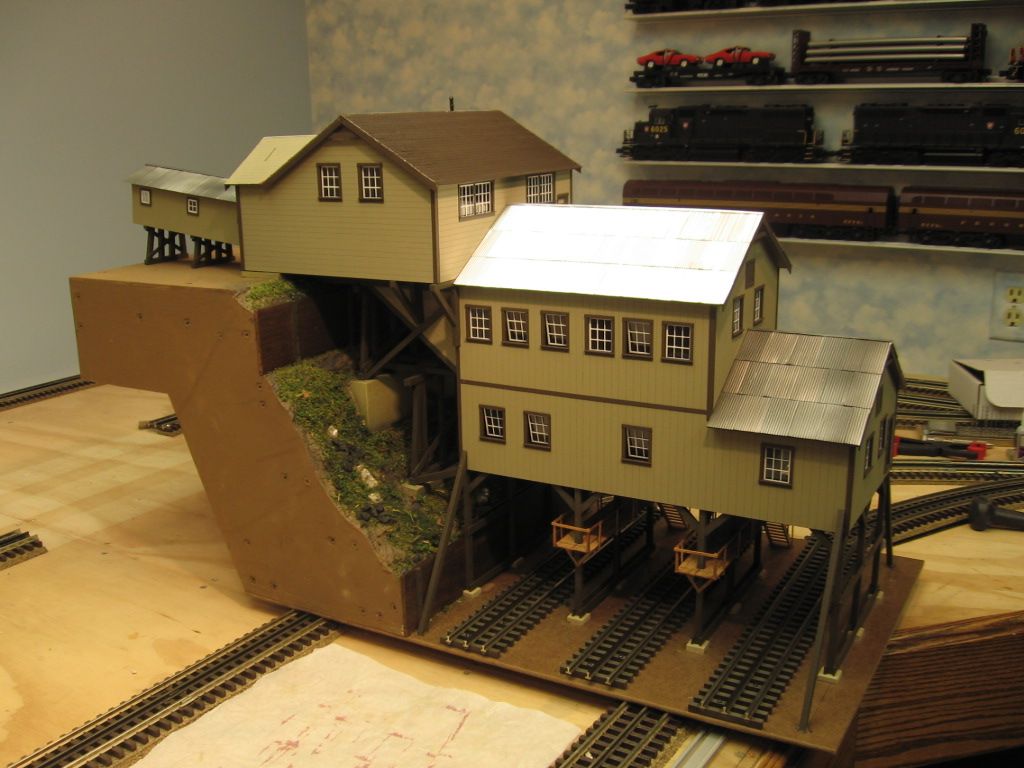
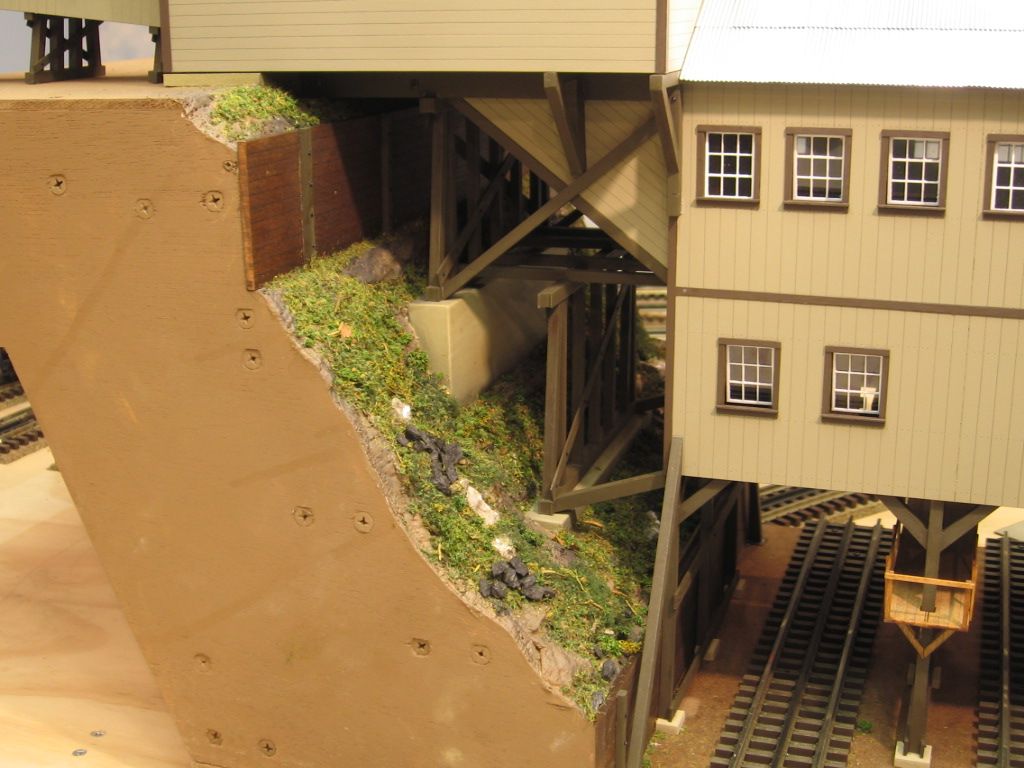
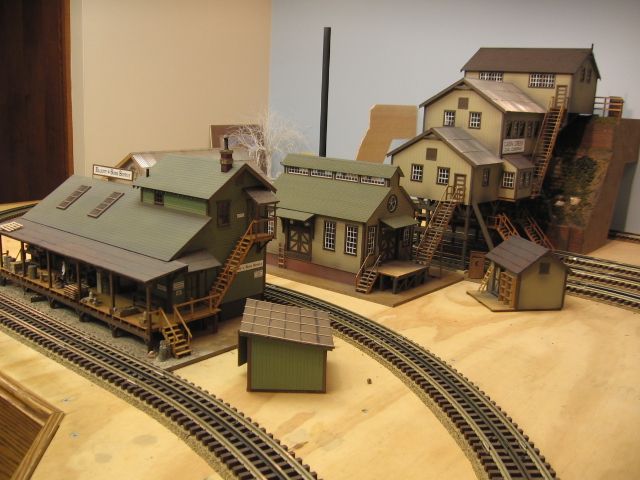
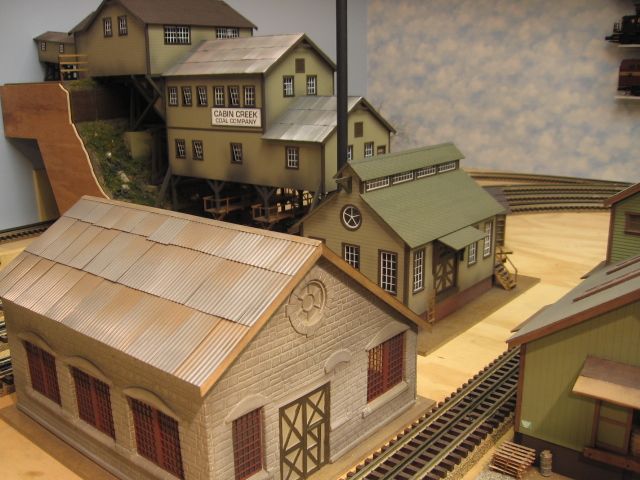
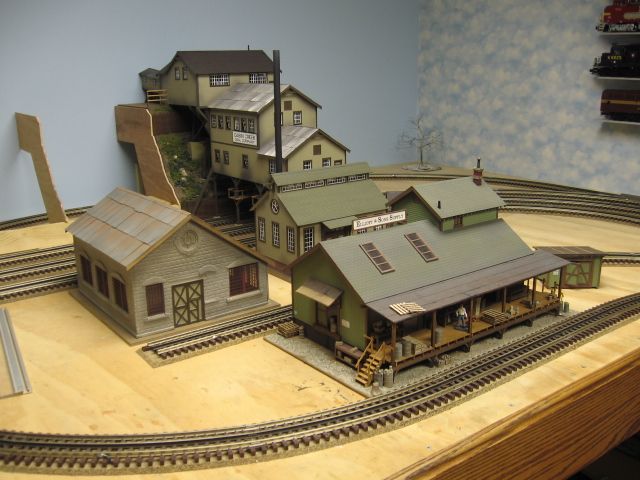
Thank you,   Pictured left front is a Korber kit, Quincy Mining Company.  Front, center, is a BTS kit, Elliott and Sons Supply.  Rear is the BTS kit, Cabin Creek Coal tipple and associated buildings.  

Last edited by Mike CT

Add Reply

Post
×
×
×
×
Link copied to your clipboard.
×
×