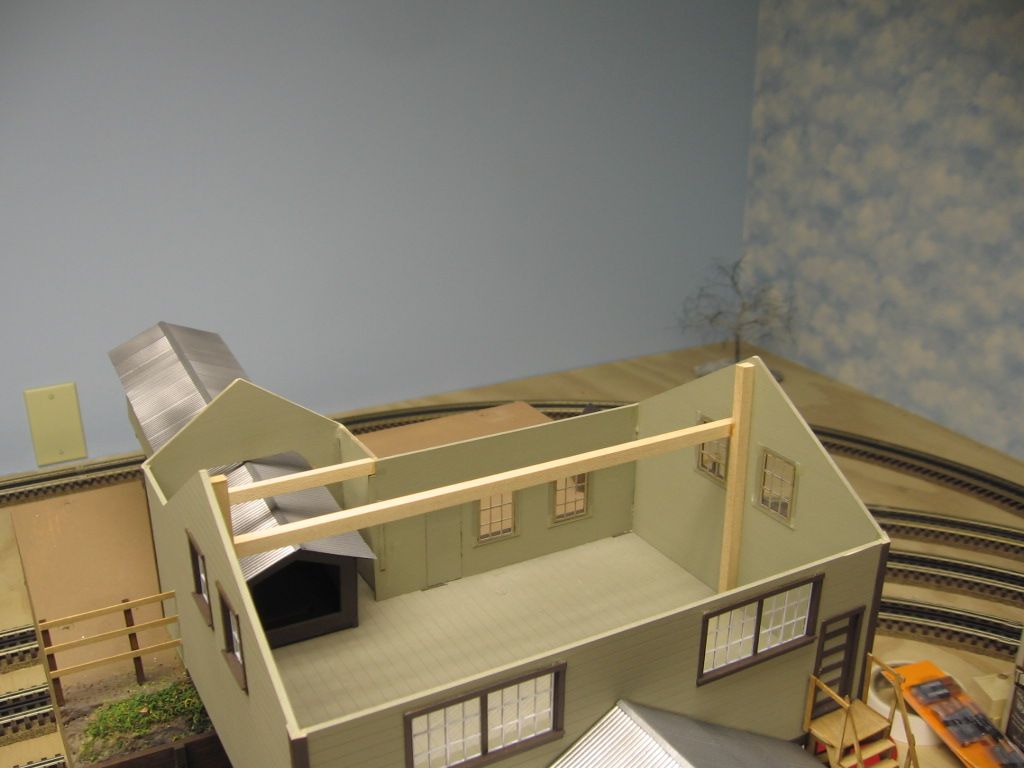
I have a couple of laser-cut buildings. Assembly doesn't bother me (I might even read the instructions more than once) but I'm concerned about warping after painting. I was thinking about using latex exterior paint and brushing it after assembly as that's the way the prototypes were originally painted anyway. Any suggestions/warnings?


The kits are a Banta CNW Standard #3 Depot and a Branchline Laser-Kit ATSF Laura Depot.


Thanks.

353927

laura_o

Attachments

Images (2)
  • 353927
  • laura_o
Original Post

Replies sorted oldest to newest

The thin panel (wood) and fiber board pieces do best if painted both sides, maybe even before they have been removed from the cut-card.  IMO,  Mike    Here are the build photos of the BTS Elliott and Sons Supply.   BTS instruction talk about painting the edges of pieces.  

I've used Krylon and Rustoleum Camouflage paint(s) in spray cans. The flat earth tone colors work well for these type of models. IMO. I also use a lot of Golden Oak, and Walnut Stain (Minwax).  Stains are a lot different than paint but can be applied easily and work well for certain parts.  Trim paints on this model were Polyscale brown, not sure which one.

Mike.

Last edited by Mike CT

matt, I've built a lot of wood craftsman kits including those from banta, bts, Barmills, as well as from scratch. I almost always use the methods from Art at Barmills. use some strip wood to brace the walls making sure they won't interfere with window, doors, roof installation and most importantly, with assembling the walls. prime both sides of walls. any cheap gray primer will do. these two steps will almost guarantee no warping. if you want to prime first, brace later, just weight the walls after priming for a few hours or overnight. heavy books will work, after you prime, the walls will warp but after weighting down they will flatten out. any minimal residual warping will disappear with the bracing. after drying, the alls can be brushed with any acrylic paint (use a wire brush or even light sandpaper if you want a distressed look). do all of this, including putting in painted doors/windows before wall assembly as it is much easier to work on the walls when flat on your workbench. hope this helps. 


jerrman

Some of the stuff like windows, are much easier to paint before assembly. Leave them in their cut card and spray paint with several very light coats.


Walls will warp to some extent, no matter how you paint them. At least mine always do. I found the small trim was best to paint after assembly.


After I paint walls and they are dry, I move them inside the house and keep sandwiched between some heavy books until it's time for assembly. Just like a wood floor so to speak, let the parts acclimate to the room temp before assembly.


I made the mistake once of sitting the freshly painted parts in the sun to dry. Looked like a rocking chair leg after a few minutes.  

Last edited by Former Member

Bar mills recommends a light coat of grey primer on all sides with walmart's color place  spray can.  I have used this method on every Bar Mills Kit I've ever built with excellent results.  When finished, I coat with the paint lightly and sand lightly, leaving the grey weathered look coming through.  A little india ink and good alcohol(for on the model...not inside the modeler) and you are aged and weathered.  I have not varied from this approach on any kit i've built from any other manufacturer.  Great free hints and lessons from the Bar Mills Model Site as well...and they are free.  Have fun, there's nothing like building great buildings, gaining confidence, and then creating your own scratchbuilt ones to fit your theme and layout.

If you're determined to brush paint, I'd stay away from acrylics, period.


As the response above indicates, Art Fahey, Bar Mills, has given the best advice on this sort of problem...the inexpensive grey primer.  I do this after the basic structure has been raised. 


I use an airbrush for much of the painting of my wood laser kit buildings.  I also use only acrylic paints, after the cheap rattle can primer.  However, I have one other tool holstered on the booth to help prevent warpage....a small inexpensive pistol-style hair dryer.  So, when I apply the color coat on a wood building, I do so with light coats, immediately driving off most of the residual moisture with the hair dryer.  Nary a warp problem so far. 


I suppose you could try the hair dryer step after brush painting.  Maybe it would work; haven't tried it myself.


Just a suggestion....FWIW.


KD


Last edited by dkdkrd

Just got up from a Bar Mills project.


Agree with the above. Gray rattle can primer both sides. Brace depending on size, etc especially peaks. We have had good luck with rattle can final coats applied lightly. Rustoleum camouflage colors per above do well.


Weathering... lots of ways seem to work  depending on how detailed you want to get. Diluted drawing ink and chalk gives great results and is easy once you get the hang of it. Dennis Brennan has a good explanation, can furnish what you need at a reasonable price, and you don't have to go all over collecting stuff.


Lights - Dave Evan (Evan Design) and Ngineering are a couple of good sources. Dave's is easier to use in many cases. Both are great to work with.


Good luck.

if you did not paint the rear or reverse side, start there.  If you did paint both sides and it is warped, add bracing and weigh down until dry.  I have had success both ways.  A light coating of walmart color place grey primer on both sides seems to be the secret to non-warping.  Once dry, then the color coat won't have much effect.


On Friday, February 6, 2015 1:23 AM, O Gauge Railroading On Line Forum <alerts@hoop.la> wrote:


Reply By BradA: Laser Cut Building Paint Questions== To reply by email, write above this line. == Hello, OGRE Modeling,LLC: We're sending you this notification because you are either following the forum, the content, or the author listed below. New Reply To Topic
| Subject: Laser Cut Building Paint Questions Reply By: BradA In: Layout Building Forums / Scenery and Structures | |

Ok I have to ask...   What do you do with wood that warped after painting? thanks   View This Reply
| | Unlock Your OGR Digital Subscription Just $29.95 Per 12 Months |

Sincerely, O Gauge Railroading On Line Forum https://ogrforum.com To adjust your email notifications for this site, please update your notification settings. To suspend ALL email notifications from this site, click here. Powered By Hoop.la
Originally Posted by AGHRMatt:

Thanks for the tips. Looks like the consensus is to rattle-can primer both sides to seal everything. May just hit them with the airbrush and acrylics instead of brushed latex.

I've not found it to be a necessity to do both sides when using a solvent based rattle can primer.  All you are doing is insulating the wood from the aqueous based paint so you really shouldn't need to prime what you are not going to paint.

Last couple of laser kits that I've done (BTS an some other one), I hand painted then with Polly Scale w/o any problems at all, and installed interiors, except for some odd "wood" that was used for some of the porch supports.  That stuff swelled and corkscrewed.  That was solved by switching over to Floquil,   Not a fan of airbrushing wood with acrylics and non-solvent paints since that tends to put a lot of moisture on the wood; rather be more prototypical and use a brush,


Current laser cut kit I'm building for a review in OST arrived with the wood pre-warped,  but also came with supplies and instructions on installing bracing as the starting point prior to painting. Odd, but apparently some supply of clapboard starts off with a good curl to it.  Given that condition, after assembly of the structure shell I did put a coat of rattle can grey primer on it and then 2 coats of Polly Scale.


Add Reply

Post

OGR Publishing, Inc., 1310 Eastside Centre Ct, Ste 6, Mountain Home, AR 72653
800-980-OGRR (6477)
www.ogaugerr.com

×
×
×
×
Link copied to your clipboard.
×
×