Thanks Anthony. It's a piece of plexiglass that was 20" x 32". I used RR Tracks software to design the layout, so I just resized the track plan using PhotoShop and took the file to my local Office Depot to print it out full size.
This is the full size printout I had done at Office Depot. Just take them a PSD, BMP or JPG file and they can resize it for you if you don't know how.

Here I cut the track plan out to fit my 20" x 32" piece of plexiglass. I left the protective film on the back and taped the track plan to the back of the plexiglass.

Stopped by the Auto Parts Store and got some 1/8" and 1/4" wide pin striping in various colors.

Then just pick your colors and lay the pin striping down. Take your time and the tape will curve nicely following along the track lines of your printout.

After your lines have been traced with the pin stripping, remove the track plan printout from the back, and tape off the front side to protect your stripes and the clear plexiglass so you cant paint the back of the panel.

I spray painted the back of the plexiglass with white spray paint after removing the protective film. Several light coats, and then spayed with silver just to protective the finish from scratches. It doesn't have to be silver, thats just what I had.


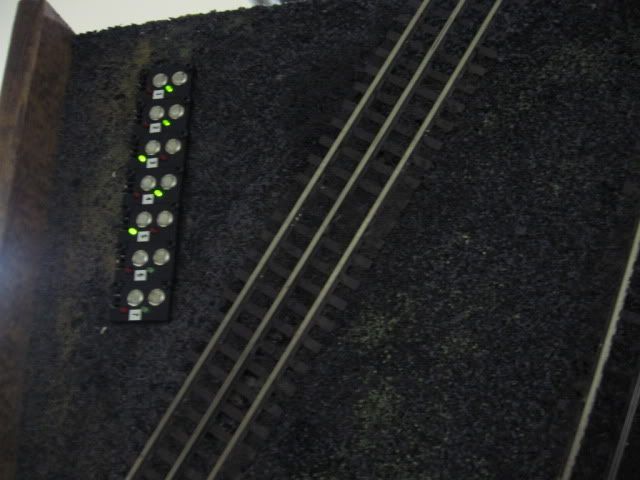
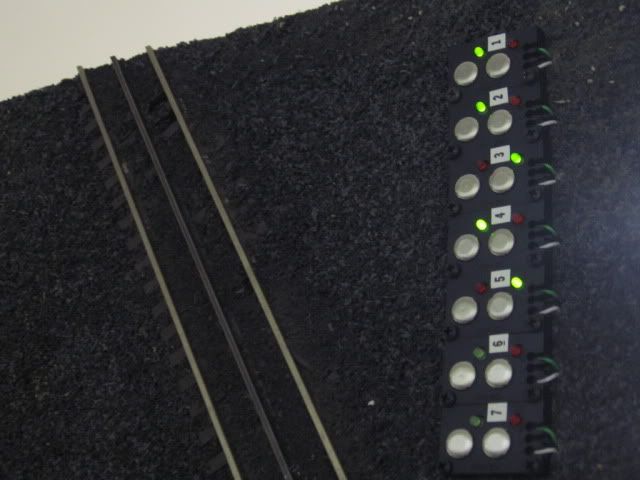
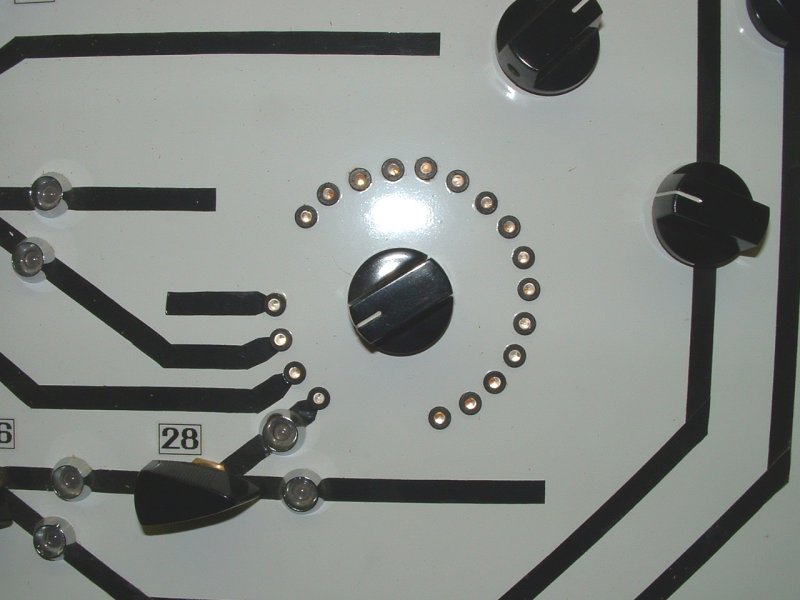
Switch toggles installed. We havent completed the track work so only the tracks that have been installed were laid out on the panel. We will add the other tracks later. Also need to add the toggles for the track blocks, build a frame to hold this panel, and build the box to attach it to. More to come later.

When drilling these 1/4" holes for the toggles, I used 4 different size drill bits to prevent cracking the plexiglass. Drill a small pilot hole, move up a couple sizes in drill bits and drill again. Take your time and don't use a lot of pressure or dull bits because you will crack it.