The 3 rail members of the Ford's Colony Model Railroad Club, Williamsburg, VA will be building a new modular display layout for display at our annual model railroading weekend exhibit at a local library (we also display layouts in N, HO, HOn3, and G gauges).  Ten 3' x 6' modules will be configured in the shape of 12' x 18' open center rectangle - operators in the center, viewers around all sides.  We are looking for "best practice" suggestions related to module construction (framing, legs, table top surface material, and interconnection). Ease of transport, setup, and durability are key construction considerations.  Interoperability with non-club modules is not a design objective.

Your thoughts and recommendations are appreciated.


Ed Rappe


Last edited by Keystoned Ed
Original Post

Replies sorted oldest to newest

Ed,


If you are looking for self contained modules in which everything is right off the shelf from your local building supply store, then you may want to take a look at the Glancy Trains modules.  The framing is 1 x 2 and 1 x 3 for framing and 1 x 4 for front and back facia boards.  The top is floor under-layment which comes already sealed.  We use folding banquet table legs which sets the layout at 30" off the floor.  A great height for kids to be able to see the trains.  For quick and easy power hook up, we use simple 3 conductor, 16 gauge extension cords mounted under the table for track power off the front facia and 110VAC with a 110 VAC outlet per table on the back facia.  There is an accessory bus line for the push buttons on the front facia so the little ones and the big ones have something else to touch besides the trains.  Our layout is 48' x 48' when completely assembled.  The modules can be set up and running in about 45 minutes to an hour depending on how much help shows up.  Tear down is usually half that time.  We transport our modules in a trailer by standing the modules on edge.  When you open the rear doors, it looks sorta like a file plan.  If you want more info, send me an email.  Email is in my profile.

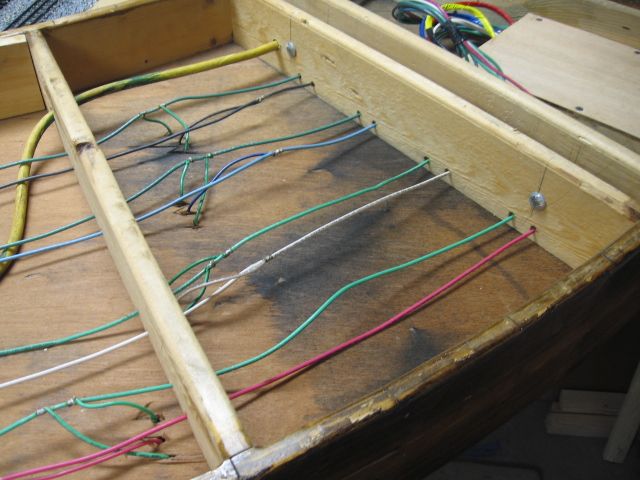
A few pictures, Fort Pitt Hi-Railers modules. Click on the underlined phrase to access a picture file. Framing material is good grade, 1" X 4", lumber with 1/4" luan board for the deck. May be $100+ per module material cost. Marginal quality lumber/material eventually is a problem, we recently replaced framing lumber on one module that had warped at least 1" in six ft.   Most modules are 6 ft X 3 ft, (37.5" with finish boards), (There are 8 ft. , 4 ft., 2 ft. and special application modules).  Modules are, designed with the face boards, (edge of each module), for stacking, and compact transportation. Every other module is stacked upside down, face to face/back to back.
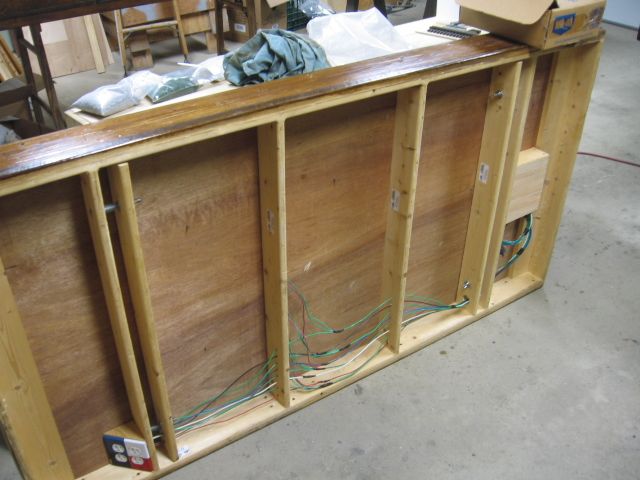
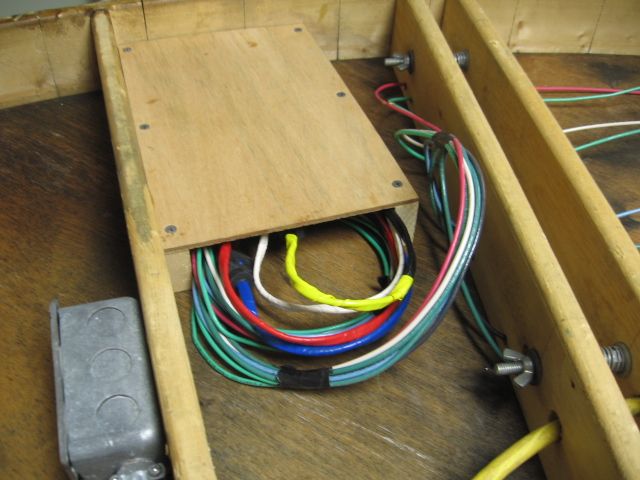
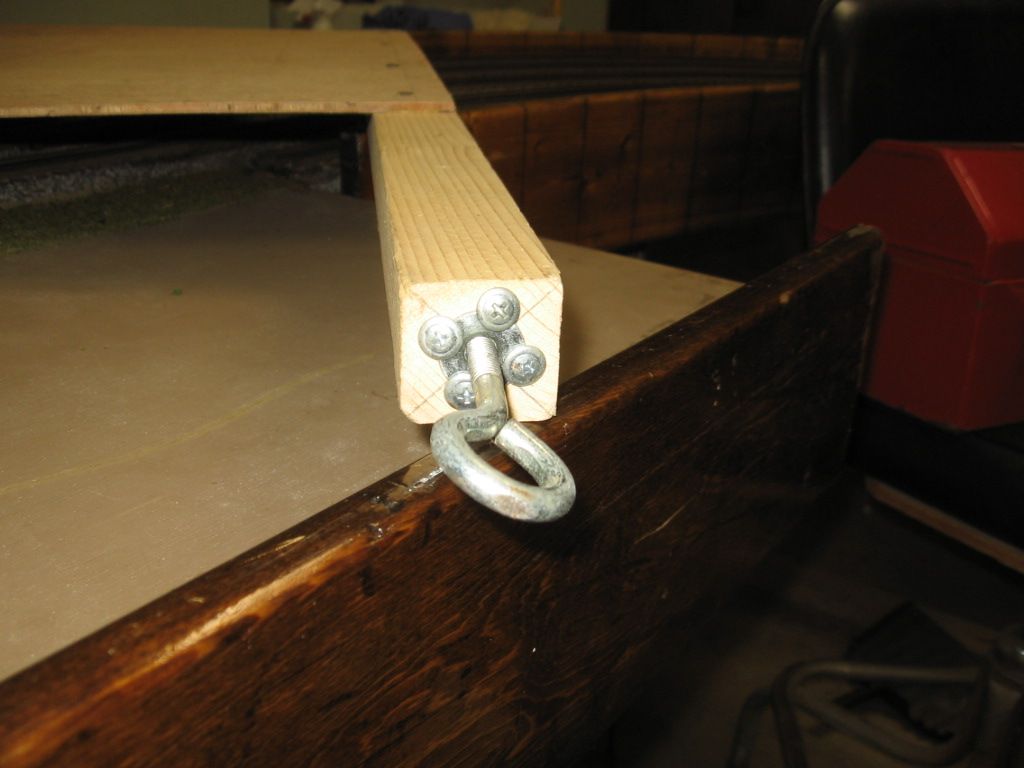
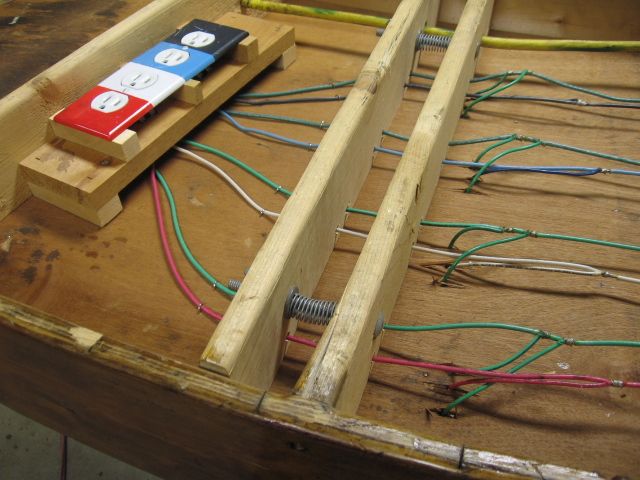
Clamp boards,  the leg structure is clamped between these two boards.  We recently increase the size of the 5" carriage bolts,  5/16" to 3/8", club members had complained that the small wing nuts, 5/16", were difficult to hand tighten.
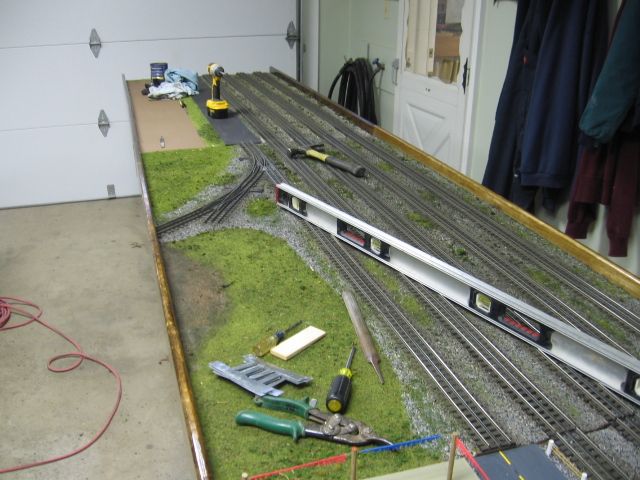
Most questions are about the wide-sweep corners, (outside is 6'4" radius, inside is 4'4" radius. Reasonable weight, not too heavy. I was able to place the curve on top of the straight module. Most modules should be handled by two persons.  Planning a modular display should also include carts, trailers, and related equipment for safe handling.
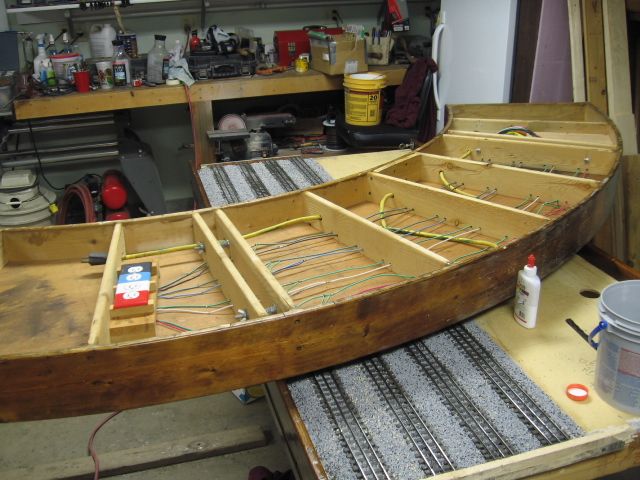
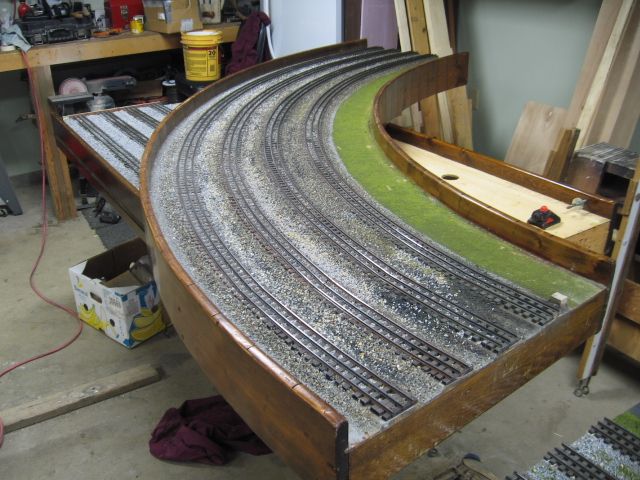
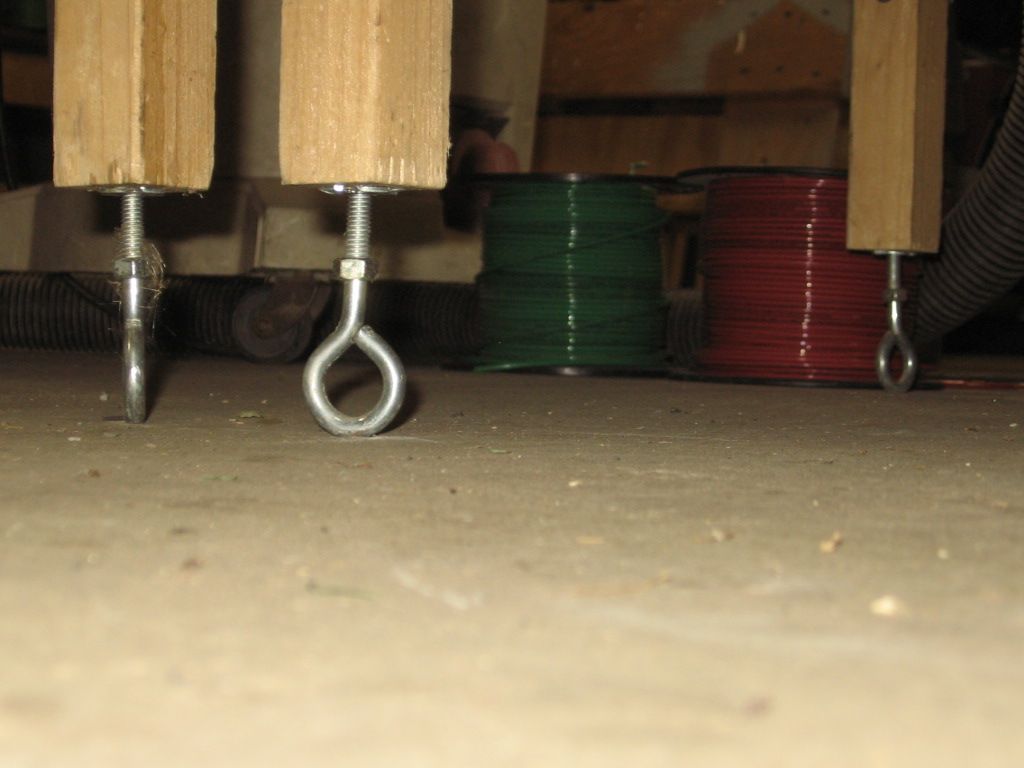
Leveling legs.  These eye bolts  can be turned by hand or a screw driver. Usually require oil after a few years of use.


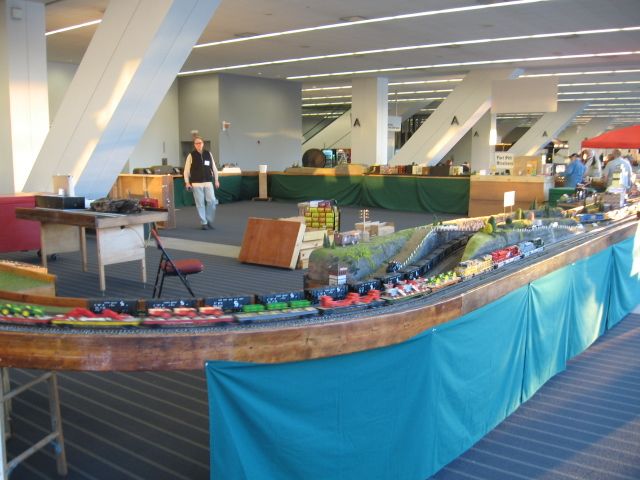
Recent Set-up Pittsburgh Home and Garden Show.  48' X 42'. 


Working on module maintenance.   We will be in the White Hall, Spring York TCA meet, late April, 2014.

Have fun with your project

Mike CT, Fort Pitt Highrailers

Last edited by Mike CT

Ed, I have modules built to Hirailer Standards. They are durable but they can get heavy. Unless your members have found the fountain of youth and are getting younger, that weight is not your friend.

Take a look at Lionel's Fastrack Modular system.

All of the hardware is available from commercial sources. You can also modify the design to fit your needs. Length is determined by standard Fastrack pieces but if wanted to use Gargraves or any other track or wanted more space for scenery you could easily change length and width to suit. They will be much lighter than Hirailer modules.

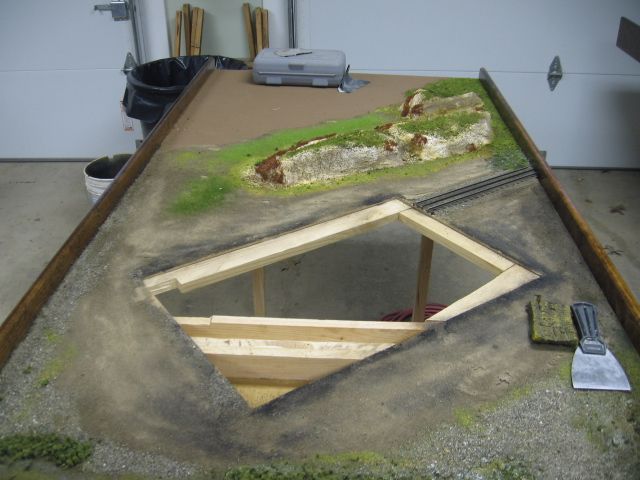
Also build all your scenery as drop ons leaving only track, roadbed, and grass on the module. You can use either thin plywood for scenery or styrofoam sheet. Makes setup a breeze.


Pete


Last edited by Norton

Thanks to all who took the time to reply.  Our group will be looking further at the standards provided by the Fort Pitt Highrailers, the Independent Highrailers, and Lionel FasTrak.  Just a few more questions.


Track at ends of modules

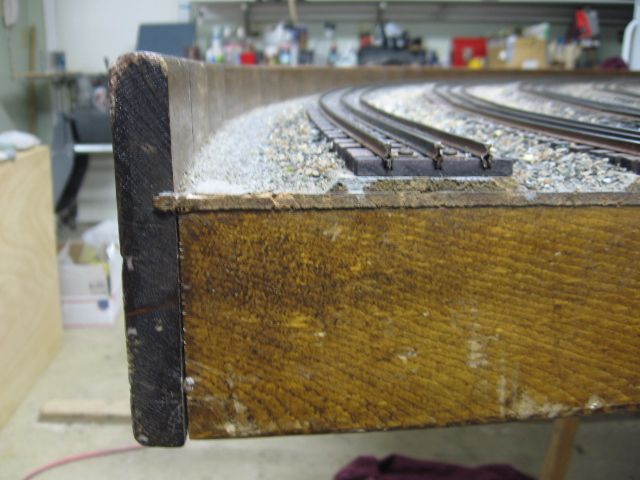
Some standards bring the track right up to the ends of the modules, others use "fitter pieces".  Ballasted track right up to the ends provides better appearance.  What has been the experience with track damage during moves/setup?  Are track pins used at the junctions of modules?


Locking mechanisms vs. C clamps

 The Fastrak modules locking mechanisms look very interesting.  Do they hold up well over time and what should we expect to pay for the 2 pairs/module? 

- side note - we have several skilled woodworkers in the club and if we went with  FasTrack modules we probably would buy the template and fabricate the modules ourselves to hold down cost. 


Side rail material

Most standards call for pine framing.   I've been disappointed with the quality of 1x4 lumber in recent years and have used 3/4" plywood ripped to 1x4 dimension on my basement 2 rail O railroad. I've not had any issues with glued and screwed butt joints.    Does anyone see a problem using 3/4" plywood for framing a modular railroad?


Top surface material

The standards differ widely for the thickness of the surface sheathing - ranging from 1/4" to 3/4" sub flooring.  Are there noise issues with Fastrak modules' 1/4" plywood surface? Thinner plywood offers reduced weight - but do negatives offset the weight advantage?


Thanks again

Ed Rappe

Last edited by Keystoned Ed

Ed, bridge tracks make setup easier but are difficult to get perfectly level. Running track to the edge and using track pins look the best but make setup more finicky. You can use boards across the ends of the modules to protect the track and held on with screws and wingnuts.

Lookup some pics of the Midwest Hirailers and check out their track work. Their track is run up to the edge. Looks as good as any home layout.


Pete

Ed, we had modules at the Ocean County club that 6 feet in length, the problem was weight and the length required a truck or van or trailer to transport and a strong back. also 4 foot lenght will maximize material as sheet goods are generally 4 x 8. I made new modules for them that were 4 feet in length using the stressed skin method which producet extremely strong and light modules that would fit in any vehicle. the frame was made of 3/4 ply sliced into 2 1/2 inch strips for straightness and stability. the frame is covered on both sides with 1/4 ply gluded and stapled. access holes are cut in the bottom for wiring and attachment to each other. one end has a recess and the other a key which protrudes to align in the recess of the next module. corner pieces have the keys on the side. the legs slide into the 1 1/2" square holes.

Last edited by JohnS

Ed,


Regarding the track ends.  I have been in groups with both.  Yes, ballasted track looks great and the only way to get that, if you are not using Fastrack or RealTrax, is to bring the ends of the other brands up to the edge.  It never failed, no matter how careful the guys were, they always managed on damaging the rails so new track had to be installed.  Since the track was ballasted, it was a bear to remove the old track back off and once replaced, to ballast again.  Fastrack, is a little noisy if you are operating in a small area.  In a large auditorium, you do not notice it.  With all of the sound systems on the trains now, i really don't notice it any time.  I cannot speak for RealTrax system.  As I stated earlier, we use 1/4 floor under layment for our table top painted Trolley Green.  Cross braces are roughly 16" apart on 8' tables.  Our layout is 10 years old and still going strong.  We use $2 pinch clamps available at any home building supply store at 2 per table.  Individually, the modules are wobbly.  Once they are all connected, they are solid.  I used the 1/4 top mainly for weight purposes.  The side rails are Poplar sealed with Teak oil.  If you use pine, make sure you use what is called select pine or Ponderosa Pine.  These boards are nice to work with and will take screws nicely.  

Post
×
×
×
×
Link copied to your clipboard.
×
×