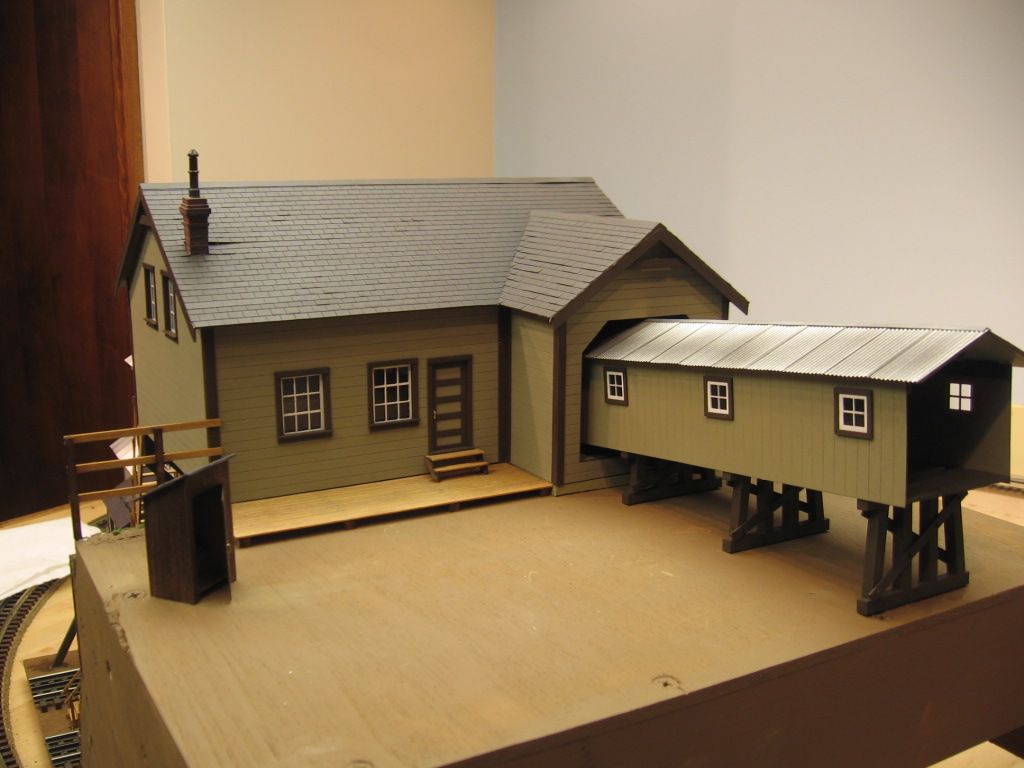
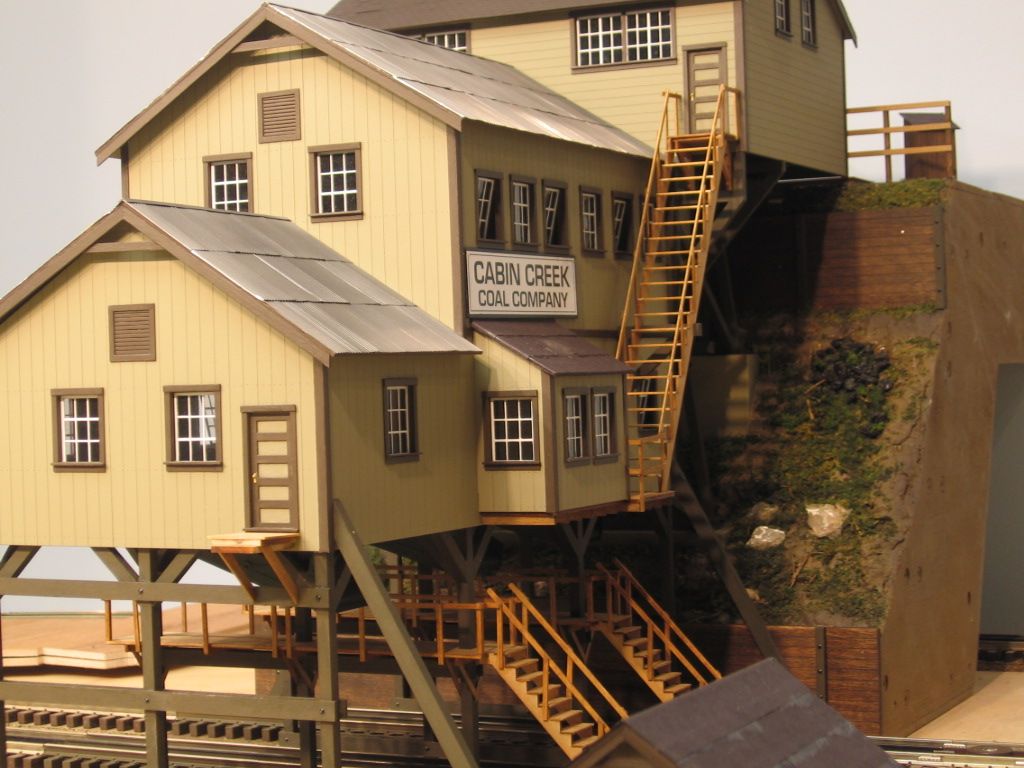
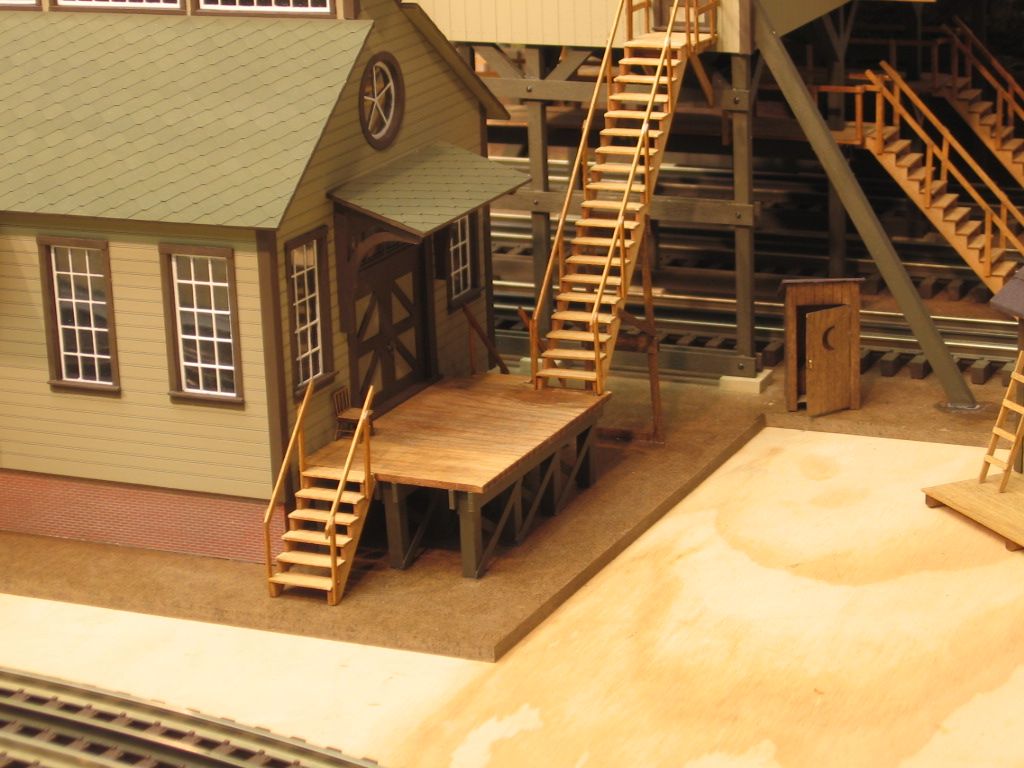
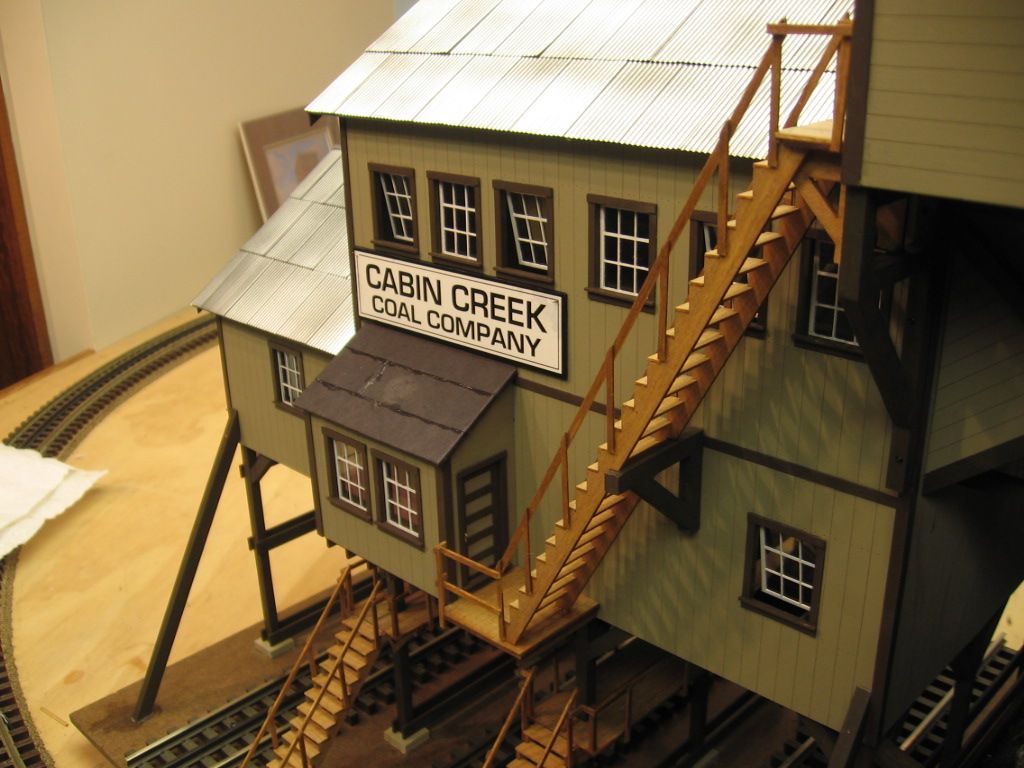
I've purchased BTS Cabin Creek and Mill Creek coal tipple laser kits which when built will be placed in service on my representation of PRR' Tyrone  and Clearfield Branch.  I probably will make some minor changes to the kits to suit the terrain on the layout.  I'd appreciate hearing from those on the forum who have built one or both of the kits about any challenges/lessons learned they have experienced.  A rough estimate of how much time it takes to build the model(s) would be of value to me in scheduling the project as there are quite a few others on my project list.  Any photos of your finished models would be appreciated.  


Ed Rappe

Original Post

Replies sorted oldest to newest

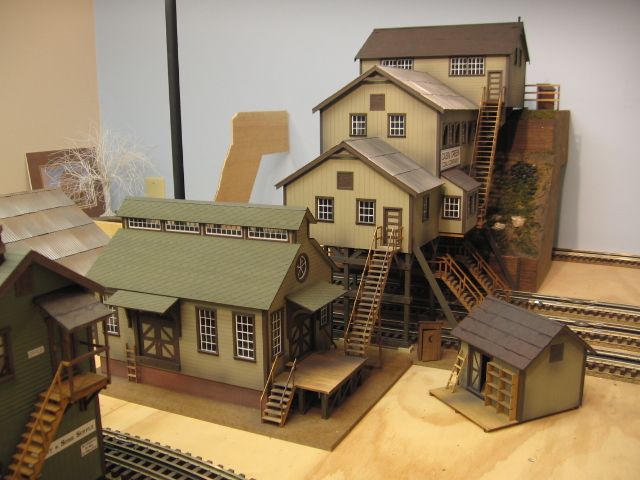
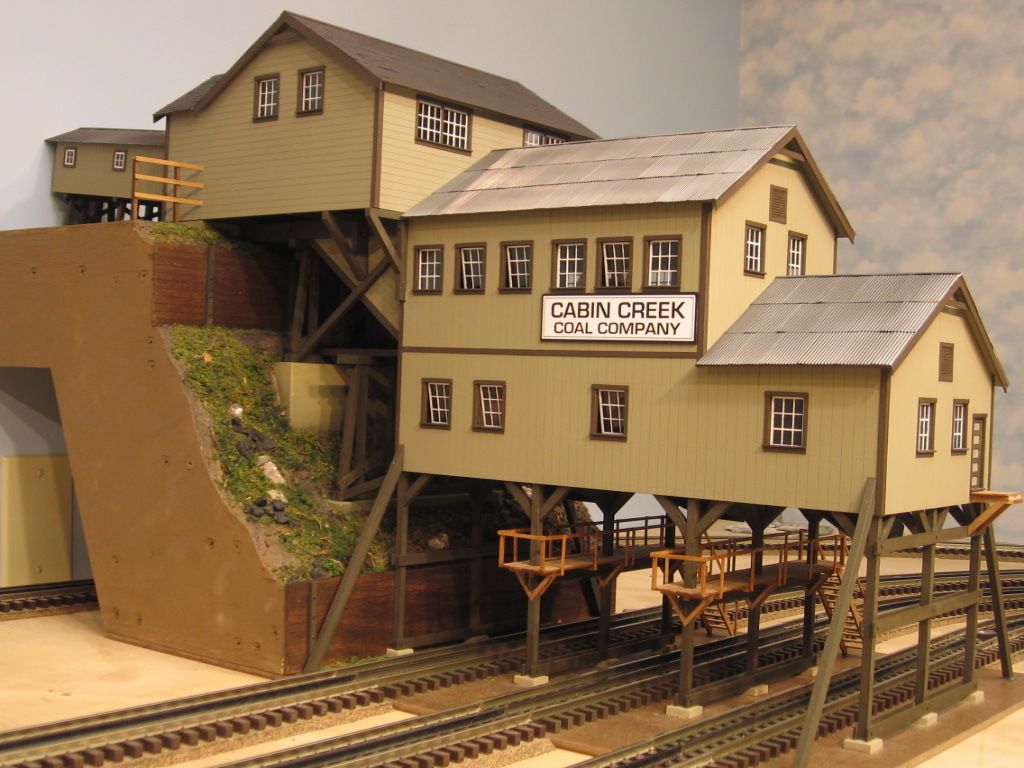
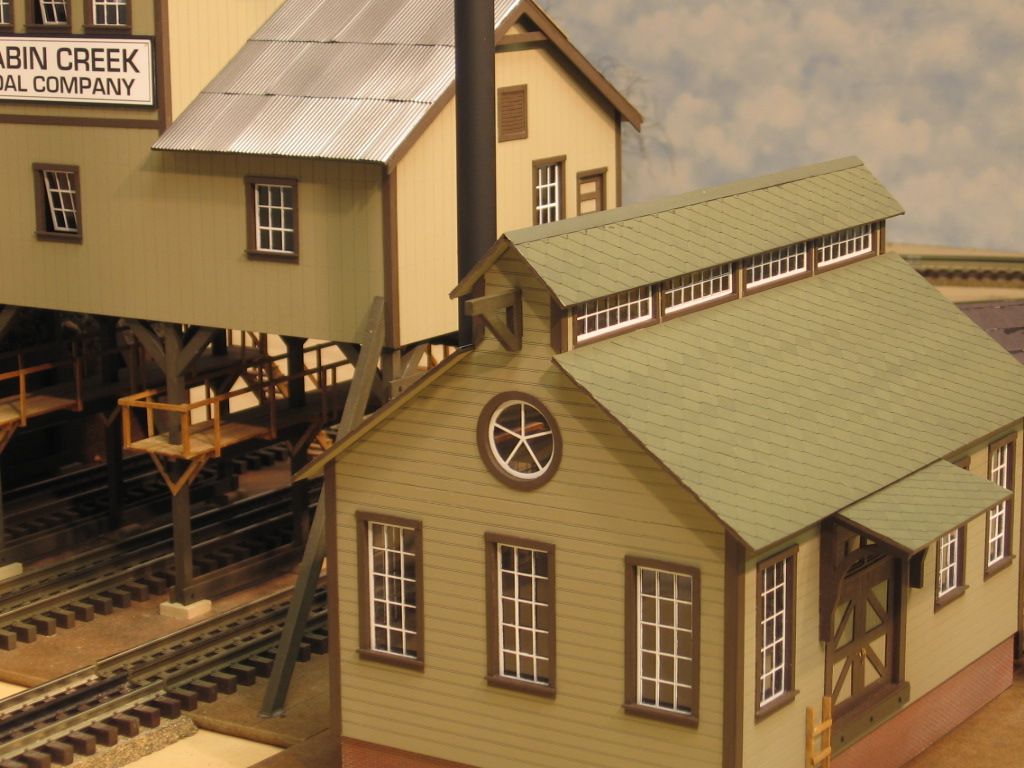
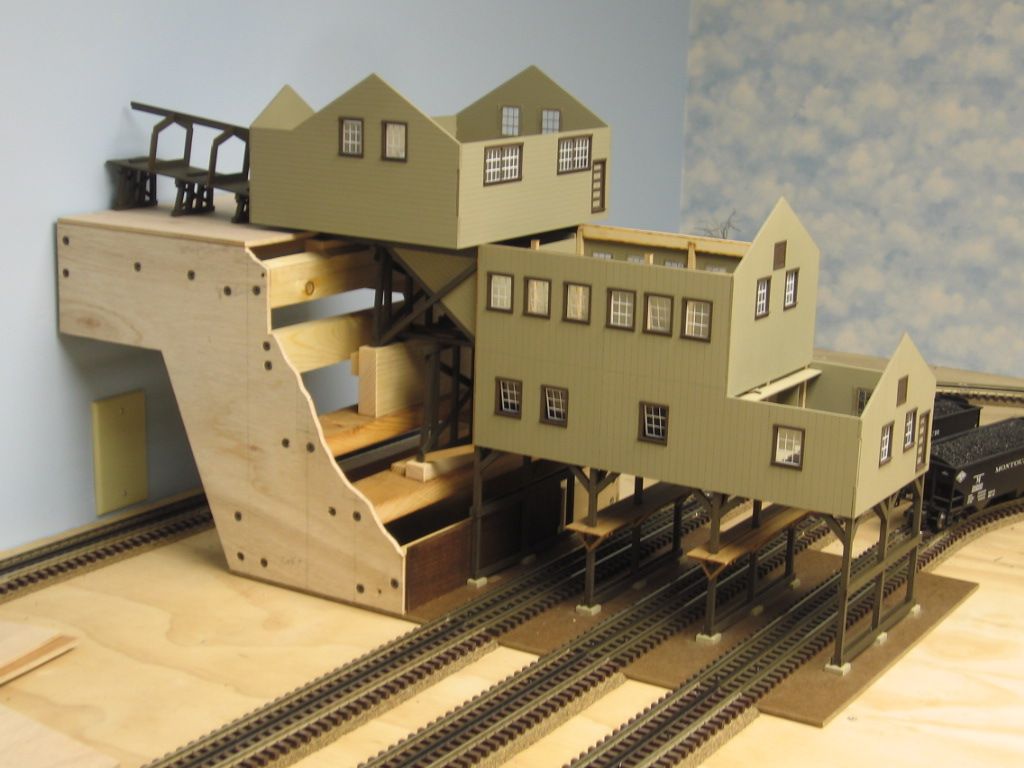
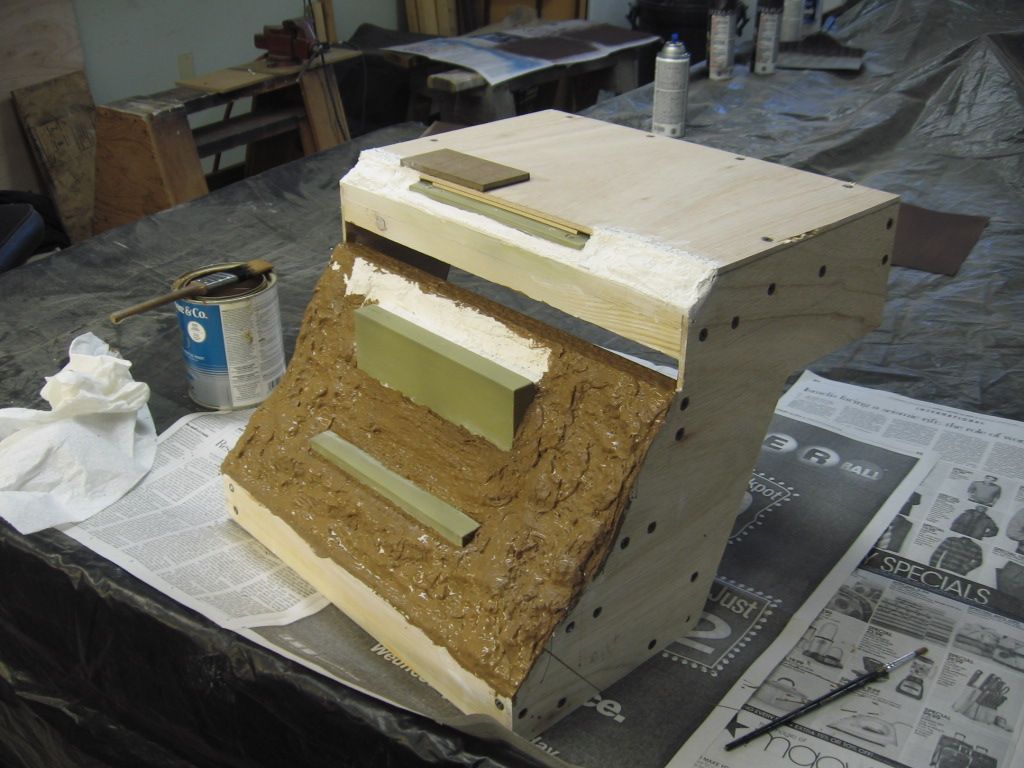
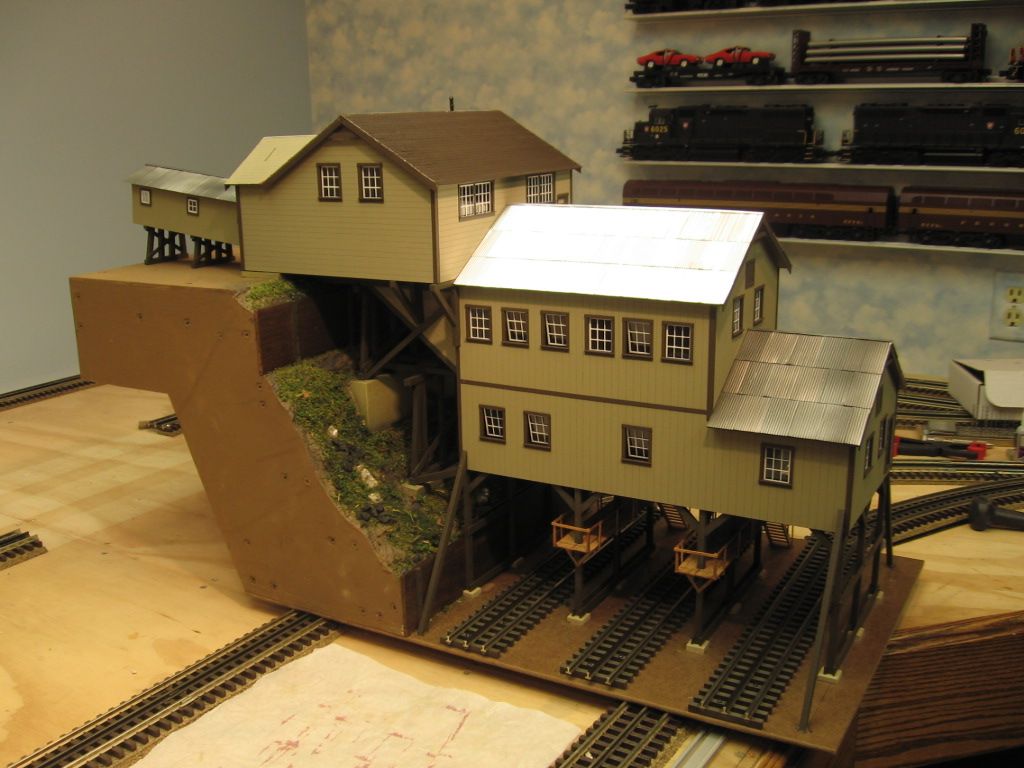
Ed:  Here are the build pictures (Cabin Creek Coal Tipple). Slide show 

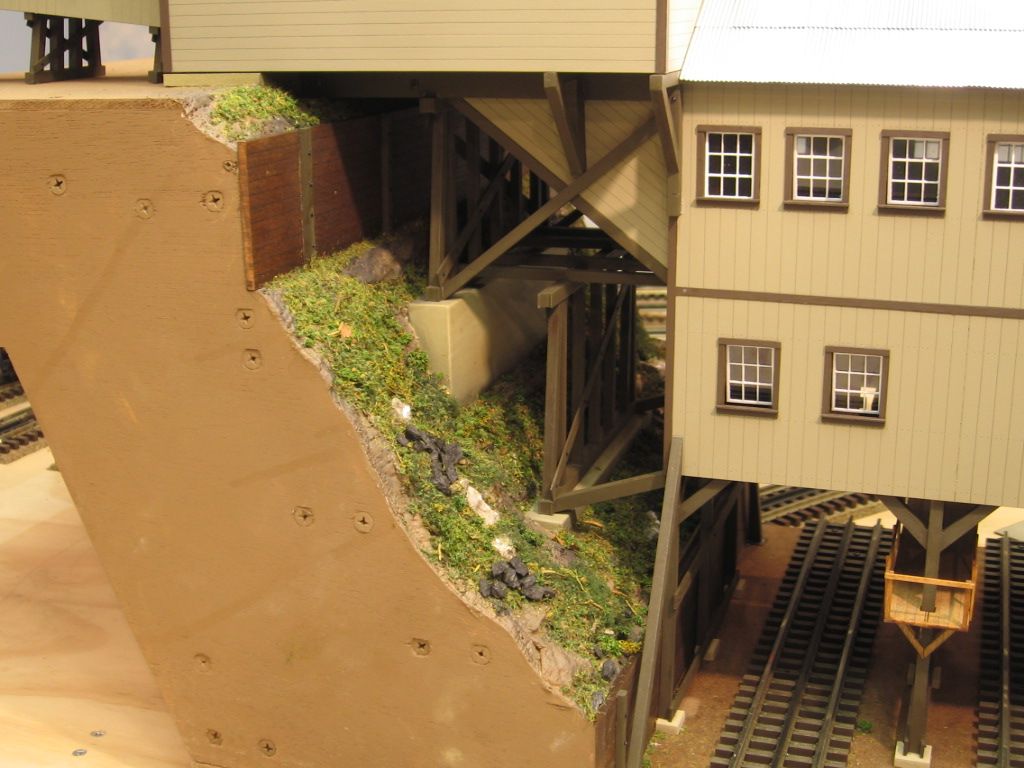
(1.) Building the Mountain-side is out of the box and not part of the kit. 

(2.) I also fabricated slope sheet bracing foundations.

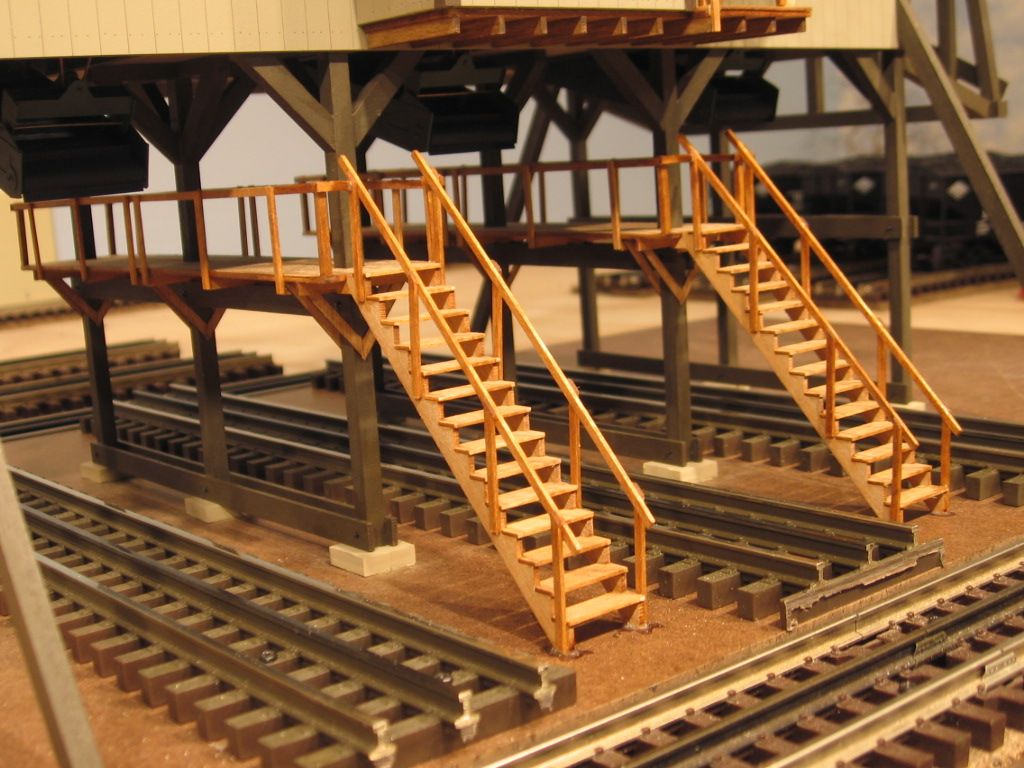
(3.) And on occasion added other bracing, trim and hand rails not part of the kit.

(4.) Metal roof is not part of the kit, Provided by Builder-In-Square.   

(5.) I spent a lot of time on a good base and all those construction things, square/plumb/true in the beginning, all went well.  

(6.) Click on the underlined phrase to link.  Build file with out the slideshow. Click on thumbnails to enlarge. 140+ pictures, note that there are seven (7) pages in this file.

 Have fun with your project.

Mike CT

Last edited by Mike CT

Stains.  (Retaining walls)  Minwax Dark Walnut.

(Stairs, hand rails, floors). Minwax Golden Oak.

Spray can paints. Shingles,  

Rust-oleum Camouflage Army Green.

 Rust-oleum Camouflage Brown


 Walls   Krylon Camouflage Khaki.  Khaki also works well for aged concrete.

 Window sash  Krylon White.

Model paints.  Trim.  Polyscale Railroad Tie Brown (Heavy framing structure)  and Polyscale Roof Brown (Window door trim).

Weathering Polyscale Grimmy black.

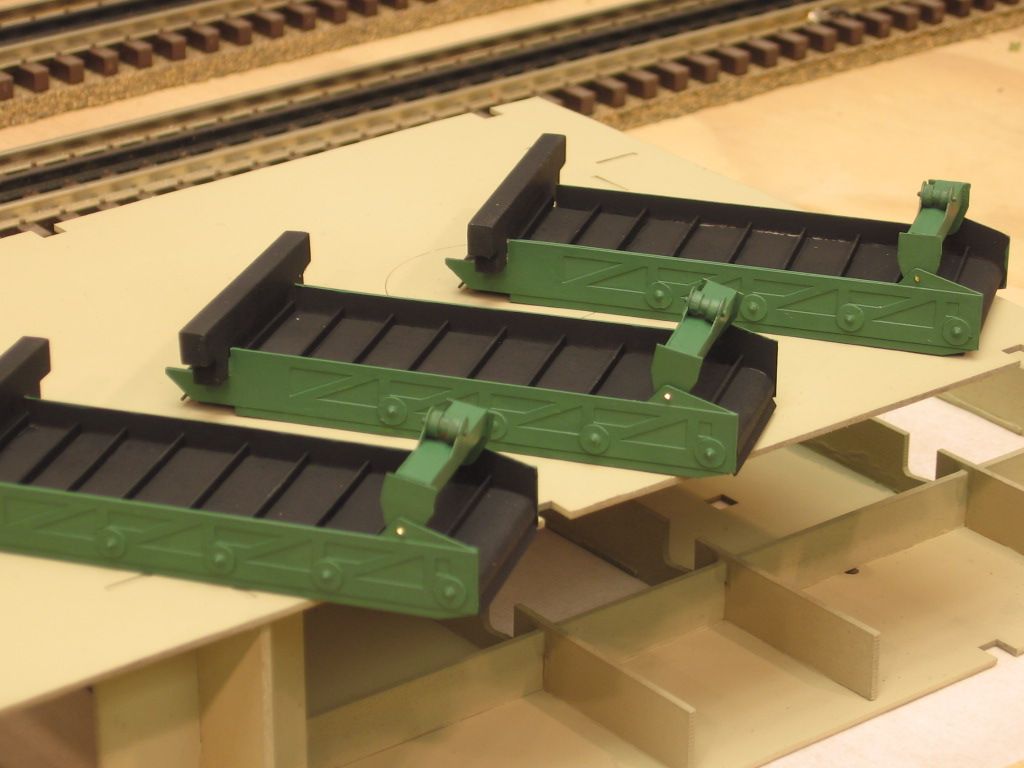
Conveyor equipment was Polyscale Coach Green. Krylon Flat Black

 Please let me know if I missed anything.

Spray can Paints were applied to both side of the card stock, which limited warping.

Paper Shingles were also sprayed on the sticky-back cards before application.

Caution:  Paper shingles shrink if applied and then spray painted.  

Most painting was done before assembly. 

 Mike CT

Last edited by Mike CT

Wonderful model building.  I  have the template for the retaining wall upper level for anyone who is interested.

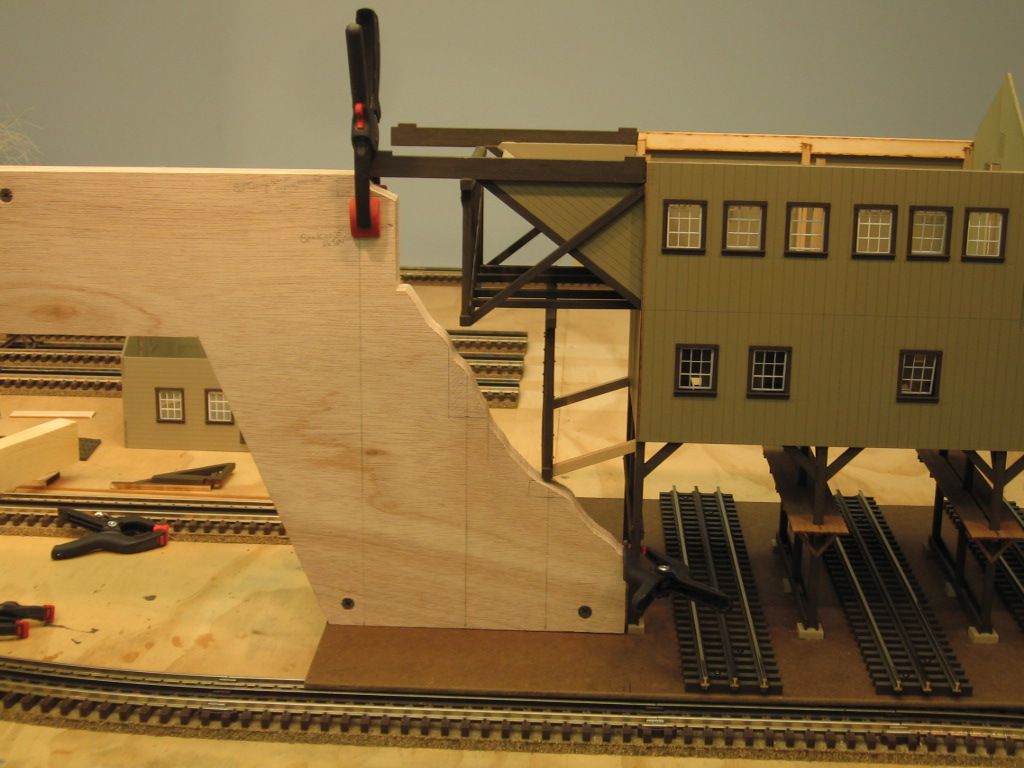
The two retaining walls, slope sheet support structure, and bracing, are part of the kit.  Concrete foundations and upper level slope are not.

Model is on display, through the end of the month, McDonalds Restaurant, Beaver (Vanport) PA. for those local.   There is a glass case display near the counter. 

 Mike CT

Mike,

The steepness of the upper stairs is based on the distance.  To make the stairs less steep you could move the stairs further from the building so it ends up at the side of the top conveyor building.  Then have a side door or walk way back to the original door or around to the back of the building.   I didn't find the steepness to be a problem.    If you have ever  been on a tall sailing ship the stairs are steep and are actually referred to as ladders.

Here is a picture of my breaker being installed on the layout.  You will notice a track between the breaker and front building which is why that stair was changed and two  tracks at the back under the top conveyor building. The 2 back tracks are the reason i had to raise the height of the breaker.

Ed,

You originally asked for the build time.   I spent around 57 hours.

kurzwell coal breaker

Attachments

Images (1)
  • kurzwell coal breaker
Dr. Brooke Seckel posted:

Do you still have the template for the upper retaining wall? I am building this kit. Would love to have the template.

I do not have a template.  the retaining wall will be based on your scenery.   I suggest you do your background scenery then make the retaining wall to fit.   Scenic Express makes some nice looking foam retaining walls that you can cut to size and paint.

Mike CT posted:

Wonderful model building.  I  have the template for the retaining wall upper level for anyone who is interested.

The two retaining walls, slope sheet support structure, and bracing, are part of the kit.  Concrete foundations and upper level slope are not.

Model is on display, through the end of the month, McDonalds Restaurant, Beaver (Vanport) PA. for those local.   There is a glass case display near the counter. 

 Mike CT

Mike,


Beautiful work. Do you still have the template for the slope as you mentioned? I am building the kit.

Mike CT posted:

Stains.  (Retaining walls)  Minwax Dark Walnut.

(Stairs, hand rails, floors). Minwax Golden Oak.

Spray can paints. Shingles,  

Rust-oleum Camouflage Army Green.

 Rust-oleum Camouflage Brown


 Walls   Krylon Camouflage Khaki.  Khaki also works well for aged concrete.

 Window sash  Krylon White.

Model paints.  Trim.  Polyscale Railroad Tie Brown (Heavy framing structure)  and Polyscale Roof Brown (Window door trim).

Weathering Polyscale Grimmy black.

Conveyor equipment was Polyscale Coach Green. Krylon Flat Black

 Please let me know if I missed anything.

Spray can Paints were applied to both side of the card stock, which limited warping.

Paper Shingles were also sprayed on the sticky-back cards before application.

Caution:  Paper shingles shrink if applied and then spray painted.  

Most painting was done before assembly. 

 Mike CT

Mike,

What material did you use to fabricate the slope sheet bracing foundations

Mike,

Question 1:   What material did you use to fabricate the slope sheet bracing foundations?   Poplar, or pine wood, cut blocks.    

Question 2:  Do you still have the template for the slope as you mentioned? I am building the kit??  Yes.   There are several cut luan board (plywood) templates of the side profile pictured.  I was going to use them to continue the mountain profile on the layout.    Contact   Thompsonelectric@gmail.com   I'll mail you one, no charge.   

Last edited by Mike CT

Add Reply

Post
×
×
×
×
Link copied to your clipboard.
×
×