
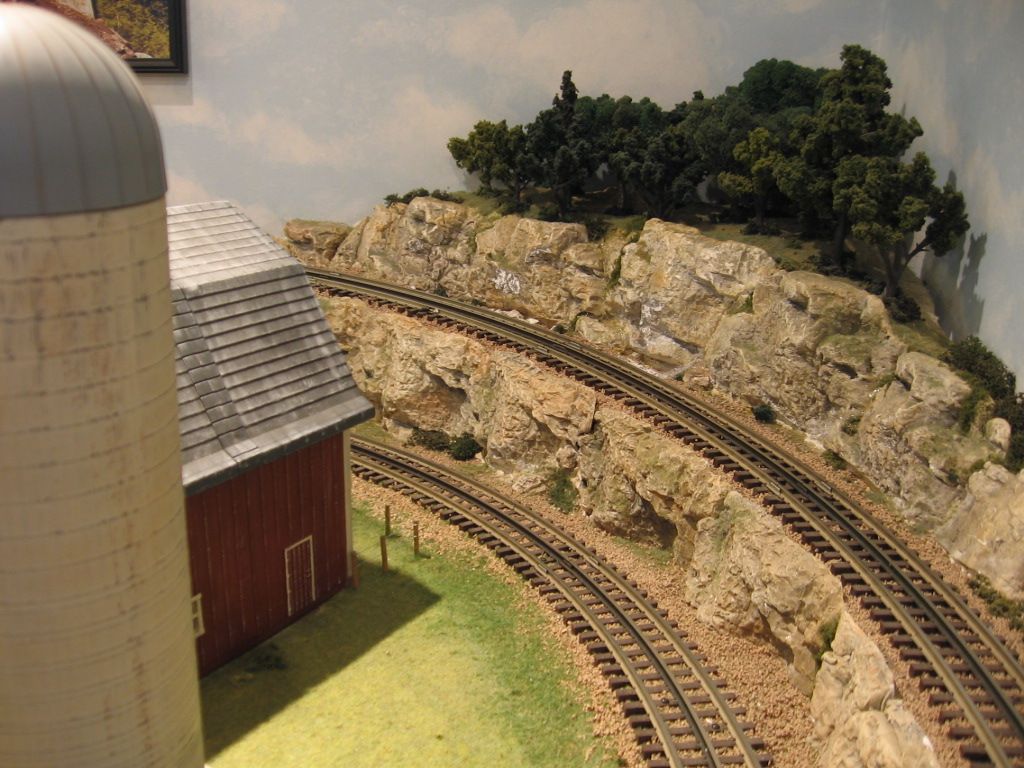
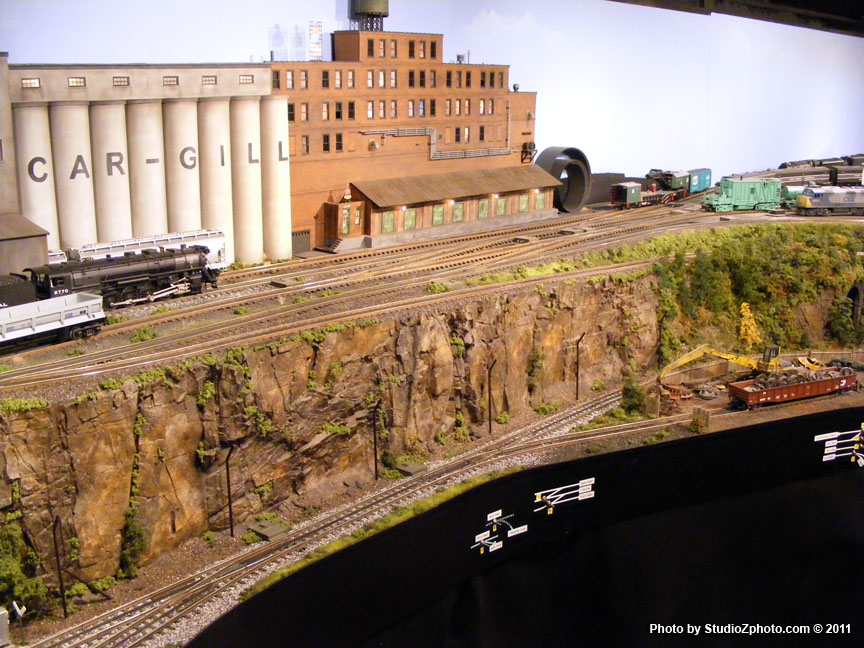
I have two levels and in one area it is close to the lower track.  I would like suggestions (& pictures if possible).  One idea I have is brick paper but it would be too much over all, so just a little might do.  Here are some pictures of the area I'm working on now.

The upper level has a road coming down and turning to the right (our view). The lower level is just track. The area in front of the furnace is a pull out section with sheet metal protection (it does not get hot). The area in front of the furnace is immediately to the left of the white & pink foam area in the other picture.

In advance, thanks all for your input.

Dennis


DSCF1006


DSCF1007

Attachments

Images (2)
  • DSCF1006
  • DSCF1007
Original Post

Replies sorted oldest to newest

A block wall at trackside - as is available from Scenic Express. The flexible "Pennsy Wall" is very popular. Make it as tall as you like. I would make it just a bit taller the average engine.


Then some terrain on top, recessing towards the next level, perhaps an inch or two. Then a small retaining wall of the same material. This wall material can be cut at the block lines with an exact easily and it is flexible. Then some terrain up up the tracks. Using a couple of indented retaining walls adds interest and you can apply overgrowth etc., stepping your way back to the upper level.

Try broken ceiling tile glued together for a cheap easy way to make a interesting cliff. You can usually find some tiles free at Home Depot or Lowes.  Just make sure you stagger them (uneven edges), then spry with paint and sprinkle on some ground foam in several texures.  There have been some articles with pictures also I have seen several on forum members shots of their layouts.


Paul Edgar

You could make a dark scene with a cut out such as I did using a the Lionel track laying gang (idea could be building a tunnel as shown in view 1)  or (as mine scene as shown in view 2)

I have put these pictures out before so some may have seen them.

Your view could be a subway, or going thru a snow shed.

I hope that this gets you to thinking of different ways besides just a blank wall.

0203121346

0203121347

Attachments

Images (2)
  • 0203121346
  • 0203121347

Mike....great looking "rock wall". I will be using about 7 rock moulds, and was worried about there being too much similarity once they are all installed, but you only using one mould for all that tells me not to worry about that aspect.


I also have a similar project on the go as the OP, and have decided to go with a carved pink styrofoam wall, to which I will eventually glue cast rocks. I hope it turns out as nice as Mikes.


Avanti......great looking concrete items out of pink foam. Gives me some more ideas.....thanks for the pics.


REV


017

001

004

Attachments

Images (3)
  • 017
  • 001
  • 004
Last edited by revitupfaster

Wow!! So many great ideas.  I like so many of them.  Thanks all for the input and showing what you have.  Some day I will have to post my results to compare to what it looks like now.

Fred... I think you have been waiting a loooong time to get a shot at me for my pokes at those "1 to 1" scale building posts of yours.


Santa Fe VA........


Yes, the upper level is 3/4" plywood. The upper level is actually the full table height underneath. The outer (lower level) runs around the outside, and on the backside there are 2 tracks, one continues around on the lower level, the other is a grade that brings the train up to the higher section.


The first shot shows the front of the benchwork before I closed it in with the styrofoam wall. The upper part is supported by 2x4 risers, and 2x4 crosspieces that are attached to the inside 2x4's of the lower level. I'm over 200 lbs, and the upper level easily can support me, should I ever need to to put my weight on it.


The second pic shows the grade track at the back of the table. The lower track runs under the part where the 2 trucks are sitting.


Since these shots were taken, I have extended the upper level, through tunnels into the next room, which can be seen in the pics of my original post.


REV


011

015

Attachments

Images (2)
  • 011
  • 015

Dale,

This was carved with a steak knife. First, I carved parallel grooves in the foam, then cut out vertical concave areas. The whole cliff is about eight feet long and took over 20 hours to carve out.


Then I painted it with Krylon dark gray plastic spray paint which ate into the foam. At first I thought this would be a disaster, but I got very lucky and it made the cliff face look more realistic. After getting great advice from a bunch of scenery forum regulars, I used a lighter gray wash over it to highlight the rocks.

Post

OGR Publishing, Inc., 1310 Eastside Centre Ct, Ste 6, Mountain Home, AR 72653
800-980-OGRR (6477)
www.ogaugerr.com

×
×
×
×
Link copied to your clipboard.
×
×