
Morning to all !


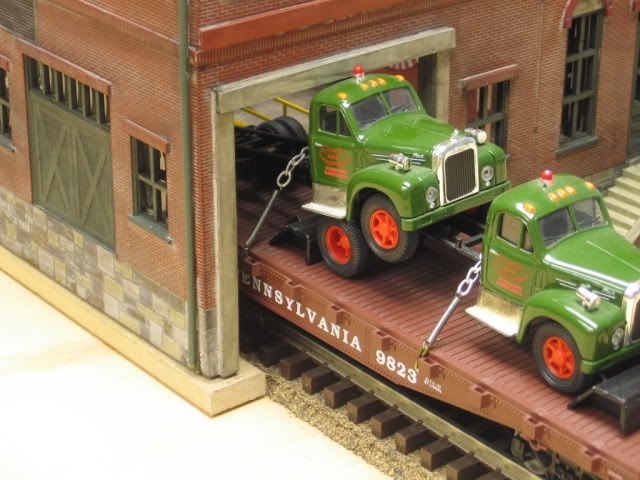
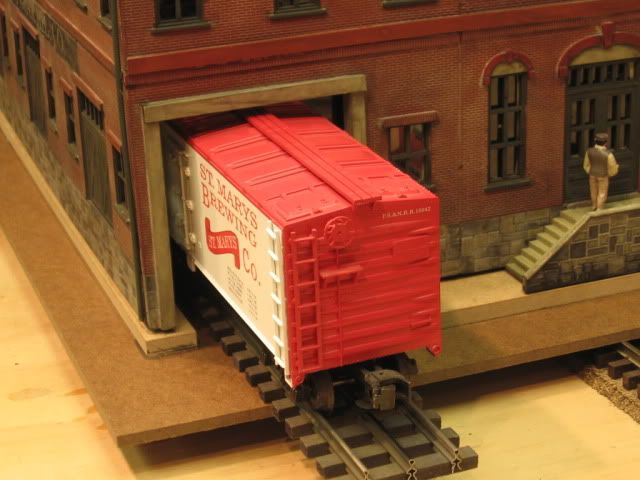
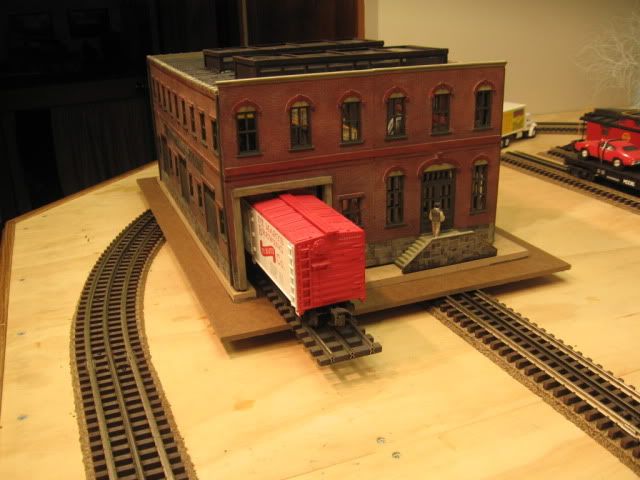
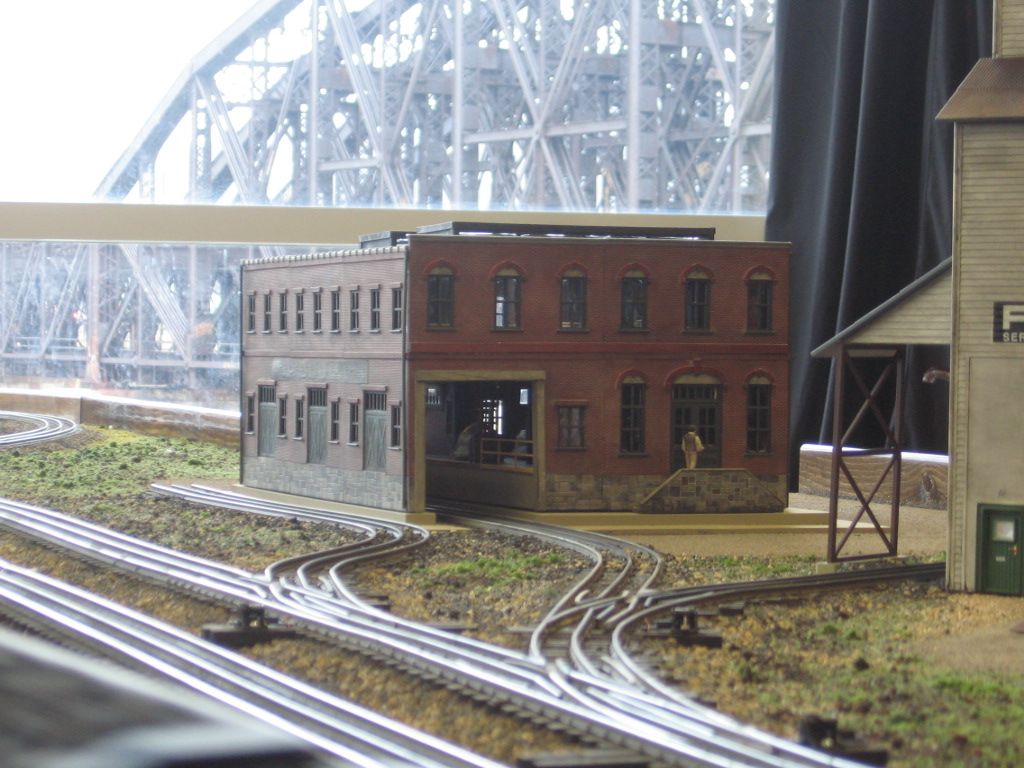
I'm building a small town as part of my layout and I'm using all ameri town buildings. I could use some suggestions regarding how to build sidewalks and what material to use. I purchased the additional sidewalk pieces and quickly realized they don't match up with the front of the buildings. If you sit the building on the sidewalk then the building is un-level. So... i have tried numerous ways to build a sidewalk/ base and can't come up with anything that doesn't warp when painted etc. I am building on top of a 2" sheet of foam board that serves as the base on top of my plywood. I'm fairly new to the hobby and can use all the help I can get !


Thanks


Dave

Original Post

Replies sorted oldest to newest

Originally Posted by OGR Webmaster:

Put the building BEHIND the sidewalk, not on top if it. That's how they are intended to be used.


.

Not really doable, since many of the buildings have a feature flush with the bottom jutting out. For example #72, Bill's Place, has columns jutting out from the front of the building. If you try to place the sidewalk on the same level flush to the front of the building there will be gaps about 1/8-1/4" wide on each side of the relief of the columns where it sticks out. 


The best solution to overcome this design flaw I have found is to mount the building on a one quarter inch masonite base coated with drywall compound. Sand the compound and paint concrete color. Use the same 1/4" masonite for your sidewalks and use one eighth for your streets, giving you a six (scale) inch curb. The relief features of the building sit out over the sidewalk.


edited to add the word scale to "six inch curb."

Last edited by Harry Doyle
Originally Posted by OGR Webmaster:

If you want to put the building on top of the sidewalk, just use a small piece of wood or styrene to raise the back, then use scenery material to "fill" the gap so the building is IN the ground and not on top of the ground.

If you're modeling in the city with structure after structure, most likely you will have concrete parking lots and alleyways flush to the sides of the building as opposed to natural materials.

As you can see in Mike's photos, the steps in the center of the building on the left in photo two impede placing the sidewalk flush to the base of the building. Likewise the columns om the building to the right. You either have to route out the sidewalk to fit the relief of the building or place the building higher on a base the same height as the sidewalk. 

I like Harry's method of placing masonite completely around the buildings with the buildings sitting on top.


To help fit the sidewalks in tricky places, I sometimes cut the masonite into small squares and glue the separate pieces in place around the buildings to form the sidewalks and alleyways. The ones in this photo haven't been coated with drywall compound as Harry describes, but that extra texture makes it much more realistic.


sidew 001


Instead of masonite, you can also use real travertine marble tile squares from Home Depot for even more texture. But, I guess I really should do something about all those weeds growing in and around the sidewalk cracks.  


sidew 002


 By the way, the drywall compound method was used to create the places where cobblestones show through the road. Pieces of thin plastic brick material were glued in place and the edges covered with drywall compound and rough sanded.


sidew 003


Jim

Attachments

Images (3)
  • sidew  001
  • sidew  002
  • sidew  003
Originally Posted by Jim Policastro:

To help fit the sidewalks in tricky places, I sometimes cut the masonite into small squares and glue the separate pieces in place around the buildings to form the sidewalks and alleyways.  


Jim

Cutting the sidewalk masonite into smaller pieces is the preferred method for more realism. Likewise with the streets, mimicking the concrete pours. It is time consuming and worth the effort.


An alternative it to use a heavy coat of drywall compound and then to score the pours and sidewalk divisions with a wide bladed saw.


Using 1/4 on the sidewalks and building base and 1/8 on the roads gives a believable height transition from street to sidewalk. "Plop in place" buildings typically have a half inch curb, which equals two scale feet curb height. 

David:

I use 3/8 inch foam board (kind you buy at Micheal's). I cut strips for sidewalks and rectangle to rest the buildings on. To make the expansion lines I simply use a mechanical pencil and straight edge.

To get the concrete look paint:

Black paint - 100% coverage not necesary

Dark Red paint -  100% coverage not necesary

Dark Gray - more than black and red

Either white paint or a textured white paint like Rustoeleum Caribbean island - spray till you get the effect you like.


PICT3292

Attachments

Images (1)
  • PICT3292

As others have stated, I too, like to place the whole building on a solid base forming the bottom floor and the sidewalk.  I use 1/8 inch tempered Masonite and usually make the entire block of buildings on one piece.  By slightly rounding the top corner, you wind up with an edge that looks like a curb at a scale 6 inches.  I scribe the seams in the Masonite using a hobby knife and paint useing Woodland scenics concrete paint.  I also use the WS asphalt color and just paint the roads or streets on the table top.  Even on plywood, two or three coats will give a finish that looks like asphalt.


By doing the whole block on one piece, I can install the street lights and wire underneath the Masonite using copper foil tape.


Happy railroading,

Don

Originally Posted by Model Structures:


         class="quotedText do_rounded_div_css_ffsafari_tl do_rounded_div_css_ffsafari_tr do_rounded_div_css_ffsafari_bl do_rounded_div_css_ffsafari_br">
       

David:

I use 3/8 inch foam board (kind you buy at Micheal's). I cut strips for sidewalks and rectangle to rest the buildings on. To make the expansion lines I simply use a mechanical pencil and straight edge.

To get the concrete look paint:

Black paint - 100% coverage not necesary

Dark Red paint -  100% coverage not necesary

Dark Gray - more than black and red

Either white paint or a textured white paint like Rustoeleum Caribbean island - spray till you get the effect you like.


PICT3292


do you have any better pics of your concrete finish
using your paint technique? thank you

jerrman
Post
×
×
×
×
Link copied to your clipboard.
×
×