I just got a group of Ameritown buildings and started to paint the surface, but the paint seems to bead up. Should the surfaces be washed first? Is there a special priming paint that should be used? I just searching through half a dozen threads and could not find anything. If this has been discussed before, please point me in the right direction. Thanks! Sandy
Replies sorted oldest to newest
Sandy, It never hurts to wash parts in soapy water, rinse and let dry. Aerosol cans of primer offer white, black, gray and brown colors. Have the aerosol paint at the recommended temperature and a few very light coats is better than one heavy coat. Patience, patience, patience. John in Lansing, ILL
Attachments
Thanks. I will wash them in soapy water. Are there particular kinds of primer that you recommend? Could you clarify the point about temperature (I am new to this). Thanks again.
There is usually an oily film left on the plastic parts from the molds. I am no expert, but all I do is wash with warm soapy water (dish soap) and let dry thoroughly then paint. I have not yet used a primer on anything I have done. I use the cheap acrylic paints from one of the large craft stores, about $1 or so a bottle.
With the Ameri-Towne and like buildings there is a Roberts mortar product that you wipe on and wipe off for filling in the mortar joints. Others have recommended it, but I have not tried it. I just used the cheap acrylic paint for that as well, in a gray concrete like color. Others have reported unsatisfactory results doing this, but it worked ok for me. I did not paint the Ameri-Towne buildings before the mortaring, just left them their original color.
Again I am only a bit past the beginner stage with kits and buildings, but there are lots of experienced modelers here on the forum that have many years experience and do very nice work on top of that. ![]()
Sandy, It never hurts to use the best paint available. National brands work for me. Our local Ace Hardware store carries a house brand as well as national brands. Pay your money and take your choice. Directions on the cans usually refer to a temperature range for the can/paint which I follow. Shake well, paint past the model before releasing the pressure. The only item I buy the cheapest of is hair spray when making trees because the cheapest is the gooiest and the powders and clumps stick to it better. Keep asking questions, someone in this group has made all the mistakes, no sense you repeating them. John in Lansing, ILL
Sandy
I now have about 15 Ameri-Towne buildings, and I intend to apply a technique offered by a hobby friend -- wipe on ordinary spackling compound on the brick wall units and then promptly wipe off the excess, thus leaving a "mortar joint" effect. I'll use masking tape to define the areas for color acrylic spray paint -- cornices, window frames, store front doors and picture windows, etc.
Carry on ,,,
Mike
(ritrainguy)
I have used spackling paste and Woodland Scenics foam putty for mortar lines on brick buildings. I first paint the brick with Polly-Scale mineral red and let the paint dry for a few days before applying the "mortar."
Tamiya paints work straight away with no washing. etc. Use the DPM formulae for mortar lines or weathering. Should work fine. Ian
This brick mortar was done with a standard household latex paint that was diluted to the consistency of milk. A wash is applied several times to get the brick mortar detail desired. Paint detail is done with a brush, carefully, with Polyscale (Modelmasters) acrylic model paints. All painting was done before assembly. I found it easiest to work with the fronts/panels laying flat on the work bench.
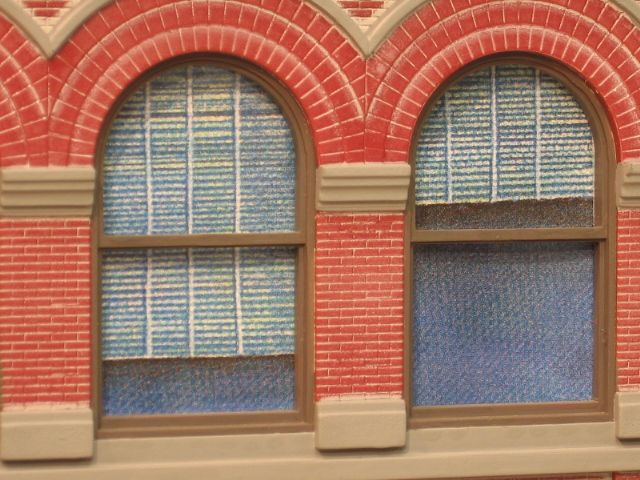
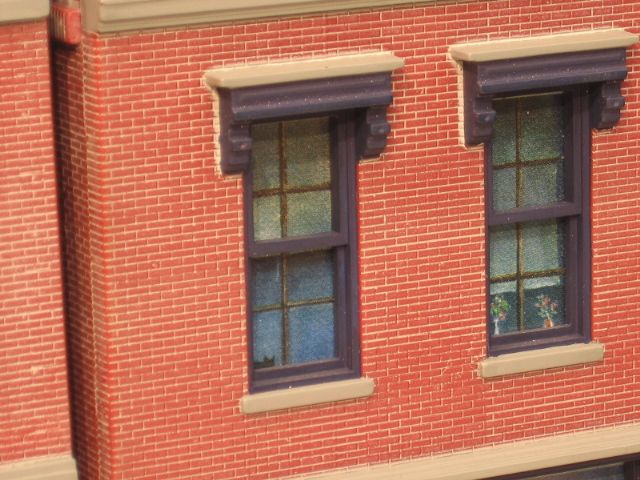
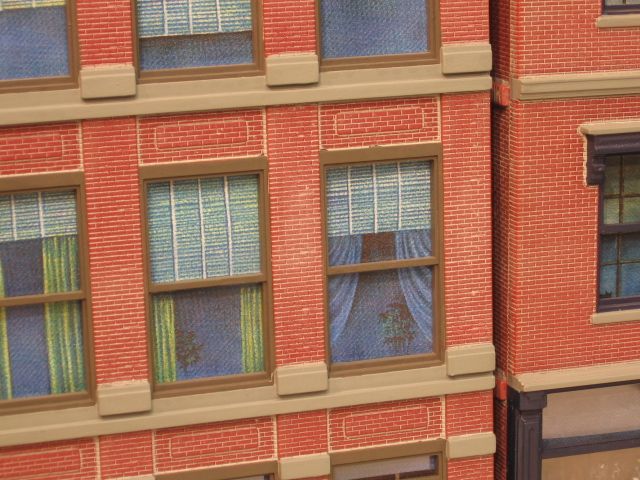
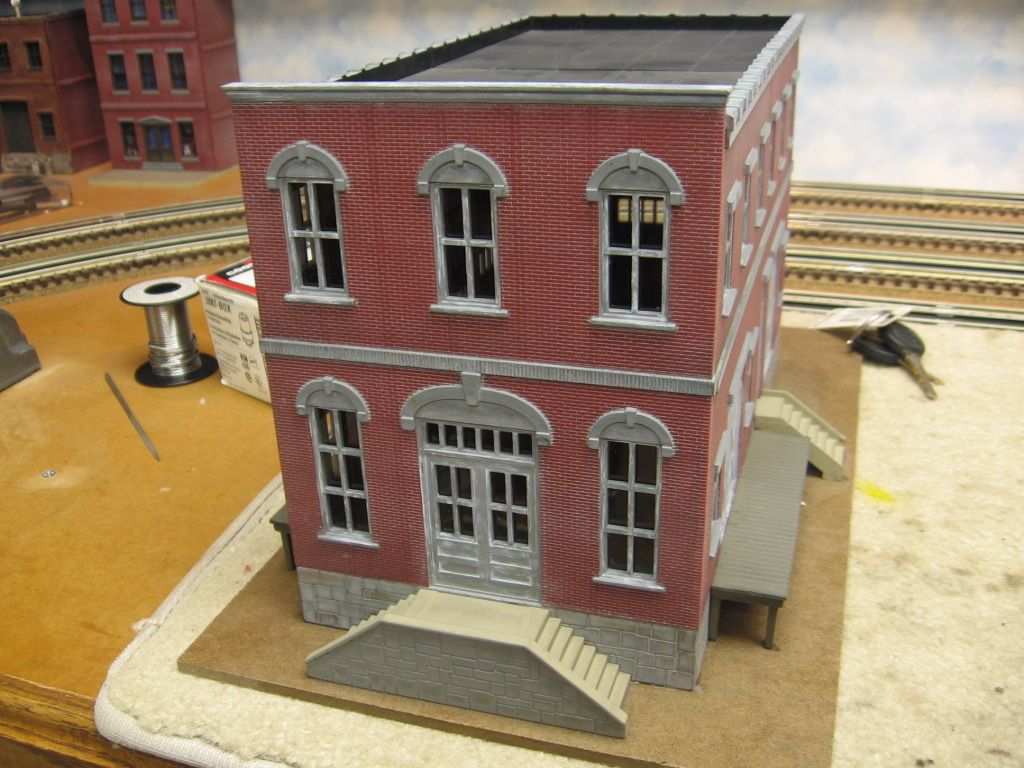
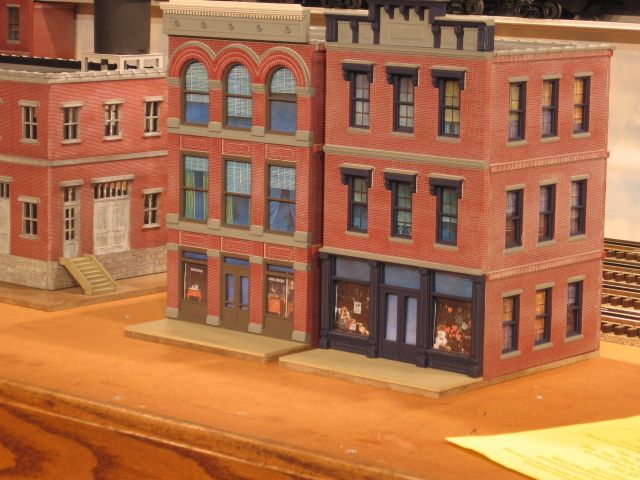
Anything painted should be cleaned, unless porous enough it doesn't matter.
"Fish eye" is the result of a little spot. Yours sounds oil coated, lol.
You need to take care painting plastics and vinyl. Some paints, mostly sprays, can have a "hot" base that can melt it. Mainly lacquer is the paint to watch, using only very light coats and full dry times. Most primers offer a safer delivery base, and good protection from a hot top coat.
I like the textured look of craft acrylic. And the price (.still under a buck mostly) And that its soap and water clean up...heck, half the time you don't need soap. You can wash it clean if your unhappy too.
But it is kinda thick. Other acrylics (oil) are usually thinner, or thin easier, and are more durable.
Oil paint will still fisheye because it has less oil in it, or a different type. But will fisheye less if a TINY TINY bit of the offending oil is mixed into the paint ahead of time. (Silicone contamination, the ruin of many paint jobs, and very hard to clean off some items, can sometimes be overcome this way. Maybe two drops in a quart, tops, mixed well)
dear Sir, you can also spray paint the surface with matte clear if you like the brick colour. water colours and acrylics, if too wet, won't attach itself to the slick surfaces of plastic and those paints need something to grab onto. Also, Walmart has their cans of paint for a dollar to a dollar and a quarter which work great. The grey primer from Walmart is also good. How to make mortar from Mike CT is the way to do it. Mikes buildings look great. it takes time to work on the these buildings, but with that, they do come out great! Good luck! Dan
Anybody know of matching brick sheets? Matching of brick size of an Ameritowne structure to plastic brick sheets.
IMO, there are too many windows on the bottom sides of these structures.
Not sure what all they have available, but Ameri-Towne sells several different walls and building pieces that you might be able to work with? I don't know of any matching plastic brick sheets other than theirs?
I'll second the above mentioned advice.
Wash with soap, rinse well, air dry thoroughly. Spray with clear matte finish. I've found that when adding joint compound or drywall mud to the brick, it has a tendency to pull the color out, and turn a pink color. Witht the matte spare, it stops this, as well as giving the paint a good surface to hold on to.
I generally wash all plastic buildings and parts (except when extremely small) with dish soap and water prior to painting.
I used to use a lot of "craft store" paint on my plastic models but recently started using Vallejo and Citadel paints instead. They are thin enough right from the bottle and dry to a nice flat finish. If you're lucky enough to have a decent hobby shop in your town, they might stock those brands. I would also recommend using a high-quality brush when painting...
Sandy:
All above offer good advice.
I have built quite a few of these. My technique has evolved to:
1. Construct the building
2. Wash in warm (temp don't matter - use a wash cloth and make believe you are washing dishes) and dish detergent.
3. After the plastic is completely dry spray with testors dullcote or krylon crystal clear satin. This adds a little 'tooth' for paint.
4. Spray or air brush the brick base coat color over everything. Some people brush paint with great success but this technique never worked for me. Let everything dry for at least 2 days if you plan on mortar.
5. If you want to use mortar do it now. I use Robert's Brick mortar and lightweight Spackle interchangeably.
6. Once dry hand paint the popouts, doors, windows the color of your choice. With the base coat on, hand painting is easy. If I try to hand paint bare plastic I find that I just push the paint around without it sticking. The reason for painting the details after mortar is that with either Robert's or Spackle some always gets into the doors, windows etc so you find yourself cleaning and touch up painting anyway.
7. Once all the painting is done you can concentrate on decals and paper signs.
8. After the decals/paper dry spray the building with dullcote to protect everything.
9. Once dry you can concentrate on window treatments and lights.
Joe
Model Structures posted:Sandy:
All above offer good advice.
I have built quite a few of these. My technique has evolved to:
1. Construct the building
2. Wash in warm (temp don't matter - use a wash cloth and make believe you are washing dishes) and dish detergent.
3. After the plastic is completely dry spray with testors dullcote or krylon crystal clear satin. This adds a little 'tooth' for paint.
4. Spray or air brush the brick base coat color over everything. Some people brush paint with great success but this technique never worked for me. Let everything dry for at least 2 days if you plan on mortar.
5. If you want to use mortar do it now. I use Robert's Brick mortar and lightweight Spackle interchangeably.
6. Once dry hand paint the popouts, doors, windows the color of your choice. With the base coat on, hand painting is easy. If I try to hand paint bare plastic I find that I just push the paint around without it sticking. The reason for painting the details after mortar is that with either Robert's or Spackle some always gets into the doors, windows etc so you find yourself cleaning and touch up painting anyway.
7. Once all the painting is done you can concentrate on decals and paper signs.
8. After the decals/paper dry spray the building with dullcote to protect everything.
9. Once dry you can concentrate on window treatments and lights.
Joe
Joe
My first attempt at painting these did not go well. I am going to try again following your method. Thanks
I've just starting using Tamiya's grey Surface/Primer. I can be used on both metal and plastic. Sticks to plastic like crazy without pre-washing, and it dries very fast. You can get it on line or at a good full-line hobby shop. We happen to have a wonderful one here in Louisville, but I understand they're disappearing from America's landscape.
The primer leaves a good texture for both acrylics and enamel paints. Speaking of paints, I learn toward Tamiya for that also. They're alcohol based so buying large bottles of 91% isopropyl at the drug store gives you plenty of thinner to work with. Another great paint is Model Flex made by Badger Air Brush Company. You can get them directly from Badger or from Walther's which carriers the entire line. They have no odor at all, dry nicely, and can be airbrushed directly from their bottles which have threads that match Badger's screw top suction cap.
My rec for soap: Dawn. It breaks down oils well and rinses clean. I use warm water.
Sandy / TR18:
Let us know how things work out.
Joe
@Mike CT posted:This brick mortar was done with a standard household latex paint that was diluted to the consistency of milk. A wash is applied several times to get the brick mortar detail desired. Paint detail is done with a brush, carefully, with Polyscale (Modelmasters) acrylic model paints. All painting was done before assembly. I found it easiest to work with the fronts/panels laying flat on the work bench.
Did you do anything special before you painted the window frames & doors. Did you "prime" the plastic before you painted?. I have the same buildings but must have bought the wrong acrylic paint. I did wash the building first, but nothing else, but the paint does not cover the red base color. I bought Spreey outdoor acrylic paint, not knowing.
I use Ace Hardware brand of spray paints. Plus a pre wash of Dawn soap and water
What did your mother always say......."Did you wash your hands?" ![]() Yes washing the parts is step one regardless of what step two is.
Yes washing the parts is step one regardless of what step two is.
I used a thinned acrylic paint for the mortar lines, brushed on liberally and blotted off with a rag. Easy to get the look you want by adjusting the blotting pressure.
I tried the cheap acrylics for the trim and was not happy with the results. They do not cover well and it took several coats to get it covered. It gets a little lumpy too. Next time better paints for the trim will be mandatory.
I did all the painting before assembly too. Much easier to work on the parts at any angle instead of flipping the building around. Any touch ups after assembly are easy enough.
Final step was to spray the whole thing with Dull-coat to tone the sheen of the plastic down.
Bob
Attachments
OGR had brick panel walls. Cut in half and altered for layout wall detail.
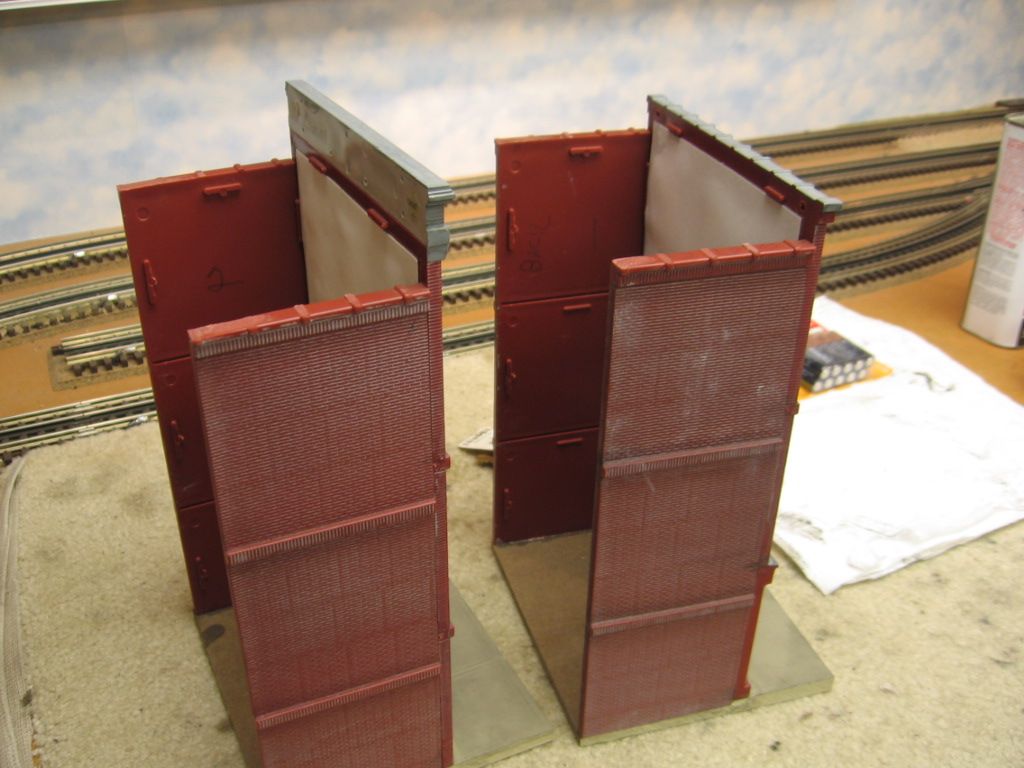
There is a note on the OGR/Ameritown site that plastics for the fabrication of these buildings is unavailable, currently. You may have to search the secondary market for these products.
Thank you all. This has been very helpful. I ended up filling a storage bin with soapy water, drying off the pieces, and then spraying with a clear satin. I then spray painted each piece. After drying, I used a watered down white paint over the whole surface, and then used a paper towel to pull off what was on the top surface. I had bought the Roberts compound referred to before and I must not have been using it right. Then I hand painted all of the frames around the windows and doors. Then I assembled the model. I then put on some decals for old advertisements. At the very end I used some charcoal to weather the sides of the building. I am now getting ready to finish the interiors (my first few attempts failed) and then place the buildings and build up the landscaping / scenery around them.


