LV tower, boarded up and abandoned!
K-Liner, very unique approach-great idea.
K- liner that’s a cool idea. I saw a little raccoon on some web site would fit right in. I may have to borrow your idea.
Ok I bought this lot of Plasticville parts on eBay for $14. I had a roof I built for a sawmill that was way too big and just needed some walls to make a factory or something. I cut and glued 14 wall sections from this lot together sprayed it with some texture paint and I like it so far. Still working on it but here are the wall sections that I am starting to weather now.
Attachments
@Jim Policastro posted:
Gorgeous structures, scenery and Photos, Jim. The colors are stunning. Arnold
Here's the basic Lionel Barrel Shed Kit
...and here's what I did with it
Left Side
Right Side
...and Inside
I scratchbuilt the outside tool box and its lock, the railing, the stairs, the base with the ground cover and junk, and detailed the inside. The lights work, the calendar is for October, I made sure there was a lot of junk/garbage/etc. underneath the shed, and put "new" wooden planks on the stairs and the deck. The reason for the extra effort for detail is because this shed was planned to be right at the very front of a future layout. The layout never happened but the shed remains....
Attachments
Attachments
That’s a nice structure Postmaster. Like the ad use to say, “ Pass with care and buy Sinclair”.
Homemade Coal Mine and Coal Loading Station Operating Accessory
The project uses a Plasticville Bachmann Coal Station to make a Coal Mine and Coal Loading Station Operating Accessory. The kit was used to make the Coal Mine Entrance into the underground mine in the mountain.
A new “A” frame roof was built for the top out of 1/8 inch Masonite with a window in the end and the end was scored to be vertical siding. The roof was roofed with some of the kit roofing.
The Coal Loading Section was also made of Masonite. The outside walls were scored with a knife to be vertical siding. Windows were in the installed in the side and end walls.
A slide gate valve was made of plywood and held opened with a rubber band. A 12v solenoid (DC solenoid rectified to AC) was use to hold the slide valve closed and to return the solenoid plunger out to engage a notch in the arm of the slide gate valve to hold it closed. A coal storage funnel was made from card board stock.
The picture below is of the plunger return rubber band, slide gate with hole in center and notch for solenoid plunger, black solenoid and card board coal funnel. This rubber band holds the solenoid plunger in the notch in the arm of the gate and keep the hole closed, ready to hold and drop coal. See the wire in bottom of cone tied to the solenoid plunger which is operated to break up coal jams in cone. The black bridge rectifier can be seen that converts the DC solenoid to operate on AC.
This picture also shows the slide valve closed (hole in slide gate is not under the funnel hole and the solid part of the slide gate is blocking the funnel hole) and the solenoid arm is holding the slide gate closed.
This picture shows the slide gate open (the slide gate hole is now under the hole in the funnel).
Picture of slide gate return rubber band. This makes the slide gate valve stay normally open and pulls the slide gate to open when the solenoid is triggered. Both rubber bands are easy to replace as the are in open screw eyes and around posts and last a few years.
PS: Recently (9-4-2017) it was not dumping. Turns out a plot of piston stoke from the magnet shows the most pulling power is when the piston is 1/16 to 1/8 inch out. It was much more so I had to modify by adding about 1/16 inch wood to the sloped part to make the trigger pull when about 1/16 inch out. That fixed it.
Picture of Power graph for Radio Shack Solenoid I used. You can see the pull in oz is much higher at 1/8 inch or small stroke.
Picture below shows the 1/16 inch thick strips of wood I added to the notch (appear whiter) to make the piston get more into the magnet and shorten the stroke for more power.
The coal is dumped into a coal car when activated with a push button on the control panel. A flat roof for the Coal Loading Section was covered with sheet metal roofing. Two 12 volt mini Christmas bulbs were installer in the outside corners of the floor and floor was cut out to illuminate the track below and inside the Coal Loading Section.
Picture showing lights inside to light windows and cut through bottom to light coal car area below.
The picture is from the outside of coal mine loading station showing the lights working for inside the building and lighting the car below
Here is night shot of the coal mine showing the lights in action. The two 12v (or two 7v in series) mini Christmas bulbs are in two small holes cut in the floor illuminating the windows and the car below the loading section.
Like most active accessories, the coal mine/coal loader should be located for easy hand access by the operator. The coal must be hand loaded into the funnel and the slide gate valve must be hand closed. Lionel plastic coal is used which came with a Lionel coal dumping car from the 1980s.
This was a fun project, especially figuring out a working coal car loading system.
Charlie
Attachments
John, That looks great. I love to see old junk parts brought back to life as an interesting piece like that. Nice work!
Set up a gas station.
Attachments
Thanks Jerry - and those parts were really junk, covered with glue and sloppy paint.
I'm always up for a project when it is too cold to play outside
Jim,
Amazing what a couple small changes to a Plasticville building can make.
Super job
Fantastic Choo Choo Charlie - you took customizing Plasticville to an animation lever - love it
Attachments
While not Plasticville, this was made from the operator's shack from a derelict MPC Drawbridge. Waste not, want not.
Attachments
This is a great thread! Thank you for sharing all. ![]()
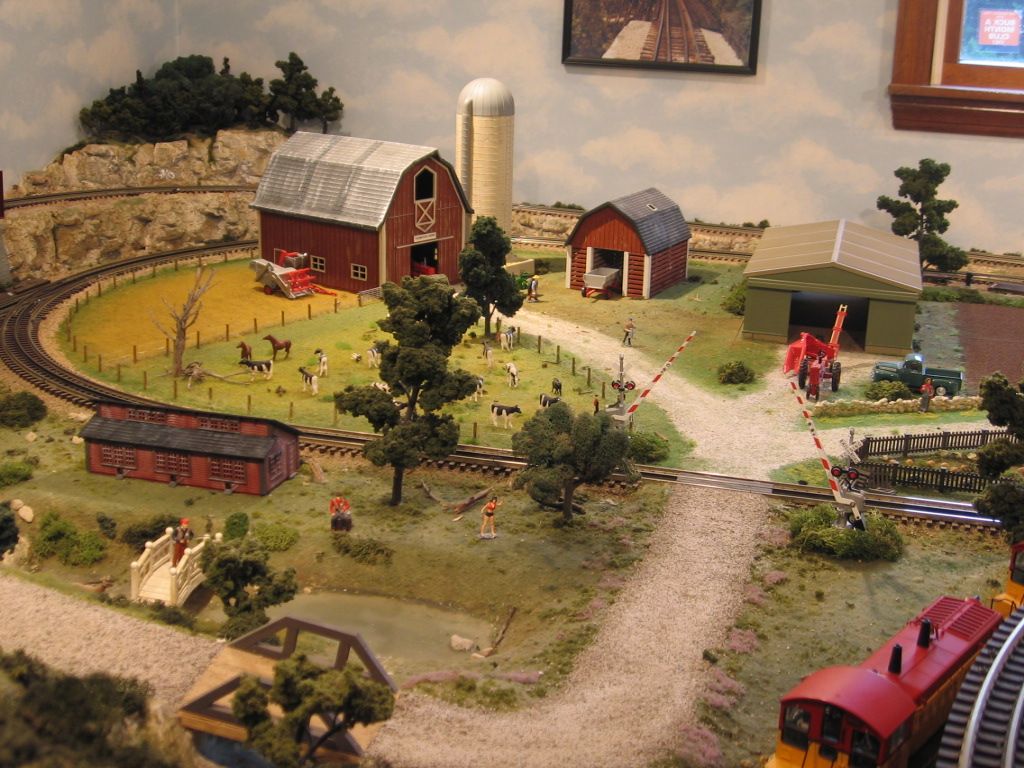
Ertl farm set. (With paint). Probably a better fit, S scale.
Chicken coop, middle of picture is K-Line.

Machine shed, (green metal building, right in picture), required an addition of 1/2" foundation, before the 1/43 scale farm machinery, would fit.
Attachments
Just finished this guy today. The donor was covered in glue. The front and back were so warped that I had to break them apart and glue the pieces together straight (heat would not straighten them). Popsicle sticks used for bracing.
A brick pattern printed on the computer for the back wall, and some paint - on to the layout it went
Attachments
Fantastic job and a great scene Mike CT.
Thanks for sharing.
John how did you get the glue off?
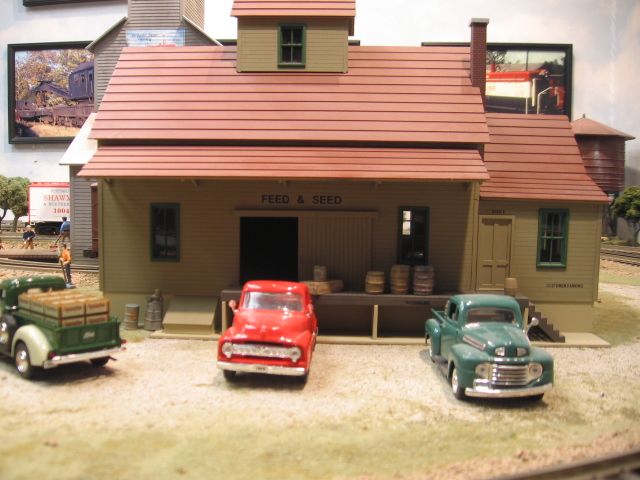
Another plastic building source was Walthers. There was an interesting double tab, assembly design that allowed for the sturctures to be dismantled, boxed for storage, based on model railroad was a seasonal experience. Feed and Grain store.
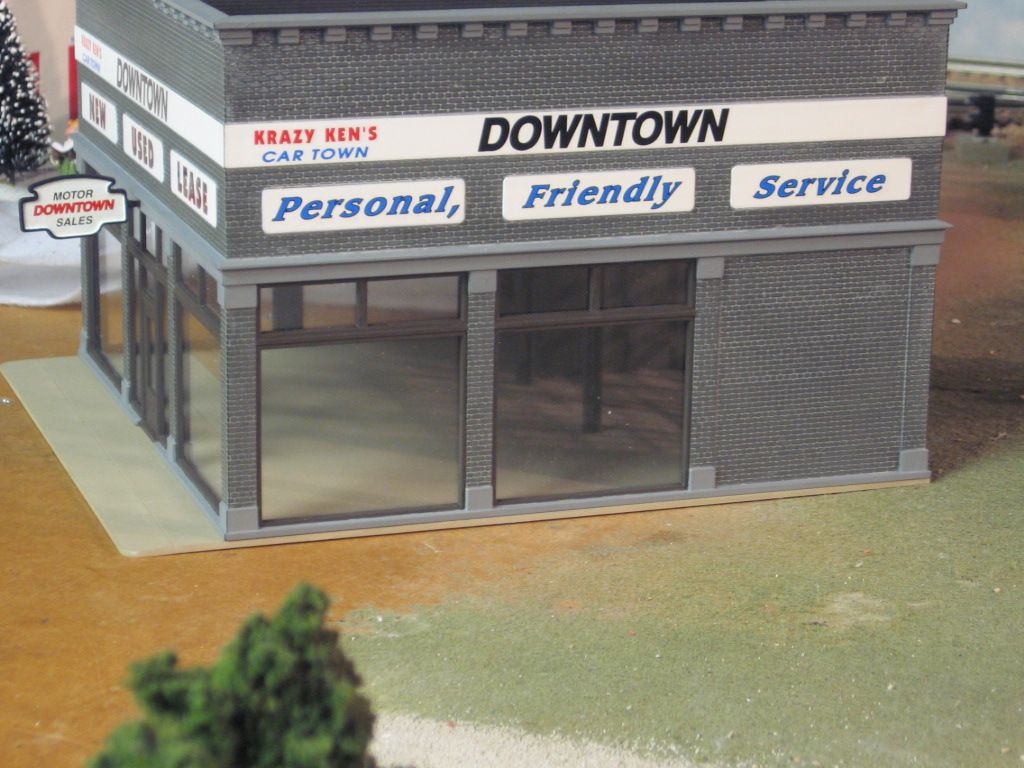
Automobile show room.

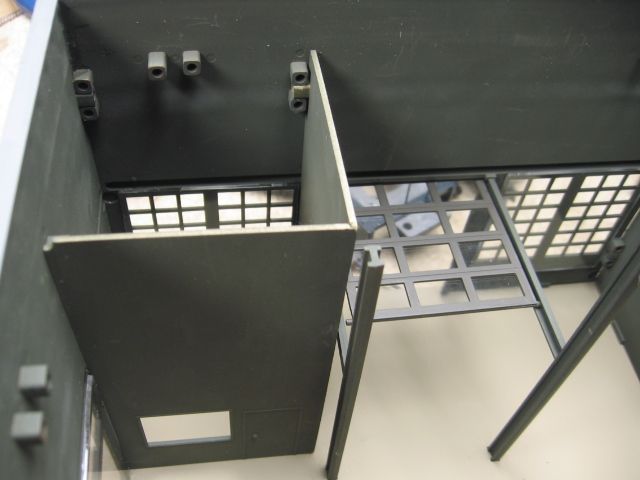
Double tab assembly, friction fit, could be done without glue.
Has that intergalactic quality to it! A back to the future Delorean perhaps? Lol.
@coach joe posted:John how did you get the glue off?
I didn't Coach Joe,
With some effort the glue used snapped free where the sides were glued together. On the surfaces I sanded the glue smooth, primed and painted over it.
@Leroof posted:Right coach Joe I will ask too, but Joe, isn’t that your garage?
Mitch, just what kind of machine is that between monkees mobile and Batmobile?
@Leroof posted:Has that intergalactic quality to it! A back to the future Delorean perhaps? Lol.
Technically, it's a GoBot named Psycho:
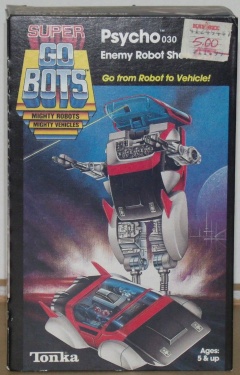
It started as the "Psychoroid" from the anime series "Space Adventure Cobra":
https://www.worthpoint.com/wor...ace-cobra-1778766547
Mitch
(also an anime fan since my "Speed Racer" and "Kimba" days in the 1960s)
Go speed racer go speed racer, go speed racer GO!
lol.
Yes Pierre it's my garage but that thing went by so fast I didn't see nor hear it until Mitch's picture stopped time.
Our Christmas layout...
https://chicagovalleyrailroad....layout-tour.html?m=1
...is almost all salvaged plasticville buildings. This was to be the year of repaints but by the time I finished various repair and lighting projects it was time to pack it away.
This thread is quite inspiring and I'll be looking at it again next year. Eventually I hope to repaint nearly all of them.
The one repaint I did a couple years ago was the rehabilitation and repaint of the Lionel "Freight Station" as described here:
https://chicagovalleyrailroad....ght-station.html?m=1
Looks much nicer now.

Thanks for the tour Eilif
@Lionelski posted:Thanks for the tour Eilif
You're Very Welcome.
Forgive me if I've asked this before, but is that any connection to Warrenville, IL? Just curious as I grew up there.
@Eilif posted:You're Very Welcome.
Forgive me if I've asked this before, but is that any connection to Warrenville, IL? Just curious as I grew up there.
Must be a great place, Eilif, but, no.
Just a takeoff from my last name
@Leroof posted:
Don't laugh too hard. That black lighthouse next to the 7-11 store was a tabletop lamp I found in a second hand store years ago. It had a 110V cord that went up the center with a "nightlight" bulb in it. I took that out and just stuck the lighthouse on the layout, chipped paint, a little ruse here and there on the metal, looking like a derelict structure. I never got around on the last layout to hanging some moss and other stuff on it to make it look more abandoned.
I had a Lionel lighthouse at the diagonally opposite corner of the layout that was fully operational with sound and lights. The layout was set in a beach town named Lighthouse Point. Yes, that's real rock I bought at a gravel yard for a dollar. I thought the larger rip rap matched some I saw in southwestern Massachusetts.
Attachments
Plasticville Church was a good pickup. It looks great with some work. Only things left are the ivy and the sound board. Stained glass makes all the difference.
Attachments
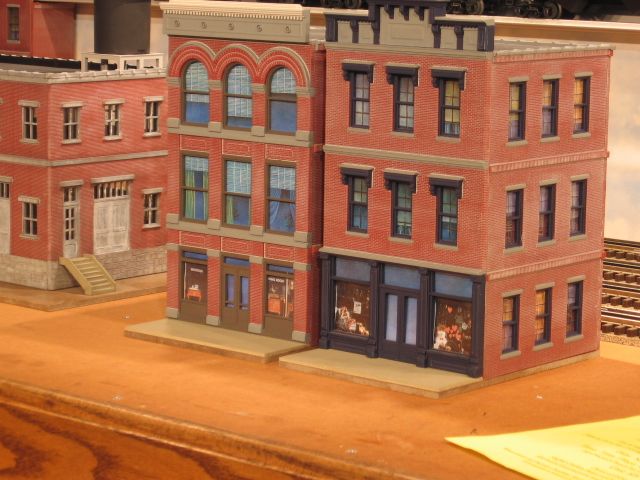
OGR buildings allow for a lot of paint brush practice.
Mark, how did you do the stained glass?
MikeCT, those ogr buildings look great. Did you paint the brick or is that the original plastic color with mortar applied?


