I’m stumped… I’ve decided not to use the factory bases with my MTH buildings and want to go with either Masonite or illustration board to lower the curb height. As many of you know, these buildings have either “pegs” or full edges that slot into the original bases. I’m struggling to figure out how to attach them securely to either material. Trying to cut off the pegs with an X-Acto knife hasn’t worked well—the plastic just cracks off. I even tried heating the blade, but it still doesn’t cut smoothly.


If anyone has done this (and I know many have), please share your method. Photos and step-by-step details would be a big help!


IMG_4561IMG_4562IMG_4563

Attachments

Images (3)
  • IMG_4561
  • IMG_4562
  • IMG_4563
Original Post

Replies sorted oldest to newest

Yeh Max (Double Check).......if it is pulling the wrong way and going off line, cut from the opposite side of the peg. Hold the Dremel steady, and adjust your speed till you get the "feel" when it starts cutting.

Don't try and get a "machine finish" with the Dremel first off.......finish the last couple of millimeters with the good old hand file.

Peter......Buco Australia.

In another thread a few months back, another member kept the pegs there. He marked where they would sit and drilled a hole through the masonite, then screwed the building from underneath into the pegs. I MIGHT do this since both of my Main St areas are on access hatches and will need to be picked up. The masonite WILL also be sitting on foamboard like the rest of my layout. Right now, I am in the process of "aging" those shiny plastic and sometimes too bright buildings.

Mikki

@Mikki posted:

In another thread a few months back, another member kept the pegs there. He marked where they would sit and drilled a hole through the masonite, then screwed the building from underneath into the pegs. I MIGHT do this since both of my Main St areas are on access hatches and will need to be picked up. The masonite WILL also be sitting on foamboard like the rest of my layout. Right now, I am in the process of "aging" those shiny plastic and sometimes too bright buildings.

Mikki

That will work with the ones with pegs, but as shown above, there’s a lot that have that strip along the bottom that sits into the factory base.

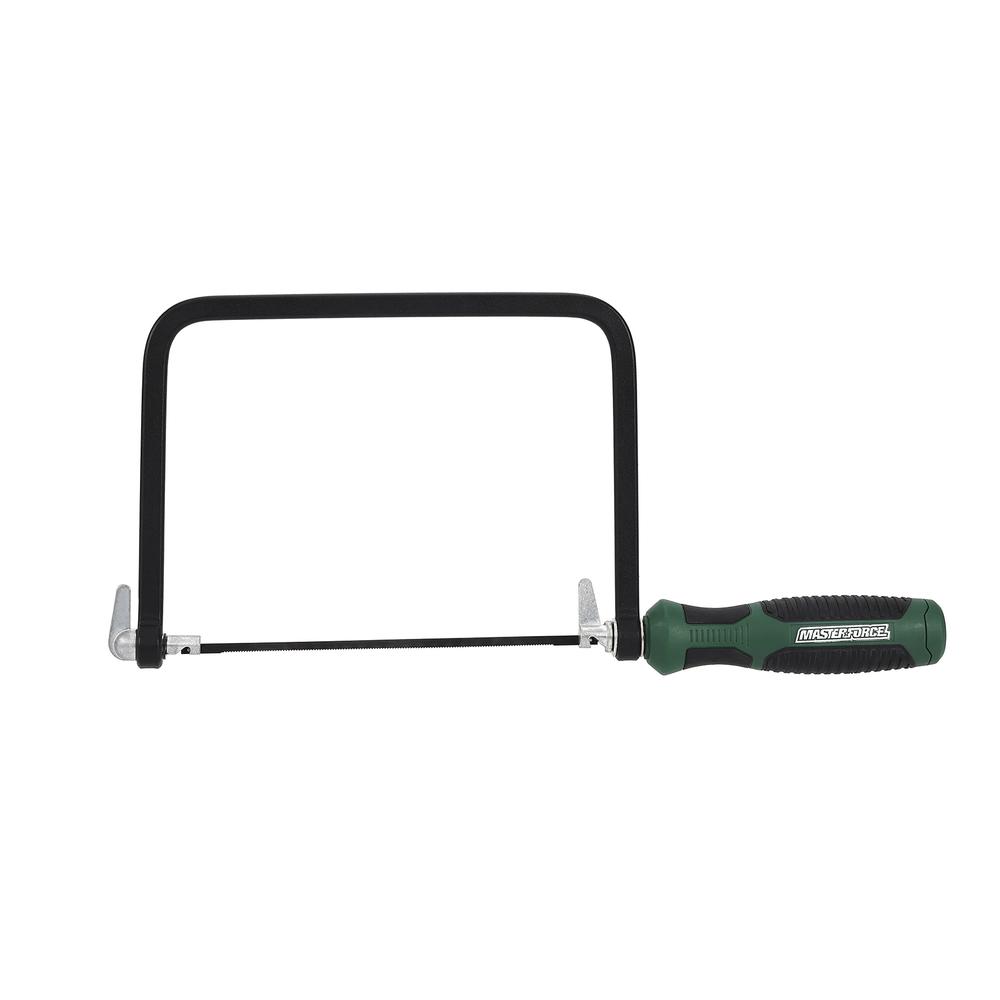
When I needed to cut something odd that was made out of plastic, I used a hand-held coping saw, sometimes with the item held in a vise.  Yeah, yeah, it's a crude way to some, but I found it allowed me to take a very deliberate and careful approach to the task at hand.  I used this method several times successfully while building a kit manufactured out of acrylic.  In that case, I was cutting plastic beams to size which were used to reinforce the building's interior corners and walls.  I was able to cut them without breaking or deforming anything.  A few minutes with a hand file to take off a few rough edges and it was time to glue the beam in place.

This is the coping saw I purchased at Menards.  It's pretty typical of what you would find in a big box or hardware store.

I hope this info helps.

That will work with the ones with pegs, but as shown above, there’s a lot that have that strip along the bottom that sits into the factory base.

I've done the type of building you referenced (6-story Dreyfuss, etc) using foam core board, where I create a slit in the foam core board using utility knife and razor saw (front and back of foam core board). I then "pressed" the building's strip into the slit using some amount of force. Note that I also "chiseled" out some of the foam and paper - how careful you are at this stage will determine how good of a fit the building will make. I than painted the foam core board cement gray/tan (before I put the building on). If you're interested in my results, I'll snap some photos and post them.

Last edited by Paul Kallus

Add Reply

Post

OGR Publishing, Inc., 1310 Eastside Centre Ct, Ste 6, Mountain Home, AR 72653
800-980-OGRR (6477)
www.ogaugerr.com

×
×
×
×
Link copied to your clipboard.
×
×