Hi All!


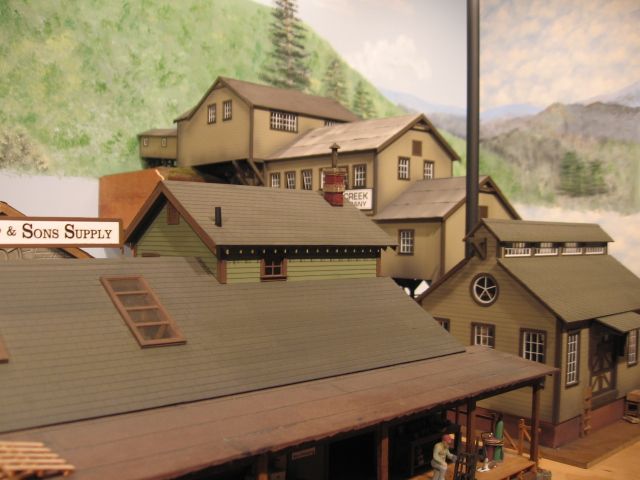
A few weeks ago, I posted a request for suggestions about a realistic way to incorporate the hobo camp into my layout. A lot of people offered some good suggestions and I appreciate it. I thought I would share a few photos of the camp throughout its installation and as it sits on the layout now. 


Thanks


Dennis


IMG_0252

IMG_0253


IMG_0256

IMG_0257

IMG_0258

IMG_0260

IMG_0261

IMG_0262

IMG_0263

IMG_0264

IMG_0265

IMG_0266

Attachments

Images (12)
  • IMG_0252
  • IMG_0253
  • IMG_0256
  • IMG_0257
  • IMG_0258
  • IMG_0260
  • IMG_0261
  • IMG_0262
  • IMG_0263
  • IMG_0264
  • IMG_0265
  • IMG_0266
Last edited by dennish
Original Post

Replies sorted oldest to newest

Paint the wall sky blue.  After you place the buildings you can touch up the area between the building fronts.  As far as the Hobo camp goes, I agree with Joe's suggestion of recessing the campfire into the layout.  Maybe you could add a few trees to help them hide in plane site.  Usually these camps were a little off the beaten path, so the Railroad police couldnt spot them. 

If that is homasote under the hobo camp, you could take foam that is the same thickness of the camp.  Cut it so it goes to the left and front edge and a couple inches short of the trestle.  Feather down the edge going towards the trestle.  Put ground cover on the foam and onto the camp fire to blend it.  Plant lots of trees.


Gene Anstine

Dennis, if you decide not to cut the hole to recess it, I would use Scultamold all over that triangular area and give it some variation in terrain. Then you could easily build it up to the borders of the camp. I'd also make a gravel or dirt road for access by the hobos. Once the Scultamold is dry it would be pretty easy and scenic to apply various earth, soil and some burnt grass from woodland scenics. a few trees around would also be nice so the camp is part of the natural surroundings.

jerrman
Originally Posted by Jerrman:

       
Dennis, if you decide not to cut the hole to recess it, I would use Scultamold all over that triangular area and give it some variation in terrain. Then you could easily build it up to the borders of the camp. I'd also make a gravel or dirt road for access by the hobos. Once the Scultamold is dry it would be pretty easy and scenic to apply various earth, soil and some burnt grass from woodland scenics. a few trees around would also be nice so the camp is part of the natural surroundings.plenty of weeds, too.

jerrman

Lionel Grandpa,


Thanks for the suggestions on the building flats. I had not considered that. I think it may help.


Dave C, nice picture of the hobo camp! I like what you did to blend it all together. I hope mine comes out looking that good!


Thanks to all for the suggestions. I did cut a hole in the homasote and set the camp in it. I will post some pictures when I get a little scenery around it.


Dennis

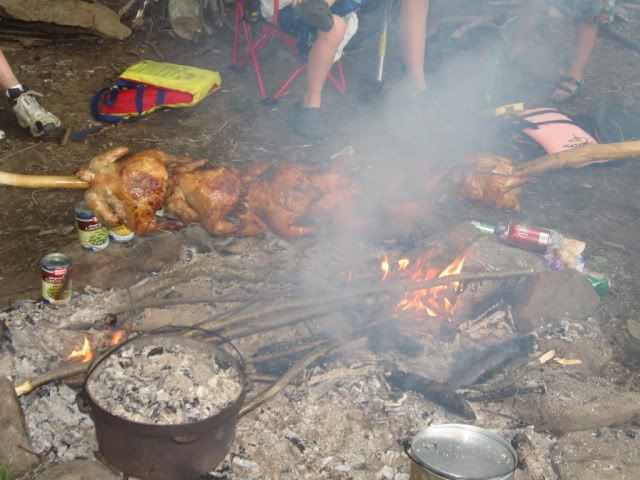
You need a pile of wood near the campfire.  Campfires consume a lot of wood. Usually there is a stone ring around the fire to contain the hot/burning material.  Most fires are at least level, put it in a hole you have two problems. Doesn't get air as well.  Subject to rain water filling the pit.  IMO.  We have done chicken on a camp fire spit like pictured, consumes a lot of wood and time.  Takes close to 4 hrs to do chickens (small) on a spit, properly.  You are also roasting your hands/arms and on occasion your eye brows.

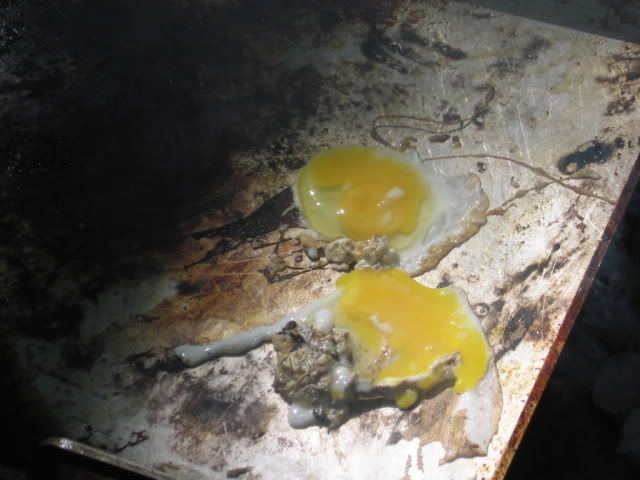
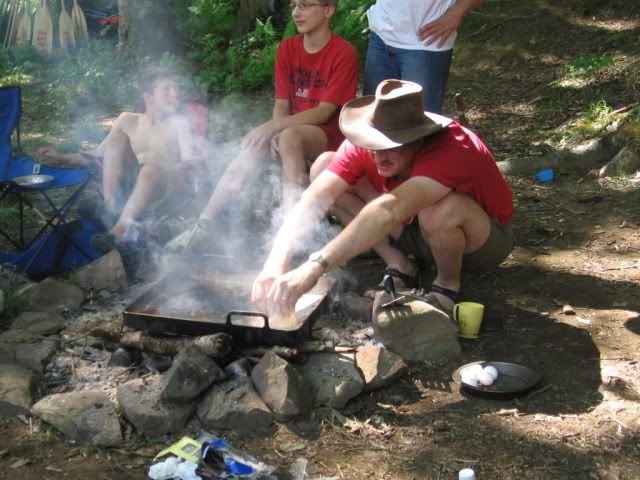
Breakfast: Eggs and bacon. Two days down river, Sausage and Pancakes.   We have been know to add extensions, (2 ft), to the fork and spatula, which allows a little more comfort and less burned forearm hair. Smoke adds to the flavor.
Chicken on a spit, a couple of years later we figured (2) spits worked better than one, allowed the chicken to be better centered in the fire.  The end chickens on the spit were always just barely cooked. One chicken per three people.

Dutch oven, bottom left, with hot coals on the top, is for cooking biscuits. Large cooking pot bottom right is potatoes, eventually mashed.  There is also pudding and ice cream being done for the evening meal. Note that all this hardware is via canoe. Backpacking meals are nowhere near this intense.
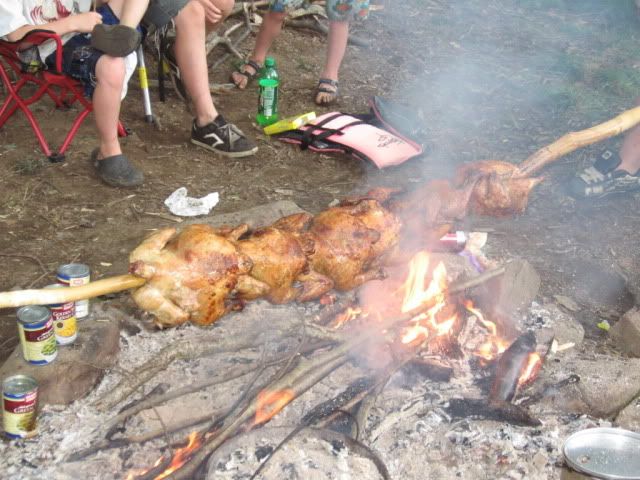
 Gathering wood is a large project.  Dead fall material that is not green.  Surprisingly there is enough in the area for a couple of days of camp fire. 

Coffee/Tea/Hot water is done with a backpack friendly gas or butane/propane stove. We use two, (2 gallon,) galvanized metal buckets, to heat water/wash, cleaning water. One bucket is with detergent for cleaning, the other bucket is hot boiling water for rinse. Clean-up is a large part of the project. 

Putting the fire out is another major project.  Being sure it's out requires a lot of water. Another use for the 2 gallon galvanized metal buckets. We have put fires out that others have started.

Have fun with that camp fire.

Mike CT  

Last edited by Mike CT

As others have said, sink it into the scenery so the base is flush. My layout has 1/2" pink foam over it, everything gets installed flush. I use Woodland Scenics "mold -a - scene plater to fill/blend in the gap, then cover it with grass, snow gravel, whatever is in that area.


Hers my hobo campfire, somehow the hobos managed to catch their "shack on" fire and they now sit around the campfire in the snow


004


My most recent work, the K line "yard office", and "dump bin" in the background of this photo are also installed flush.


285


Lionels "ice skating rink" is also installed flush here. I ran out of snow, I plan to cover the "plastic" snow with some glue and sprinkle some snow over it.


007

Attachments

Images (3)
  • 004
  • 285
  • 007
Last edited by RickO

I had the same situation with my camping scene. I cut cardboard to fit around the camp then filled in with plaster to give it the same hieght, the pine trees are part of the camp but it blended in nicely. For the wall I bought a city-scape background, mounted it and cut out the buildings, painted the wall blue and put my building models in front. I have plans for clouds.

IMG_3535

IMG_3536

IMG_3049-001

DSC00369

IMG_1637

IMG_2691

Attachments

Images (6)
  • IMG_3535
  • IMG_3536
  • IMG_3049-001
  • DSC00369
  • IMG_1637
  • IMG_2691

Add Reply

Post
×
×
×
×
Link copied to your clipboard.
×
×