For toggle switches could i use regular wall switches (110)? i like the feel of a big switch.
For toggle switches could i use regular wall switches (110)? i like the feel of a big switch.
Replies sorted oldest to newest
quote:For toggle switches could I use regular wall switches?
Yes.
If you need a transfer (Form C) or what is known as a SPDT, then use what electricians call the "3-way switch." That is a double-throw, but no center "off" position.
You can get an almost ready-made panel by buying a wallplate with multiple gangs.
Okay here's mine. I used SP switches from Radio Shack though I'd like something heavier.
Attachments
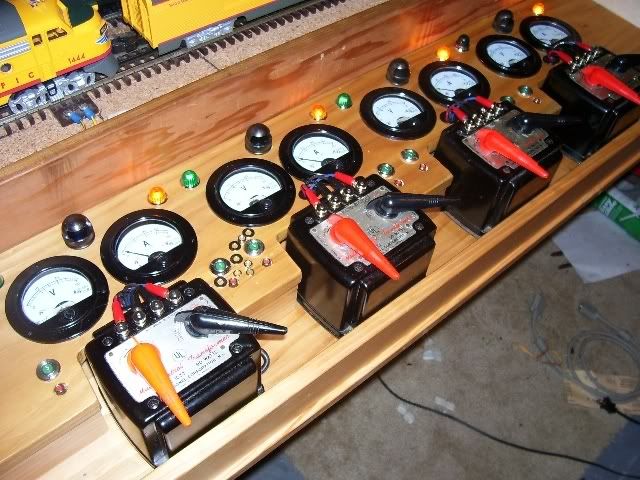
Here is what I am working on for the Hidden Pass Junction RR. The panel itself is complete other than I have to add (insert from behind) the LED's at each turnout. The panel is 18" x 36", and I am working on the wiring now.
I'll post more pictures later today or tomorrow under a separate thread. (I am just testing the new forum posting ![]() )
)
Alex
Attachments
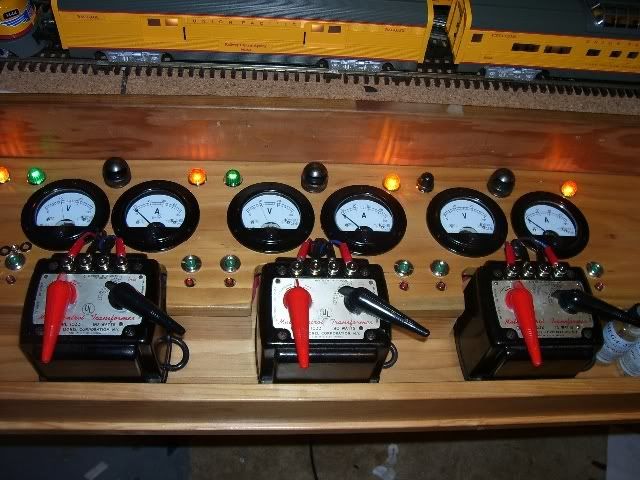
This is mine ,
The black strip in front of the transformers is for operating accessories .
All my switch activation buttons are in the schematic and signal a building light switches are to the side.
Everything is hinged for easy access.
I think it turned out pretty good for a Half *ssed carpenter like me.
David
Attachments
Attachments
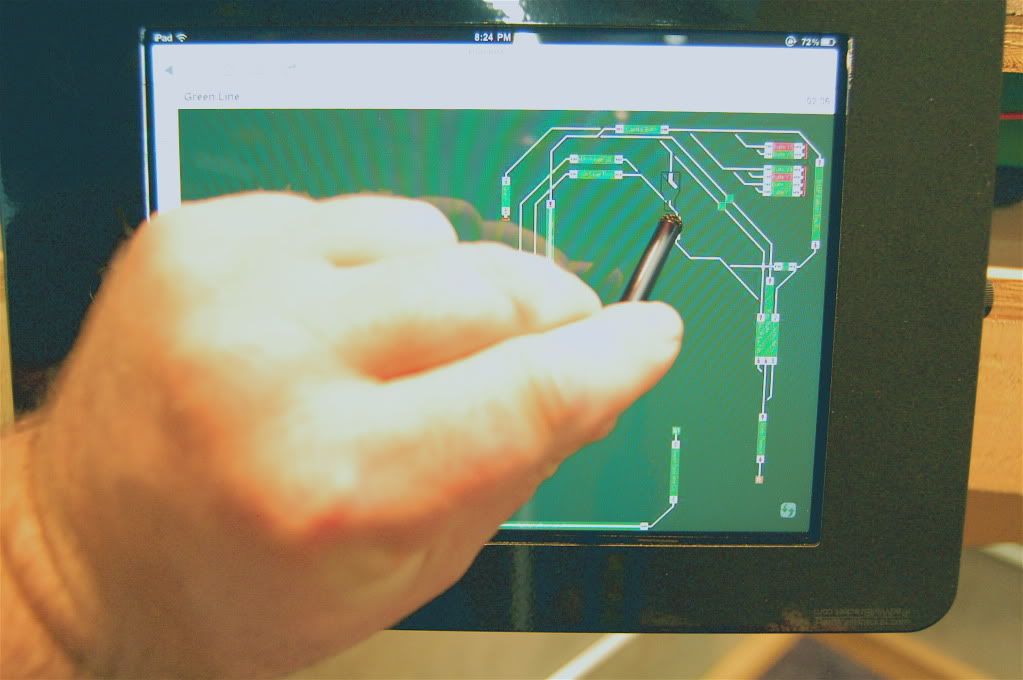
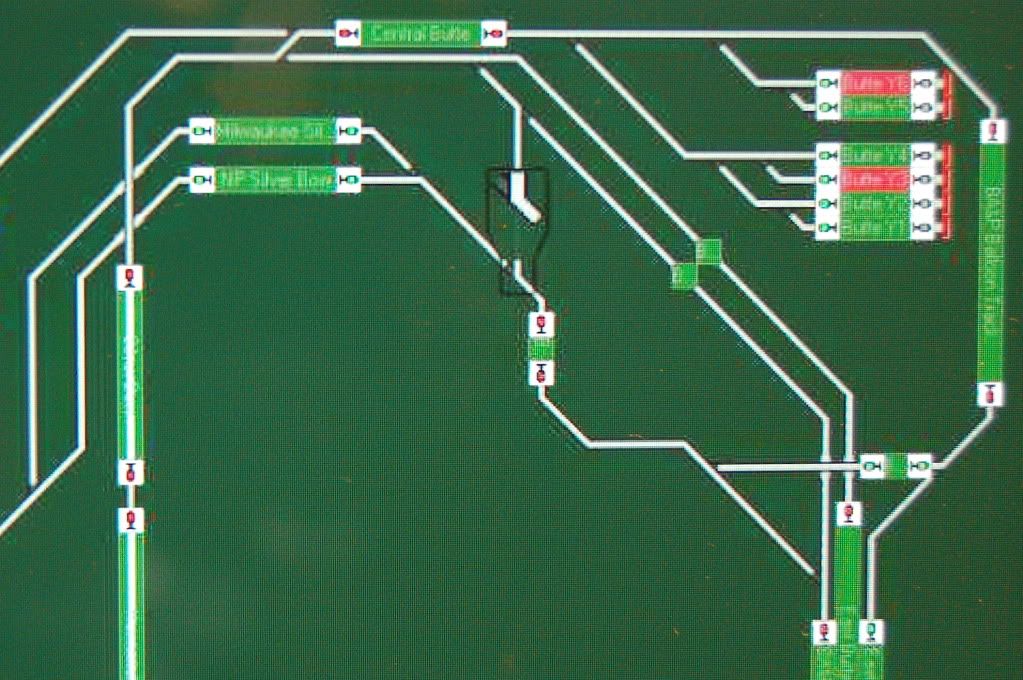
Here is one my brother and I built. Paper between two layers of Acrylic.
"Old School":
Wow---proving once again that there is nothing like the old stuff for sheer impressiveness!
Attachments
I built my train table on top of kitchen cabinets.
I built my control cabinet in a modified 'sink base'
Two pictures are enclosed, one of the bottom which contains lots of horsepower and the top which contains the panel.
This rolls in and out when necessary with a set of cables from the rear to stationary panels to prevent wires from breaking.
This is all still part of my layout, however there is nothing in that panel which I now CANNOT run directly from my DCS handheld.
If I were starting from scratch, I would bury all transformer power and run all my Conventional, DCS and TMCC from my handheld as I do now.
Attachments
"I don't need no stink'in control panel, they're all in my DCS handheld!!"
My previous layout had a large panel with switches and LEDs, but then I saw the (DCS) light and I never looked back. ![]()
My previous layout had a large panel with switches and LEDs, but then I saw the (DCS) light and I never looked back.
Here is my new panel after my DCS installation. Light switch at the right end powers up all the transformer power needed for my layout. The other two switches turn my (1)lighting (2) signal circuits on/off. Still have room for one more switch, but cannot figure out what for?
All the best,
Hugh
Attachments
For a combination of nostalgia and WOW Factor, can't beat this one. This is not mine, made by a fellow who used to post here - Bobby Ding:


And look at the expression on that young man's face as he drives his train the old fashioned way. You don't get that kind of satisfaction from pushing buttons on a TV remote... unless it is a TV remote and you're pulling up an Anita Ekberg movie on TCM.![]()
Pete
Thanks for everyones posting and photos, great ideas here. I dont have any plans for DCS, prefering the older style "hands on" approach.
What are all those big "toggle" switches in the photo with the young boy and where to buy those?
Really like those volt and amp gauges, looks so cool. Are these practical for a train layout?
What are all those big "toggle" switches in the photo with the young boy and where to buy those?
Those switches are a row of 1122c controllers for 1122/1122E remote control switches.
Attachments
My panel was designed on the computer. All of the RR logos were designed by me or copied from the internet. Before I print them, the original design is converted so that all of the little lights and switches that are seen on the drawing become little hash marks or crosses. This makes it clear as to where drill all of the holes precisely. It is then sent out to the printer, such as Kinko's or OfficeMax, to be print on a high resolution color laser printer. Once printed, it is laminated, trimmed and mounted on very thin plate steel to give it rigidity and strength. Holes are drilled and devices mounted, wired, and tested. The frame is installed and finished to the customers specs. All of the wiring is finallized through the back cover and landed on marked and labeled terminal strips for easy hook-up to the layout.
New school.![]()


New school.![]()
I'm a big believer in form following function, so if those panels work properly for their owners I'm down with that. But man their appearance is incredibly boring compared to old school. Hands down the best panel so far is BobbyDing's. There's just no accounting for taste, eh. ![]()
![]()
Pete
Attachments
Attachments
This is my power panel for my layout. I will be adding some amp meters later on.
Got some track down and one of these days I have to start running some wires. Hugh, your 6 photos from Feb 2 are beautiful but scare the bejeekers out of me.
I am planning for DCS. A few questions for the wiring gurus:
1) Hugh, "If I were starting from scratch, I would bury all transformer power..."
If I leave the handles on my Z4000 up when I power it off, then when I power back up it outputs garbage and I have to cycle the handles down and back up by hand to starighten it out. Is this just me, or do I have to have my Z4000's out on a shelf where i can get to them every time i power up? is there some way around this? The outlets in the train room are controlled by a relay, with one wall switch by the door so when I leave I know everything is off, and everything can come on with one switch when I come in. Except for the z4000's?
2) Hugh, " ...run all my Conventional, DCS and TMCC from my handheld as I do now."
and rrman, ""I don't need no stink'in control panel, they're all in my DCS handheld!!"
My previous layout had a large panel with switches and LEDs, but then I saw the (DCS) light and I never looked back."
I know this is how DCS is designed and works, but are you guys seriously saying that you throw all your turnouts by scolling around on that handheld instead of just toggling a switch on a schematic panel? I just can't imagine it would be anywhere near as convenient. If so, then great! no need to build a control panel. But it seems like you gotta push a lot of buttons to get to a turnout on the hand held?
3) this will really show my ignorance, but both Hugh and ChoCho Bob look like you're using the long white telephone punch-down terminal blocks. Can't see from the photos what wires you are running to them and can't think why you'd have so many wires going to one block unless... are you using these for your commons?
thanks
Not really, just push SW on handheld and scroll to turnout (or punch number key) and press normal or diverging icon. Saves having to walk to panel each time to flip switch. Handheld allows up close operation and if turnout didn't throw or some obstruction you can stop train before consequenses.
The guys in our HO group are a tad extreme, don't you think? The control panel here shows the layout in paper, but is being done in engraved panels. It's probably been finished since I took this pic.

Not really, just push SW on handheld and scroll to turnout... Handheld allows up close operation
Point taken. thank you. no control panel. wait while i wrap my head around this.
The other thing would be toggles for all the sidings. Since I am doing standard gauge tinplate, the aesthetic calls for the knife switches like on the 439 panel or the switch tower buildings. Are these knife switches satisfactory to use with DCS or should I use new toggles? Does DCS signal degrade through the knife switches?
When designing my new layout I first had the idea to have no control panel as I plan to run 100% command control with my Legacy controller. After much thought I knew I would want yo reach over an flip a switch or two. I'm sure glad I decided to build the panel!
Most all toggle switches, terminal strips, wiring supplies and LEDs came from Demar Electronics. Great company to deal with. They had just what I needed and were helpful to make sure I ordered what I really wanted.
I wanted the panel below table top so to not interfere with a view of the trains. I also wanted easy access to wires. The panel opens from the center to make wiring easy.
All of my switch tracks, Ross with DZ 2500s and K-line Super Snaps are controlled by either SC-1s or SC-2s
Rather than have a jumble of wires at the back of the control panel, I built a "power distribution" center and it has worked out very well.
Transformers are neatly arranged below table and are easilly reached to turn up power on the ZWs which serve the five power districts. The KWs power accessories.
Stan
Attachments
All controlled with a Cab-1. There are (2) BPC (Block Power Controllers) controlling (8) power districts. (1) TPC (Track Power Controller) that turns it all on an off. and (6)ASC's (Accessory Switch Controllers) (5) controlling 20 switches and (1) controlling 8 accessories.

This is my setup. I jumped on board with the controllers early. It's just the way I started. Most of my controllers are original IC Controls boxes. I love it. Been working great for 8/9 years. 3 bricks for power//-2 TPCs-1 for TMCC-1 for conventional operation//-2 BPCs-can switch 8 blocks of track from TMCC to conv//-4 ASCs-3 for 12 switches-1 for accessories//- 2 OTCs-1 for 4 Uncouple tracks-1 for 2 operating tracks//- 2 AMCs-1 to run log loader and lights on layout-1 for magnetic crane and light in blacksmith shop- (voltage outputs are adjustable on AMC-great for fine tuning power to tricky accessories)//-1 ARC-for recordings-works awesome// Command Base// Accessory power pack//Cab 1s to make it all go-all is operated by the Cab 1 remote


