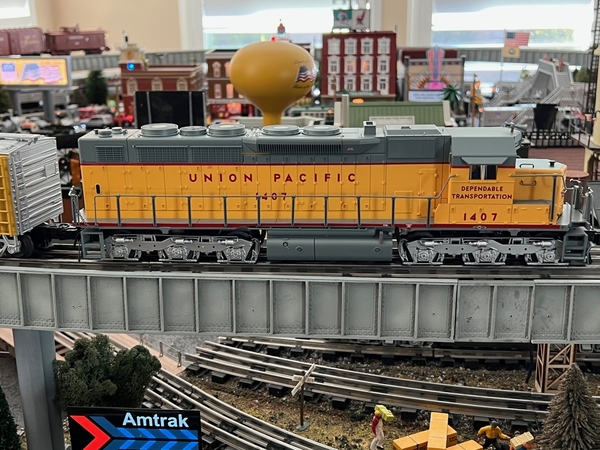
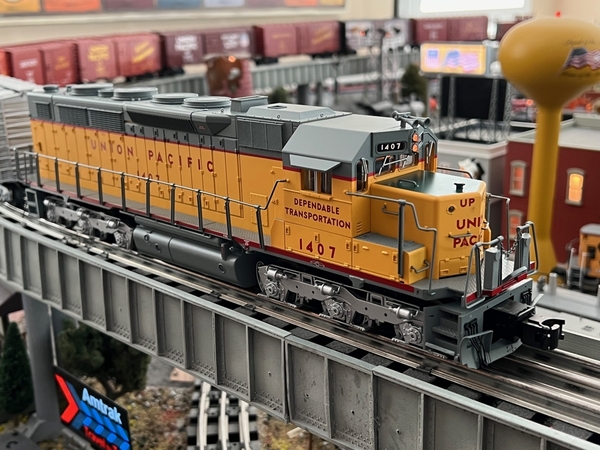
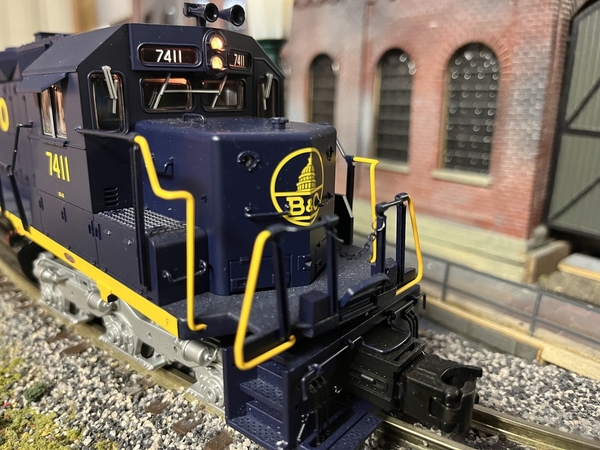
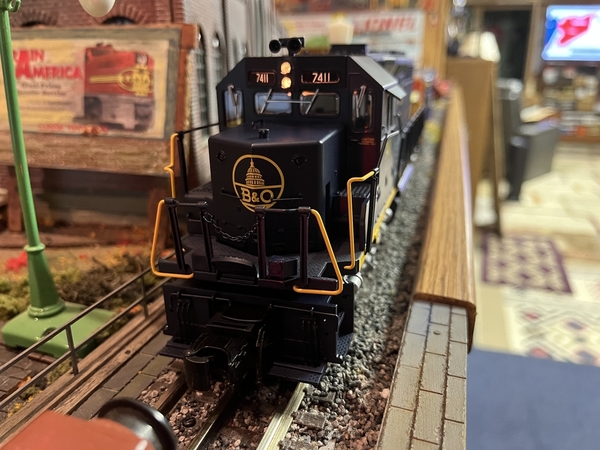
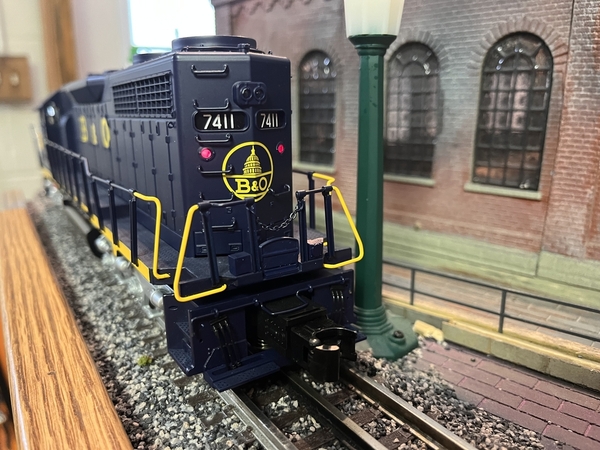
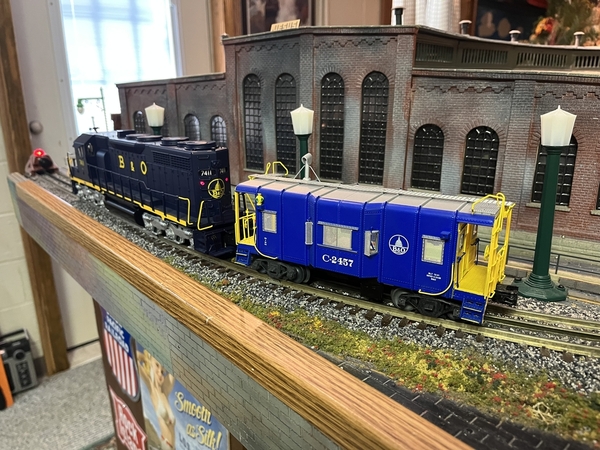
So I went back and looked at this locomotive and it’s more complex than I remembered. So first caveat is that this is for an SD35 and yours is an SDP35. But I’m guessing the trucks are similar. I also recommend reading this in it’s entirety before you start so you don’t break something fragile. I have some general notes at the end.
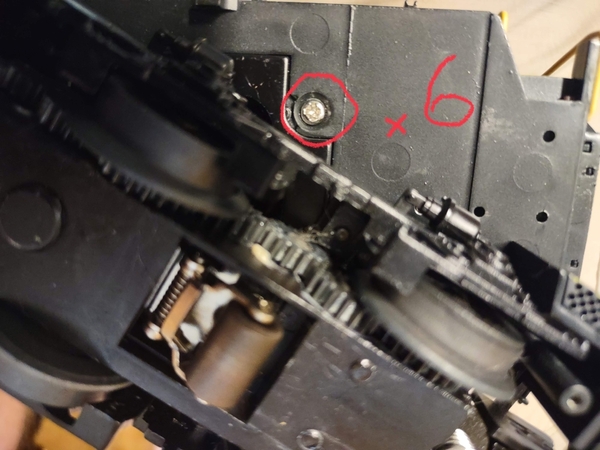
1) Remove the screws that hold the shell to the frame. These are under the trucks so you must swing them to the side to get all six.
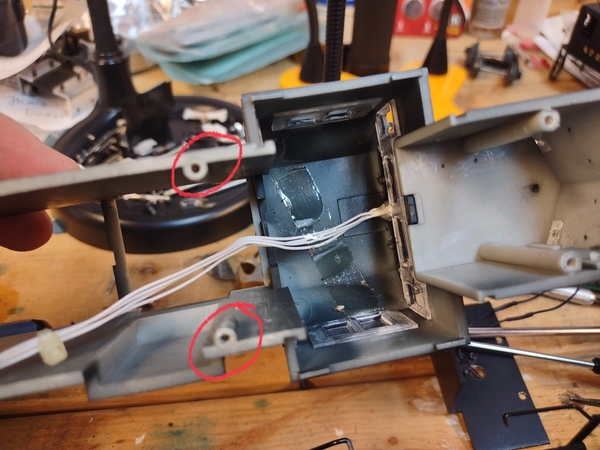
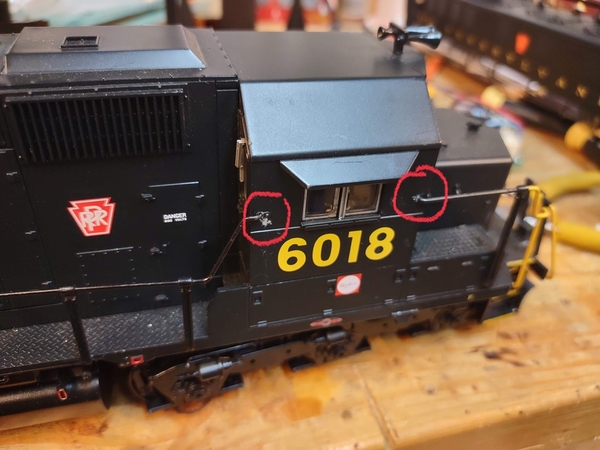
2) Carefully remove the shell. It should be three main pieces, long hood, cab, and short hood. However, it will probably come off in one piece because the shell to shell connection is a friction fit. There are screw posts on the inside of the shell that you will have to guide over the sides of the electronics. And don’t forget to remove the handrails from their attachment points to the shell. I like to cover the handrail ends with electrical tape after removing them so they don’t scratch the paint. Lesson learned the hard way. I have a few of these and this one didn’t fare well as it was my first victim when I added a Cruise Commander M. Also, a few of the roof panels separate from the long hood and removing them first can really help you see where the shell is hanging up when removing it.
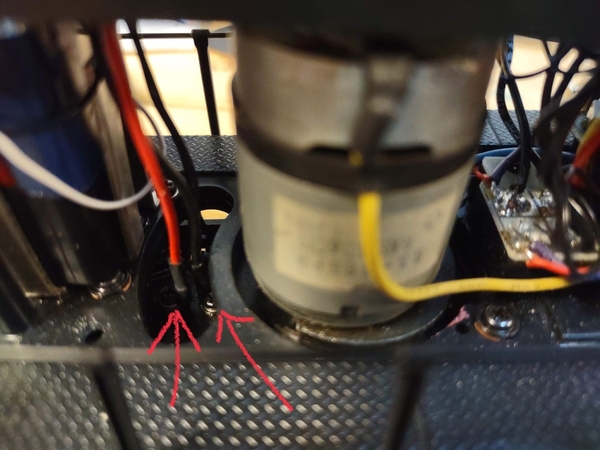
3) Remove the screws (two on each truck) that connect the third rail collector and common wires. Take note of the position, watch for any insulators that drop out, and note, the once the screw for the collector is removed, the roller will drop out as it is the “nut” for that bolt.
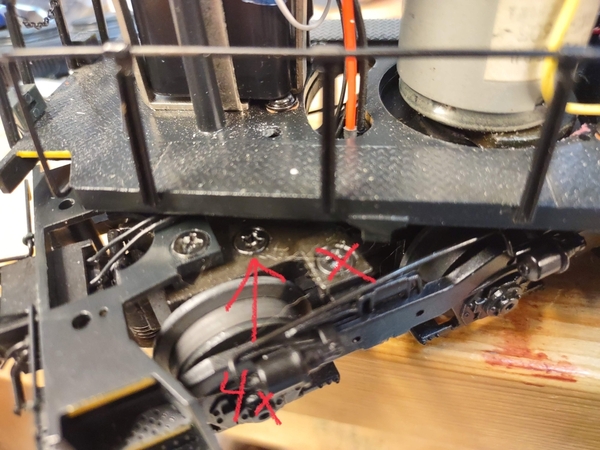
4) Remove the truck mounting frame. Each frame has four screws, two of which are under the battery (if installed) on the rear one. Once you do this, the truck and motor can be removed from the frame. But be careful because the electro-couplers will be still attached and the wires are thin. When I work on these I usually cut them clean first and then install a connector later for easier reassembly.

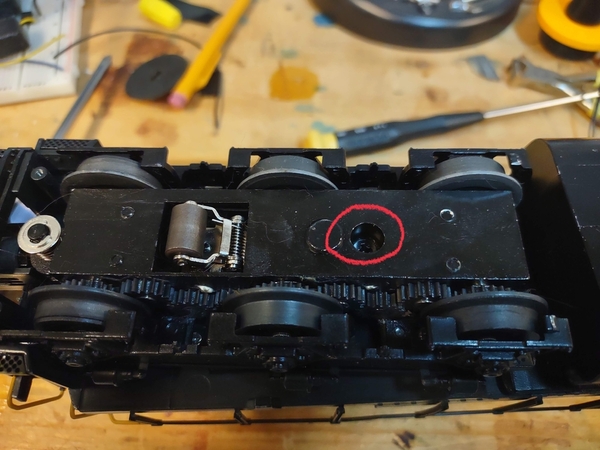
5) With access to the top of the truck, you’ll see four screws on the top. Remove those. Then on the bottom of the truck there is one more screw that holds the motor mount to the truck. Remove that and the truck should come apart.
Notes:
- The handrail stanchions are very fragile where they connect to the frame. Be careful not to move them back and forth too much or the will snap. Mine came this way used.
- There are tons of detail parts like coupler cut bars, O-rings, steps, pilot footboards. If they aren’t glued in, I’d recommend removing them and putting them in a plastic baggie.
- The front and rear headlight go to a spring connection that presses down on a PCB with four contacts. It’s a common failure point. The body post that the spring contact holder connects to breaks and then there isn’t enough pressure to make a connection with the PCB contacts. I recommend removing all that and just soldering in some connectors on the engine side that mate with the ones on the shell side.
I will update this with pictures in a few minutes.


