I'm not much for planning or thinking ahead so I find I need some grade crossings after all the track is ballasted. Roads outside the city will be dirt or tar and chip and that's where all the grade crossings will be. If you have suggestions or can post pics of your non wooden/non concrete crossings Id like to see them.

Thanks

joe

Original Post

Replies sorted oldest to newest

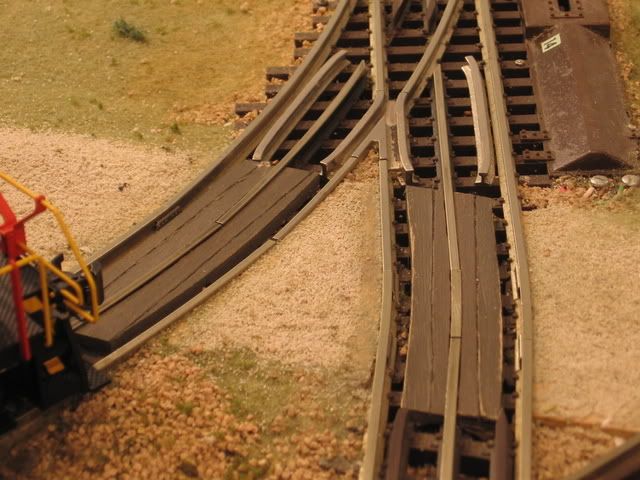
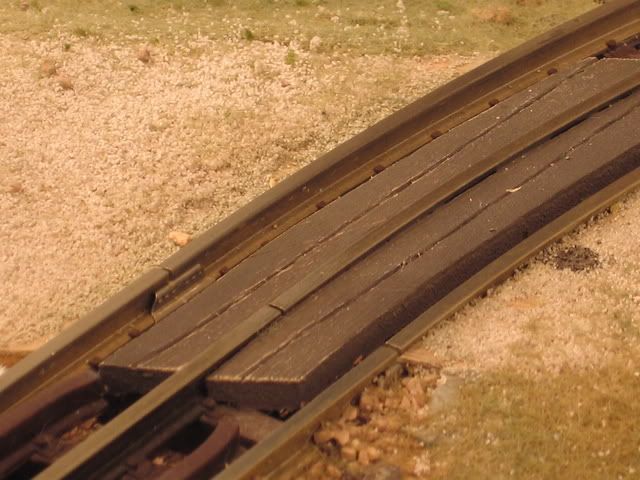
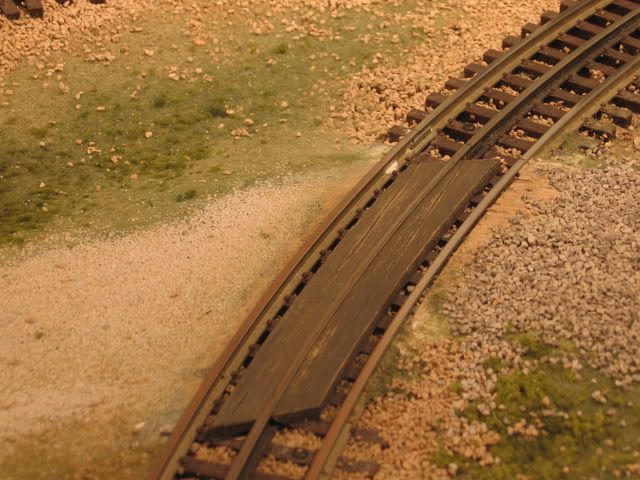
Done with small pieces of luan board and a bench sander.  The line was done with a scribe tool.  Same can be done to the outside of the rails, probably easier. 

I used luan board and a floor leveling compound for most of the grade work.  Green and gravel was added sparingly as a last process after all was painted a dirt brown.  A relatively level diorama has a lot of small grades to deal with.

IMO, Mike CT   Have fun with your project.


dobermann posted:

I'm not much for planning or thinking ahead so I find I need some grade crossings after all the track is ballasted. Roads outside the city will be dirt or tar and chip and that's where all the grade crossings will be. If you have suggestions or can post pics of your non wooden/non concrete crossings Id like to see them.

Thanks

joe

Why "non wooden"? Even unpaved roads, "back in the day" still had wood planks on either side of the rails, in order to keep the dirt/gravel/stone in place. As the photos posted above show, the wood crossings are the absolute best way to go.

It's much easier to do with two-rail than 3. You need to keep the filler pieces below the center rail. I used 1/8" Masonite strips cut on the scroll saw from templates that I made from scale drawings of the Ross curves. The inner loop was O-88 and outer O-96. They were tapered on the ends so they wouldn't snag any equipment and painted weathered black to simulate Macadam. My problem was not with the crossings themselves. It was that some of my roads were coming down a grade and were higher than the railhead. It took quite a bit of fiddling to remove material near the rails so the pilots of some of the big steamers weren't scalping the roadway. Each time I thought I had it fixed, another engine would clip the higher road and scrap material and/or derail.

Fillers hug the center rail and leave sufficient flange way clearance for the O'gauge wheels.

Crossing Fitting 1

The finished crossing system

Crossing Fixed 1

Damage done by the pilots hitting the higher-than-rail roadway.

Crossing Problem

There was the culprit. The Allegheny's low and scale pilot. My J1-a was worse since it was the front truck that hit and kept derailing.

Crossing repair 4 & 3

These were the templates used for the different curve sizes. I have those files on my computer if there's any one with O-96 or O-88 that needs them, send my an eMail.

Crossing Template

Attachments

Images (5)
  • Crossing Fitting 1
  • Crossing Fixed 1
  • Crossing Problem
  • Crossing repair 4 & 3
  • Crossing Template
Mike CT posted:

Done with small pieces of luan board and a bench sander.  The line was done with a scribe tool.  Same can be done to the outside of the rails, probably easier. 

I used luan board and a floor leveling compound for most of the grade work.  Green and gravel was added sparingly as a last process after all was painted a dirt brown.  A relatively level diorama has a lot of small grades to deal with.

IMO, Mike CT   Have fun with your project.


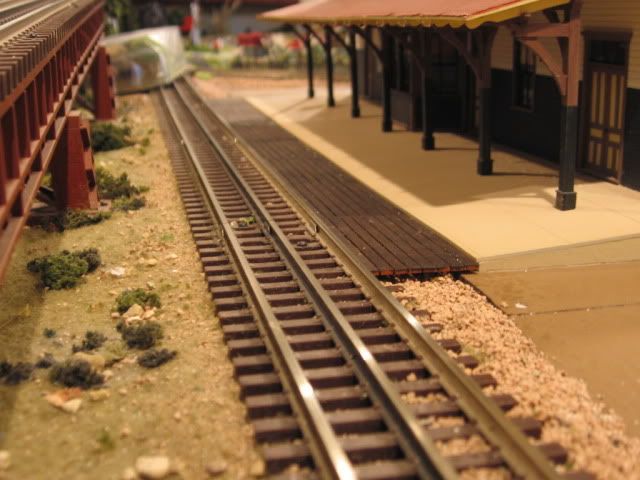
What building is that in the last photo. Who makes it? 

hrspla posted:
Mike CT posted:


Done with small pieces of luan board and a bench sander.  The line was done with a scribe tool.  Same can be done to the outside of the rails, probably easier

I used luan board and a floor leveling compound for most of the grade work.  Green and gravel was added sparingly as a last process after all was painted a dirt brown.  A relatively level diorama has a lot of small grades to deal with.

IMO, Mike CT   Have fun with your project.


What building is that in the last photo. Who makes it?   Building is BTS, (East Broad Top Railroad)  Orbisonia Station .  Click on the underlined phrase to link.

Here is a link to a few more pictures of the Orbisonia Station.


Last edited by Mike CT

Add Reply

Post
×
×
×
×
Link copied to your clipboard.
×
×