
I have been building and bashing kits in preparation for a layout in the near future, Ameritowne, Korber, Altoona Model works and others. Wondering if I should mount these on a base, 1/8 in MDF board or something similar for later placement on the layout? The base would only be only slightly larger than the structures footprint. It seems it would make them easier to handle until they are on the layout! Any suggestions would be appreciated! Thanks guys for your input!

Original Post

Replies sorted oldest to newest

Any thin, dimensionally-stable sheet material is fine. MDF will work. Lots of people use Masonite. 

A couple of hints:
--Don't make the base rectangular, but in a curved, organic shape. This makes it much easier to hide under ground cover.

--On some buildings, it is better to make it a bit larger. That way you can do some of the landscaping/detailing on the bench rather than on the layout.

Like many of us, I use Masonite for my base and sidewalks.  If I am using 1/8" thickness for the adjacent roadway, I will use 1/4" for the sidewalks.  That gives a prototypical 6" high curb.  One note on using Masonite, be sure to sand the edges after cutting as it is always quite rough.  Here is a shot of a large block that I am slowly filling in with buildings.  On the expansion joints, I just use a mechanical pencil to draw them.

In this case the streets are 1/8" foam core and the sidewalks are 1/4" Masonite.  I used foam core for the streets as I needed to cut it to fit the SuperStreets trolley line.  Cutting Masonite to fit the SuperStreets would be impossible for me!


IMG_1728 

Attachments

Images (1)
  • IMG_1728
PeterA posted:

Like many of us, I use Masonite for my base and sidewalks.  If I am using 1/8" thickness for the adjacent roadway, I will use 1/4" for the sidewalks.  That gives a prototypical 6" high curb.  One note on using Masonite, be sure to sand the edges after cutting as it is always quite rough.  Here is a shot of a large block that I am slowly filling in with buildings.  On the expansion joints, I just use a mechanical pencil to draw them.

In this case the streets are 1/8" foam core and the sidewalks are 1/4" Masonite.  I used foam core for the streets as I needed to cut it to fit the SuperStreets trolley line.  Cutting Masonite to fit the SuperStreets would be impossible for me!


IMG_1728 

Fantastic! Where can we see more of your layout?

Gatorboard....available through MicroMark...is another good, flat, stable option for mounting structures, creating vignettes, etc..  Like masonite it must be cut with a saw....the two surfaces laminated to the foam core are HARD, not knife-friendly at all.

Similar to the OP, my structural output is exceeding their placement/integration into the layout....for reasons I'll not belabor for now.  Many of the structures are, indeed, on thin masonite, with a minimal 'overhang' to the structure's footprint.  But lately I've settled on two alternative approaches.

First, if the structure can be first erected with the outside walls, only, I use this stage to trace a floor piece that will exactly fitinside the structure, flush with the bottom.  This works well especially to facilitate lighting, since I often install one of Woodland's lighting modules for a variety of LED's within/outside the structure.  This fitted floor also helps keep the structure squared up and improves its rigidity.

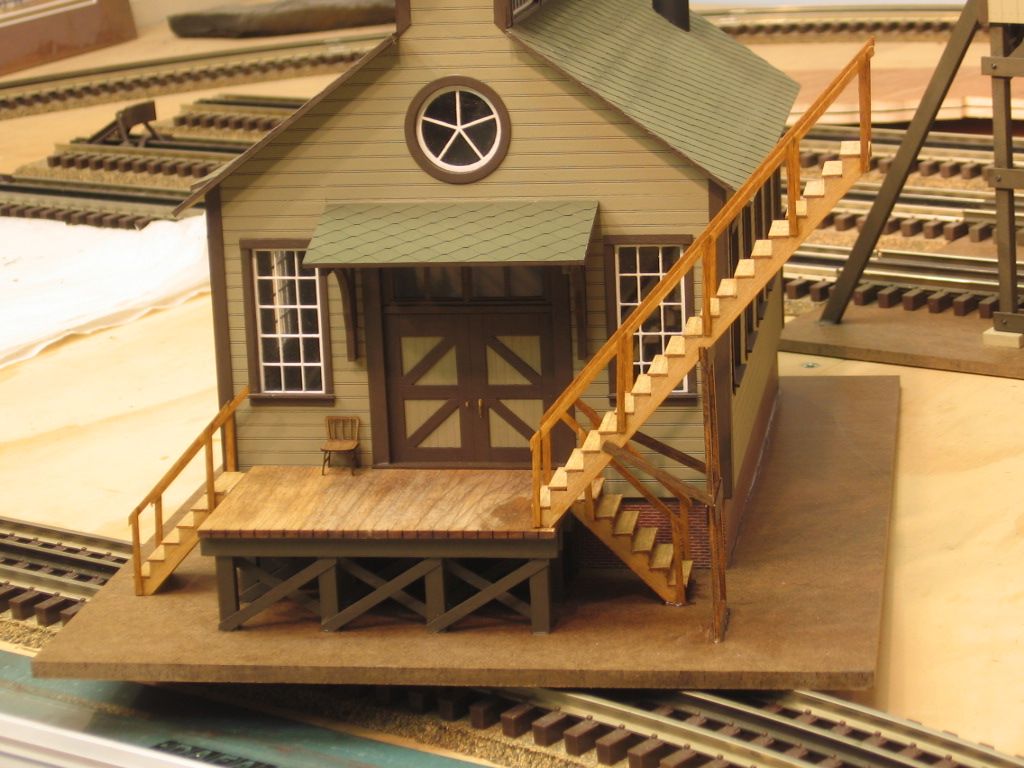
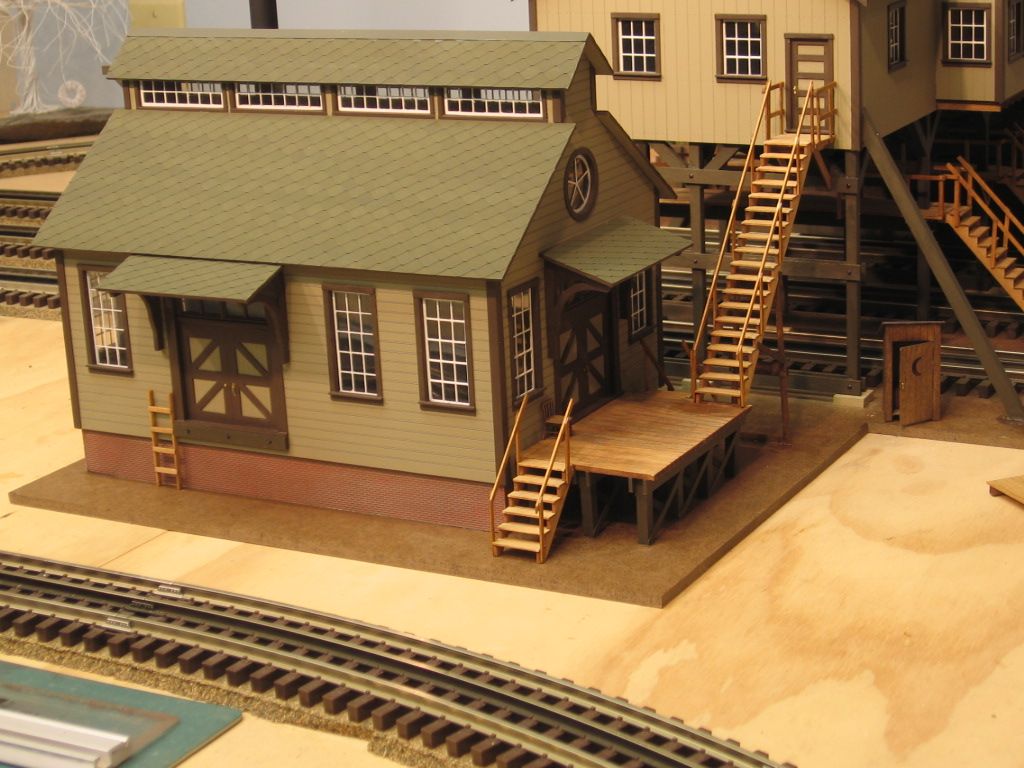
But, if I need to add some external details....trashcans, steps, ramps, boxes, bins, etc., etc.(similar to many of Woodland's prefab offerings)... immediately adjacent to and always to be associated with the structure, I'll add to this flush-floor some thin (typ. 0.010-0.015"") clear acetate....either as localized tabs or as a full sheet...that extend beyond the walls sufficient to attach those external details.  Yeah, it's not totally sturdy to repetitive handling, but it keeps the details in place, adds almost no thickness, and, being clear, is very easily blended with scenery into their final surroundings. 

I suppose I could use thin white styrene sheet to do the same, but then I 'd have to paint it to be sure it wouldn't show through any scenic materials.  Besides, I have accumulated a BUNCH of thin clear sheet 'stuff' through the years (It's in all sorts of common packaging situations!).

AND....if I do need to move these 'tabbed' buildings around, I'll simply place the building...unattached...onto a sheet of masonite as a temporary tray.

Hey, it works well for me, anyway.

FWIW, always.

KD

All of my structures are scratch built.  I use MDF, so the base is 6 mm MDF.

Here's a retro build which shows the process . . .

PE 226

First I made a dam out of 3 mm MDF on the area I cleaned off.

PE 227

Buildings are often raised a bit from their surrounds, so I sloped the earth back from the edges.

PE 228

Then I cut a piece of 6 mm MDF to fit neatly into the space.  I pre-drilled a pilot hole for the power plug.

PE 229

In this case I'm using an RCA jack and plug.  The base plate has a square hole cut in it and the jack is secured to the base board on a piece of 0.5 mm styrene.

PE 231

Construction then commences in 3 mm MDF.  At the side of the building, there is a lot of exposure of the foundation, while it slopes away up to the right of the photo.  The walls are set back about 1 millimetre to give the impression of brick walls sitting on concrete.

PE 232

The front of the foundation is chamfered away.

PE 234

While I'm at it, here is the lid which becomes the removable roof.

PE 236

Which sits just so.

PE 237

PE 238

Then stick on some laser printed bricks, corrugated iron and some styrene windows and paint the base plate grey to simulate concrete.

PE 240

Styrene doors and gutters and paper fascia and ridge capping printed with the laser printer.

Some bits of an old coat hanger for down pipes . . .

PE 241

PE 242


The building has all of the lighting in the roof, and the base lifts out for maintenance.

PE 247

I hope that helps a bit.

Cheers

Attachments

Images (15)
  • PE 226
  • PE 227
  • PE 228
  • PE 229
  • PE 231
  • PE 232
  • PE 234
  • PE 236
  • PE 237
  • PE 238
  • PE 240
  • PE 241
  • PE 242
  • PE 243
  • PE 247

Add Reply

Post

OGR Publishing, Inc., 1310 Eastside Centre Ct, Ste 6, Mountain Home, AR 72653
800-980-OGRR (6477)
www.ogaugerr.com

×
×
×
×
Link copied to your clipboard.
×
×