I've made custom decals (like the stripes in the photo) for the front of an engine I've repainted. But I forgot to make any allowance for the headlight. Does anyone know how I can cut out a hole for the headlight or otherwise apply the decal around it? Thanks!

Ethan

USAX_4635_GP16

Attachments

Images (1)
  • USAX_4635_GP16
Original Post

Replies sorted oldest to newest

Is the headlight casting molded in or can you pull it off?  If separate, remove it, decal the nose and then reinstall it.
otherwise, get the closest headlight from PSC and use it as a template to cut out a hole in the decal before you wet it.

I don’t know how this would come out, but you could decal over it, apply a ton of microsol and let it settle down. Once dry, cut around the headlight with a new xacto blade, apply some solvaset and try and remove the decal from the headlight.  No guarantees on that working though.

Last edited by Boilermaker1

Is the headlight casting molded in or can you pull it off?  If separate, remove it, decal the nose and then reinstall it.
otherwise, get the closest headlight from PSC and use it as a template to cut out a hole in the decal before you wet it.

I don’t know how this would come out, but you could decal over it, apply a ton of microsol and let it settle down. Once dry, cut around the headlight with a new xacto blade, apply some solvaset and try and remove the decal from the headlight.  No guarantees on that working though.

Appreciate your reply. I've already re-painted it and I don't think I can remove the headlight without damaging it. I thought about the Microsol idea, but I don't know if that would work either.  Then again, might be the only option I have. Thanks again.

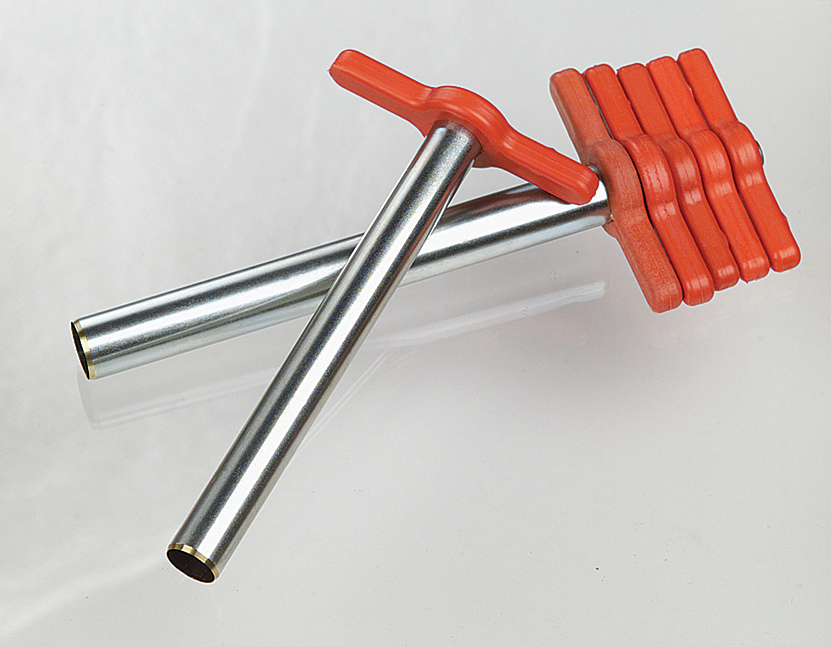
I would use a cork borer to cut the circles then just cut the the sides of the oval with a scalpel or xacto knife connecting the the left and right edges of the circles.

You can google cork borer if you are not familiar with them. They are simply a set of thin wall tubes that have one end sharpened. With some practice you can cut perfect circles in thin soft material.


Pete

Last edited by Norton

Slice the decal top to bottom in the middle and place each 1/2 up against the light unit to get direct measurement off of it. trim as needed with fine scissors and/or #10 scalpel.  Once you trim each 1/2 to fit around its side, test and confirm, then soak and apply each 1/2 as normal using the stripes for alignment.

I would cut it and place it over the light housing. After the decal dries apply MicroSol or similar decal solvent to get it to lay down and conform to the surface. After it has dried and you are satisfied that it has conformed to the surface, trim around the perimeter of the light housing with a sharp Exacto blade and carefully remove the unwanted film from the housing. I use a toothpick and decal solvent.

@Norton posted:

I would use a cork borer to cut the circles then just cut the the sides of the oval with a scalpel or xacto knife connecting the the left and right edges of the circles.

You can google cork borer if you are not familiar with them. They are simply a set of thin wall tubes that have one end sharpened. With some practice you can cut perfect circles in thin soft material.


Pete

Well I never thought I'd be googling "cork borer." But I can see where these would come in handy for a lot of things.

@mwb posted:

Slice the decal top to bottom in the middle and place each 1/2 up against the light unit to get direct measurement off of it. trim as needed with fine scissors and/or #10 scalpel.  Once you trim each 1/2 to fit around its side, test and confirm, then soak and apply each 1/2 as normal using the stripes for alignment.

This is a good idea. Never thought about slicing it in half.

Add Reply

Post
×
×
×
×
Link copied to your clipboard.
×
×