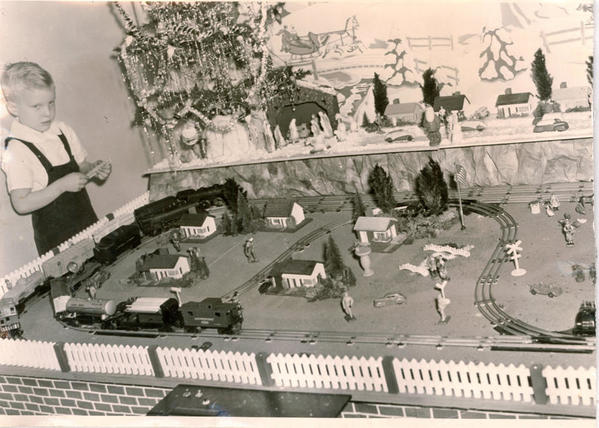
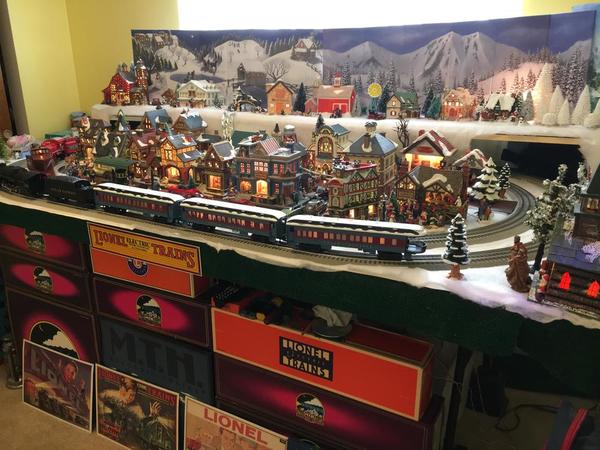
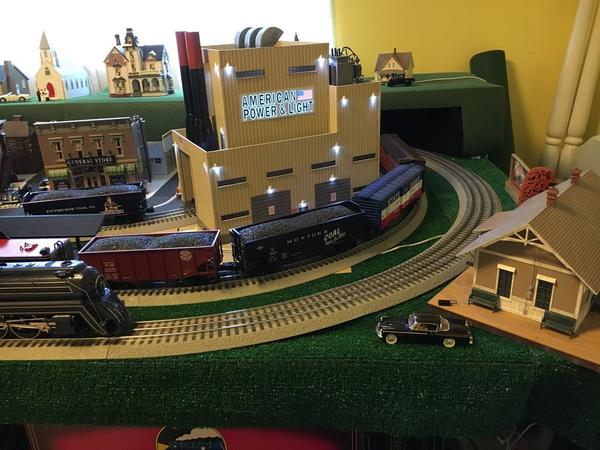
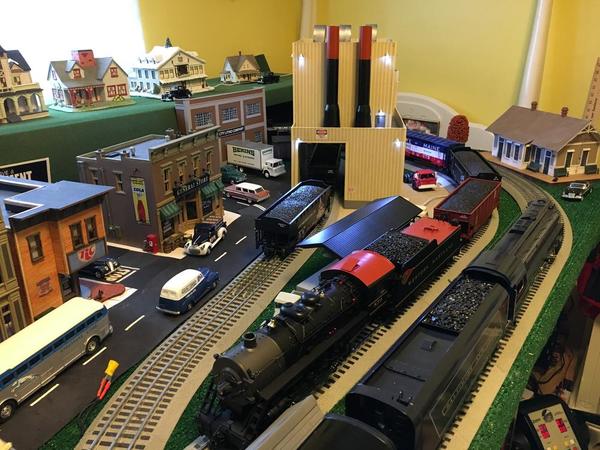
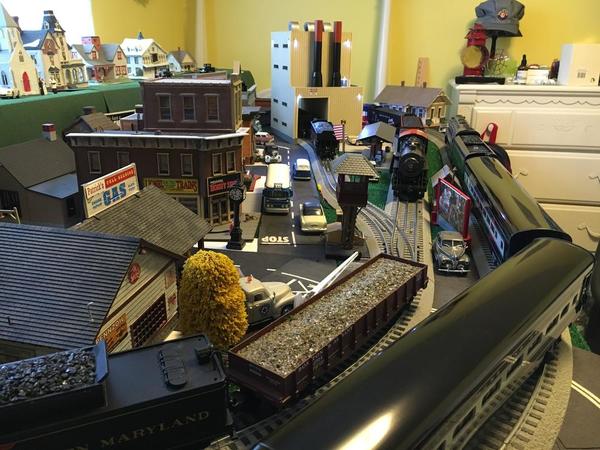
Knowing how YOU will run trains is a good idea before planning. So is knowing what you will run*. I"m fine with just looping as it is like watching a campfire.
I added stub sidings more for looks, and for other folks entertainment. The original plan was no scenery except for what I painted on the wood, and some Plastiville or operating accessories. I just kept want to do something new and did.
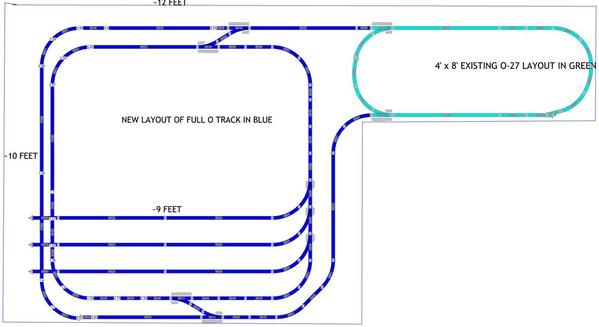
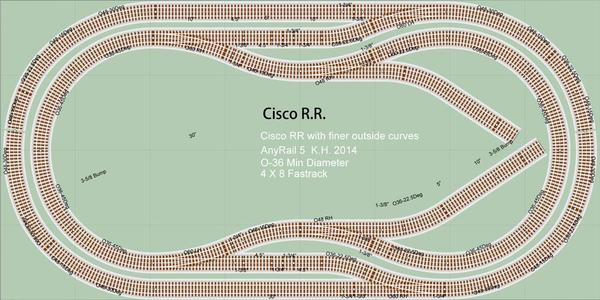
I laid two, then three lines at first, four lines eventually. But found four to be cumbersome on those days where derailments run amok for no reason. I was just as satisfied with three.
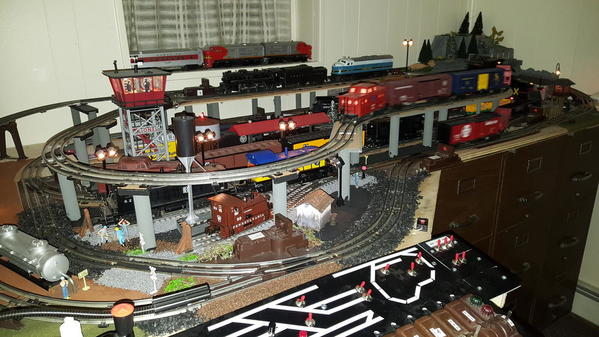
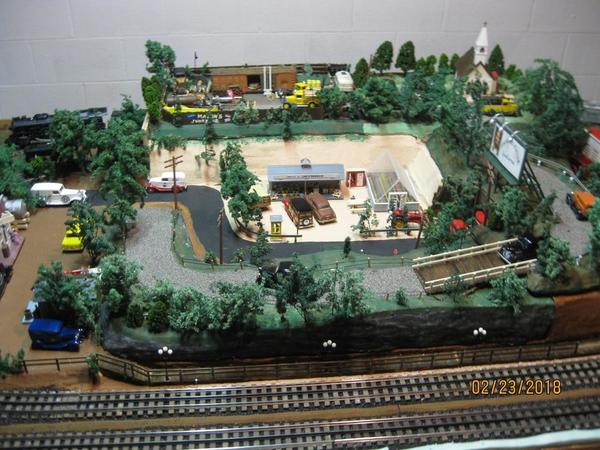
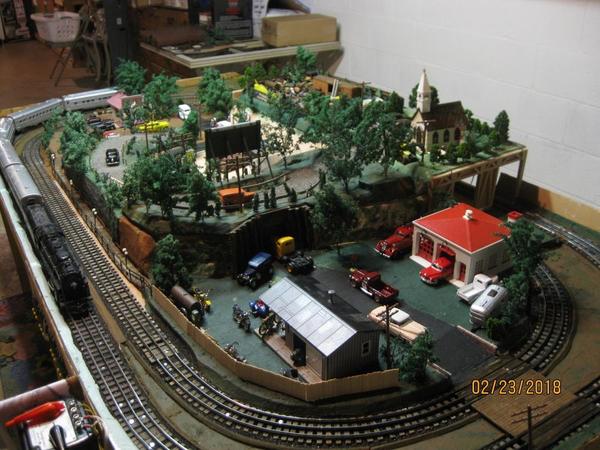
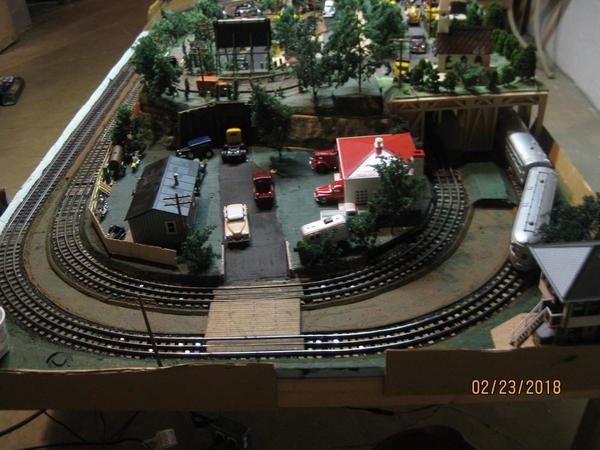
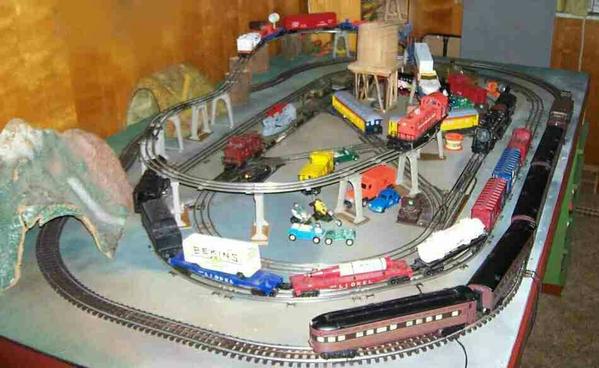
The elevated line was the best thing ever. Little locos no longer got lost in the spaghetti bowl action and it added depth to the landscape. (Landscape...Go buy a cheap water based craft acrylic, flat black & greys, or browns. Usually under a buck each. Find some garbage foam and paint it black, then "dry brush" color over it in haste. You almost can't mess it up and if you do, you can paint over it, or even wash it off. Cheap, but it will last  Finish with dumping (ok...or brushing), your dirty brush water on it; a weather wash. I say this because it will likely inspire your design and confidence both. Fyi, I play with my trains far more than seriously model with them. The modeling part just won't stay away, lol. )
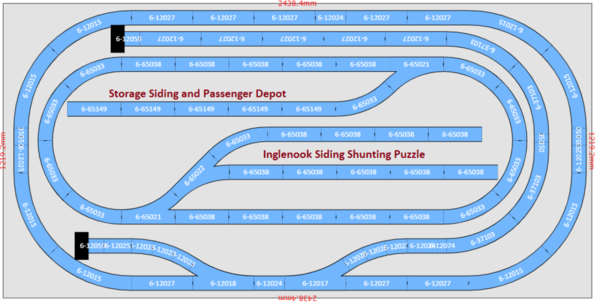
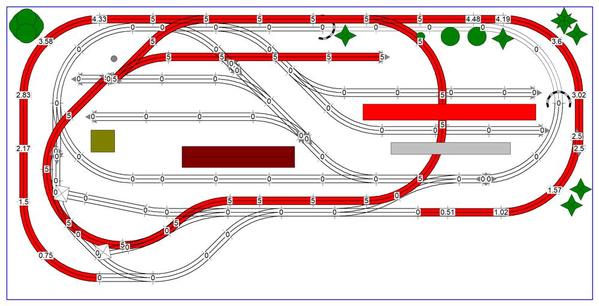
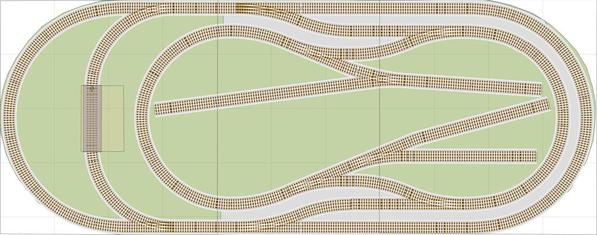
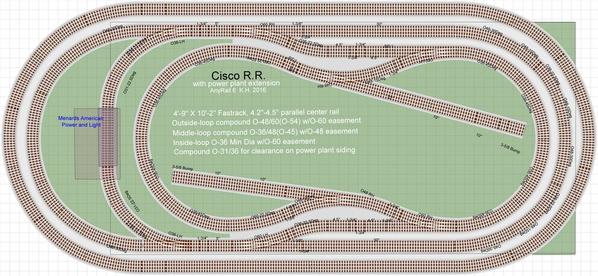
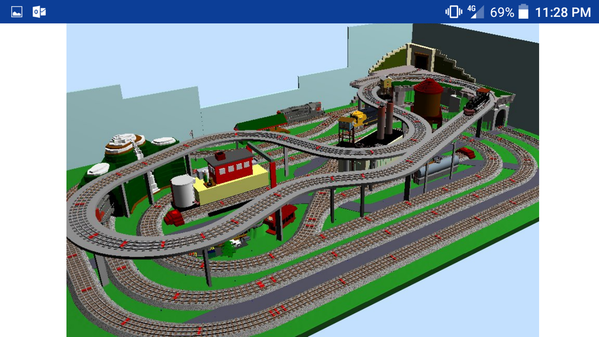
A table and thoughts of recreating the layout Gomez had started me off again (I was born into a toy train family), the result kinda evolved on its own. Planning was done as a simple go-no go for fit, and was just an approximation anyhow. Though fairly accurate today, don't trust it 100%. Maybe 99% at best  Scarm did it's part with the visuals on the mine later.
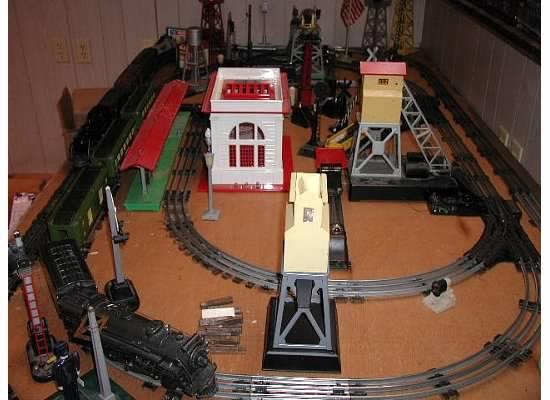
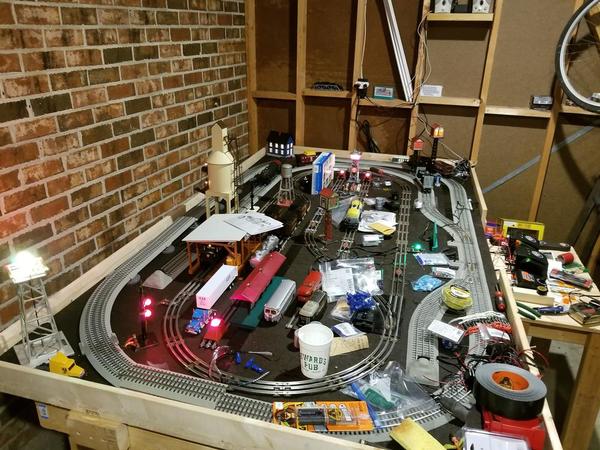
In the ov erhead shot, my controls are on the left. But the plan was originally made with running from the right side. I just found that I liked the view better from the other side. Railing was engines was easier there too.
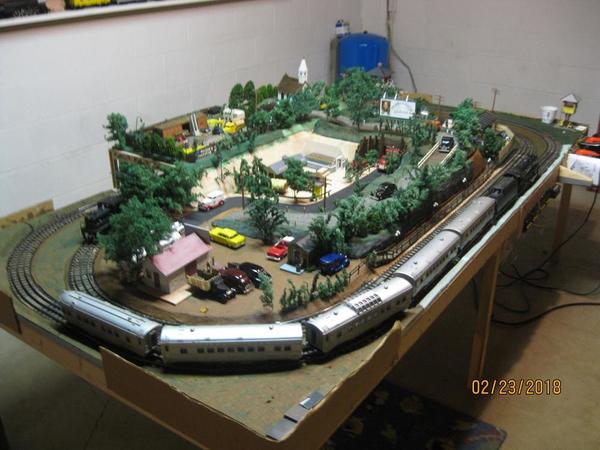
Wheels on the table legs? I love them. Mine dont even lock. It wont roll around, even if I'm on it. It seldom moves even a fraction of an inch. Leaning just pushes it against the wall tighter. Occasionally. a telephone pole falls, but glue would fix it fast if I was inclined to permenancy.
*On the right, the Super O siding lost it's turnouts so the "Fat Wheeled" prewar tinplate could run. They don't like post war or modern turnouts. The gear on the wheels often extends clear to the flange tip, making for a wider wheel that hits guide rails in the modern turnouts (prewar Marx are as universal as a turnout gets)
It will be a bit before I can dig some old shots out of the "clouds". My cloud is having issues, but I will.
A thought on the subway. Going under the table at the edge, hanging like a ceiling layout would be a "real subway". But connecting to the surface within the space of a 4x8 would leave you with a challenge to lay graded track in a tight space and climbing a hard grade both. Maybe look hard at something like "Lionels Dissapearing Train/ dealer layout" and it's limits before you try a grade. Bryan from Ohio has a (big) subway I really like (a regular in "what did you do on your layout today". Ask, he will show off I'll bet  )
)
I think you've seen this, nothin real special (also made a point to keep mt methods very easy so I could head at it with a childlike passion free of heavy expectations and hope for discovery.
Last year....
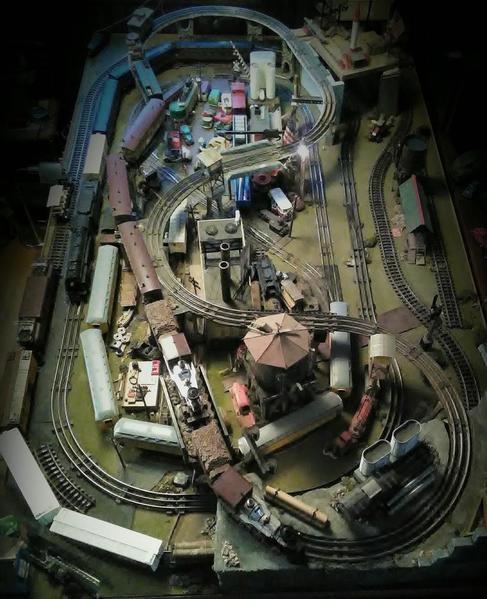
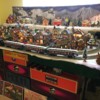
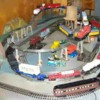
Maybe 3-4 years ago.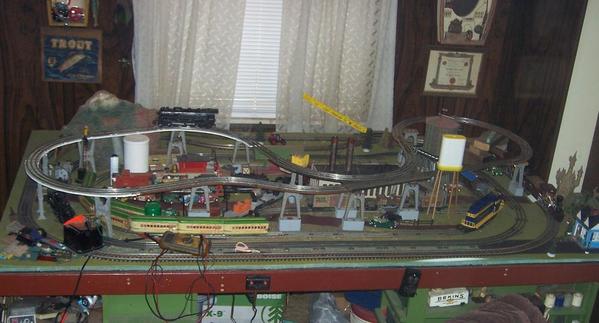
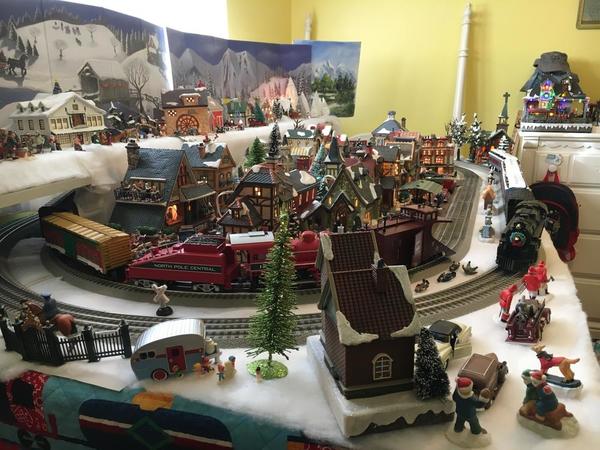
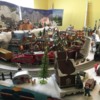
From at the controls (3 yrs ago)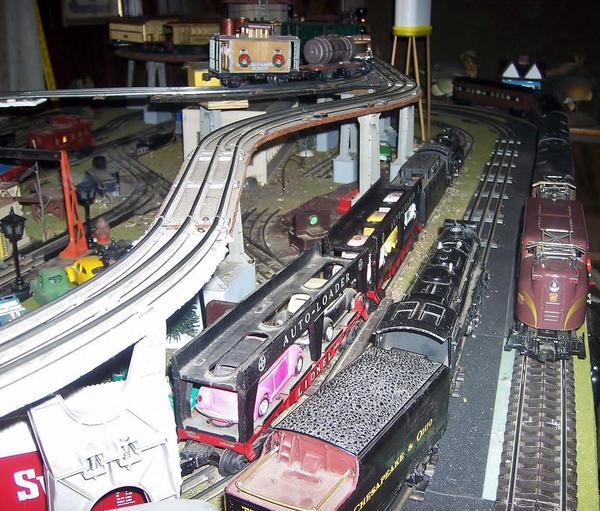
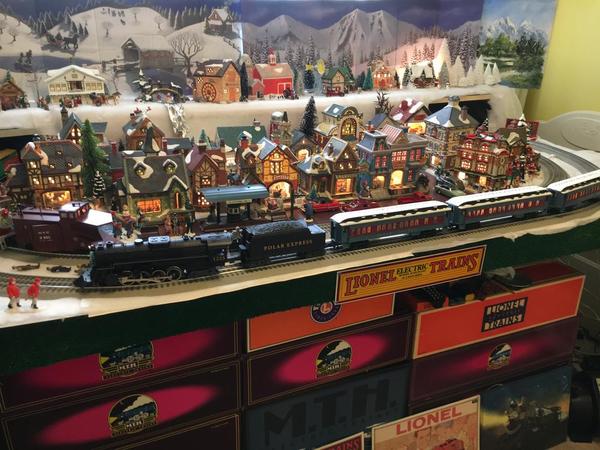
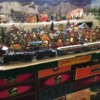
Across from controls, now behind the tunnel again as the gantry was shipped to the moon rhis summer 
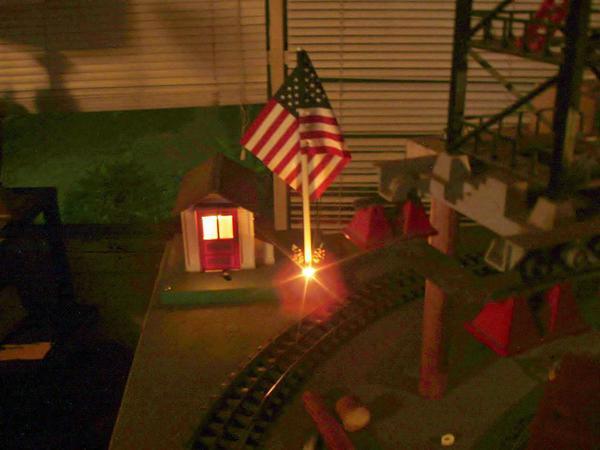 From summer
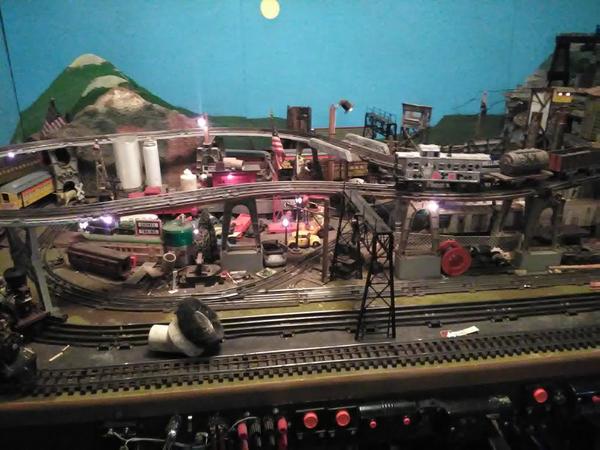
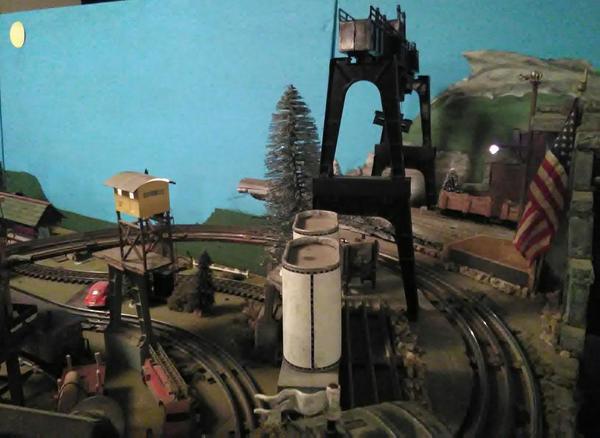
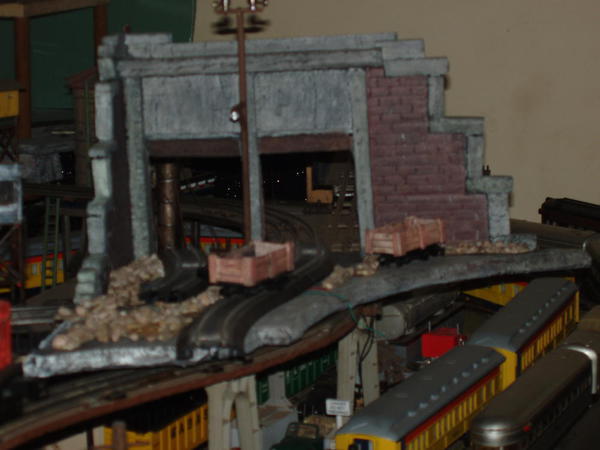
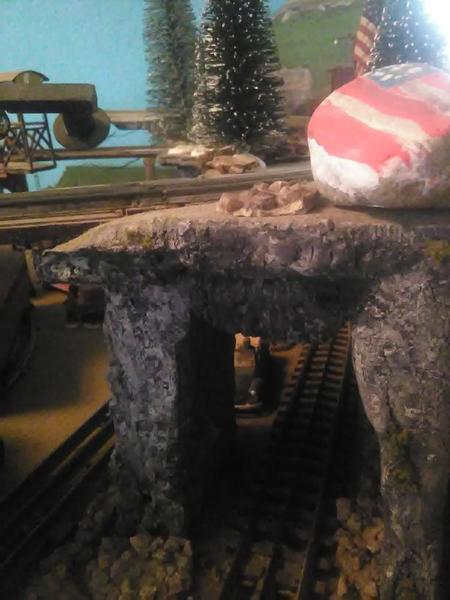
Older, but maybe $2-$4 here, old foam, chopsticks, & old crap laying around. Even the HO was free. Rocks salvaged from a razed old postwar layout.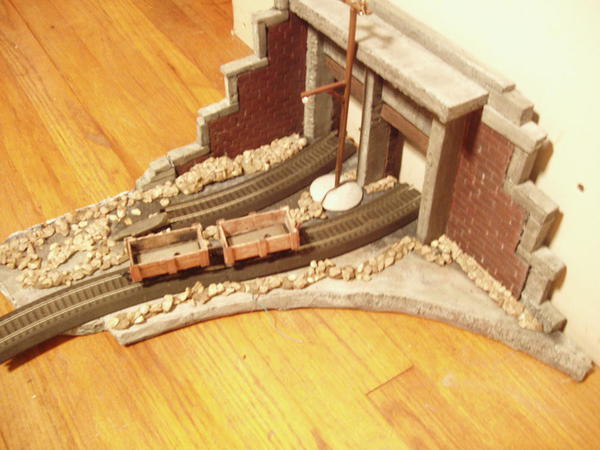
I broke evey "rule"for foam. Stacking produces a better rocky look.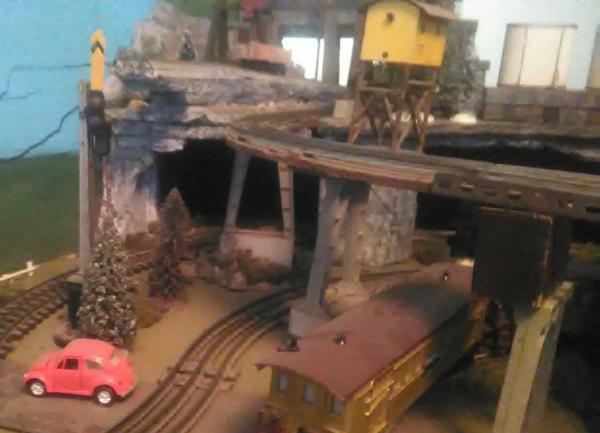
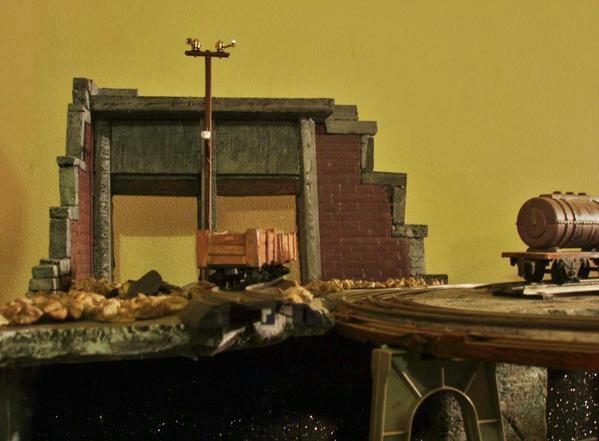
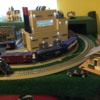
2012 (?)
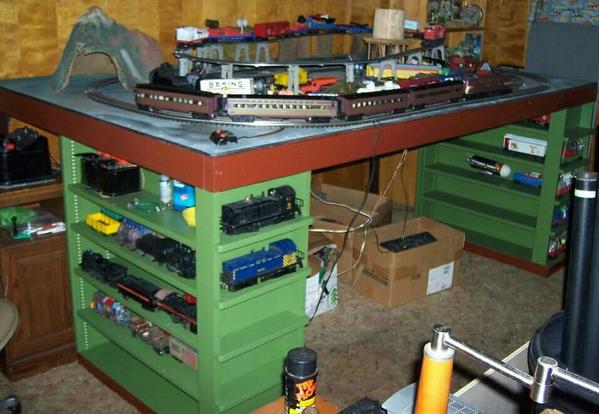
Small doesn't mean it can't be out of this world fun either....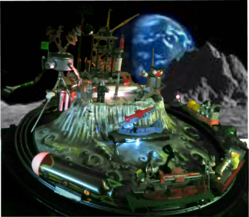
o-17 o-20
