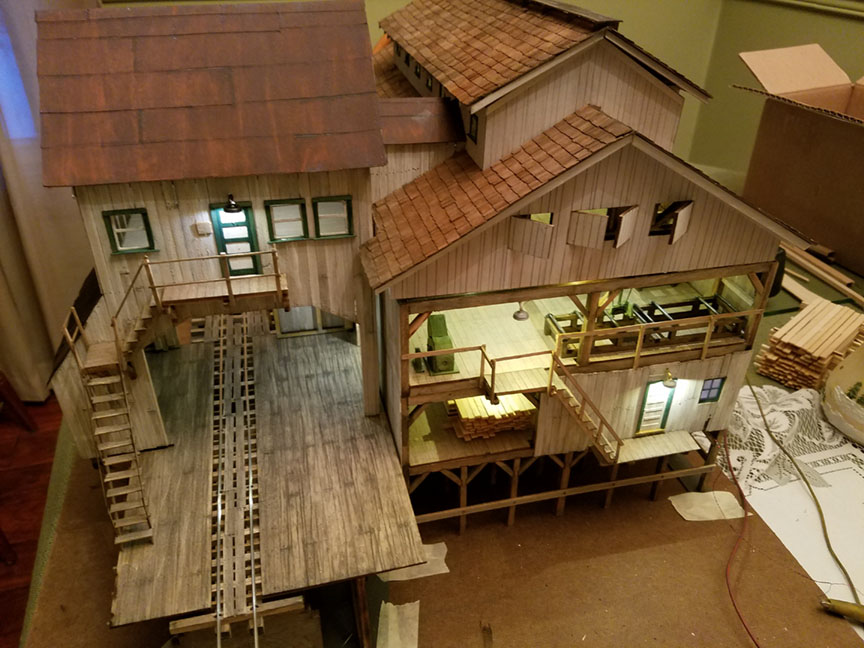
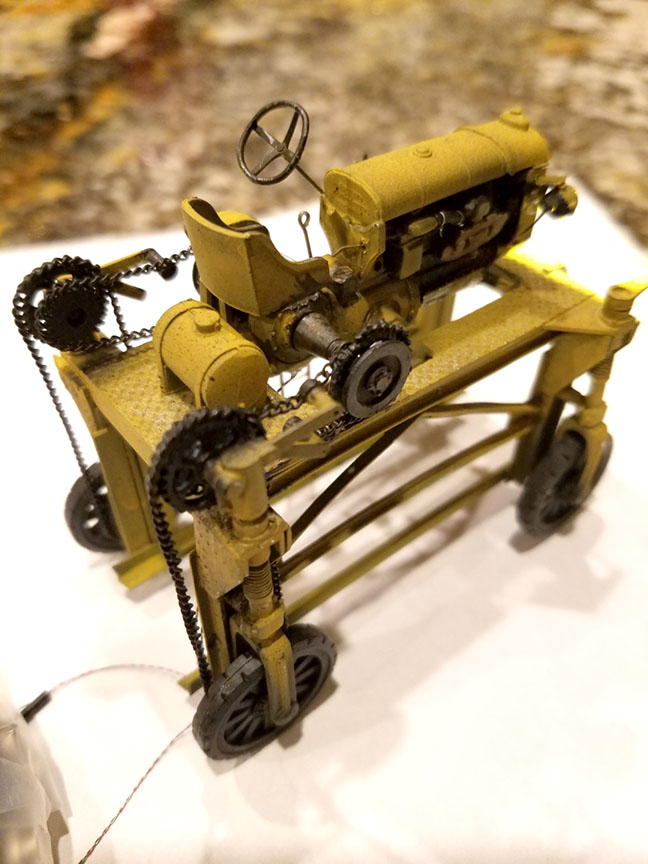
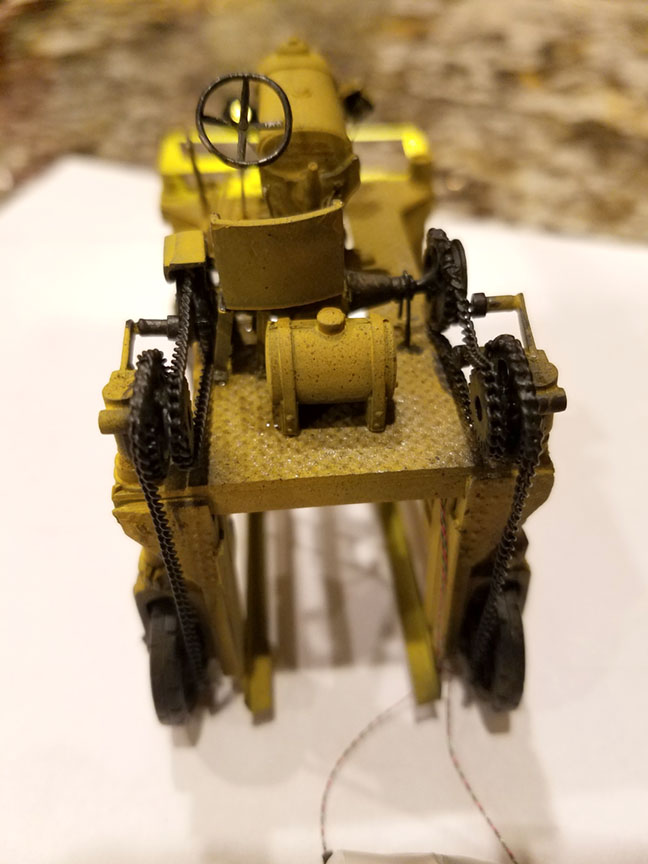
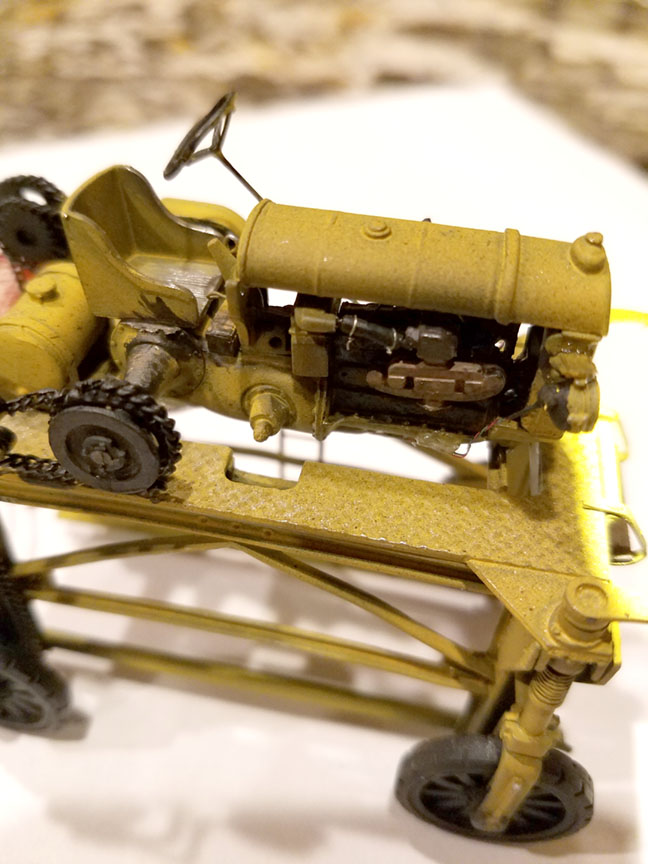
Started another project for the sawmill area last night. A McKenzie Iron & Steel - Willamette lumber carrier. What a beautiful set of pewter castings! Almost no flash on the parts. ( a lot of little ones) As you can see in the photos. The directions ( 4 pages) could of been clearer in their steps.  I have two of these kits to build. I thought I get it all assembled last night but it looks like it's a two night build .

Here is a photo of all of the parts cleaned of flash and wash with soapy water and rinsed to remove any oils or mold release and two wheels blackened.
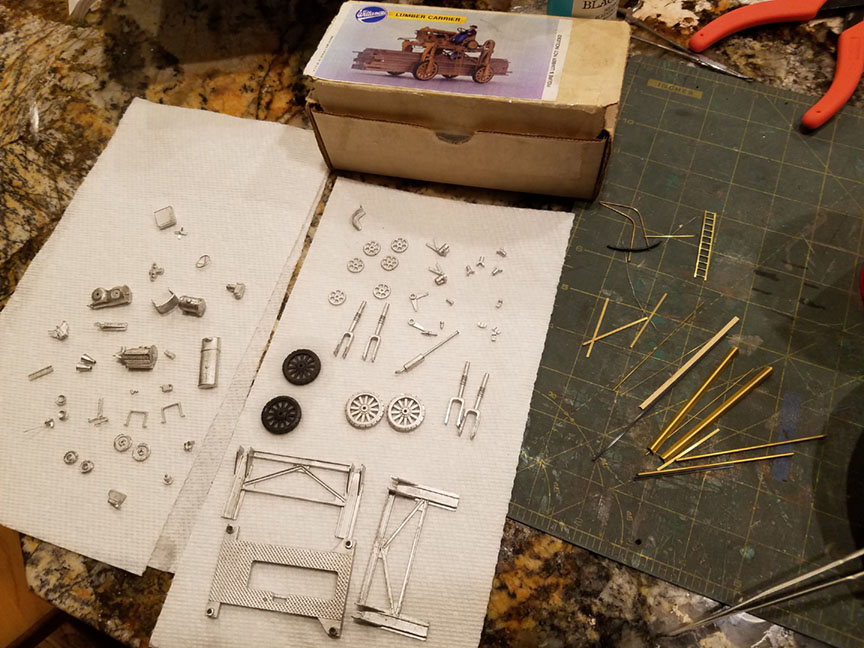
This photo is after I finished blackening all of the parts
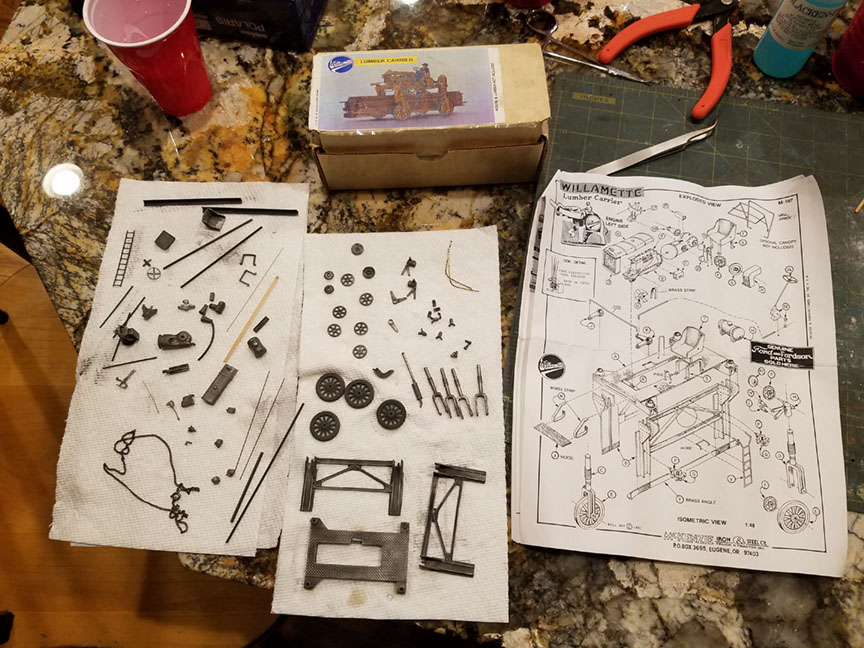
and this is where I finished up at 12:30AM

Original Post

Replies sorted oldest to newest

CSX Al posted:

I thought I get it all assembled last night but it looks like it's a two night build .

Don't rush these kits!  Putting together all those deserves a bit of applied patience. I just finished off a Don Winter kit of Shay powered road roller kit that was deceptively complicated.

This photo is after I finished blackening all of the parts

What are you using to blacken the parts?

Thanks Eric.

Martin,  I know what you mean. The instructions had me install wheel legs, then on next page wanted me to install leg supports which are behind the legs. What a PITA to install !

I used two different blackeners.

for the pewter parts I used “Blacken-it” by A-West out of Woodstock, GA.

and for the brass, I used the Birchwood Casey “Brass Blacken”

Last edited by CSX Al
CSX Al posted:

Thanks Eric.

Martin, I used two different blackeners.

for the pewter parts I used “Blacken-it” by A-West out of Woodstock, GA.

and for the brass, I used the Birchwood Casey “Brass Blacken”

Thanks!

I'm looking forward to seeing this assembled all blackened. I've see a few painted in company colors, and 1 scratchbuilt in 1/2" scale. 

Think that Wiseman owns the kit line now and is re-issuing these kits.

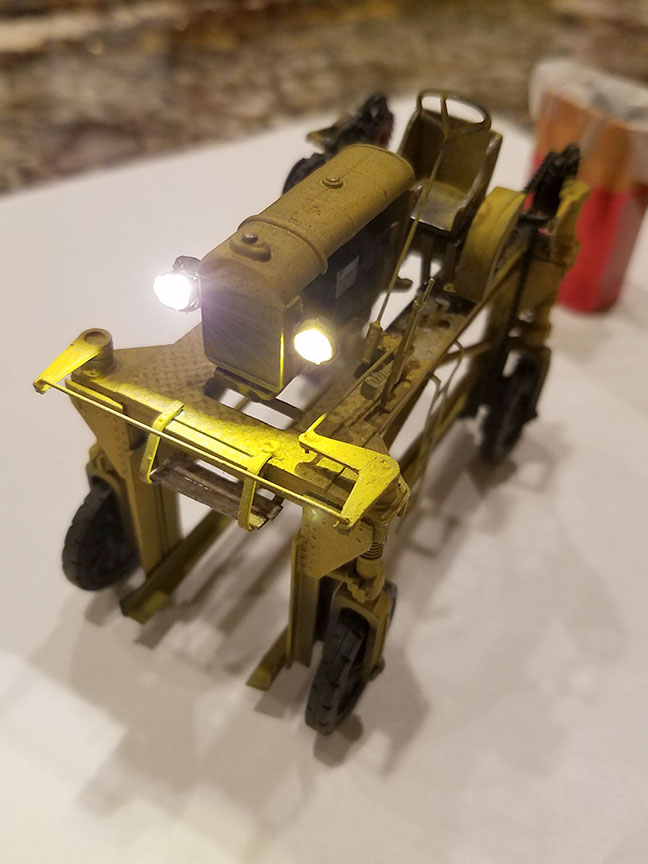
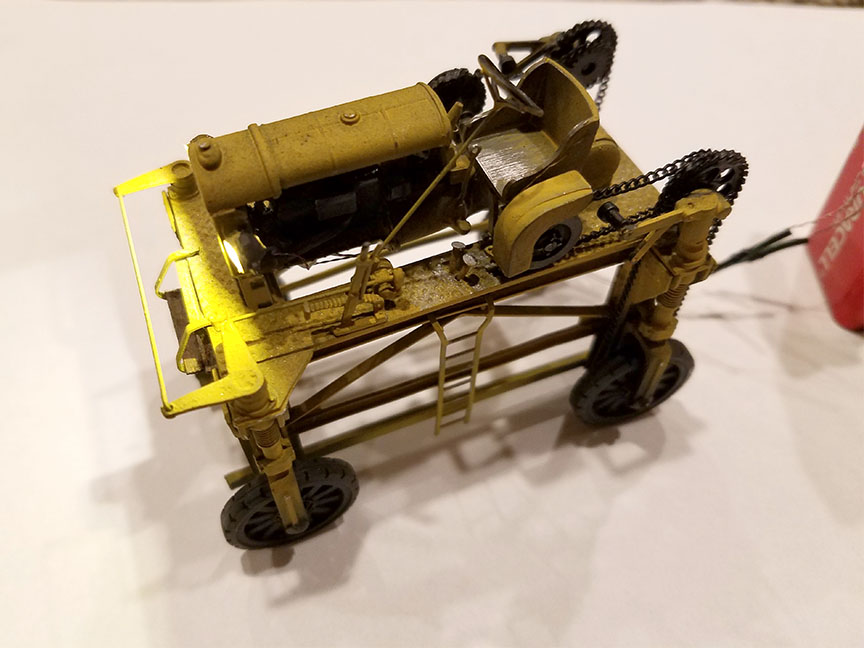
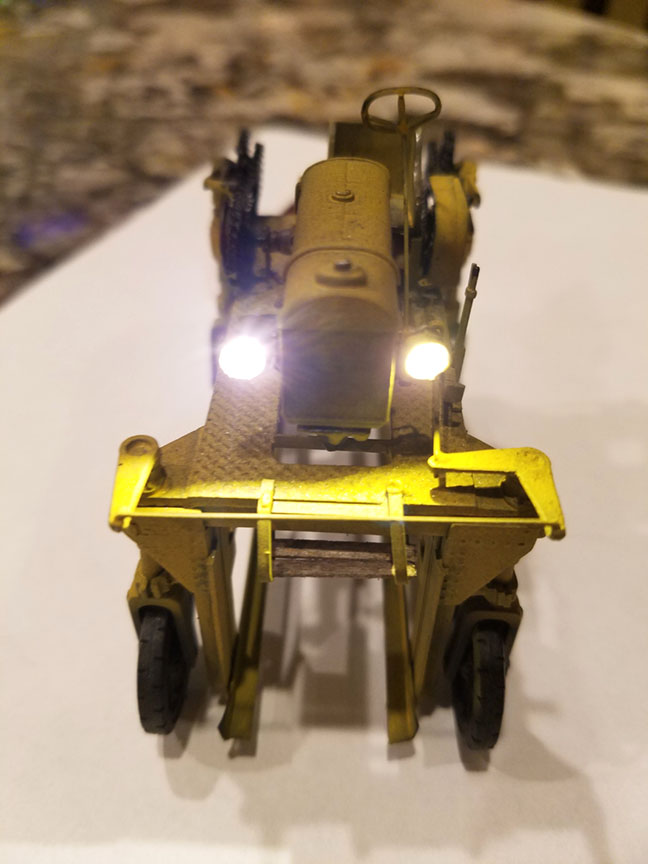
Thanks everyone for the great feedback. I got stalled finishing this up until tonight as I had to go out of town to take my son to a college visit to his top choice for schools. I got it painted up prior to leaving. So tonight I finished installing the parts onto it. Gluing the fine chain, onto drive was a total PITA! I can't wait to build the 2nd one.  Anyway, I thought it would be cool if the headlights actually worked. So I installed some pico LED's into the headlight castings. Before I glued them in I used a chrome paint pen on the reflectors. It gave them a mirror like finish. This stuff is the best chrome paint I have ever used. I got that tip from Adam Savage's show tested.  They also make refill bottles, which would be great to spray though an airbrush.

Molotow ONE4ALL Acrylic Paint Pump Marker

CSX Al posted:

Thanks everyone for the great feedback. I got stalled finishing this up until tonight as I had to go out of town to take my son to a college visit to his top choice for schools. I got it painted up prior to leaving. So tonight I finished installing the parts onto it. Gluing the fine chain, onto drive was a total PITA! I can't wait to build the 2nd one.  Anyway, I thought it would be cool if the headlights actually worked. So I installed some pico LED's into the headlight castings. Before I glued them in I used a chrome paint pen on the reflectors. It gave them a mirror like finish. This stuff is the best chrome paint I have ever used. I got that tip from Adam Savage's show tested.  They also make refill bottles, which would be great to spray though an airbrush.

Molotow ONE4ALL Acrylic Paint Pump Marker

+1 on Molotow liquid chrome in terms of its chrome-like finish--remarkable stuff.  I learned about it a couple of months ago from Hancock52, (Andy).  It sprays well through an airbrush and there are tons of videos on how to use it.  Make sure you keep it away from alcohol if you don't clear coat it; and, it does not dry quickly--I sprayed a few pieces and put them away for a few days before handling just to be safe.  Still testing clear coats and masking effects.  The videos also deal with using the Molotow pens which is what Al used.

Update:

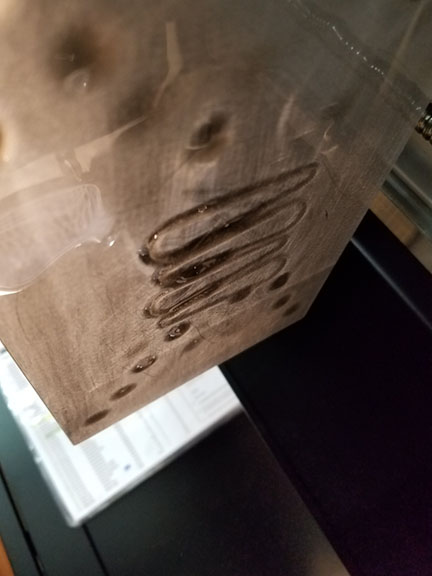
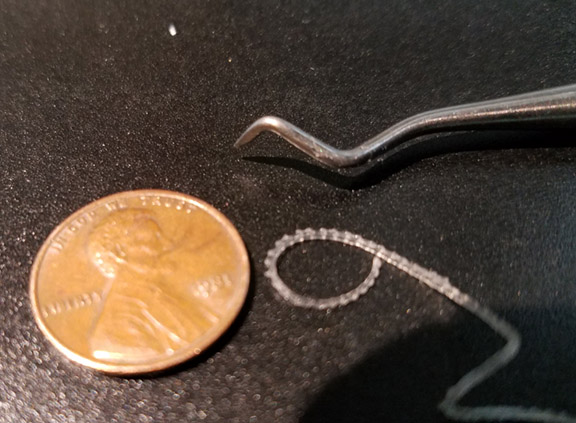
A modeler I know from Japan sent me photos of some bike chain he used on his Fordson tractor drive made in Japan. He sent me a link to where he purchased it on Amazon. Anyway, currency conversion would have been less than $20 USD for the kit. When I looked the part up on Amazon on the US side of things they wanted $89 + $10shipping for the same part. I decided to try and make my own.  So, I downloaded a CAD file of bike chain and printed it in a flexible resin.

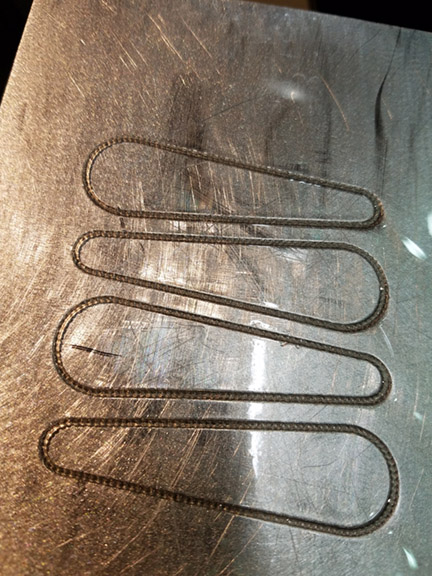
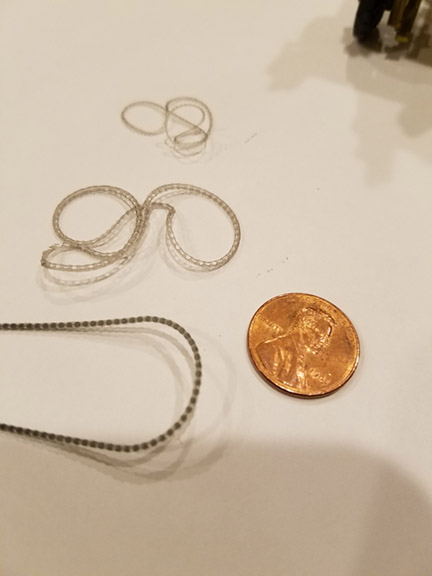
First print, 9 minutes later I got out the 4 pieces I printed on the build plate seen in the photo.

 The resin is clear, but they make pigments to color it. I added black tint but it still looks pretty clear. The size I estimated scale on and it came out too small.

I resized it and ran a second batch (14 minutes) .

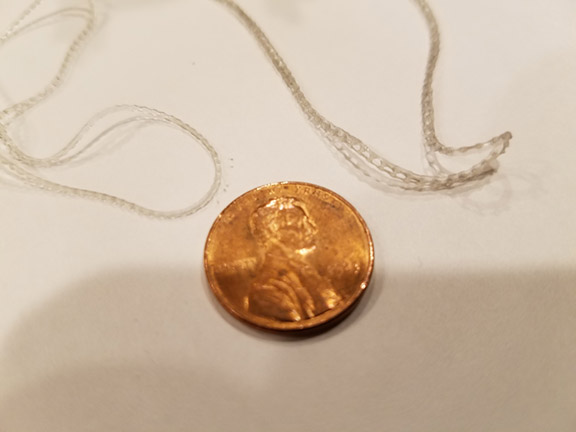
The resin is very flexible, almost like a rubber band. I might mix some flex with some standard black resin so it isn't so floppy to handle.

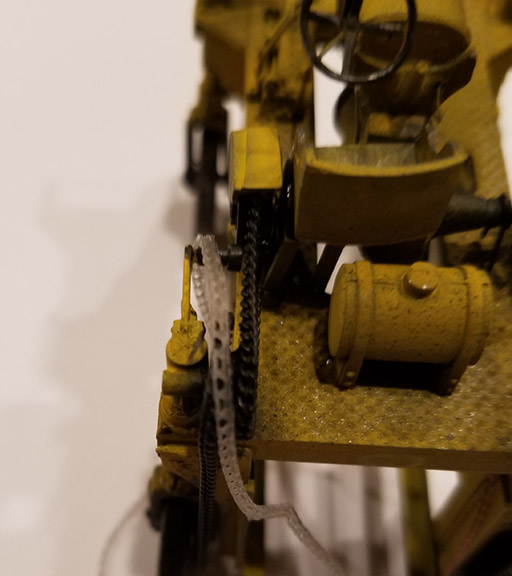
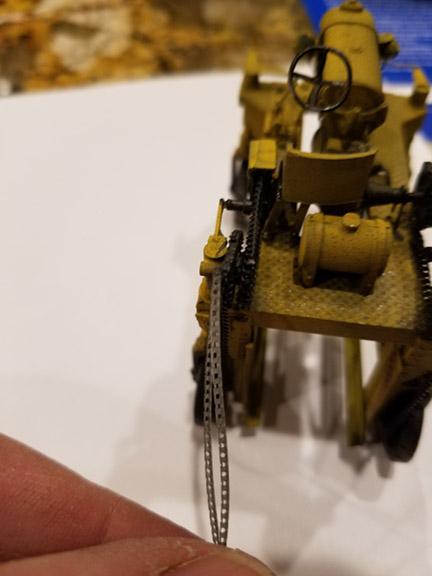
Here is a photo of the 2nd batch draped on the lumber carrier for size comparison.

Here is the chain with the black regular resin added to the flex. It's perfect. Flexible enough to position without breaking but stiff enough to not be a limp noodle.

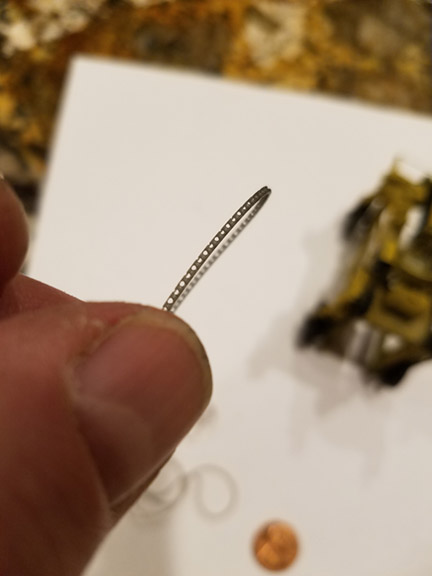
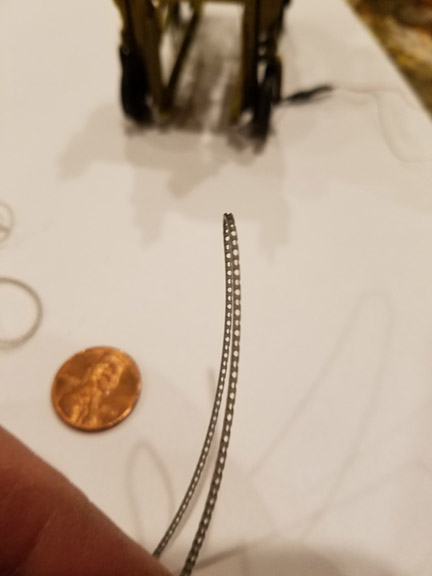
You can see in these next two photos the individual links

http://www.studiozphoto.com/LumberCarrierchain1stBatch.jpg

http://www.studiozphoto.com/LumberCarrierchain1stBatch.jpg

Here is the last one showing in by the lumber carrier

http://www.studiozphoto.com/LumberCarrier12Chain.jpg

Add Reply

Post
×
×
×
×
Link copied to your clipboard.
×
×