Originally Posted by Steamfan77:
I've searched and gone through the posts, but haven't really come up with a consensus.
Thanks,
Andy
Andy,
You will never find a consensus here or anywhere else about backdrop painting whether it be just the sky or the entire backdrop.
Some people prefer highly detailed painted or photo backdrops. Others prefer very basic hill-like shapes to convey a sense of distance without overpowering foreground scenes.
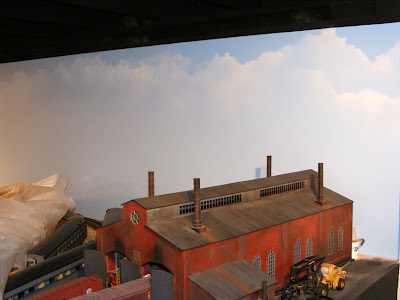
Similarly, some like to include highly detailed clouds using a method such as Alan described, while others feel that clouds can be distracting particularly if they are not very well done.
Sky colors can be blended right on the backdrop using a brush if you work quickly. Paint the darker color at the top and the lighter near the horizon, and immediately begin blending with horizontal brushstrokes. I find spray techniques too difficult to control, but others swear by them.
Others prefer to paint the entire sky all one blue.
My preference is for variety. Where my foreground scenes are highly detailed, I like just a few hills in the distance.I use a 2" brush for these scenes. A few wispy clouds on a solid blue sky are enough for me in these areas.
In other places, particularly city scenes, I print out photos of actual buildings on heavy paper, cut them out and glue them in place on a graduated painted sky using a collage technique of overlapping images. The sky colors are blended using the same 2" brush.
I also suggest a vibrant blue, as Alan suggested, particularly if you will be doing much photography. Blues tend to wash out in some situations when photographed, as I found out from experience.
Hopefully, you'll get some other opinions illustrated with photos to help you decide which techniques look best to you. 


Jim