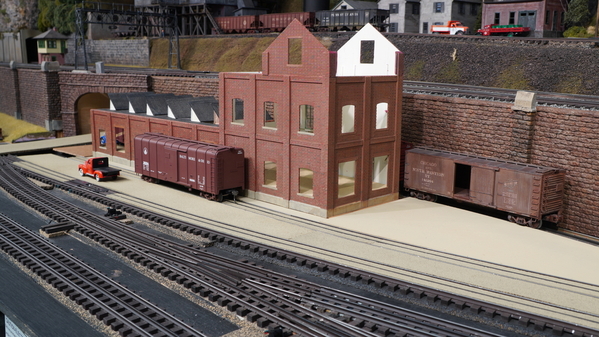
I am very open to suggestions on the best way to model street trackage in an industrial scene. The brewery complex is about 3 feet by 12 feet.
I have two questions: how have you raised the street level to match the track height and what material did you use to model the street? Okay. I fibbed. A third question is would you use that same procedure again?
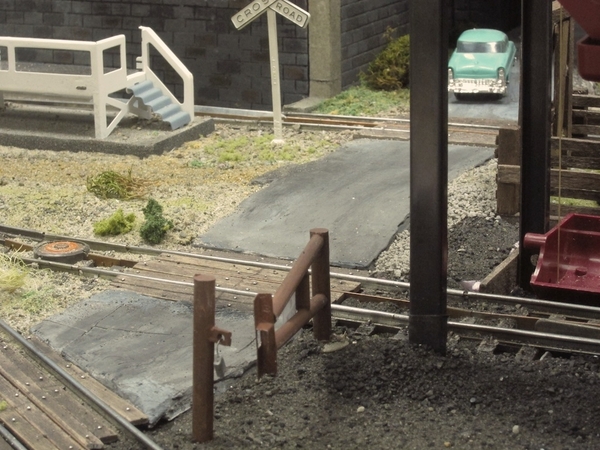
I will soon start working on an urban scene that will require trackage running by and switching between numerous brewery buildings. I have read articles in which people have used cardboard, Masonite, plastic, plaster, foam board, and thin foam insulation sheets to model streets, but - unfortunately - most of the articles are for HO track in a small area. I use Gargraves track with Ross switches. What's the best way to model street trackage in O scale, please?
Thanks in advance for any and all suggestions.
Jim
Jim,
I have modeled tracks embedded in concrete for my open hearth steel mill. They are floors, not streets, but I think the technique would work as well.
The first thing I did was determine the position of the tracks. In the examples shown, I am using GarGraves 2-rail and GarGraves 5-rail gantry crane with the inner 3 rails removed (this is for the open hearth's charging machine).
")
To simulate a raised floor, I used 1/4" square or rectangular pieces of Plastruct. On top of them, I placed 0.060" styrene sheets that I painted and weathered to simulate concrete. The .060 styrene is cut so that it fits right up against the track rails.
")
Here's a look at the pouring floor of the open hearth.

This is the finished pouring floor. Krylon #4291 Khaki Camouflage will give you a pretty good concrete color. I enhanced the floor with some puddles of spilled steel (Testors #1180 Steel).

This is the charging floor. The 2 wide tracks on the left are for the charging machine. The other 2 standard gauge tracks are for the scrap buggies (shown beyond the crane). This floor was painted with Rustoleum texture paint (#223524) Desert Bisque. It's a bit lighter than the pouring floor.

Would I use this technique again? Absolutely. I think it turned out well. In fact, in the photo above about 1/2 of that floor is removable, but it's almost impossible to tell.
Hope this helped.
George


")
")


")
")