The short answer is why not? It's simple and kinda fun.
They made a few so I'm guessing its a power on or off thing, Part number gets specifics (wire count, terminals?) The IR delay adds some realism and better rail connection reliability(2vs1), but the "loss" is not usually there on good track. If you have a preferred direction and traction tires, you may want to insulate on the tire side rail of any power fidgety locos, but it works great in general. A short vs long connection... or even two spots or more, can eliminate gate bounce and give some delay effect (you want one to the left and right of the gate for bi-directional trains.)
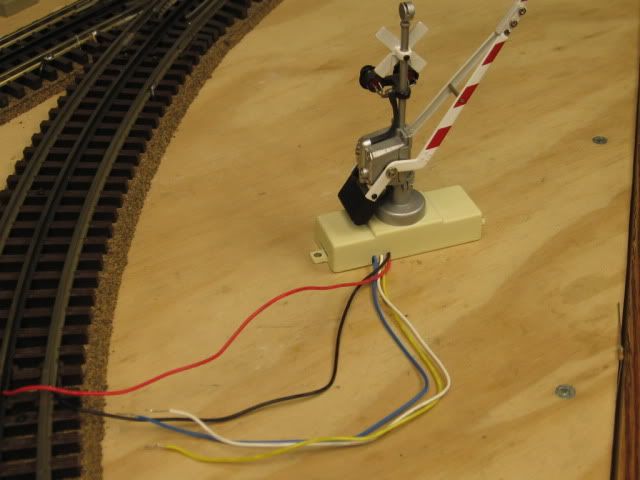
They are ac/dc ? LED or bubs? Voltage range? Ideal voltage IYO? A relay may be needed.
(I have mth crossbucks that were dc; but used, so maybe a diode was removed?...but I had to add one.)
Another option on tubular track for a trigger is a special Lionel lock on with clamp/ 1” connection strip that tops the outer rail, it's underside insulated from contact. The slight bump is hardly noticable.
Marx simply used a dot or strip of thin soft copper with a two sided tape insulating under it AND holding it to the rail. Peel, bend metal over the rail "n-style" till it is stuck for an instant trigger rail, be it 1/4" or 4" long.
Alcohol to clean track, 2 sided tape like window shrink wrap tape, carpet tape, etc., thin SOFT copper/brass from hardware, electrical, or hobby (maybe tinfoil just to play), Drill a wire hole(always 1st & carefully), attach wire (solder?) then tape back(avoids melting), then cut strip/dot with snips, etc., then peel/bend stick, then smile 
No good reason I can think of this wouldn't work on any track.
Sharp flanges can pick at the edge but mostly they can last many years. (or be retaped, etc).
Robert Grossman Company of Ohio still stocks these cheap I think.