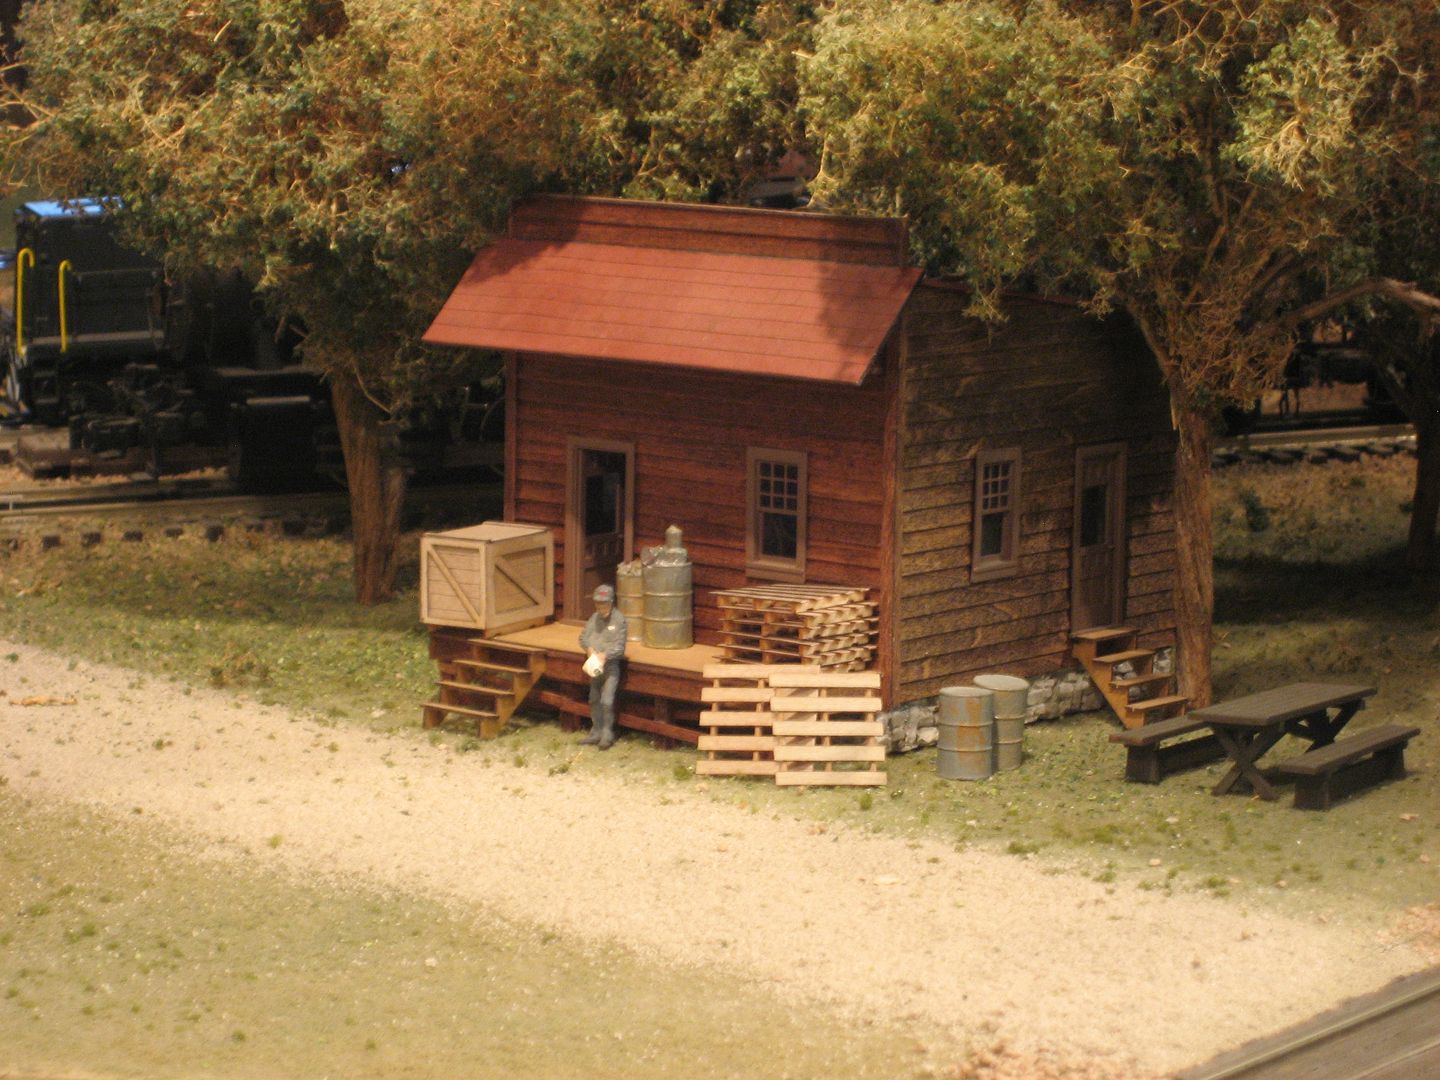
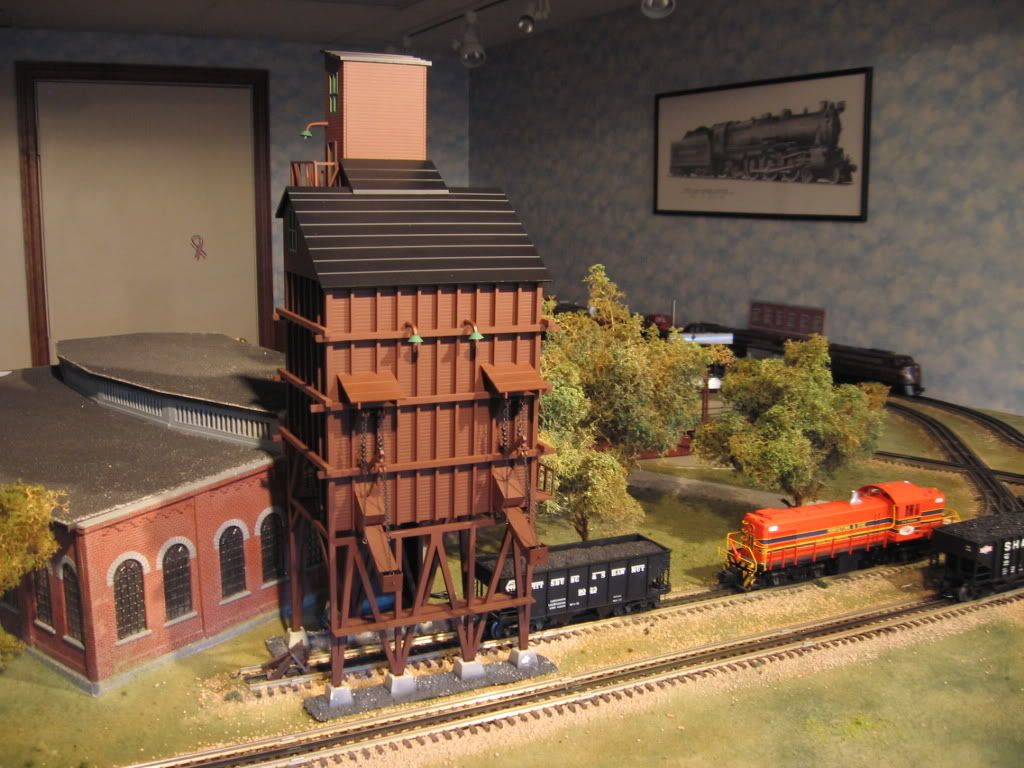
..places where you feel you got it right and were satisfied with the results...(but are still open for suggestions)..
FrankM
|


|
Replies sorted oldest to newest
No need to critique your pics Frank. You nail it everytime. Well done.................Paul
I have a few areas I would consider complete. I'm always seem to be adding a few weeds or some bushes hear and there. It's amazing when you take photos and you study them a bit. How much you notice where you can make changes. Most of my trees are made from weeds. I model the fall and like sort of airy looking trees with multiple colors. My layout was published years ago. In one really nice scene there stood a tree that stuck out like a sore thumb. It looked like a twig with cotton candy wrapped around it. Couldn't believe I never noticed how bad it looked. Was probably made early on in my build and just didn't blend in with what was around it. Went down to the layout that night and extracted it.
I enjoy designing and making scenery and structures but am never entirely satisfied that I have gotten it “right” – especially the trees and foliage. This scene is half the focus of my 10-by-5, under-construction, single-track railroad. The scenic elements that I wanted were a tunnel leading onto a truss bridge over a river with factories lining the riversides. The truss bridge, trestle and two factories at the rear are scratch-built. I feel that the lack of a backdrop detracts from the scene but may fix that once the rest of the layout is done.
MELGAR
Melgar,
you got that scene right. I love it.
alan graziano
Here's my attempt at realism.....icing facilities have lots of water....hence, foliage, even near the right of way...
Unfortunately, hard to see from this distance...better with the blow up......maybe too subtle....and I may need more greenery.....thank you for making me take a critical look at it.....
Peter
Moonson posted:
You have ventured into a segment of the hobby that is an art in and of itself. (just like my little corner of the train world is electronics). I have known a few scale modellers that produced magnificent trees. It was a passion for them. I have learned a lot about dying foam and grinding it in a hand meat grinder from them. Sometimes its all about what grows wild in your back yard and having the vision to cultivate and dry the plants and shape them into trees.
Nice work Frank!
Lou N
Good evening, for me this is the best part of building a layout is doing the scenery.
MarkStrittmatter posted:Good evening, for me this is the best part of building a layout is doing the scenery.
Very nice and realistic snow scenes.
MELGAR
Here are a couple more of my housing redevelopment
MarkStrittmatter posted:Here are a couple more of my housing redevelopment
Love your Winter scene, why don't more people use snowy sections on their layouts? Perhaps they all want to live in an eternal Summer.
Dave_C posted:I have a few areas I would consider complete. I'm always seem to be adding a few weeds or some bushes hear and there. It's amazing when you take photos and you study them a bit. How much you notice where you can make changes. Most of my trees are made from weeds. I model the fall and like sort of airy looking trees with multiple colors. My layout was published years ago. In one really nice scene there stood a tree that stuck out like a sore thumb. It looked like a twig with cotton candy wrapped around it. Couldn't believe I never noticed how bad it looked. Was probably made early on in my build and just didn't blend in with what was around it. Went down to the layout that night and extracted it.
Dave:
How about a 'how to' for pictures 2-4. The scenery work is excellent!
Joe
As I don't have any foliage on my layout currently, since I am in process of redesigning the whole layout, a lot of due to the fact that I need to redo power drops. I will use this for some inspiration.
Thank you, very, very much, Elliot.
Super, JDFONZ, super, as in super cool modeling!
FrankM
Thank you, Arnold D. Cribari. Those vignettes were total enjoyment for me to do.
For each scene, my imagination drifted away, for awhile, somewhere, and when I came back, they were what I found in front of me on my worktable.
Thank you Frank. I look at your work and it seems we are very much on the same page scenery wise. I do enjoy that part of model railroading.
JDFonz posted:Thank you Frank. I look at your work and it seems we are very much on the same page scenery wise. I do enjoy that part of model railroading.
I enjoy working on scenery also, I'm just not very good at it. I am constantly in awe of, and inspired by, you guys' posts.
Moonson posted:
Frank, if you don't mind ..... did you paint the ends of those cut "logs?" To get them that creamy-white lumber color? Or, were they purchased?
I was collecting some appropriately sized sticks with my nephew for his logging diorama, and the ends are much darker when we cut them. Perhaps, we need to find branches from a different tree species.
And yes, Frank .... you are one of the rocket scientists of modelers. ![]() Really enjoy looking/studying all of your work.
Really enjoy looking/studying all of your work.
Jim


EBT Jim posted:Moonson posted:Frank, if you don't mind ..... did you paint the ends of those cut "logs?" To get them that creamy-white lumber color? Or, were they purchased?
I was collecting some appropriately sized sticks with my nephew for his logging diorama, and the ends are much darker when we cut them. Perhaps, we need to find branches from a different tree species.
And yes, Frank .... you are one of the rocket scientists of modelers.
Really enjoy looking/studying all of your work.
Jim
Using this real-life scene as a guide,  I took my gardening sheers and clipped those "logs" right off some evergreen shrubs in my yard. I made sure to cut the ones that were approximately the same diameter and length, were within range of the trunks of the trees standing in the vignette, appeared to have a "scale" bark on them, and seemed within a believable scale for the overall 1/48 scene. Those ends are raw,
with nothing painted onto them.
The same procedure was used for the "stumps."

FrankM
A truly handsome vista, Chirs A.
Frank M.... those have to be the best conifer trees I have seen yet. Are you making them, or buying them ?
Gondolawillie posted:
Regarding the cornstalks:
My procedure:
1. I made sure the area to receive them was absolutely free of any dust.
2. Separate them. Work with them as individual items. I bent the bottoms over (1/4" - 3/8") to make a right-angle at the bottom, to be a base.
3. I applied a fast-drying Crazy-glue-type of Gorilla Glue, to each stalk individually, the kind that dries very fast. I held the stalks in-place using surgical clamps and/or pliers laying on their sides with mouths closed around the bottom of each vertical stalk, gripping the stalks individually, to hold them still and vertical.
4. The stalks were let to dry thoroughly until affixed firmly.
5. Once I was certain the glue was totally dry, I applied a heavy dose of white/beige Liquid Nails and sprinkled-on my groundcovers, basically very fine soil(s) until it "looked right."
6. I gave maximum time for that layer of glue to cure. This water-base glue will undercut the acrylic -type, so if you have not let the first glue cure thoroughly, the stalks will soon fall over.
7. Once the water-base glue has dried, and solid, I applied more groundcover(s); then used an eyedropper to apply an final coat of Liquid Nails to that layer.
Done.
The same procedure was used for the Sunflowers you see in these two scenes below.
FrankM
P.S. If however, you have purchased the corn stalks that come as individual rows of stalks, with black base-bottoms (as seen here in this unfinished scene), I'd use the same procedure, just do not cut them off from the bases. Glue with the same procedure, layer upon layer.
chris a posted:Frank M.... those have to be the best conifer trees I have seen yet. Are you making them, or buying them ?
Most are from Scenic Express; a few from other sources, found by happenstance at shows. I try for a mixture of tones, heights, textures, and shades of green, which includes the undergrowth, too, for added visual interest.
Thanks Frank for your reply about the corn. I also have a packet of the sunflowers. I'm going to employ your technique this summer when I'll have 2 months off from work and lots of time to work on my scenery.
Access to this requires an OGR Forum Supporting Membership
