Replies sorted oldest to newest
Here was the plain Weaver NE caboose I bought on OGR from Joey.
I weathered it and added windows with other details.
Bottom windows were covered due to rock throwers
as pointed out by my MTH CNJ SD-35 crew.

Those junk box figures sure come in handy!
Now I need a link from someone to purchase caboose lanterns.

The old Lionel trailers are getting a run after sitting on the shelves for almost 10 years.
I started selling off pieces of my large traditional collection this week as well. Frown


Thank you Jim,

The hard part with my kids. They like the trains, it's the competition with sports and all the other things they have going, so when I can get an hour that I can give them something to do, it's great. I gave my daughter the can of spray adhesive, lichen and corse turf; I showed her how to make a bush and I said "make it your own, put them where you think it looks good."

-Ted
Great stuff this weekend.
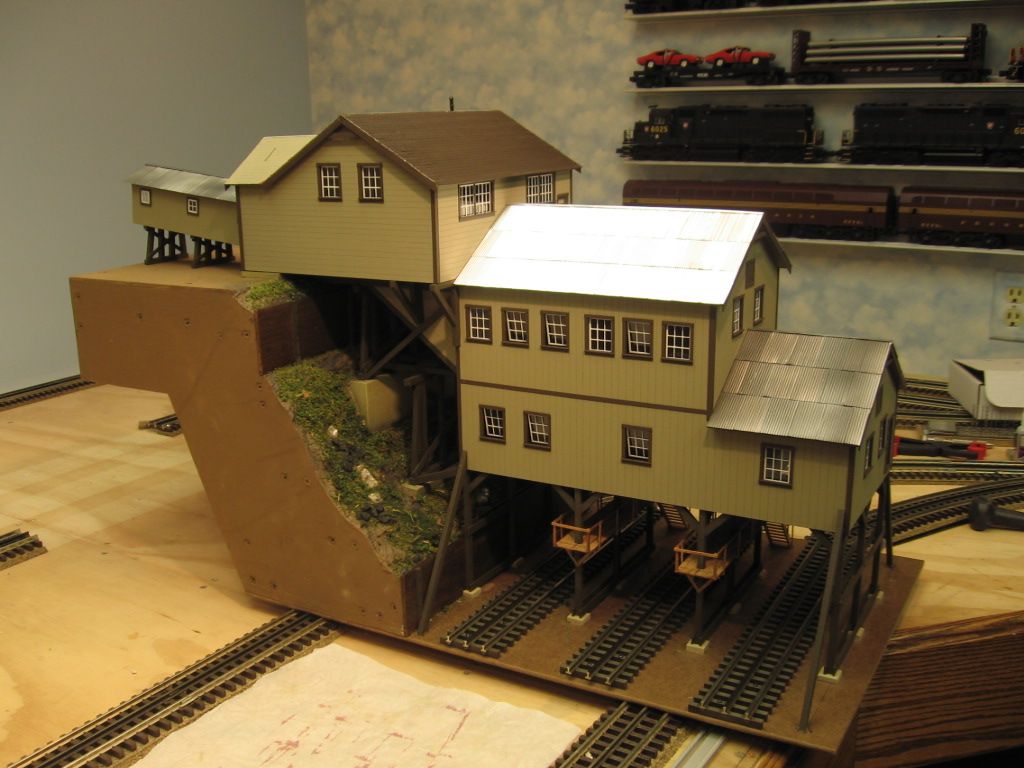
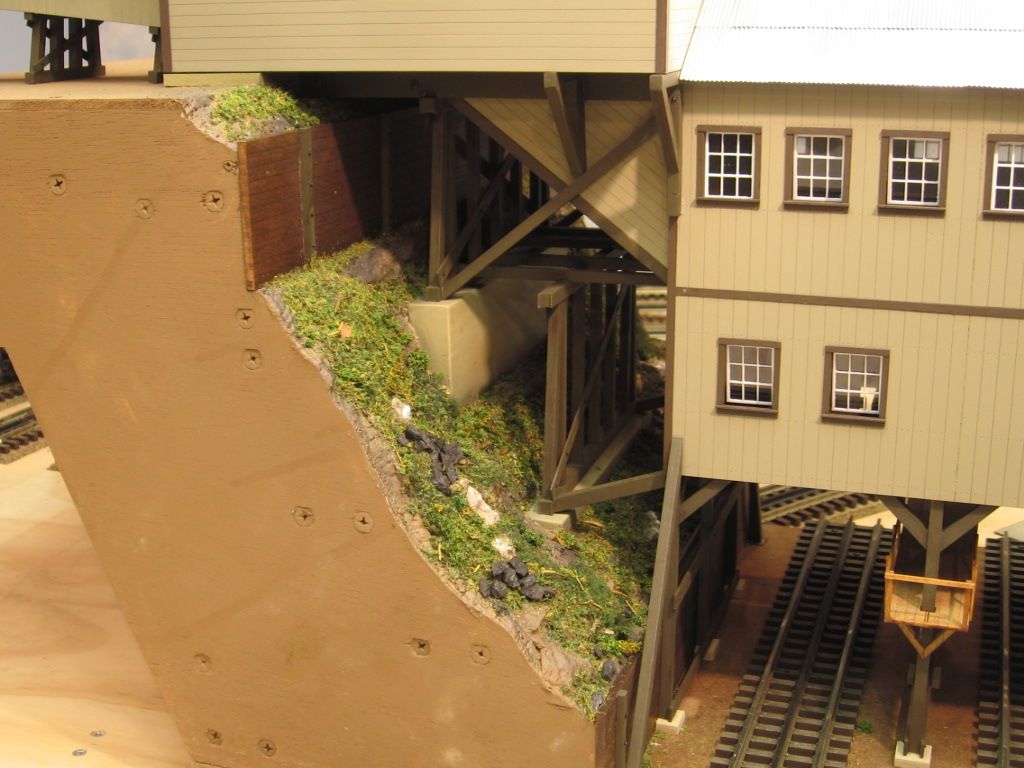
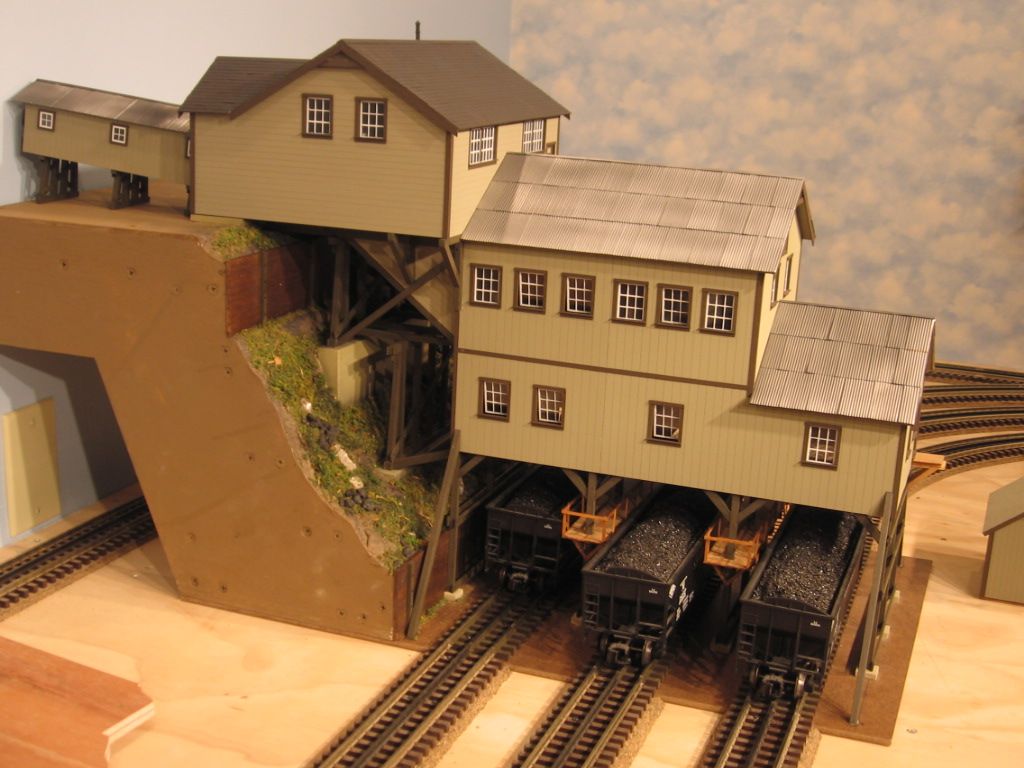
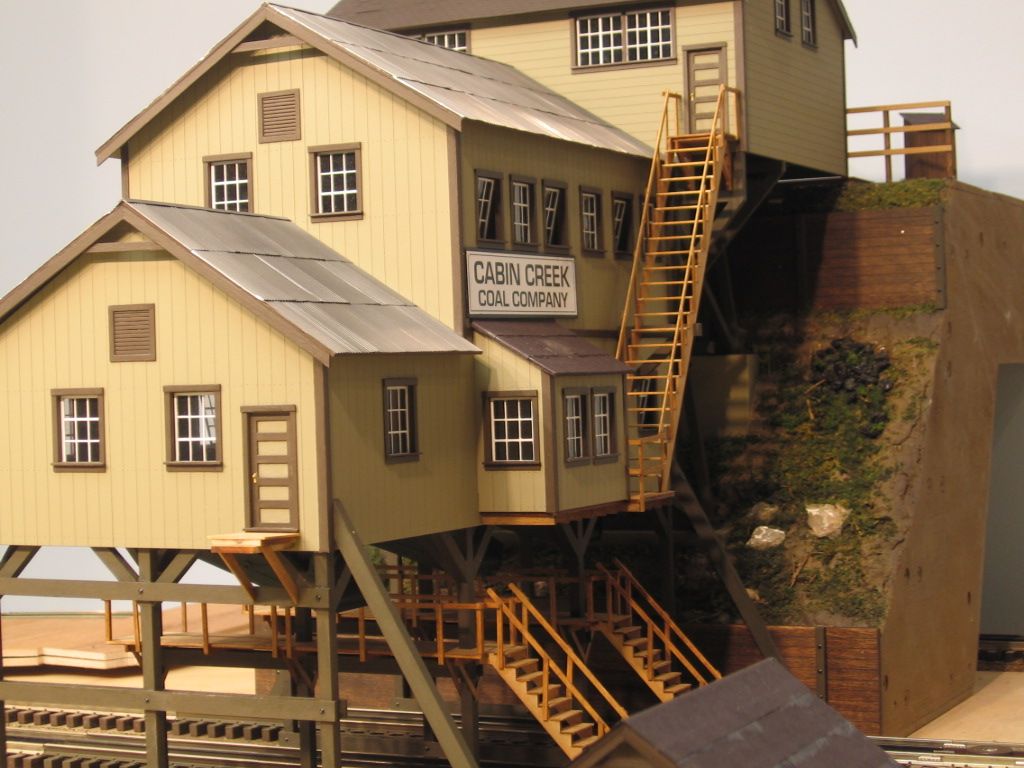
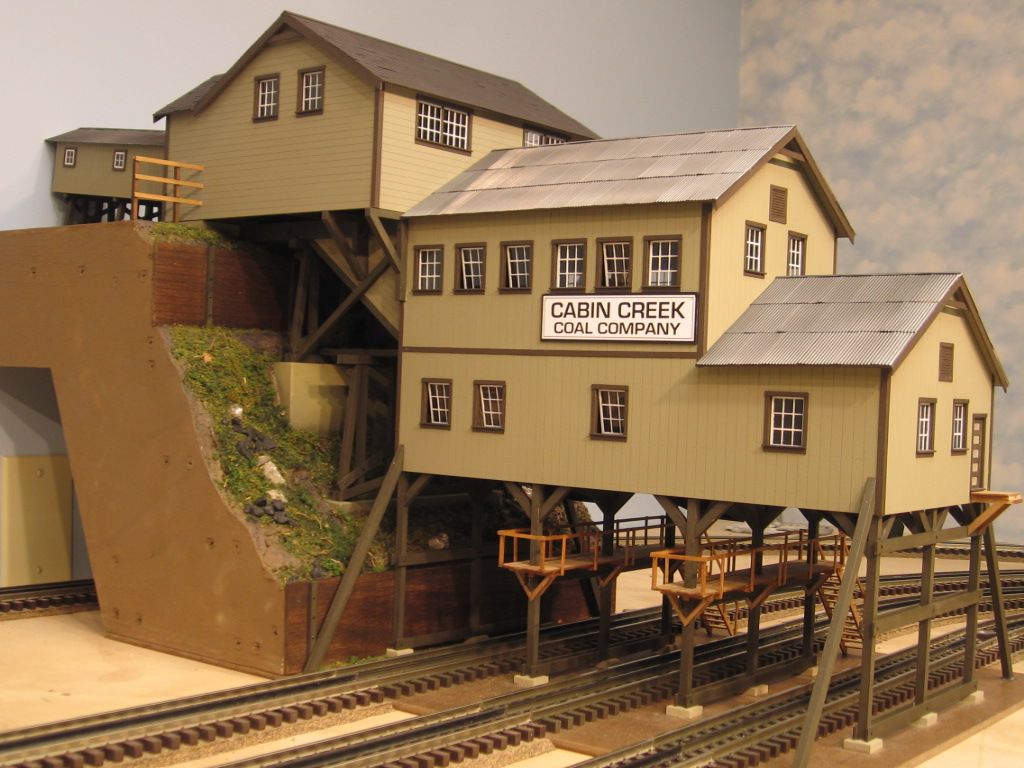
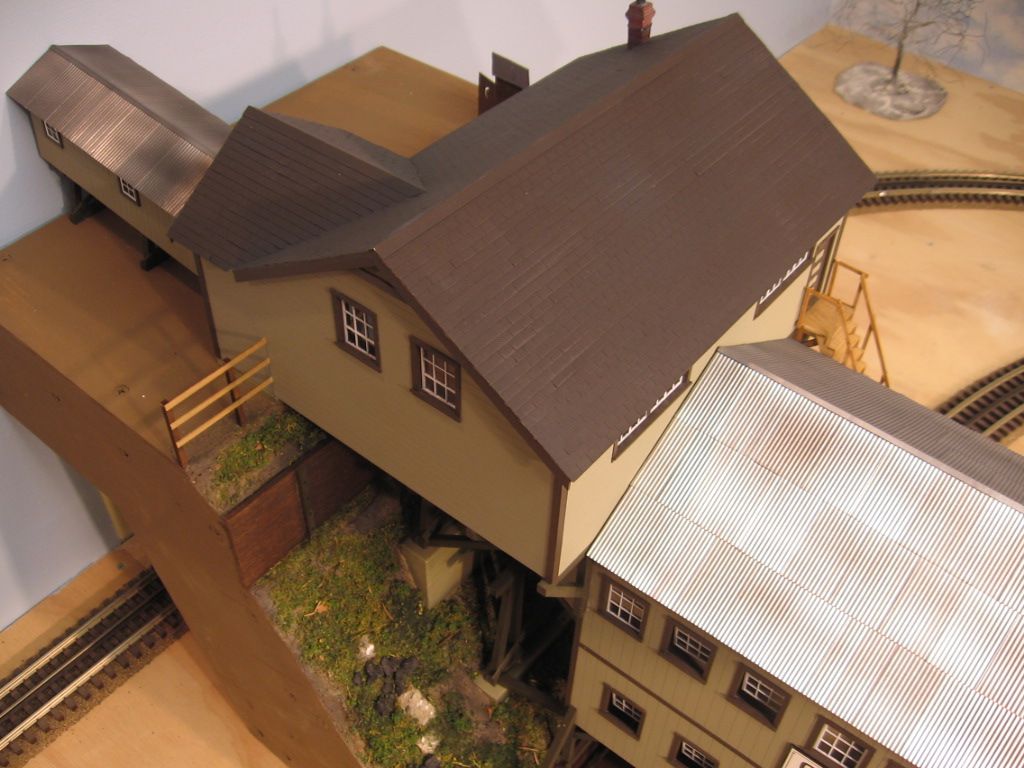
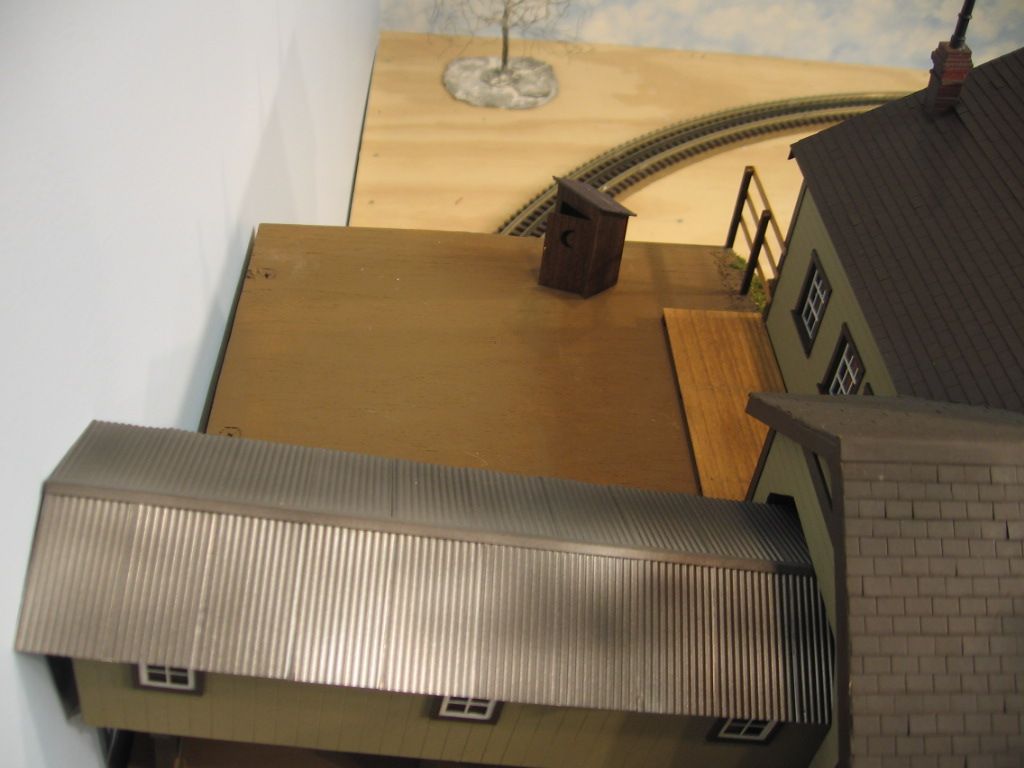
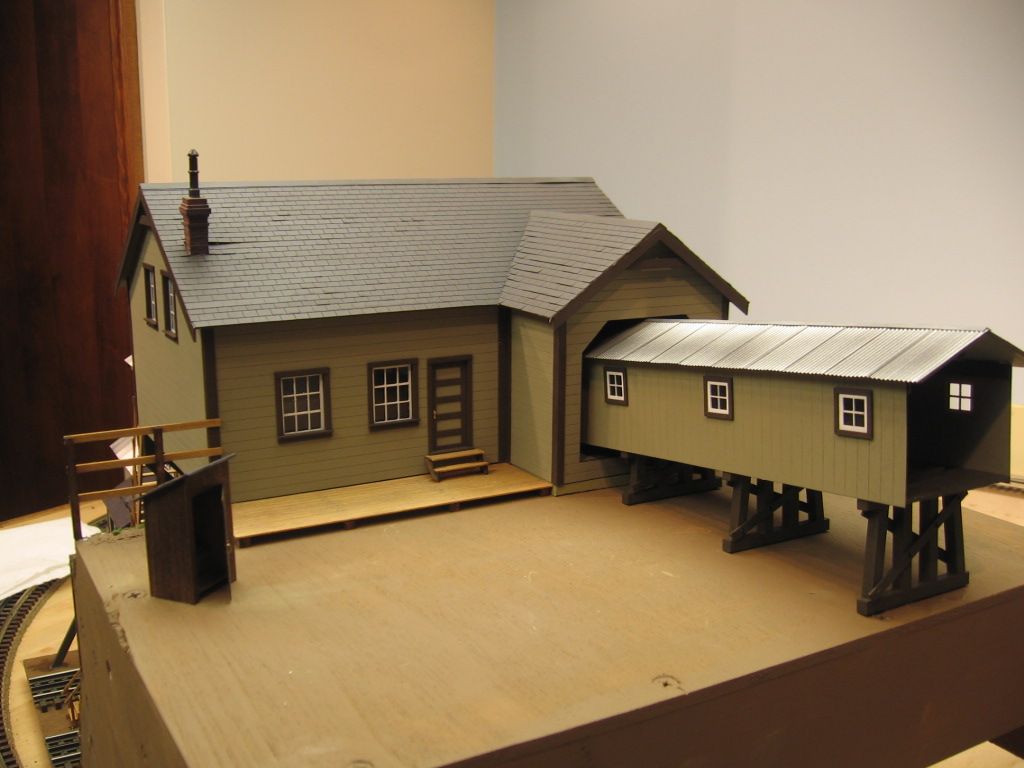
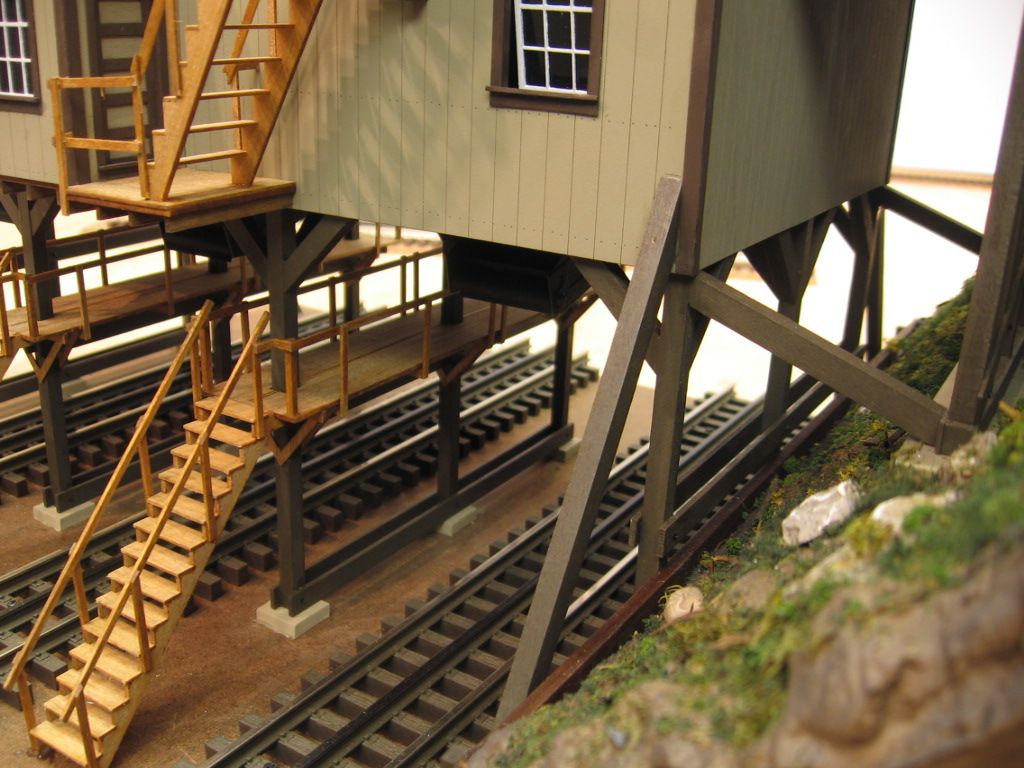
Mike, the coal tipple is really taking shape. Looks terrific.

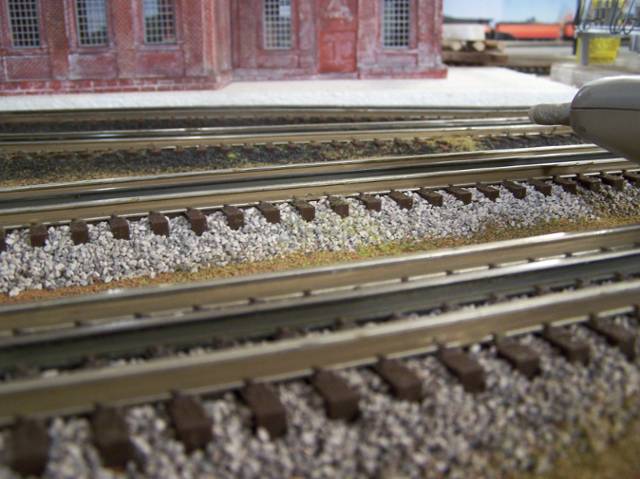
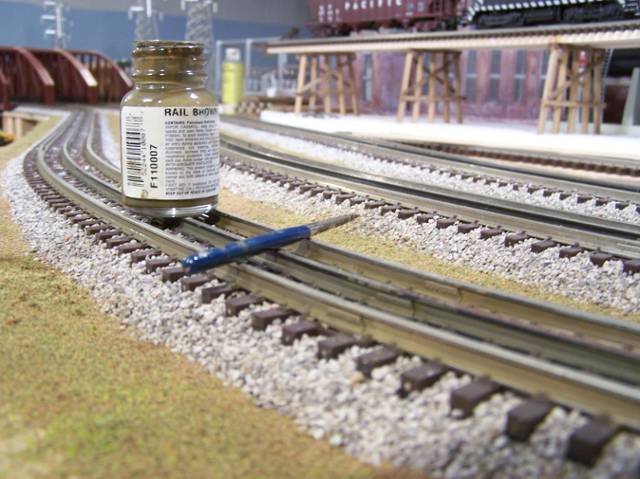
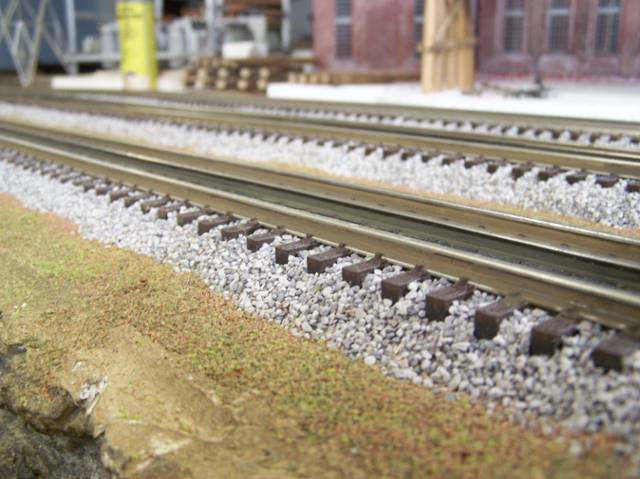
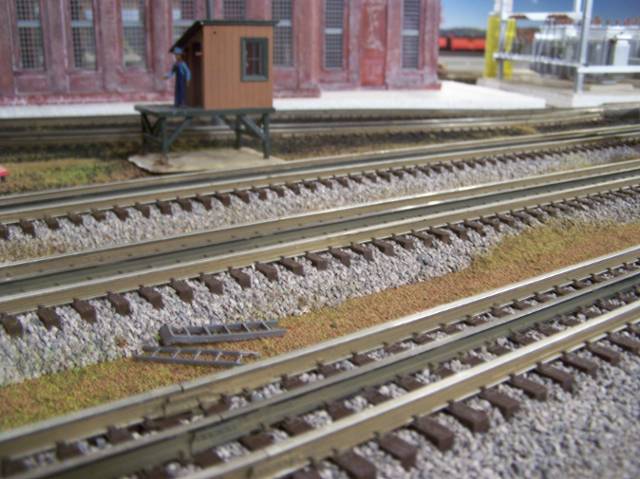
Cesar, you're right, the track weathering makes a huge difference.

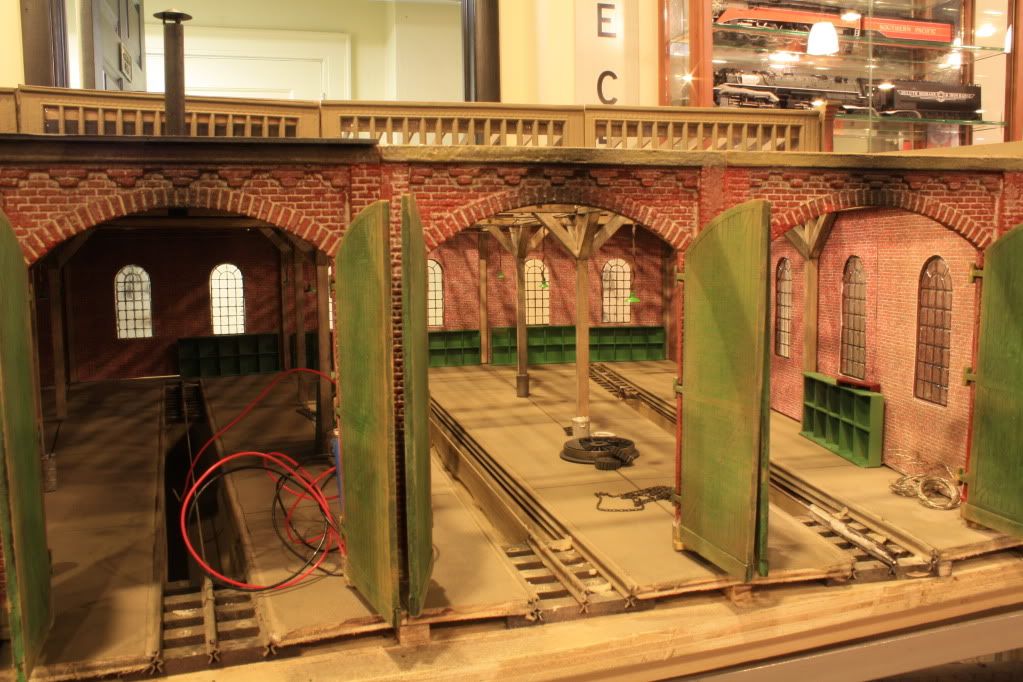
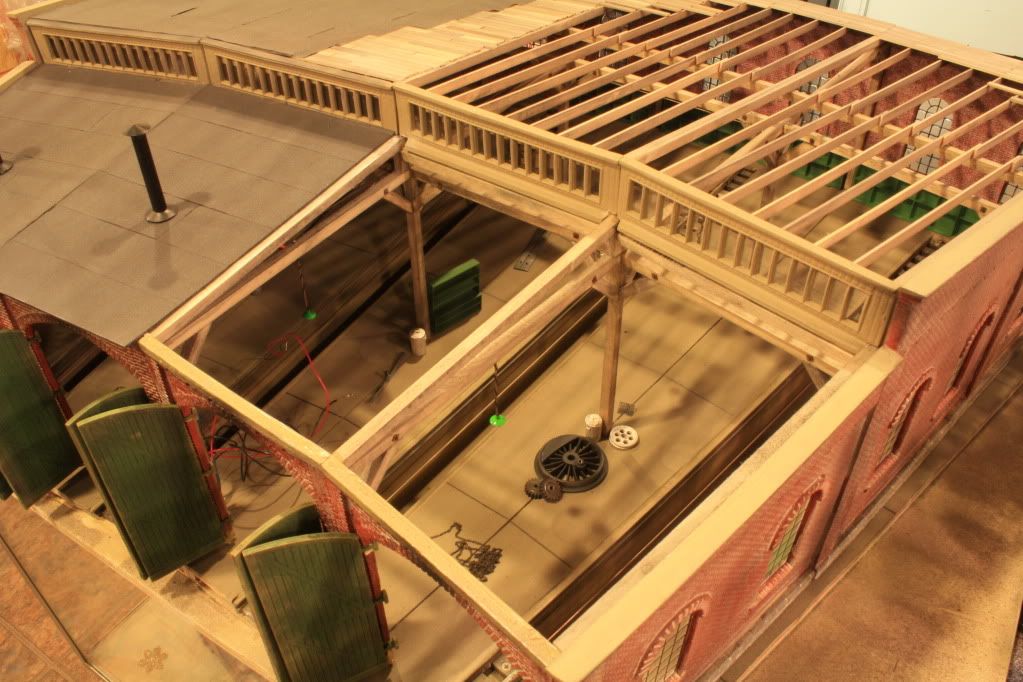
Dave, that roundhouse and interior are looking really good!

TMack, I say the heck with child labor laws Smile She obviously knows what she's doing.

Like those covered up windows and rust on the caboose, SIRT. As always, so original.

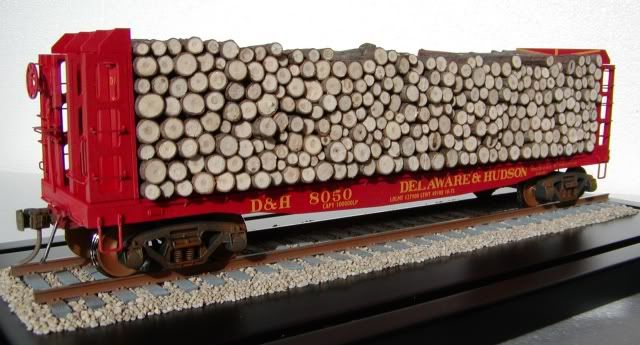
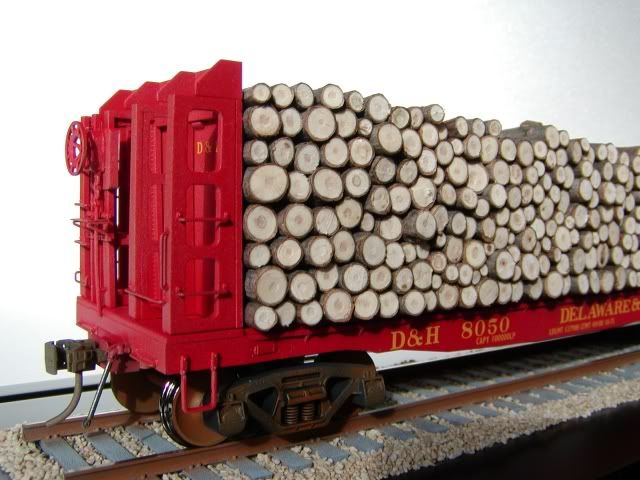
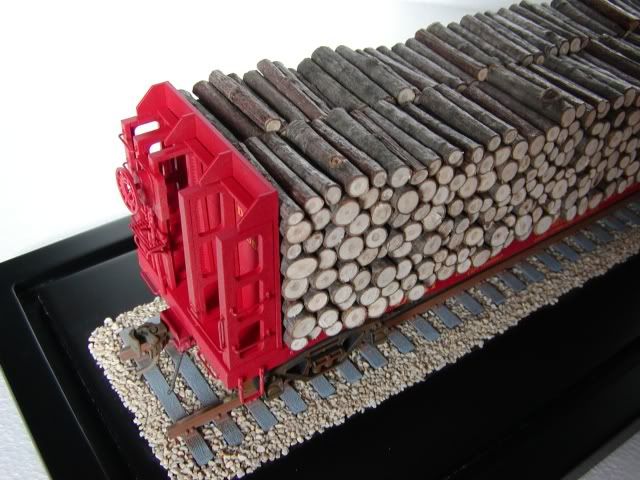
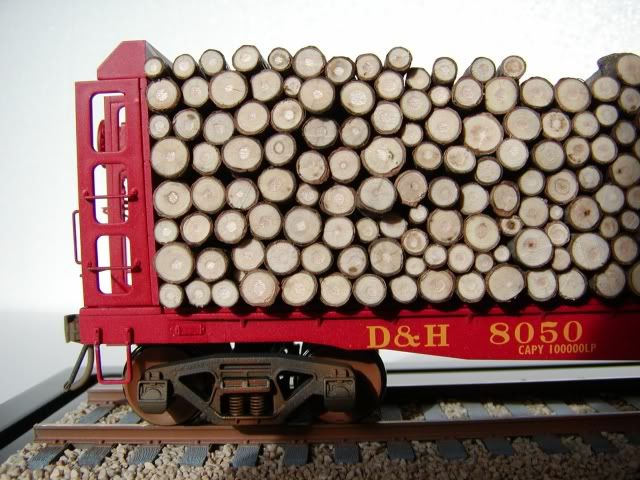
Matthew, the improvements to the logging car are just right. That's a lot of logs to cut but worth it based on how it came out.

Jerrman
This is always my favorite thread on all of the forums.

Mike, watching that coal tipple come together has been awesome. Great job!

Cesar, I also used Floquil Brown. Your rails look excellent. I know exactly what you mean about needing Advil afterward!

Dave, the detail and coloring on the roundhouse bricks is outstanding. The open part of the roof is just exquisite in its detail.

Ted, you and your daughter did a great job on the rocks!

SIRT, superior work on the caboose.

Matthew, there's nothing like the real thing -- the wood load looks perfect.

Another week of great stuff! Thanks to all for sharing your expertise. For me, it is back to cutting and gluing foam.
quote:
Originally posted by Lima:
quote:
Originally posted by Matthew Jones:
I posted some better quality photos of the Atlas Pulpwood Car.


Great work Matthew,
What type of wildlife did you cut? Was looking at ours last week and we decided the molded logs had to go so right now no revenue.


I believe they are branches from Silver Maple trees. They were cut from a hedge row at the edge of a farmer's field, so all kinds of trees and I am not an expert on tree identification.

However, I cut a lot of samples from different trees and shrubs looking for wood that had a ring pattern that could be seen to add to the "character" of the "logs". I tried staining some samples with wood stain to bring out the rings/grain but found that unstained wood looked just as good.

The "secret" to this project is cutting new limbs and letting them cure/dry out. The bark on dead limbs found on the ground usually looks "dead", dried out and flaking off. If you use new limbs you MUST let then dry/cure for several months because they shrink quite a bit. I started this project with fresh cut limbs and after gluing together, the whole load shrank about 1/2"! So I tried again with cured/dried limbs and that worked much better. So just be aware that there will be shrinkage. I cut all my pieces to scale length before it dried so that all the ends would be exposed to the air.

The logs are glued together using plain white glue. But the load is in two pieces and can be easily removed - so I can easily convert from a loaded to an unload car.
quote:
Originally posted by DAStrains:

What did you cut the branches with?
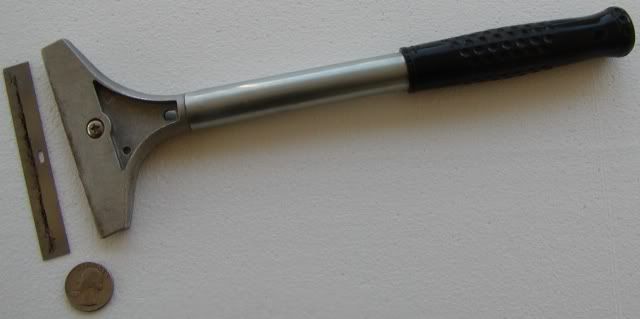

Good question. Took some trial and error to find a quick method that would not crush the limbs. I tried a hand saw but that took to long and left the surface too rough. Also tried a Dremel with a cut-off blade but it ran to fast and usually burnt the wood. Razor blades were not study enough to cut through. Finally ended up using a paint and wall scraper (as pictured below) - it has a replaceable razor-sharp and thick blade. I was able to chop several hundred logs in a couple of hours with this.

quote:
Originally posted by Ingeniero No1:
Simply great work by everyone!

Mike (CT) -
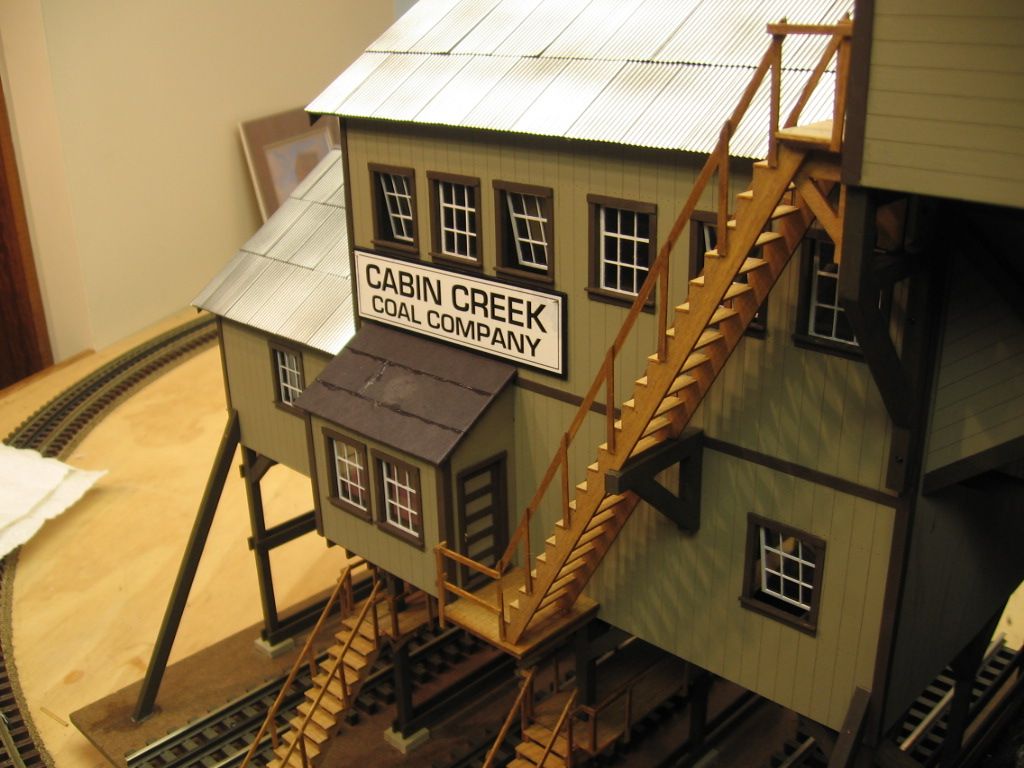
I can't remember whether you posted this detail before: Is this Coal Tipple a kit? Those wooden stairs are gorgeous!

Thx!
Alex

The Coal tipple is a
BTS kit.
The stair stringers are laser cut and fit well with some adjustment. In most cases the handrails and balusters are available. Some hand rail parts need completion, which was done with 2 X 4 scale lumber The hand rails on the lower level catwalks were also done with 2 X 4 scale lumber, not part of the kit. There are three stairs, not pictured, part of the powerhouse building which I have yet to start.
quote:
Originally posted by Matthew Jones:
quote:
Originally posted by DAStrains:

What did you cut the branches with?


Good question. Took some trial and error to find a quick method that would not crush the limbs. I tried a hand saw but that took to long and left the surface too rough. Also tried a Dremel with a cut-off blade but it ran to fast and usually burnt the wood. Razor blades were not study enough to cut through. Finally ended up using a paint and wall scraper (as pictured below) - it has a replaceable razor-sharp and thick blade. I was able to chop several hundred logs in a couple of hours with this.


Your wood pile looks great, but I am not sure if I wold have the patience to make that many cuts. Thanks for the explanation, I was trying to figure out how you made such nice cuts.

Nice work guys, was out of town for a while and missed my Sunday coffee and SSS.


Mike ,


very nice job on the tipple and in a timely manner. Cant wait to see it on the layout. I was especially interested in it for i am also looking to build one of these.Alot of good pictures and workmanship.


Dave,


Super job and creative idea.


Steve,


As usual the weathering is awesome, sometime when you get a chance would like to see a pic of 3-4 of those fine cars sitting in the yard together, would make an very cool pic.


Ted, looking good.Nice to have some help.


Fatboy,


Came out real good and ballasting looks good as well.


The "log" car  looks good and so does the dock light on the cobbler.


Eliot,


Neat lttle building.  Is the  stone on the foundation plaster cast? Hows that guy gonna get home? LOL 


Post
×
×
×
×
Link copied to your clipboard.
×
×