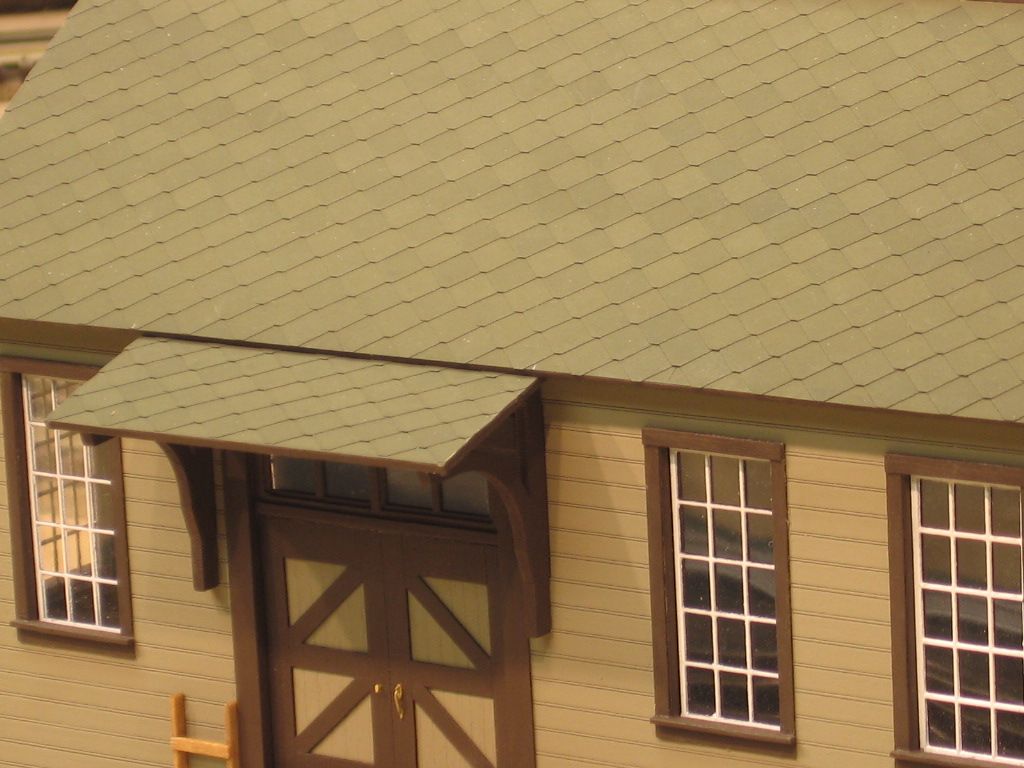
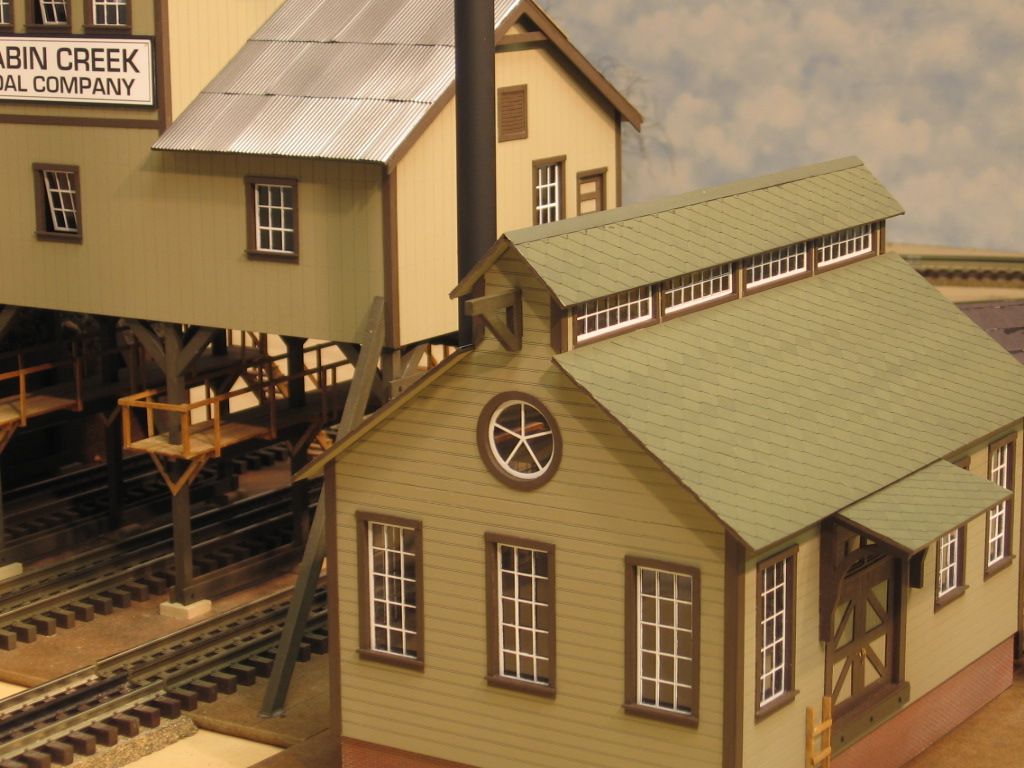
I started this project before Christmas, and found a few days last week to complete assembly of the Powerhouse. I have yet to do a "Grimmy black" overspray and some weathering but at this point there are very few parts left in the box. The model can be easily removed from the layout, which it will be, as I complete the rest of the scene. Thanks to everyone who has followed the Coal tipple project. Mike![]() Sorry about that 25th date. I corrected the error.
Sorry about that 25th date. I corrected the error. ![]()


Replies sorted oldest to newest
Mike,
Very nice, you did an excellent job, please show us this area of your layout when you complete it. WOW! keep up the good work.
Dennis S
You are doing a great job on a fine kit. I am sure you will have a super scene when finished.
gary g
Attachments
Well, I am blown away by the photos posted so far.
Mike, great project (there are some original slides of your red, white & blue swicthers on eBAy right now)
The Whiteground building is amazingly realistic.
The home! I am ready to move in!!! My late wife would love it for she was an avid gardener.
I hope this message gets through to the forum since ya'll seem to be a week ahead of me. Is this DST on steroids?![]()
Malcolmn
Correction made, 25th is the 18th.![]() What can I say, the weather has been so beautiful here in Western PA, it could easily be the end of April. Been biking the last few days, hope to get out on the rail/trails next week.
What can I say, the weather has been so beautiful here in Western PA, it could easily be the end of April. Been biking the last few days, hope to get out on the rail/trails next week.
Thanks all for the compliments ![]()
Mike
Mike, the coal tipple project has really turned out beautifully. Congratulations on a great job, well done.
Gary, Beautiful job on that kit too. Too bad Whiteground is no longer around. Nice kit and a great job building it.
Leslie has been making more progress on the old stone home. She's been doing some gardening.
Keep the pictures coming!
Magnificent!
Rusty
Seriously incredible work this week. Just jaw dropping.
Vulcan, Holy cow right back at you. I don't know how you did it but making an O scale fishing pole that has line and a bobber. Priceless!
BTW, I've watched every episode of the Andy Griffith show about 20 times each in my life and I didn't remember his fishing pole was called "Eagle-eye Annie". I had to do an internet search. For shame, for shame![]()
I grew up on Andy. I still need my daily Andy fix. I just saw that episode again abut a month ago. ![]()
If you can see that fishing line, your eye-sight is better than mine. ![]()
Holy Moly Leslie,
What another masterpiece!
I ll tell ya there has been some really great stuff.
I put the windows in this week and the doors.Painted the concrete footings,
Originally I used some watered down Higgins Black Ink to stain the structure , for some reason this time I got just a slight tinge of pink on the wood and wasnt quite as dark as i wanted when it dried.
I ended up using some black chalk to darken it up a little more an get rid of the hue.
Peek in the small window left and above the door
Big window on oppisite side looking into the washing room and sorting conveyor.
Attachments
I like it, Patrick. I'm not sure what "balck chalk" is, but it worked. ![]()
The atmosphere is great.
LOL BLACK not Balck .I lightly squirted some watered down glue all over the wood siding and then took the bragdon black powder(thought it was called chalk) and rubbed it in with a rag and brush.
Fred,
I missed that boober, just kidding bobber.Nice!! I know you must have a magnifying glass or should i say Microscope![]()
Mike,
That thing is so beautiful, i think I would be afraid to weather it,cant wait to see it .
Gary,
Great job!
Patrick is just being modest. As all serious modelers know, Balck Chalk is the gold-standard of weathering agents. Believe me, he wouldn't be getting results that spectacular if he were using anything else. Craftspersons of his calibre don't balk (no pun intended) at the expense or difficulty of obtaining this amazing stuff.
A lot of people believe that it was named after the German army office Hermann Balck
http://en.wikipedia.org/wiki/Hermann_Balck
This is a myth. Although he was indeed renowned for the finely detailed sand table models he created while planning his panzer campaigns (and thus most likely did use Balck Chalk), it was in fact developed many years earlier by Swedish military gymnast and famed prewar model railroader Viktor Balck:
http://en.wikipedia.org/wiki/Viktor_Balck
Interestingly, his early explorations of the compound were motivated not by the need to weather his spectacular standard-guage buildings, but rather as an improved gymnastics chalk. It was never competitive with magnesium carbonate for this purpose, due primarily to the mess that it made of gymnasts hands. Fortunately for future generations of modelers, Balck quickly realized that the range of rich brown-black colors--so problematic in the gymnasium--was ideal for the then-emerging art of weathering.
So, anyone who wishes to come anywhere close to Patrick's amazing results would be well-advised to follow his lead and invest in a good set of Balck Chalks.
"Those who cannot learn from history are doomed to repeat it."
--George Santayana
--Pete
Oh, whatever.
![]()
Patrick ---a super build for a super layout!
Leslie --- Fantastic ---- how bout some lessons. ![]()
Vulcan ---- How does one get to the point of ability to scratch build that you have.
I lightly squirted some watered down glue all over the wood siding and then took the bragdon black powder(thought it was called chalk) and rubbed it in with a rag and brush.
Patrick, the coal tipple looks amazing. Am curious why you used the water down glue? Didn't the Bragdon powder you used have a built-in adhesive or did the glue help get a smoother application?
Jerrman
Jerrman
I dont have a good answer for that. I just was worried about it getting to dark from the Chalk. Thats why i got it a little wet first, so i could remove it with a rag and keep rubbing it in until the desired tint.After i built it I was scared to death i was going to ruin it when i weathered it.
I am very new to all this scratchbuilding, I am happy with it ,but really just took my time and used what little knowledge i have, i made quite a few mistakes and learned from it.
The powders as far as i know dont stick to anything without mixing them with glue or over a dull coat. Now wood staining with the powders may be a different thing all together,but i wouldnt know.
Avanti,
thanks they may have caught that if they new my last name was ********.
A goood friend of Balck's. ![]()
Happy Sunday All,
Just finished up two buildings....first up is an Ameritown Police Station which has been converted into the local recruiting station.
The brick was painted with a spray can primer red and other details were painted with various Polly S and Tamaya Paints. The signs were taken off of the internet and are a combination of Old and New Style...the military is slow to change. I added the flags and some extra roof details. Below you will find a PDF of the signs I used if you wish to make your own.
Next up is the American Model Builders "Company House". This craftsman kit is fairly simple however you will have to get some extra bracing to prevent warping of the walls when painting. It was primed and then the sides were airbrushed with Tamaya Dark Green which was lightened with a bit of reefer white. I did not use the rolled roofing that came with the kit but used some evergreen asphalt roofing sheets. I did use some of the kits roofing material for the roof peak and in the gully and around the chimney of the roof. The entire roof was primed and then painted with grimy black and then weathered with a black wash. The chimney was cast metal and was primed red and then the top was painted with black and the mortar had a wash applied. The trim was also airbrushed white. Overall a fairly easy kit and was a good one to start with.
Happy Railroading everyone.
Ed
Attachments
Great builds this week everyone!!!Happy Railroading!!!!-Don Klose
Check us out
www.bellevueandschenectadyrr.com
Attachments
Mighty fine work everyone. Coaling facilities are getting very popular and high quality.
Great stuff again this weekend by everyone the interior details are insanely terrific. Well I finished up another background flat, scenic'd a couple areas near my town and cooked some EZ water. I will be working by my Tire shop this week and on my Elevated trolley line.
This one is for Patrick - Cooking up some EZwater:
Attachments
I knew it was coming soon again>LM*O![]() Can a beans and weinies while your at it.
Can a beans and weinies while your at it.
WOW!
Just some amazing work this week by everyone!
Nothing really for me to share, a bit too much travel for work, and another project I am working on.
Thanks all for sharing.
Rich
What great work...all of you. Just amazing stuff. ![]()
Patrick-Very nice job. The mine looks great
Mike-Very nice job
Jim-The house model is great
Alan Graziano


