I plan on plastering my hills and river bed over my extra days off during the holidays.  I will use either woodland scenics plaster cloth or scenic express.  It seems straight forward, cut cloth to the size you need, dip it in water, and install.


95% of it will go right over blue foam.  It is already pretty much in the shape it needs to be in.  


Anything I'm missing from the steps above?


Any tips?


Thanks

Original Post

Replies sorted oldest to newest

Well,IMO to start with I love that stuff (scenic plaster). Sometimes I needed to double it mainly because I use a lot of it over rolled up newspaper for the effects I want. As it dries I can smash the newspaper in to help shape the look I want before the next coat. I have played with it for several years. I use so much that I buy it by the case on e bay (nasty word to some). It's not brand name , but  it's the same and cheaper. I like the 4" width myself but that's your call. It is messy, but after it dries a warm wet rag takes it off anything with no problem.

Also after I am done I usually use some regular drywall mud to fill in any area I don't like the looks of. All in all it' easy fun stuff to play with. If it dries , just spray some water on it and continue to fool with it.

Larry

Attachments

Images (2)
  • 100_1069
  • 100_1065

I'm an odd ball and I don't use the plaster cloth at all like anyone else.  I use it DRY!  That's right dry.  I cut it into strips and lay it on the layout as though it was wet, but put it on dry.  Then I spritz it with a spray bottle with 'wet' water.  I lay just a couple of pieces this way, then spritz, and then continue to lay some more dry pieces.  After just a few minutes the first pieces that I wetted have enough water absorbed to make the plaster wet and pliable.  At this point I take a 2 inch paint brush dipped into the wet water and gently brush the wetted plaster cloth.  The plaster smooths right out just like the 'dipped' stuff.  The reason for doing it this way, is after doing it the 'regular' way for years I just got tired of scooping out lots of plaster out of the bowl after I was done.  I also hated the cleanup as I dripped stuff all over the layout no matter how hard I tried not too!  That's also why I have NEVER liked doing hardshell with dipped paper towels.  I love plaster cloth and I also buy it in bulk no-name stuff.  I think the last place was an artist supply store online.  Anyhow that's my method and it works for me.  Russ

I use tons of the stuff and I adore it. It is, by far, the easiest to use in making hills and mountains. The key for me is the form under the cloth. As long as the form is exactly what you want, you're fine. If you place the cloth directly on top of non porous material, you will have an air flow issue and the wait time will increase to dry. In any area where the cloth has no direct support underneath, double the cloth. You don't have to wait for the under layer to dry. Use balled paper towels under the cloth to increase the variety of hills.


Scrappy

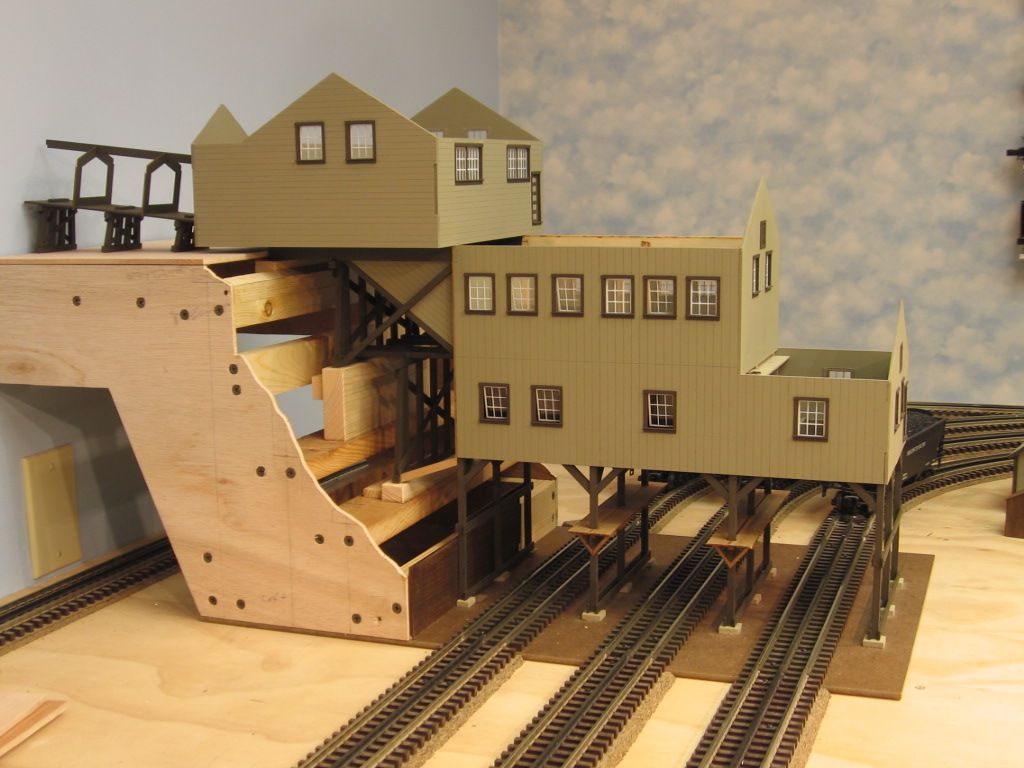
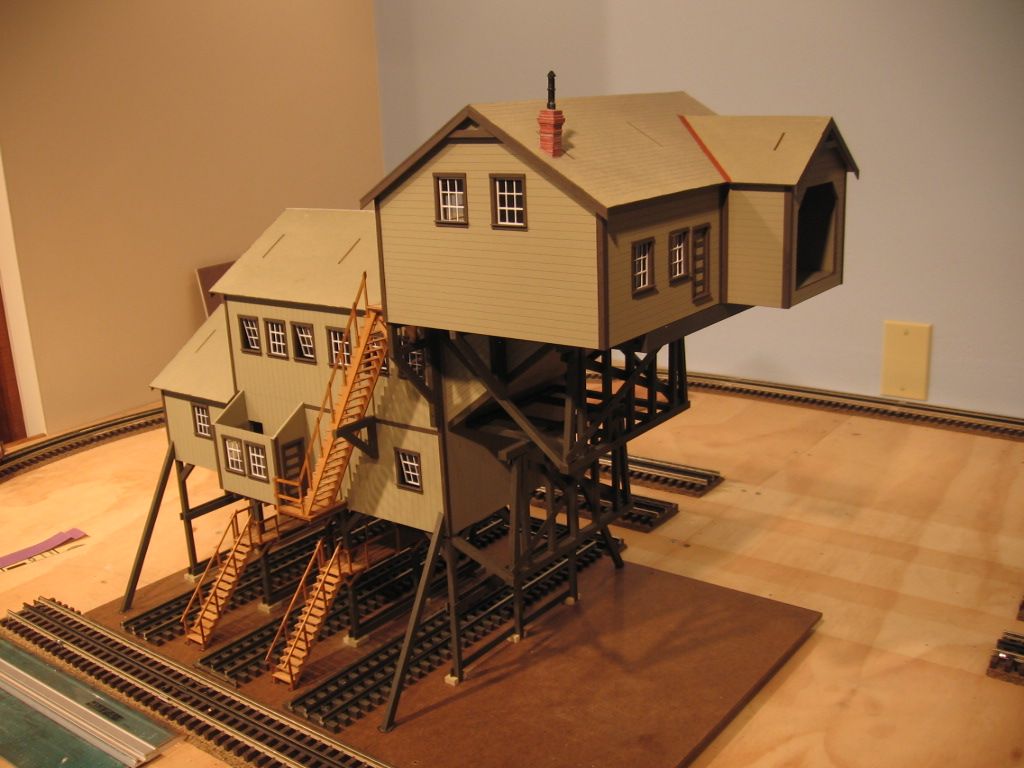
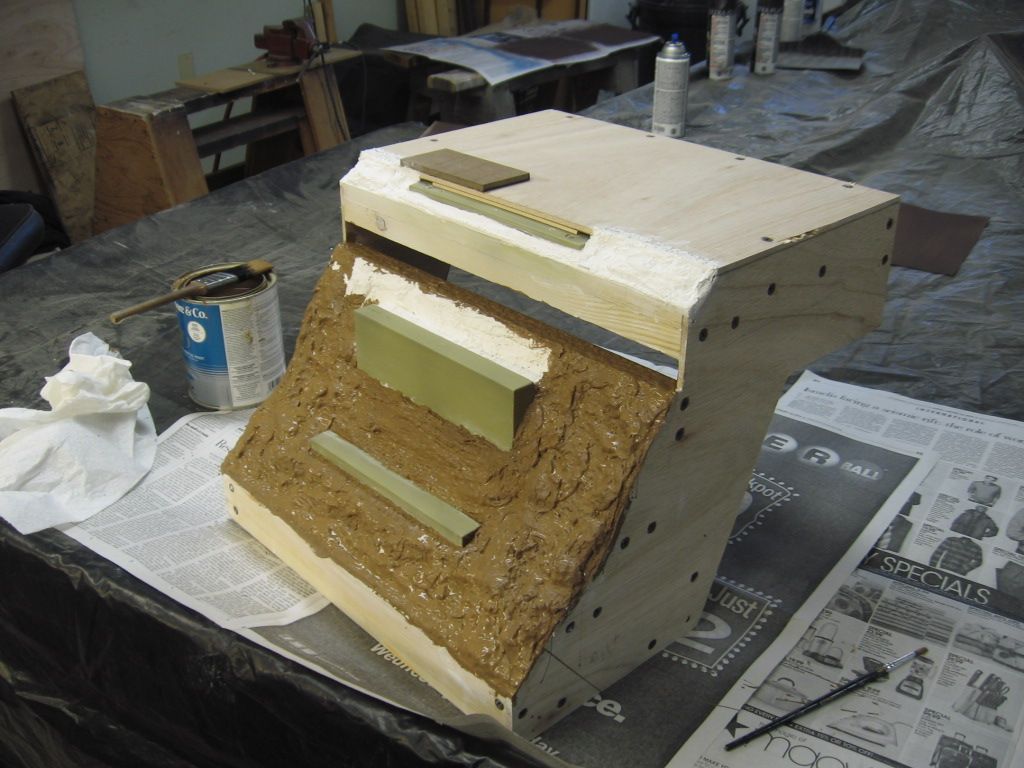
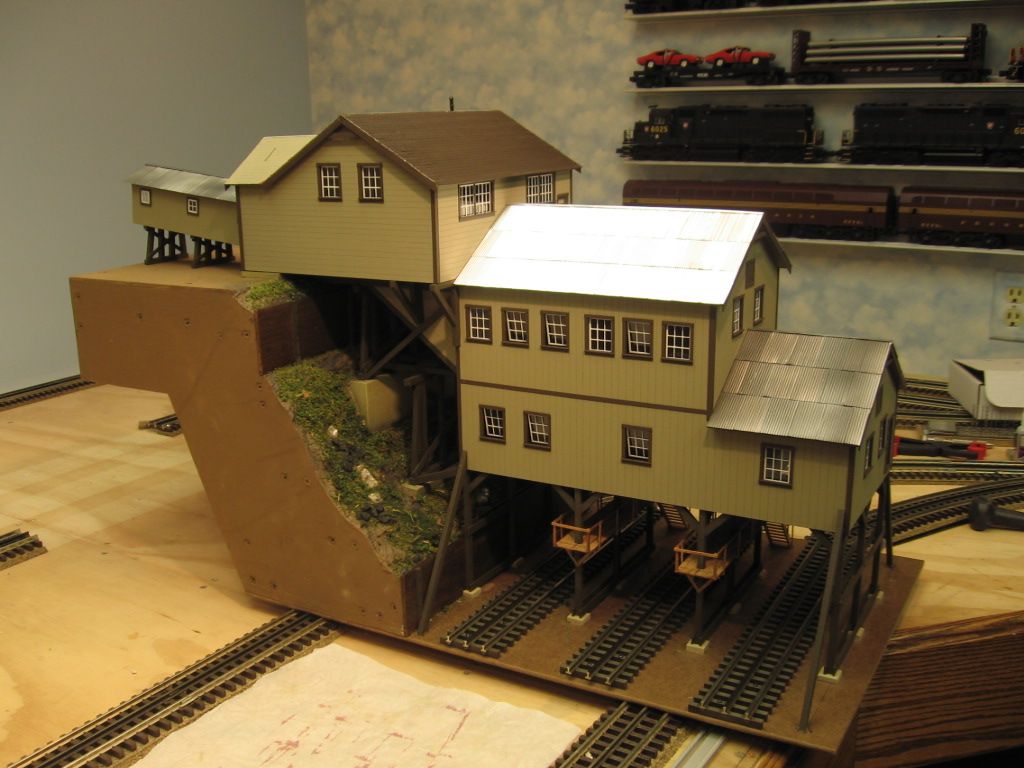
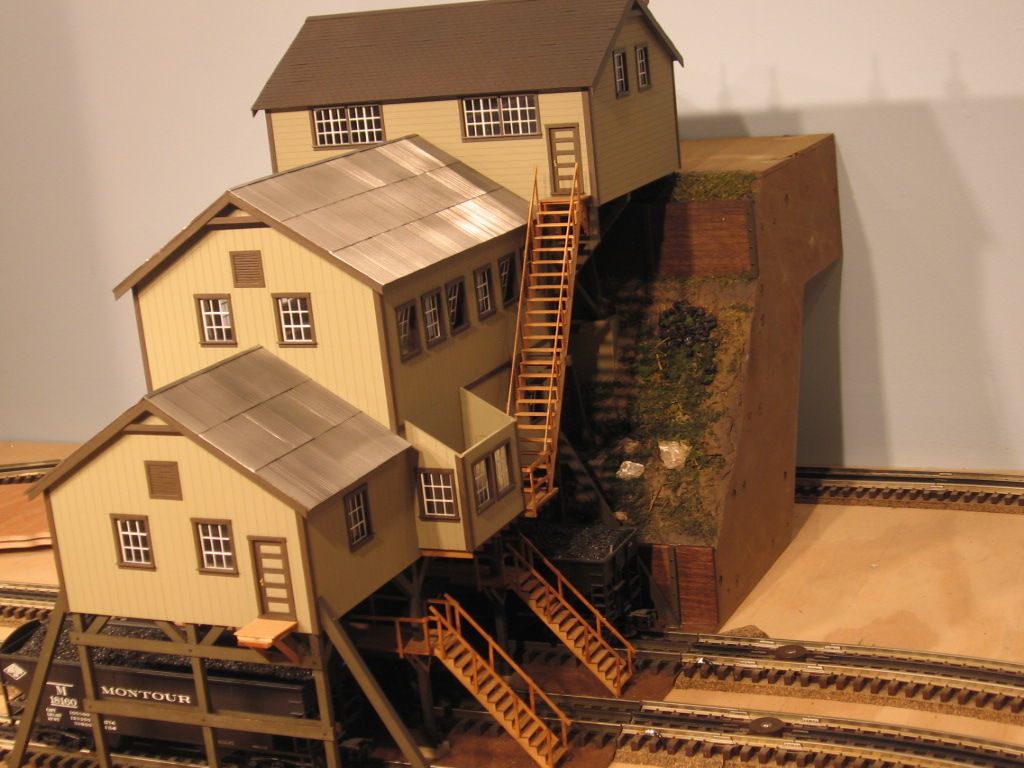
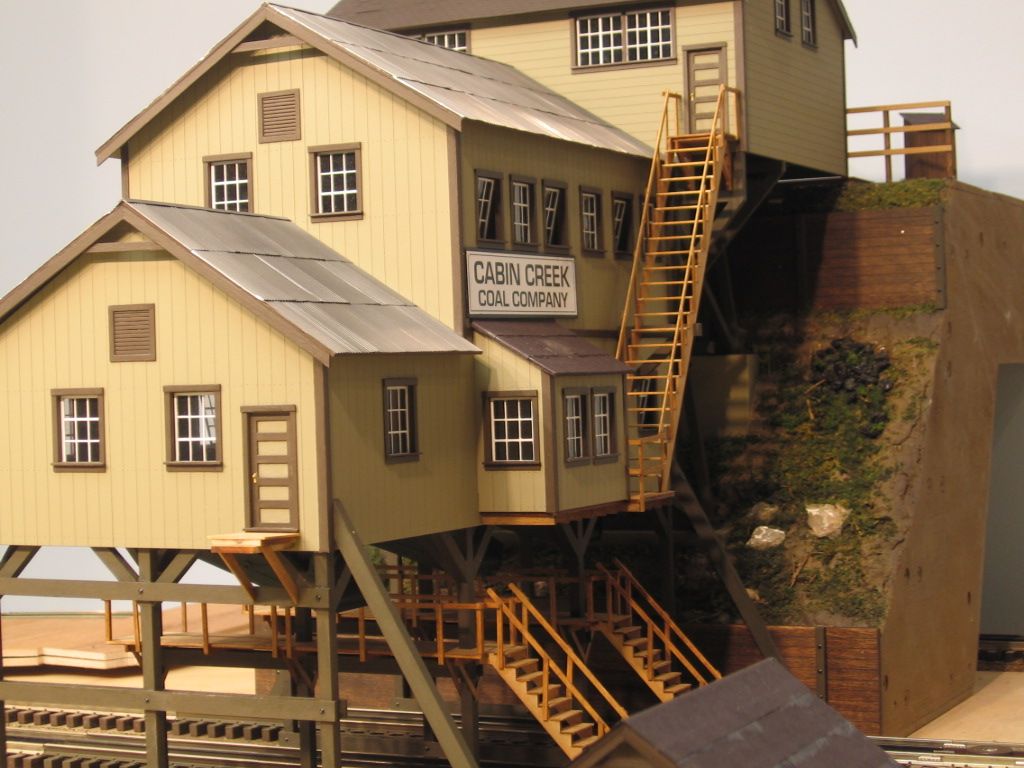
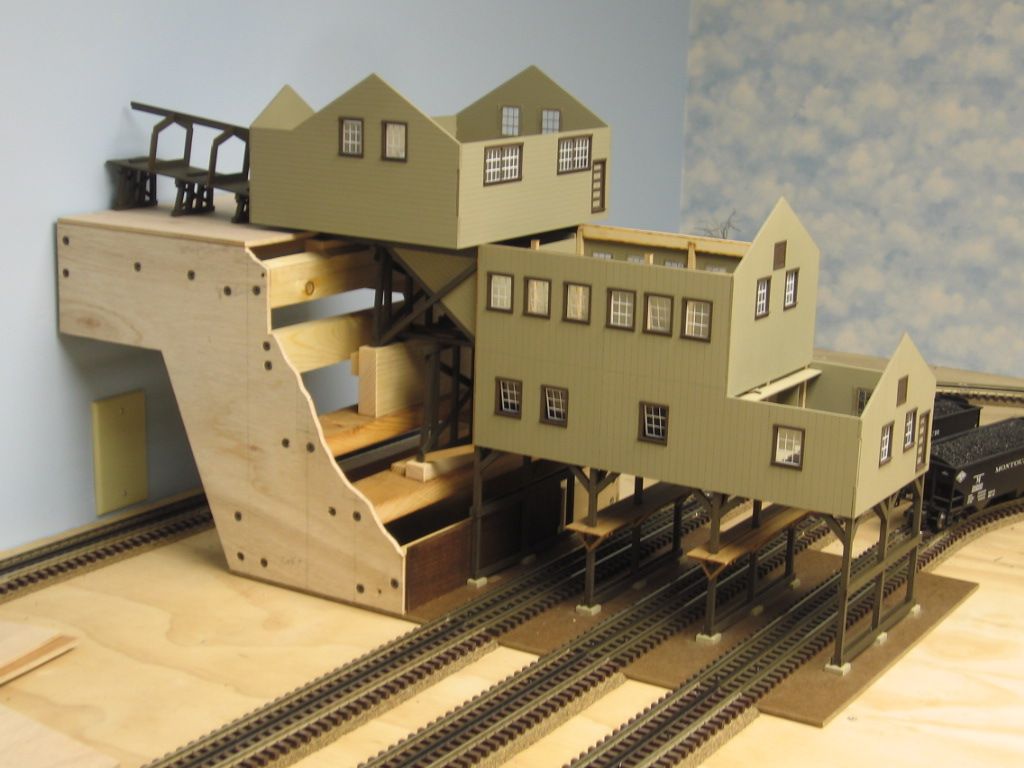
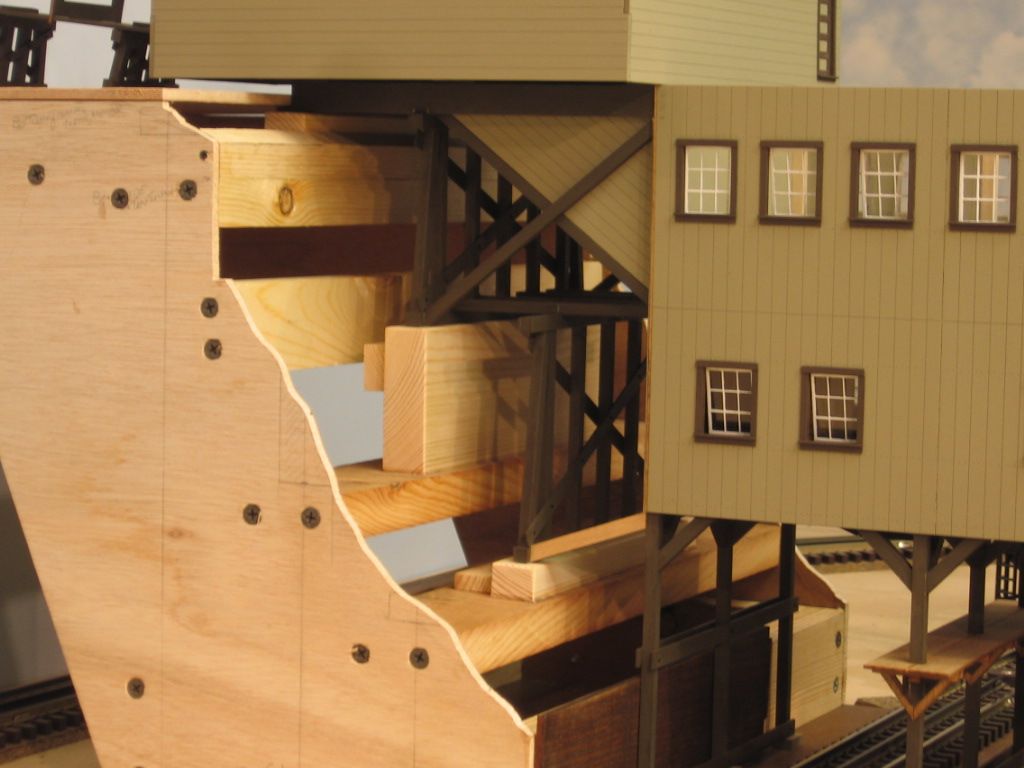
Plaster cloth application to a module.  Fabrication of the part that doesn't come in the box.


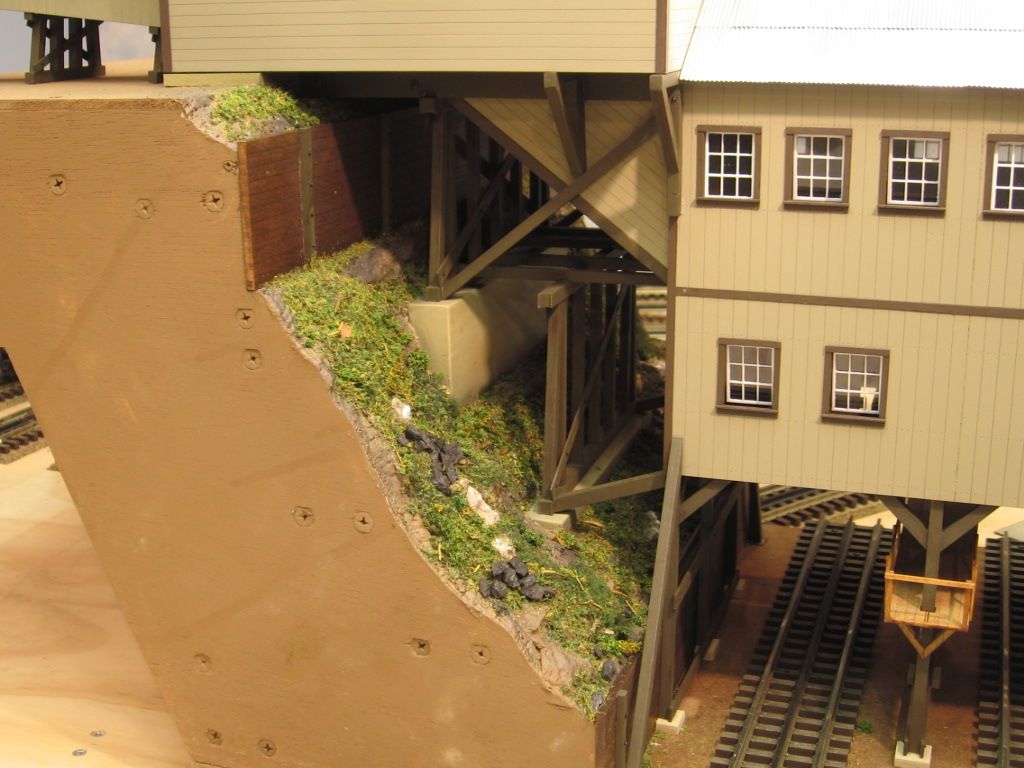
I stapled a base layer of plaster cloth on the hillside relief, using two overlays, Woodland Scenics or Scenic Express, I have both. Once installed, I wet the cloth with a brush and allowed it to harden.    It appeared a bit too smooth, so I did additional detail with pieces of wet cloth installed randomly.
Paint used is Benjamin Moore Deep Base N215 3B (Mix BK 6 1/2, BR 2 3/4, OY 13, Quart can)
Flock and Turf uses is Scenic Express EX897B Green Adirondack Blend. Small pieces of coal were added.
Retaining walls and post detail are part of the BTS Cabin Creek Coal Tipple Kit.

Last edited by Mike CT

Scenic Express  Plaster Wrap instructions from the product roll.

Pieces of screening, stacked foam sheets, or woven corrugated cardboard strips, form an ideal base for mountains. Additiond details may be achieved by adding wads of dampened newspaper.  Cut PlasterWrap in 8-12" lengths. Dip a singe piece quickly in water to activate the plaster and drape over entire mountain, overlapping previous edge by 1". Smooth with fingers to form and create terrain contours.  For greater strength apply a second layer at 90 degree angle.  The cloth will begin to set in 5-10minutes. It is best not to rework PlasterWrap after it has set up. PlasterWrap completey cures in 24 hours.


Woodland Scenics Plaster Cloth instructions from the product roll.

1. Roll up sheets of newspaper to form paper wads.  When satisfied with height an shape of terrain contours, tape paper wads in place (Fig 1).

2. Cut approx. 12" long sheets of plaster Cloth from roll.

3. Hold corners of sheets with bumpy side facing outward. Dip sheet in pan of water (Fig 2).

4. Gently lay wet Plaster Cloth over newspaper wads (Fig 3) and spread plaster with fingertips filling in holes.

5. Overlap previous sheet by 1/2" for strength.  Repeat until terrain is covered.

Allow Plaste Cloth to dry overnight, then add Woodland Scenics' landscaping materials. 

Great tips from everyone!  If you are looking for quite a bit, I purchased a 20 lb. box from Shoplet.com last year.  Price was super at that time.  Here are couple of pics of my mountain project (still a work in progress obviously).  This project took a little over 20 lbs. of plaster cloth.  As always, great work by you. Mike.  Happy Holidays everyone!


100_2016

100_2017

100_2016

100_2017

Attachments

Images (2)
  • 100_2016
  • 100_2017
Last edited by Ken in Nebraska

Plaster cloth is a quick, easy, and non-messy way to create basic landform shapes.


However, it can get expensive if you use multiple layer to increase strength.


It's more economical to use a single layer of plaster cloth for basic shape, but then apply a good thick (1/4" or more) layer of Structolite or Hydrocal plaster for strength.


Plaster cloth alone will never achieve the strength and durability that Structolite, for example, will produce. Plus Structolite is only about 25 cents per lb in 50 lb bags at Home Depot. 50 lbs may seem like a lot of plaster at first, but if you have any significant area to do, it goes fast when applied in a good, thick layer.


Jim

Originally Posted by Jim Policastro:

Plaster cloth is a quick, easy, and non-messy way to create basic landform shapes.


However, it can get expensive if you use multiple layer to increase strength.


It's more economical to use a single layer of plaster cloth for basic shape, but then apply a good thick (1/4" or more) layer of Structolite or Hydrocal plaster for strength.


Plaster cloth alone will never achieve the strength and durability that Structolite, for example, will produce. Plus Structolite is only about 25 cents per lb in 50 lb bags at Home Depot. 50 lbs may seem like a lot of plaster at first, but if you have any significant area to do, it goes fast when applied in a good, thick layer.


Jim

Jim


If I pretty much have a bunch of blue foam under it and using the plaster cloth to create the shape I want should I still strengthen it with Strructolite?

Originally Posted by Jdevleerjr:

Jim


If I pretty much have a bunch of blue foam under it and using the plaster cloth to create the shape I want should I still strengthen it with Strructolite?

What Vulcan said if your Styrofoam alone is pretty much the shape you want


The plaster cloth is only needed to span gaps between a cardboard strip scenery base or to cover open areas between styrofoam panels, etc.


But any areas without a good solid, continuous Styrofoam base need strengthening with a good plaster product such as Structolite. This is particularly important near layout edges which will have to withstand a misplaced elbow or two. Plaster cloth alone would never have this strength even with multiple layers.


Jim

I use a moderate layer of Sculptamold over stacked blue/pink foam.  It's much less expensive per area measurement than plaster cloth to achieve the same effect.  I use plaster cloth over less structured base...balled newspapers, basket-weaved cardboard strips, plastic screen/netting, etc....because when properly layered/overlapped, plaster cloth forms a rigid-enough shell for stationary layouts. 


Just MHO and personal experience...


KD

Just some tools of the trade, electricians patch a lot of holes.  The stainless steel pan works well for dipping the sheets of plaster cloth.  It also works well for mixing Scultamold or Structolite, that Jim P has talked about.  2", 4", 6" and 12" tools. You most likely would not need the corner seam tool.  Stainless mud pan, maybe the most important part of the mix.


Last edited by Mike CT
After 20 years of using WS plastercloth, I started buying a like product at Michael's using their 40% off coupon.  That takes the 8" x  whatever down to $5 and change.  Underneath it, thanks to Brooks Stover, paper grocery sacks which I get free, 10 at a time.  Great support and not messy at all.
The one thing I can't do to save my life is rock molds.  Disaster everytime.  But that's for another thread.
Post

OGR Publishing, Inc., 1310 Eastside Centre Ct, Ste 6, Mountain Home, AR 72653
800-980-OGRR (6477)
www.ogaugerr.com

×
×
×
×
Link copied to your clipboard.
×
×