Hi,
I recall an article or part of an article that described the use of crinkled aluminum foil as a good tunnel liner. Can anyone recall that story and point me in the right direction to find it?
Thanks,
X2000
|


|
Hi,
I recall an article or part of an article that described the use of crinkled aluminum foil as a good tunnel liner. Can anyone recall that story and point me in the right direction to find it?
Thanks,
X2000
Replies sorted oldest to newest
Personally I would steer away from this as the aluminum foil will likely cause interference with DCS, Legacy or LionChief radio equipped locomotives... Unless you are running older conventional only locos I would say this is going to cause you more issues than good.
Check ericstrains on YouTube for and 8-part series on building tunnels.
https://www.youtube.com/watch?v=Ki-8e6FMltQ
Jan
Tunnel liner form(s) A previous thread.
Crumpled aluminum foil is what I have used as tunnel liners on my last three layouts. It couldn't be simpler: Spray paint flat black and hot-glue in place. Very effective. No good for the radio control systems, though, as noted.
Cardboard is cheap and easy if you don't need a lot of detail. Just paint it a dark or concrete color. If you want more detail it can be added later, just where it shows.
Thanks for the info. By the way, I thought I was posting this in the general forum but it only appears in a box to the right of all the other stuff. What am I doing wrong?
X2000
Joe S posted:Thanks for the info. By the way, I thought I was posting this in the general forum but it only appears in a box to the right of all the other stuff. What am I doing wrong?
X2000
You posted it on the 3-Rail 027 Trains Forum, when in reality it is "Scenery Forum" related. Thus, it was apparently moved to the Scenery and Structures Forum by the Moderators.
One thing modelers generally overlook is they do everything backwards.
Try using foam with liquid nails in most building applications.
Can also:
1. crumple up aluminum foil and unwrap it, paint it black and staple it in.
2. masonite painted black works well as it bends around curves, should the track not be straight. I've used this a lot and then lay a piece on top that's removable for those times when derailments in the tunnel happen.
Note: just noticed that this thread wasn't just a 'one post' entry as the initial post relates to said #1 subject.
Sam
Jo S - There was an article in a recent issue of OGR .... Black Wrap Canyon. Black wrap is a heavy gauge foil ( black on both sides ) that gaffers out in Hollywood use to block out light on movie sets. This may work for your tunnel liner project.
In this particular OGR article Black Wrap was being used to create canyon walls.
The OGR article even gave the name of the movie set supply place out in CA where Black Wrap can be purchased. ( sorry I don't have the article with me or else I'd look it up )
Reading this article inspired me to make needed canyon walls on my layout. I didn't have time to wait for Black Wrap to be delivered so I used heavy gauge aluminum foil purchased at the grocery store. Crumbled it up and stapled it in place. Next I tested to make sure my TMCC locos would operate ( as this foil creates a solid wall and is stapled around the circumference of the east side of my layout ( with two main lines running in back of the foil wall ) Every TMCC loco passed the test ... no interference what so ever. Mind you the tracks were not surrounded with foil, which might influence a different out come than what I got.
Good luck with your project.
Just another suggestion - butcher paper. The thick (almost thin cardboard) brown stuff. Crumple and uncrumple, spray and put in place. I've actually done a few tunnels now, using foam molds and foam resin, which are spectacularly realistic. But they are quite time-consuming so I started experimenting with the thick paper. I did this because I've seen foil and even chicken wire screw up Legacy signals on several layouts. Paper doesn't cause interference. Other than the area clearly visible at the tunnel mouth, the paper is every bit as good in dimmer lighting (in terms of contours) and takes minutes not hours.
Peter
Tunnel interiors are not all naked rock. The lining depends on the ground you are tunneling through. Loose soil would have a poured concrete or wood crib liner. Only when the rock face is secure or bolted will you see a bare rock face.
Jan
 I use crumble up aluminum foil then unscramble it, spray it black/dark gray, flat black mist all over. I then super 77 the back, insert it in and bingo, interior tunnel rock. It is not rocket science. Very much like this however I do it on all sides top and bottom.
Quick, easy and very effective.
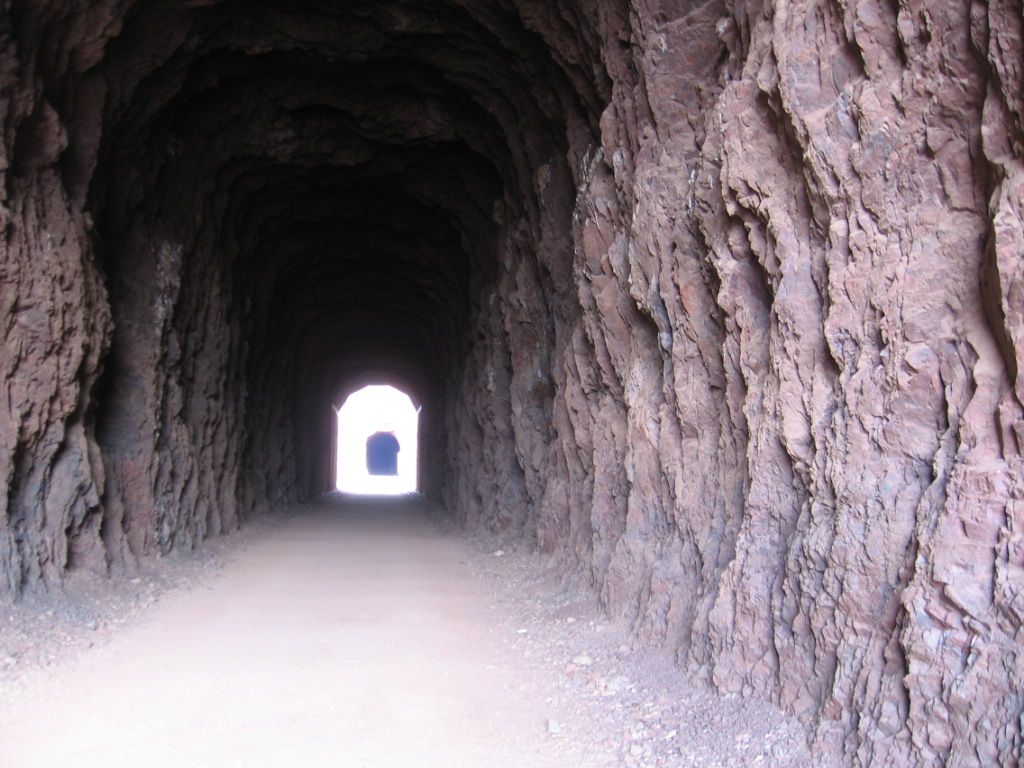
Pawpaw tunnel on the C&O Canal Path trail to Washington DC.


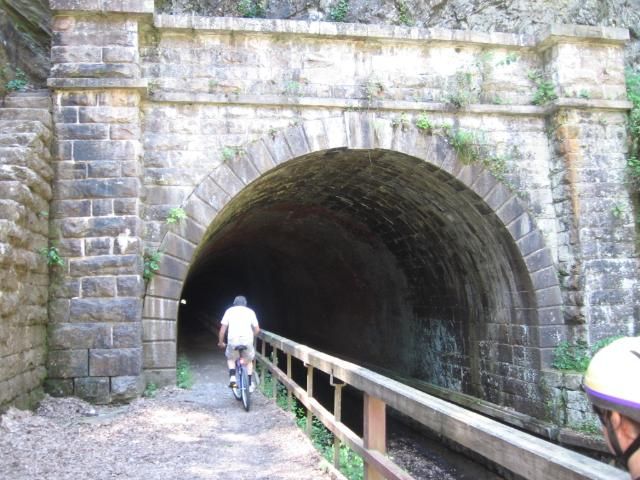
Interior is cut stone and brick arch, took for ever to complete.
Montour trail, Enlow tunnel, formed and poured concrete interior.
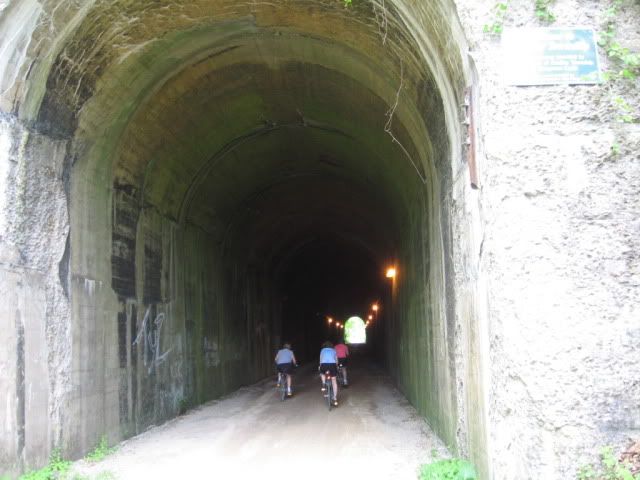
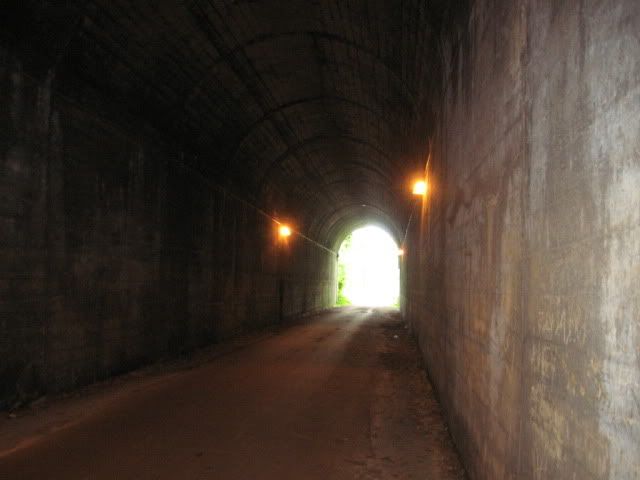
It was interesting to note the divets poured in each side. Apparently a place to stand as the train rolls through the tunnel.
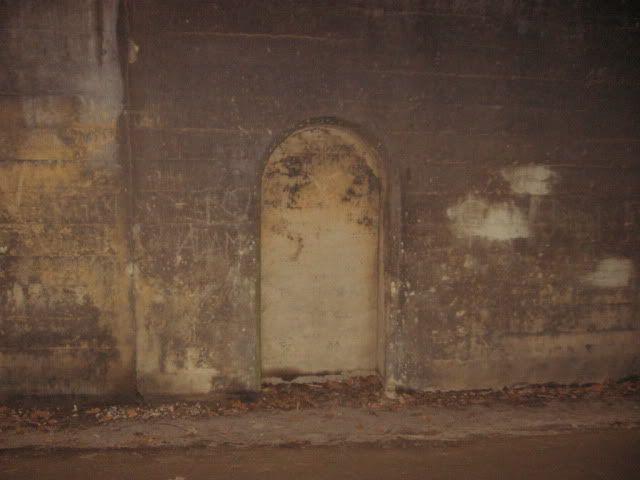
Hoover Dam, service construction tunnel, (there are actually 5 tunnels) between the lake Meade Recreational Area, the staging field for the dam construction, and the Dam. Click on the link for a slideshow. Large tunnels to accommodate equipment and concrete trains to the Dam site.
Portal shoring.
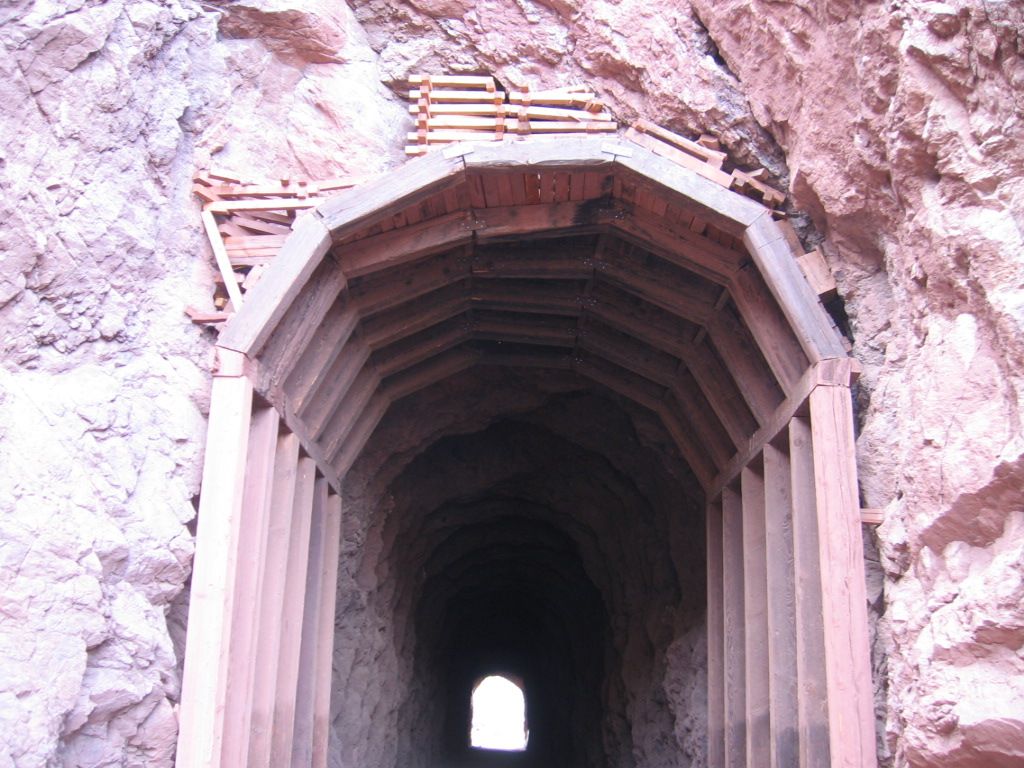
Note the gunite, a sprayed-on application of concrete, to hold the loose rock.
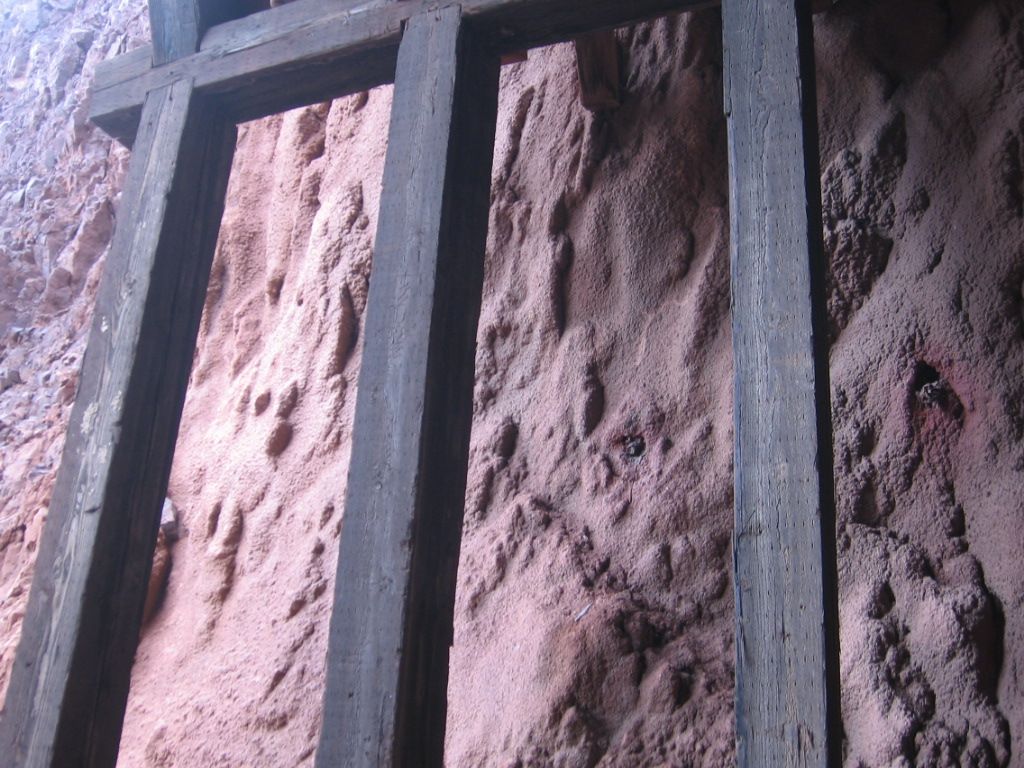
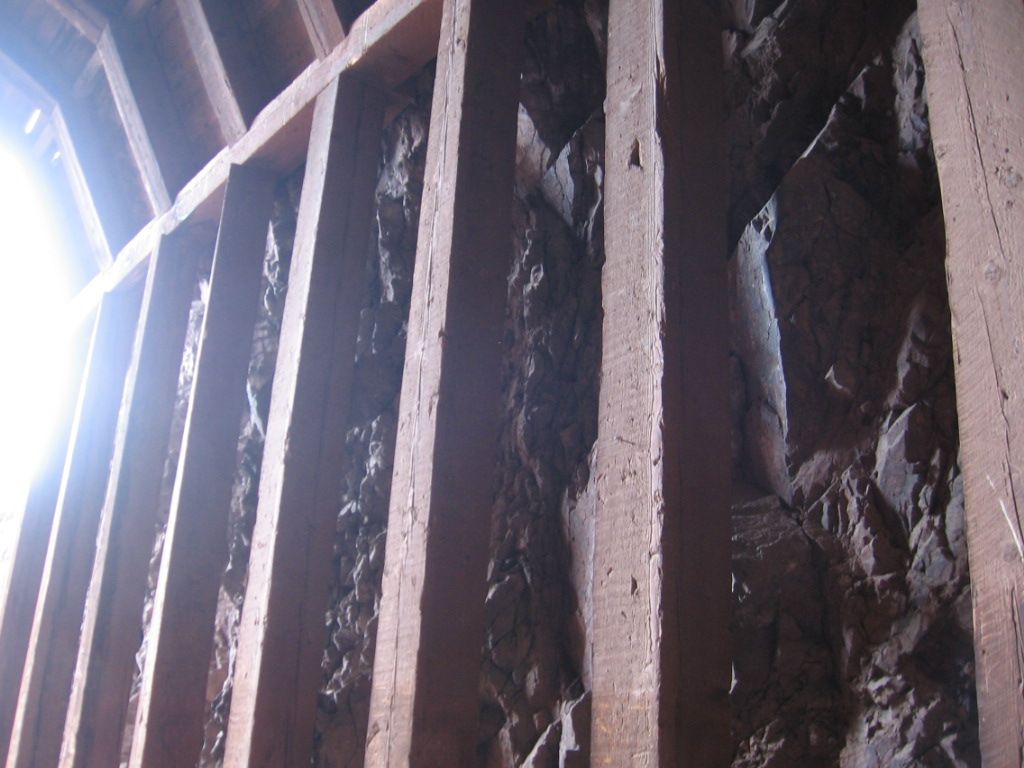
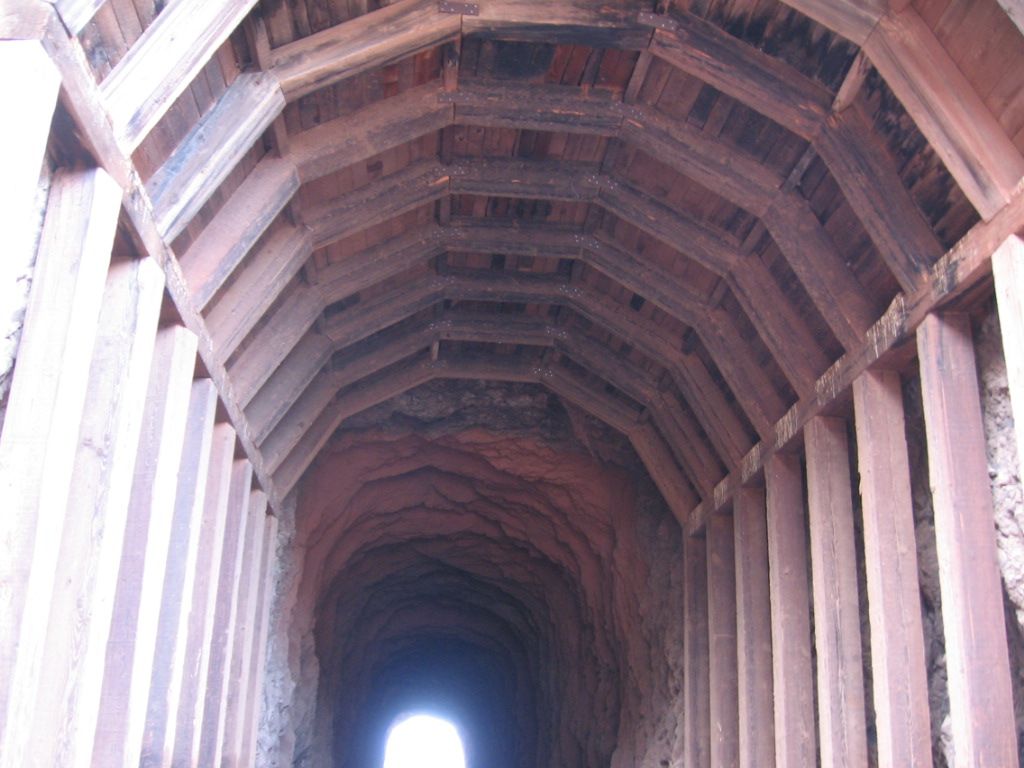
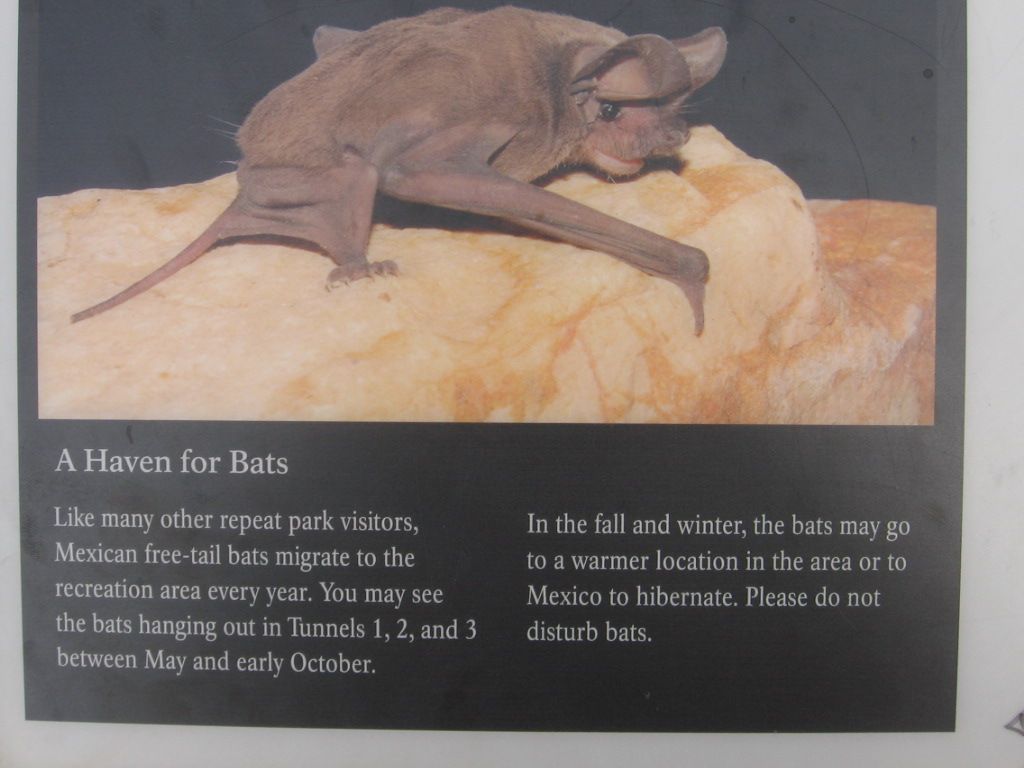
You should also model lots of bats, they love tunnels.
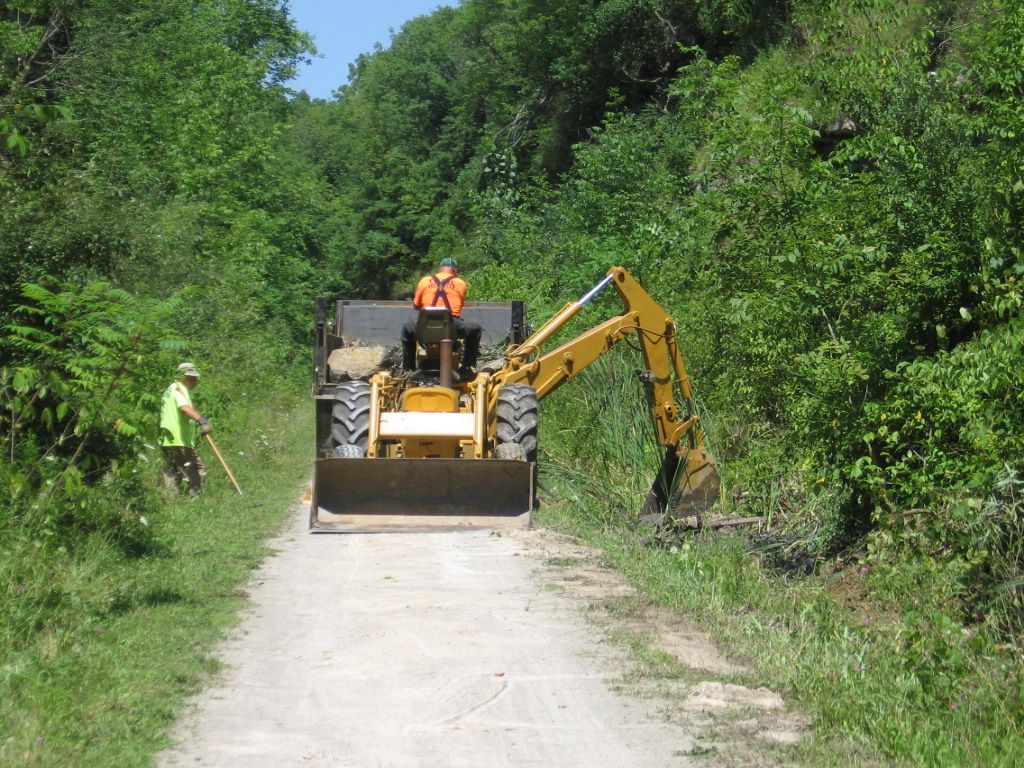
As you ride the bike on trails you will encounter day-lighted tunnels. Tunnels are a constant high maintenance items. Problem tunnels, as excavation equipment became larger, were removed, and are still being removed. A lot of dirt moving, to accommodate double stack trains.
Primrose Cut/removed tunnel, on the Montour RR trail. Still requires maintenance.
Interesting to note that a lot of tunnel work is related to water and portal maintenance. We spent several million dollars to refurbish the Big Savage tunnel on the Great Allegheny Passage bike trail/ Old Western Maryland RR. West portal was a constant maintenance issue, even required special equipment when it was built. A tunnel that has doors, ![]() . Closed during winter months, to protect the portals from frost damage.
. Closed during winter months, to protect the portals from frost damage.
Lighting was optional. The smile is constant, you gotta love the smile.
Slow Saturday morning, have fun with your tunnel projects. ![]()
![]() Mike CT
Mike CT ![]()
The 'butcher's wrap' paper is my preference. Since I run only conventional control, the DCS, Legacy, WiFi, ....whatever...., concerns regarding using aluminum foil aren't mine. For me it's more simple.......what's cheap?!?!
We (LHS) get deliveries from distributors/manufacturers every day. Many of these shippers use crumpled heavy-weight kraft paper.....the same ilk as is used to make paper grocery bags. If you Google 'kraft paper', read through the Wikipedia description, see supplier advertisements, you'll find that this (typically) brown paper can be had in different 'weights', or strength. We've had crumpled kraft paper show up from distributors as box filler that you'd swear was closer to cardboard classification than calling it 'paper'!
So, regarding availability....it's literally everywhere....grocery bags, favorite retailers, dumpsters.....butchers (?).
But, whatever.....if you crumple it up, then spread it out, spray one side with all sorts of blasted-rock colored paints....blacks, grays, browns, etc.....then staple or hot glue it into place over the track within, it works and works well. And, as others have said, doing so for only a foot or two into the tunnel is usually enough to get the effect.
Ergo, while I can't point you towards that article you mentioned, the whole process/concept is so simple, I think the responses here so far can give you enough to go on.
KD
15lb. roofing felt paper for me. I take a piece crumple it up stand on it, open it up cut it and staple it to the inside of tunnel. Done.
LAZ1957 - hadn't thought of that. Thanks for the idea. Going to experiment and see how I like the results.
By the way - most of my tunnels have a stonework or brickwork finish for the first so many feet - the area that can be clearly seen. Not super cheap, but Scenic Express sells these approx 2' lengths of stamped designs that, once weathered a little, really look good. And I use carpenter's glue - lower moisture content than regular Elmer's so less likely to warp or cause waves.
Peter
Many thanks! I guess I'm still "in the dark", but in a good way.
X2000
Ace posted:Cardboard is cheap and easy if you don't need a lot of detail. Just paint it a dark or concrete color. If you want more detail it can be added later, just where it shows.
That's what I did, corrugated cardboard stapled or glued to supports as far as you can see into the portal sprayed with flat black paint.
Mike
The Pennsylvania Turnpike was built on the route of the stillborn South Penn Railroad. The Route had 7 tunnels and was originally built as part of the Railroad. The 4-lane highway was reduced to 2 lanes through the tunnels. By the 1960s these became a troublesome bottleneck. For most tunnels a 2nd parallel tunnel was constructed to ease the traffic. The Sideling Hill and Rays Hill tunnels, in west central Pennsylvania were near each other and by 1968 it was more economical to build a 13-mile bypass around them. They have become popular tourist attraction.
The easiest way to do this is to either create your own low profile plastic sheets or buy the premade ones. First create somewhat of a series of arches/support system that will support your flexible low profile sheet. and then CA the sheet into a curve to line the inner portion of the arches...I know i make it sound simple but it's really not that difficult. I cast my own sheet from my master mold with liquid urethane plastic and demold a little early when the plastic is still a little pliable. It makes it a little bit easier to make the inner curve without the material breaking. Once it has reached full cure it will not bend back. Also, if you hit it slightly with a heat gun....you can bend the cast pieces without breaking them as well. If I get a chance I'll take a few pice of the one I made for our club here in Boston.
Nick B
Access to this requires an OGR Forum Supporting Membership
