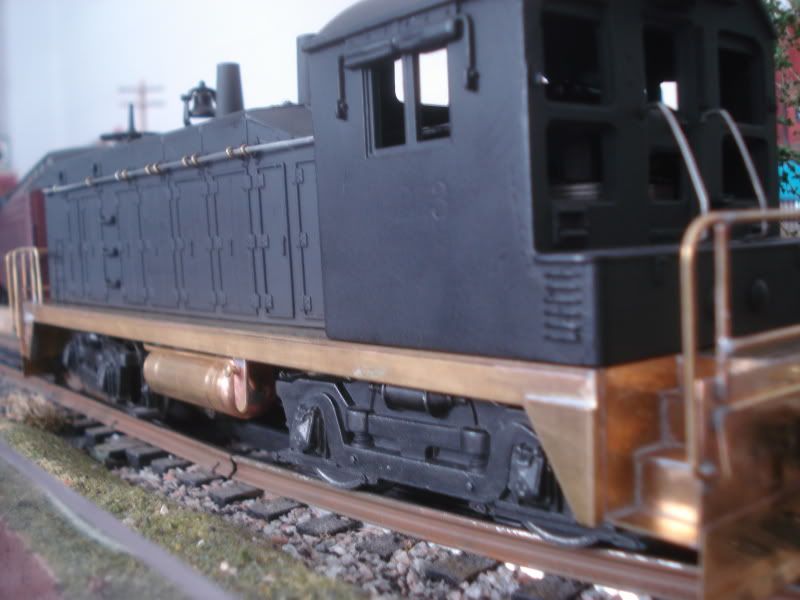
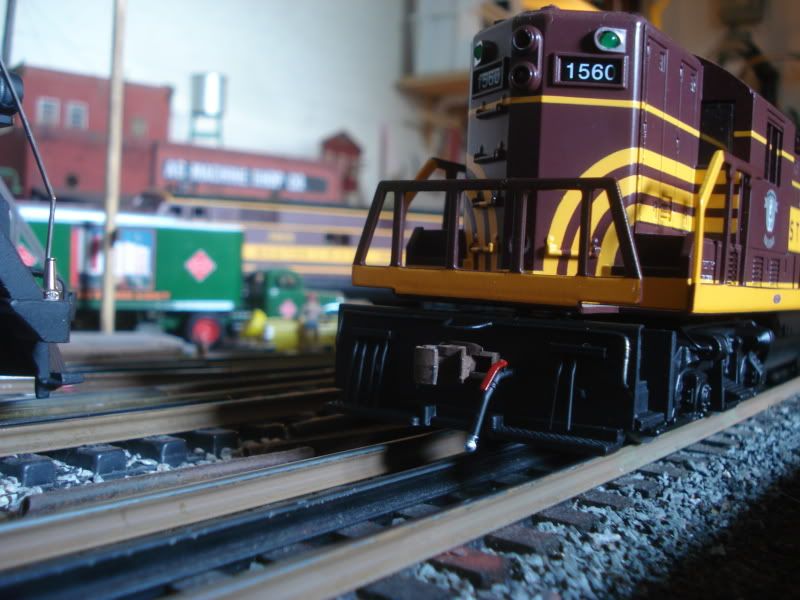
Has anyone converted a Williams or WBB NW-2 to 3RS? Photo's if yes please.
Rick.
|


|
Has anyone converted a Williams or WBB NW-2 to 3RS? Photo's if yes please.
Rick.
Replies sorted oldest to newest
Lionel NW2

Williams GP7

Andre
Andre,
You did a nice job on that chassis ![]()
Good thing about WBB stuff is they're easy to take apart and modify. With the right parts, you can turn a $200 engine into something that's close to one that costs 3x as much. I modified my WBB E7 and it's very close to the 3rd Rail E7 I received back in Nov 2012. Here's the WBB E7:

And the 3rd Rail E7:

The WBB unit is approx. 1/2" shorter than the 3rd rail unit (look at the window ahead of the cab door), but other than that they're pretty close. Remove 4 screws on the WBB unit and the shell comes right off.
I even upgraded it with the ERR Cruise Commander (no sound yet but plan on adding Railsounds 4) and the engine has great slow speed control in command mode.
I think the stamped handrails are probably the worst feature on any WBB engine, but they seem to be getting away from that with the new GP30.
I do wish they'd give their USRA 2-8-2 another go, I'm Jonesing for one of them.
Nice comparison Bob.
Funny how different things appeal or don't to different people. I like O Guage three rail trains, period. But the big claw couplers just really bother me when the stamped handrails do not! Three rails don't bother me nor does tiny differences in locomotives such as your E's. Watch the real railroads and you will see differences in cars that are made the same. For me, as said, only the claw bothers me! I would never notice or even care the differences in the two E's. They look nice and would look nice togather.
Rick.
Thank you Bob!
You did a nice job on the Williams E-7 that IMO the nose is closer to the real E-7 than the 3 rail, I might be wrong because I never saw a 3rail engine with my own eyes.
another little mistake with Williams is the trucks. the journal center is off of the wheel center, I fix it as well on my E-7 repowering the trucks and engine.
Andre.
Not the engine you requested but here's a Williams GG1 I did. Upgraded sound, added led markers and headlights, ran motors in series, as well as all the details you see.
Nice Job Dreyfuss!
Andre.
AG.
No nead to apologize....very informative.
Rick.
Nice comparison Bob.
Funny how different things appeal or don't to different people. I like O Guage three rail trains, period. But the big claw couplers just really bother me when the stamped handrails do not! Three rails don't bother me nor does tiny differences in locomotives such as your E's. Watch the real railroads and you will see differences in cars that are made the same. For me, as said, only the claw bothers me! I would never notice or even care the differences in the two E's. They look nice and would look nice togather.
Rick.
Interesting, what bothers different folk. I barely notice the couplers, except for their nearly flawless operation. OTOH, clumsy big windshield wipers are like fingernails on a blackboard, to me.
Wow, you see it that way... how interesting.
Still no WBB NW2 conversions???
So here's a MTH NW2 in Seaboard paint:

I fixed the pilots and installed Kadees, still need to install a crew. This is one of the best running/looking/sounding engines I have, wish I had a VO-1000 to go with it.
Thanks Again fella's.
Bob, the NW-2 looks nice...I like switchers in general, the SW-1 in particular and the NW-2 all the way around.
I have a VO-1000 (purchased from Chris Lonero). Very nice. (Chris and the locomotive).
Would you care to give a narrative on the work performed on the NW-2?
Many Thanks,
Rick.
Rick,
I didn't take any photos of the NW2 conversion, so I just took a couple to give you something to look at (not good, but I'd have to take the engine apart to give you better photos). Here's what I did:


Removed the old-style couplers and the swinging pilots from the trucks. Seems like there was a "tongue" on the pilot that screwed to the truck, I can't tell now that it's been painted. If that was the case, I cut the tongue off, drilled 2 holes in the pilot to match the ones holding the body onto the chassis, and used those screw locations to attach the pilot (so if the screws are removed the pilots and the body come off). You can just see the screw head in the 1st photo, just below the end of the truck.
Next I made a 1/4" thick piece of styrene to fill the cavity between the pilot steps, this is for mounting the Kadee couplers. The styrene piece ends at the end of the pilot, just short of the truck. I tapered the area on the 1/4" shim behind the Kadee box so that it would clear the truck as it pivots. You can make out the taper if you look real close at the 2nd photo, it starts tapering just behind the end of the coupler box and ends even with the end of the pilot casting.
I think I used the 2 existing holes on the pilot to secure the 1/4" shim, using flathead screws so the shim would sit flush.
I need to paint the coupler boxes and I also want to change out the #2 hex hex screws with #2 button head screws from Micro-Fasteners:
http://www.microfasteners.com/...rew-alloy-steel.html
They carry different lengths of these screws and they're black. With the small, black button head they really are not as noticeable as the stainless steel screws shown in the photos. For me, they also don't round off as bad as the hex head screws, but you do need a small allen wrench or driver to tighten them.
There's probably a couple of ways to do this. Other than cutting off part of the pilot I don't believe any other "surgery" was required on the engine.
Wish I had better photos, sorry.
I have a Lionel Legacy GP9 that I'll be doing this to in the near future and will take better photos when I do.
I wonder if the VO-1000 is bigger or smaller than the NW2?
Thanks Bob,
Wow, fast reply....![]()
Looks to be something I can do! (I just jinxed me self ya'know).
As for the VO-1000, it is at home and I am at work. I will try my best to remember to measure it and get back to you!
Rick.
Rick,
I measured the MTH NW2 and it's the same as the VO1000 dimensions you gave. I suspect (just a guess) they simply used the same chassis. That makes the NW2 longer than it should be, I wonder if the Williams NW2 is more scale-like in its length?
Access to this requires an OGR Forum Supporting Membership
