I have some wood structure kits from Scale University, Berkshire Valley and BTS(Better than scale), all thee companies refer to sealing the wood shapes to prevent warping. I purchased a pint can of Zinsser Shellac from the local ACE Hardware. My questions are; should all wood be sealed with the shellac prior to gluing in assembly,I am using Elmer's wood glue?, Do partially shellac areas exclusive of the glued joints?, Or should I assemble the structure first then apply the shellac?


My concern is that the shellac seals the pores in the wood, this seams to compromise the strength of the glued joints.

Original Post

Replies sorted oldest to newest

I've not heard of priming models with shellac. sounds like overkill even if it would work. I agree with Scrapiron, prime both sides with an inexpensive primer from a spray can. that is all you need to do. after 10 minutes or so when it is dry to the touch, you can put some heavy books or other material on it (use some wax paper so there's no sticking or a flat piece of glass) while it really dries and cures to prevent any warping.  then you'll be good to go as far as a final coat of paint.
btw, I might suggest Aileen's tacky glue instead of Elmer's wood glue. dries faster and importantly dries clear.
jerrman

I have never sealed or pre-painted any of the scratchbuilt wooden structure that I have built over the years.  No warping or whatever, but then that's board by board construction with high stability.


However, I have however pre-painted some of the laser-cut kits more out of convenience than anything else. I will note that some of the parts in the BTS kits that I have built warp almost upon contact with any water based paint; exceedingly porous wood that just sucked up paint like a sponge. 


Having had that experience, I now closely inspect the wood in kits to see just what parts are comprised of that sort of wood and now I seal those parts with non-aqueous non-alcohol based solvent based sanding sealing.  No warping and stable to later painting.


The only Berkshire Valley kits that I have assembled are all resin and straightening out warped resin, if really necessary, is a cookie sheet in the over at "warm" or a hair dryer until pliable.


BTW, shellac is ethyl alcohol based.... 

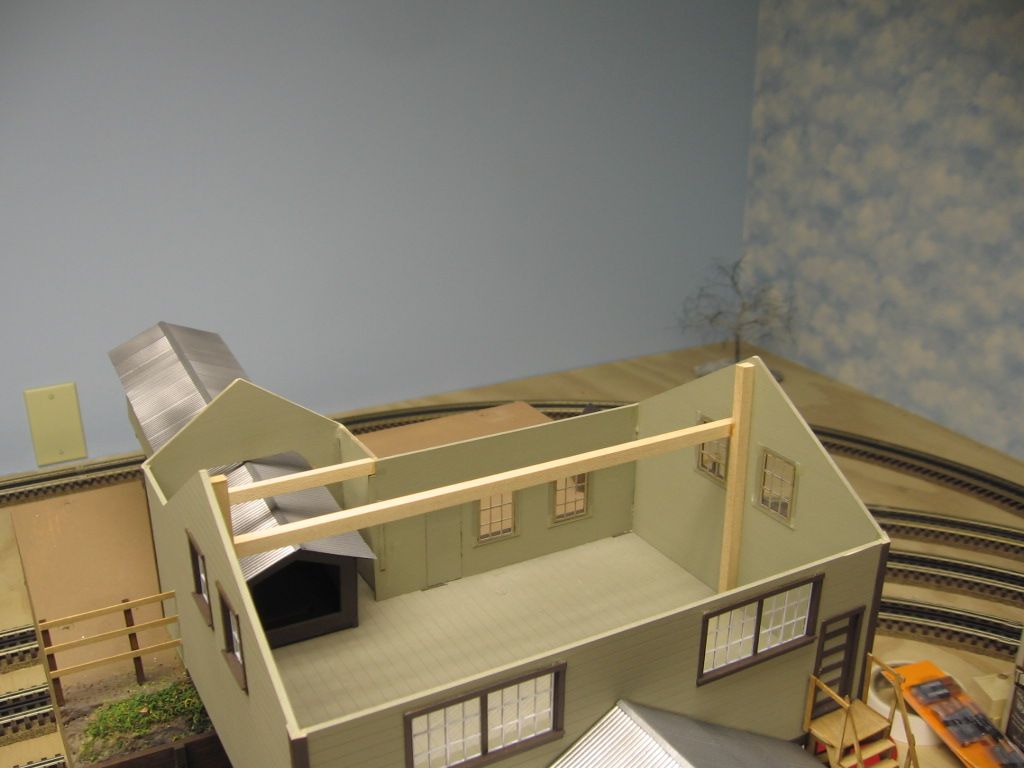
Note that both sides of panel sheets, roofs, walls, floors, etc. need to be painted. I used Rust-oleum Camouflage paints in spray cans.  Flat color, probably not a real good sealing paint, but color and coating works well for this model.  There are notes in some of the BTS kits about painting the edges.  One of the ill effects of all this paint applied before assembly is that you may find it necessary to go to more aggressive assembly glues.  Yellow carpenters glue v.s. Elmers white glue. Clean up may also be more of an issue when not using glues that dry clear.  Even with the double side painting I found bracing and adding structural support to be an advantage.  Note this assembly where both end gables tended to bend out.   I added vertical end braces and kind of a ridge pole, (not part of the kit).

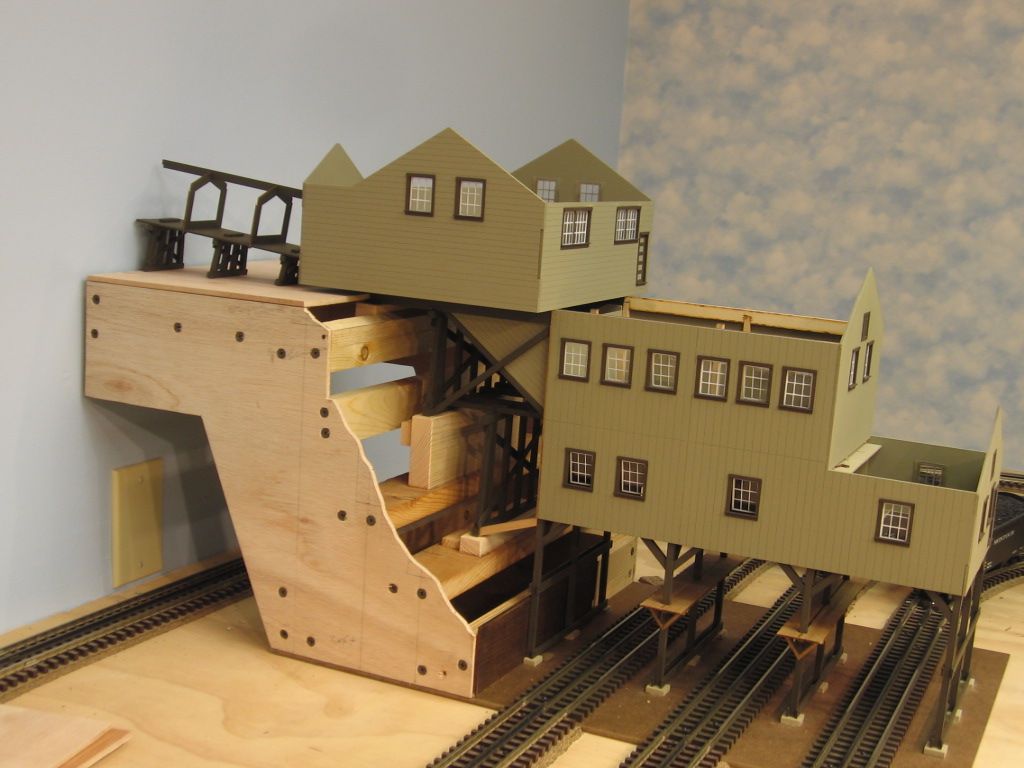
 Another building technique, that seems to be required, is a very good model base/foundation, that is flat, square and rigid.  Usually not included as part of the model.  IMO.

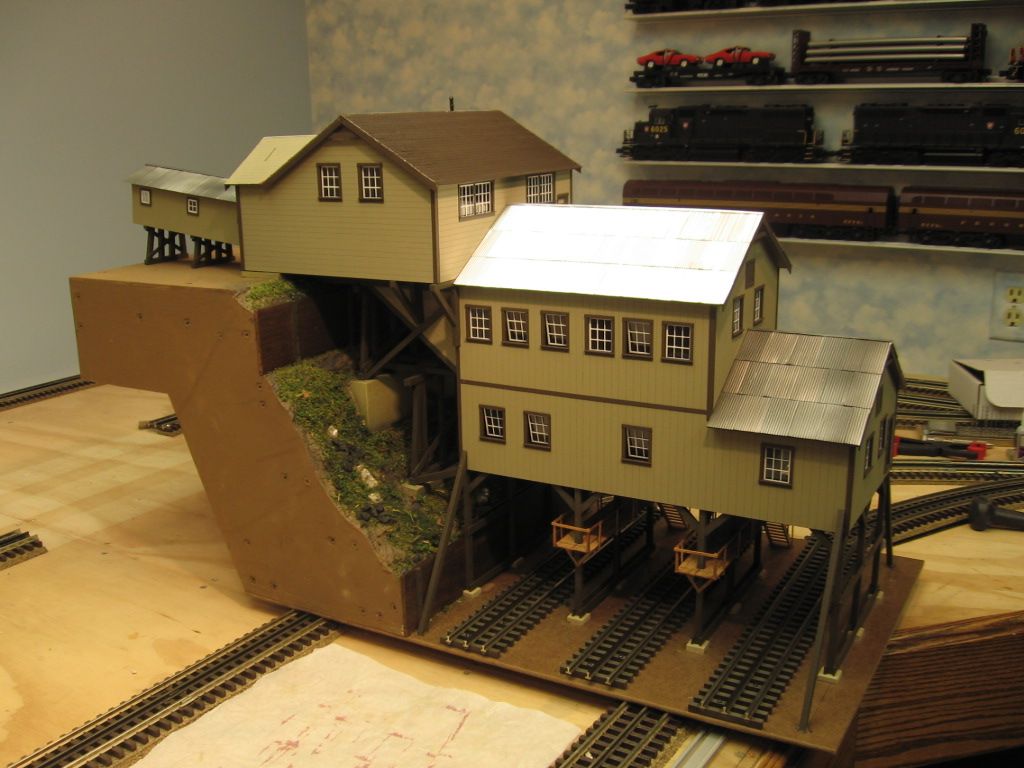
This BTS coal tipple required an extensive, not in the box, base to be built.


Last edited by Mike CT

Thanks Mike,


In the past I build two railroad bridges, one plate girder the other Warren, using bass wood strips. Structural shapes were made gluing basswood strips together and the structures were crossbraced , no warpage had occurred, painted acrylic flat black. I am using exclusively basswood sheet and strip, no balsa, and from the information you supplied in conjunction with the previous responses, each situation is unique. The model structure you are making looks great, much time has been spent in this model, I have a second question, can windows and doors be scratcbuilt readily and be realistically shaped without jig/fixtures or is it more reasonable to buy plastic/cast windows and door shapes.

Originally Posted by John Ochab:

Thanks Mike,


In the past I build two railroad bridges, one plate girder the other Warren, using bass wood strips. Structural shapes were made gluing basswood strips together and the structures were crossbraced , no warpage had occurred, painted acrylic flat black. I am using exclusively basswood sheet and strip, no balsa, and from the information you supplied in conjunction with the previous responses, each situation is unique. The model structure you are making looks great, much time has been spent in this model, I have a second question, can windows and doors be scratcbuilt readily and be realistically shaped without jig/fixtures or is it more reasonable to buy plastic/cast windows and door shapes.

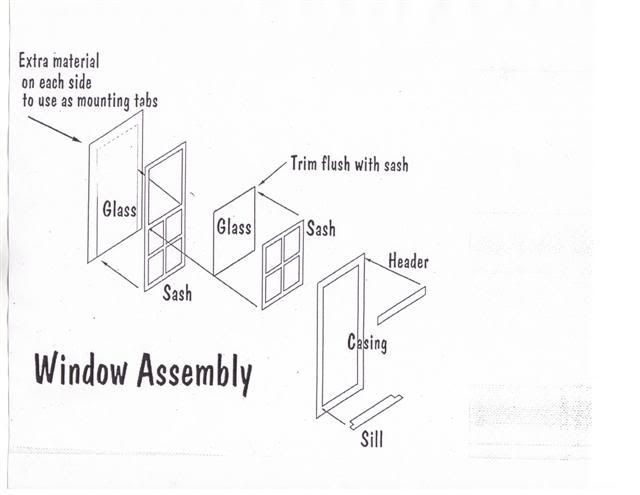
BTS windows and doors are a "press and stick" assembly, where the sash pieces are a sticky-backed wood that adheres to acetate sheets, (simulated glass).  Most of the windows on the coal tipple are single sash. Here is a exploded view of the double hung windows.

Last edited by Mike CT

Yes, there are lots of ways to scratch build windows.  One easy way is to use an injket printer to print sash and mullion detains onto a sheet of acetate.  Then, use bristol board strips for sills etc. It really isn't that hard.  The problem arises when you are building something with lots of windows, like a big industrial building or a skyscraper. It just becomes time prohibitive. Also, some people are dissatisfied in the little deviations from uniformity that you inevitably get in hand work.   I personally like the character that the latter lends to a model, but opinions vary.   Bottom line:  think twice if you need dozens of windows, but for smaller buildings, I say go for it.

Post

OGR Publishing, Inc., 1310 Eastside Centre Ct, Ste 6, Mountain Home, AR 72653
800-980-OGRR (6477)
www.ogaugerr.com

×
×
×
×
Link copied to your clipboard.
×
×