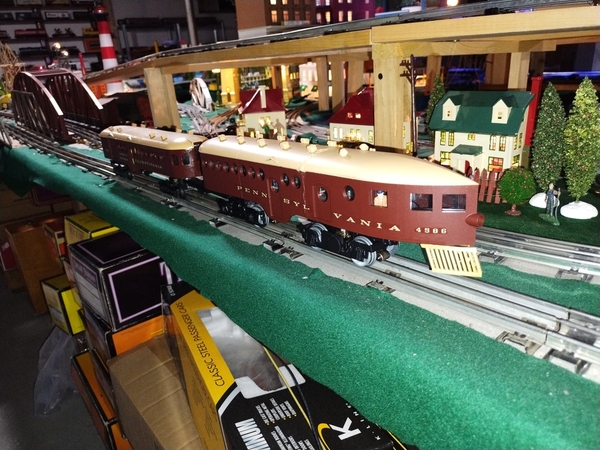
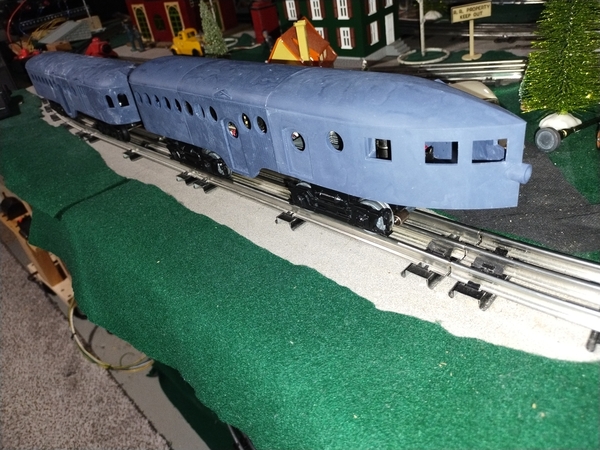
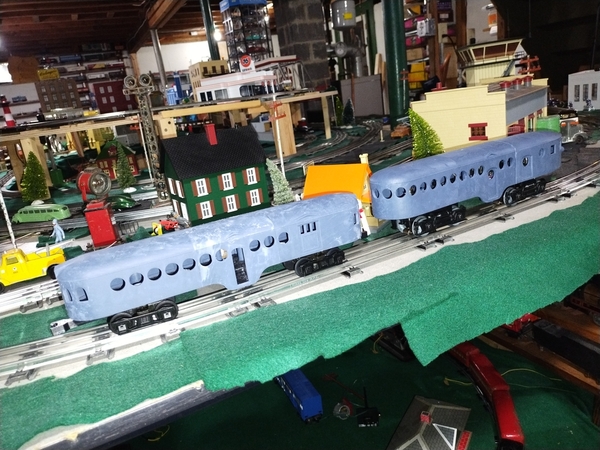
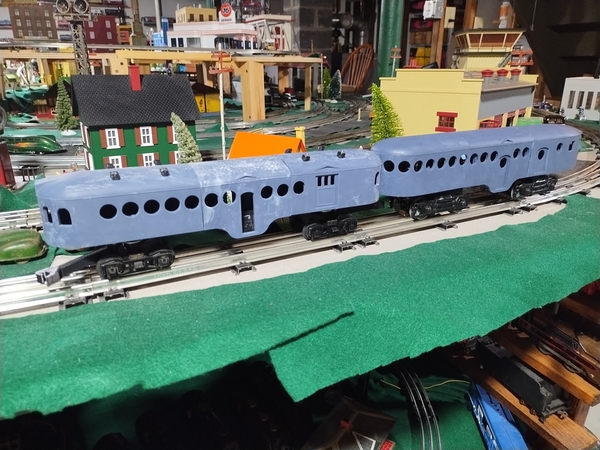
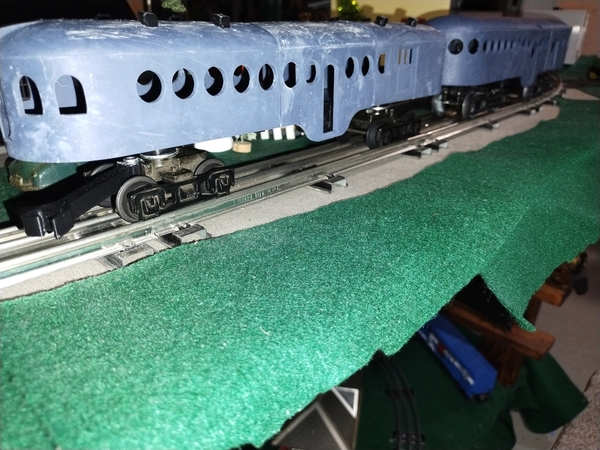
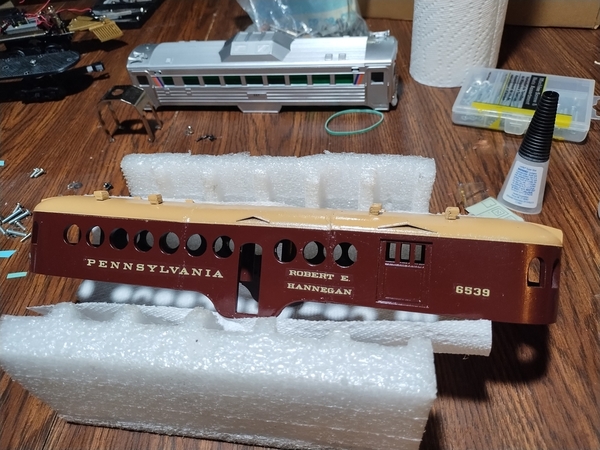
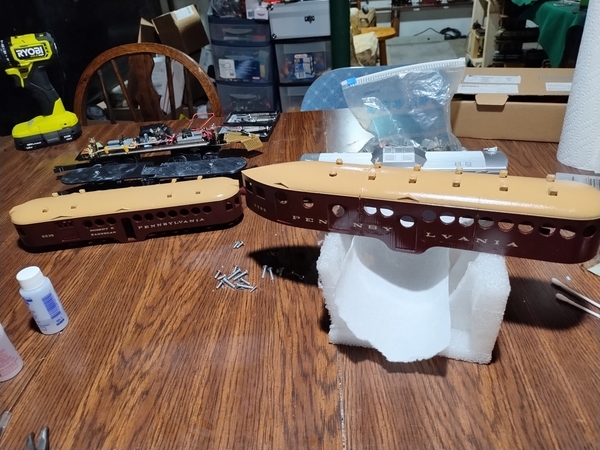
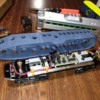
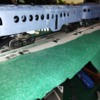
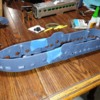
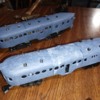
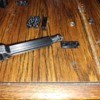
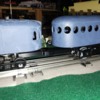
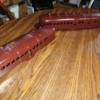
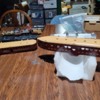
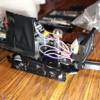
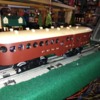
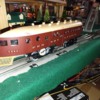
One of your fellow Forumites read my posting on newly designed McKeen car trailer kits a while back and talked me into building a ready-to-run set for him based on the McKeen car operated by the Pennsylvania Railroad in the 1920s. So here we are, the first O Gauge McKeen car and trailer set offered fully assembled in the United States in possibly the last hundred years.
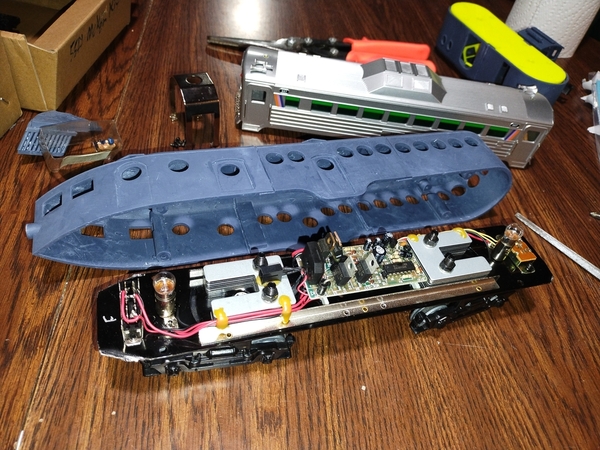
The project started off with a RMT Buddy car used as a donor. I'm familiar with the K-Line Budd cars, but this was the first RMT Buddy that I personally inspected. There were similarities to the K-Line, but also differences. I've heard anecdotal stories that there are variations in the motors and trucks of these also.
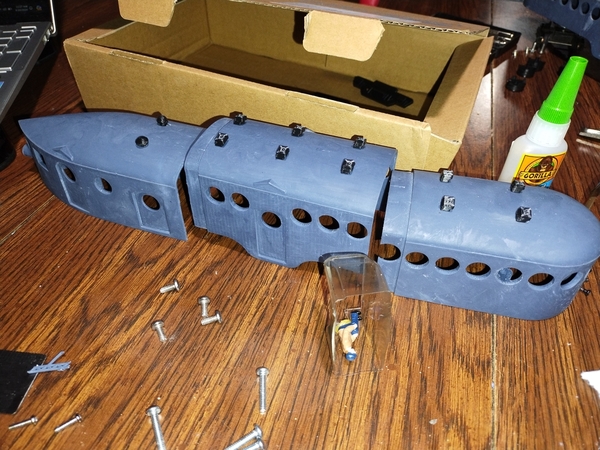
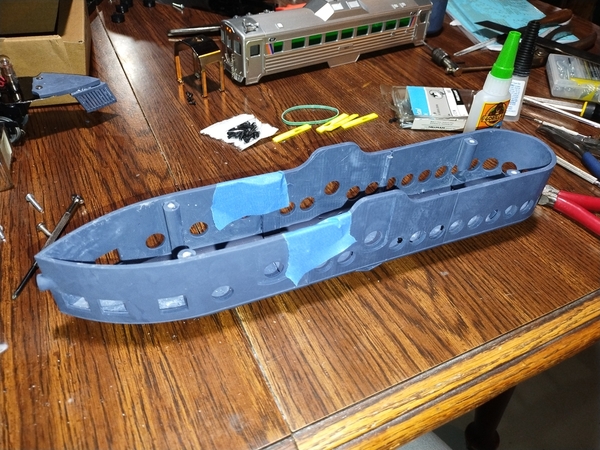
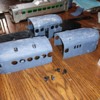
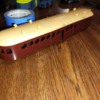
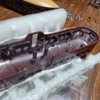
After threading the resin screw bosses for #6-32 screws and cutting down both ends of the donor frame to fit the "windsplitter" car ends, I had both kits test fitted together. The combine is a complete kit with trucks, while the power car needs a donor chassis and drivetrain.
Due to the horizontal can motors in this particular Buddy's trucks (quite a surprise since other customers have mentioned normal vertical can motors in their RMT builds), the power car was noticeably taller than the trailer. Keep reading and I'll come back to how I addressed this.
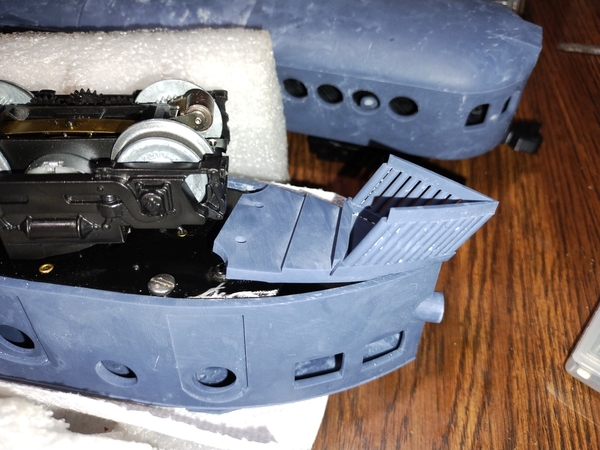
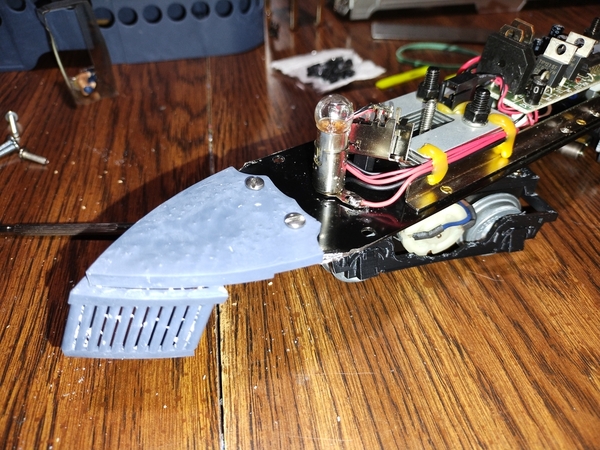
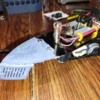
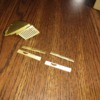
Fitting the pilot took some additional grinding and filing on the end of the chassis.
I drilled and threaded new holes for the pilot, mounting it with #4-40 machine screws.
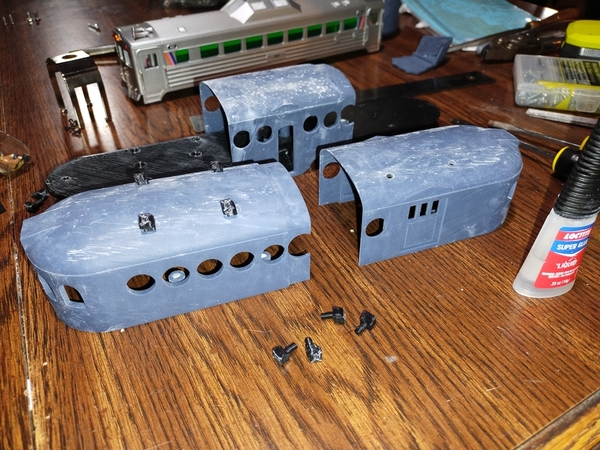
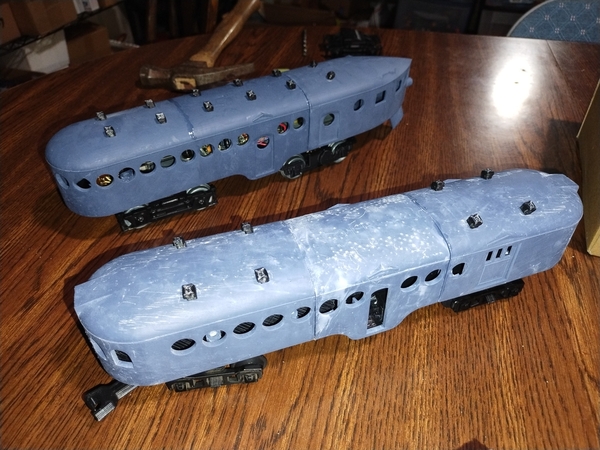
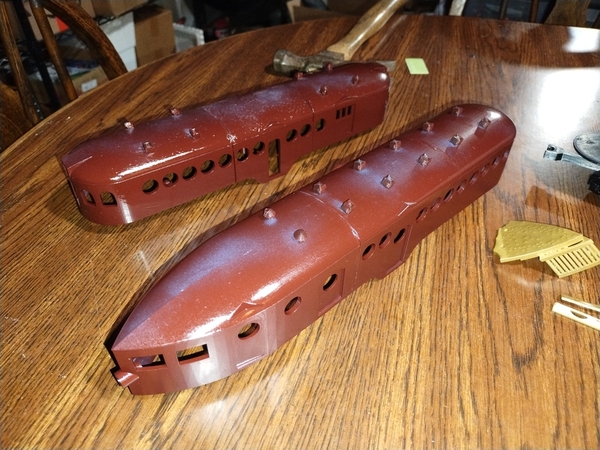
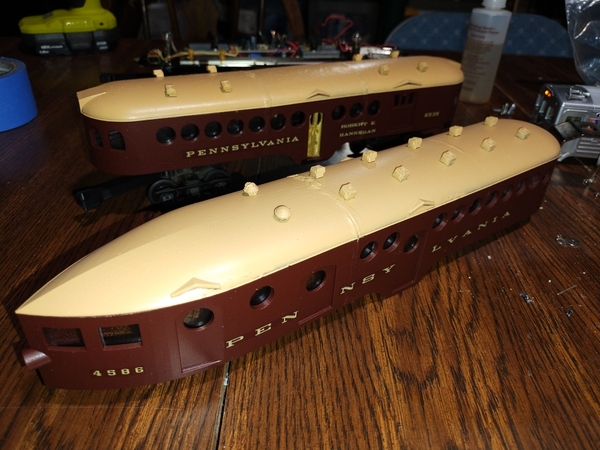
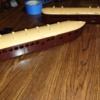
I mounted roof vents and hatches onto the combine car. The kit comes with FDM printed hatches and holes pre-formed in the roof to align them, although the holes do have to be resized with a drill if you're going to use them.
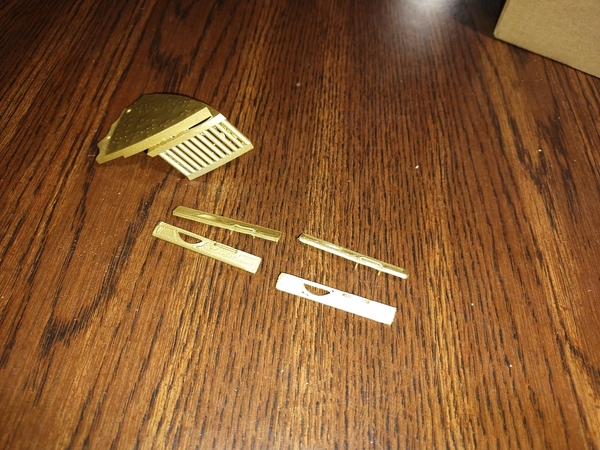
I also put roof vents on the power car in the same manner. The motor compartment up front gets round hatches while the passenger compartments all get these "L" shaped vents.
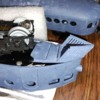
To remedy the height situation, I designed some FDM printed truck shims to raise the floor of the combine to about the same height as the motor car.
Here's a closer look at the shimming of the trucks. If you pair the combine with a MTH frame and one of the 72ft McKeen kits (or find one of the Buddys that allegedly uses different trucks), you won't need these, but I'm going to add them into future kits just in case.
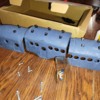
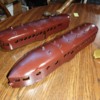
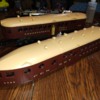
With the test fit satisfactory, it was time to glue the bodies together. I used Gorilla Glue to do this. It made a strong bond, but I think a slightly thinner glue like Loctite Extra Time would work better for the future.
Eventually I had the bodies of both kits glued together.
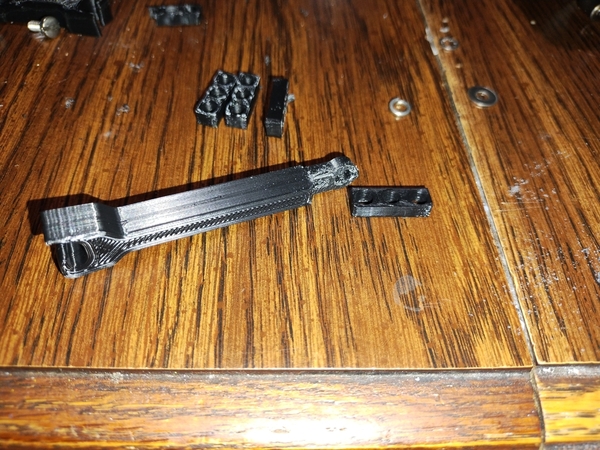
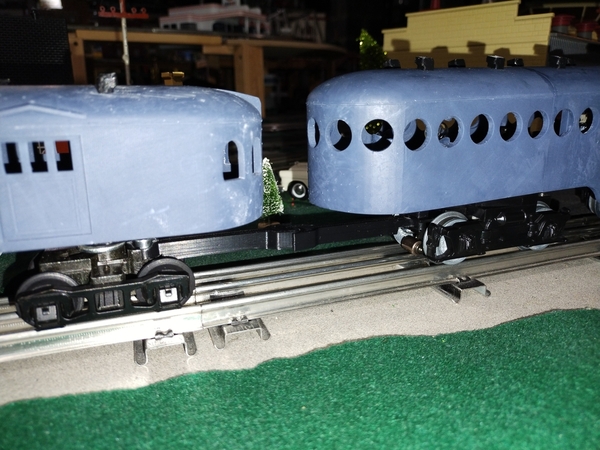
The RMT trucks were different enough from the K-Line ones that I had to modify the 3D printed couplers to make them fit. I also designed a small bracket to better support the screws. Future kits will have some of these parts included.
The couplers now fit satisfactorily.
I painted the motor car spoked pilot and the doors gold to compliment the decals I was planning to use.
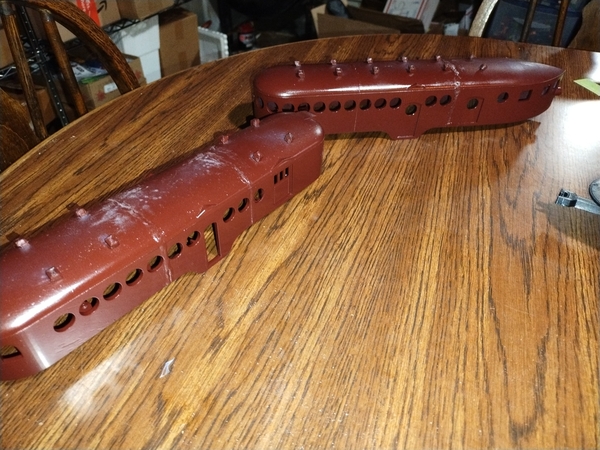
Filling and painting the bodies was an iterative process.
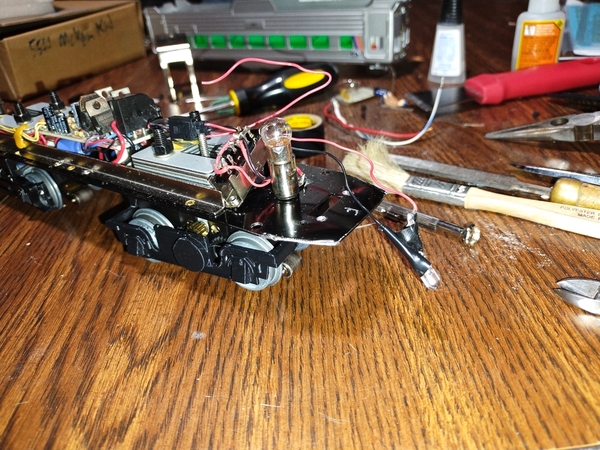
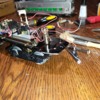
I added an LED headlight to the locomotive electronics while I was waiting for paint to dry. This took a little bit of trial and effort since the original locomotive had directional lighting. This LED headlight only comes on when the locomotive is moving in the forwards direction.
I'm not very handy with body filler and using it was a real learning experience. I mostly got it after three or four applications. If any of you have any super awesome techniques for filling gaps in your model kit builds, I'm all ears.
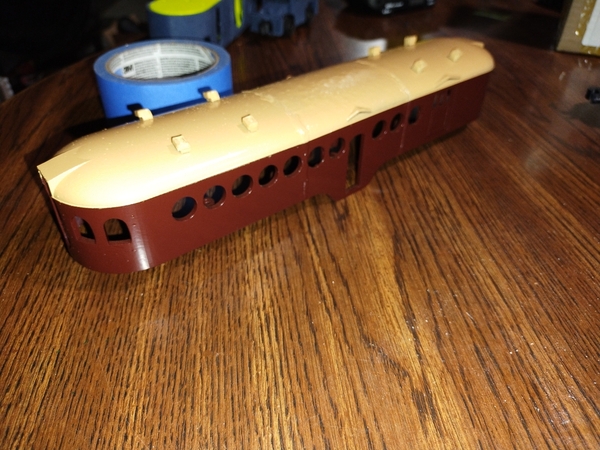
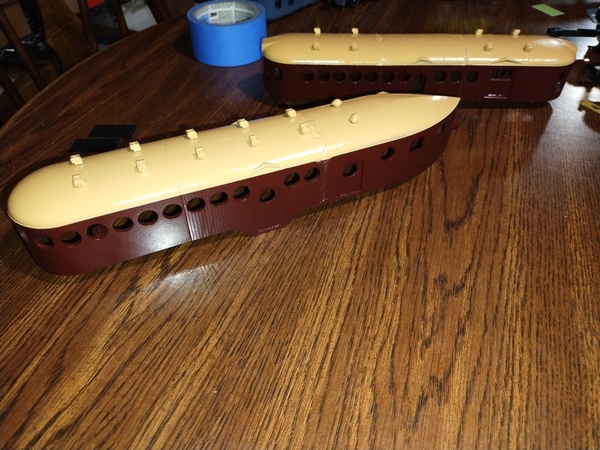
Next was tape and paint to color the rooflines.
I was particularly proud of how clean the roofs came out. The latest version of the kits has a tiny ledge along the edge of the roof to help with lining up painters tape, and it works really well.
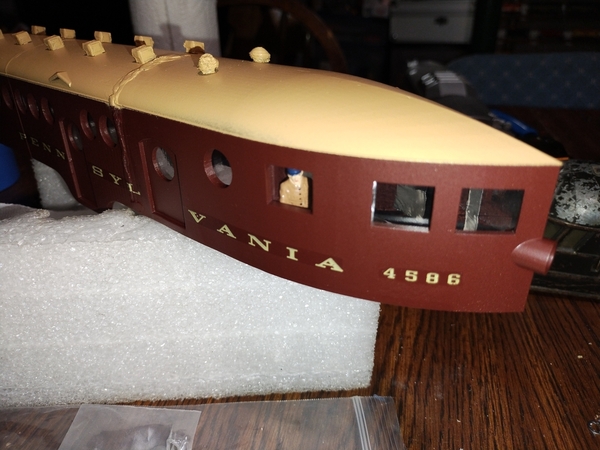
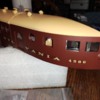
Next up was decals. I used K4 Decals and lettered both the combine and the motor car for the Pennsylvania Railroad, which did have a single McKeen car in service in the late 1910s and early 1920s.
Fitting the decals (really meant for 18" passenger cars and not 13" McKeens) onto the sides took some ingenuity, but I was pretty pleased with the results.
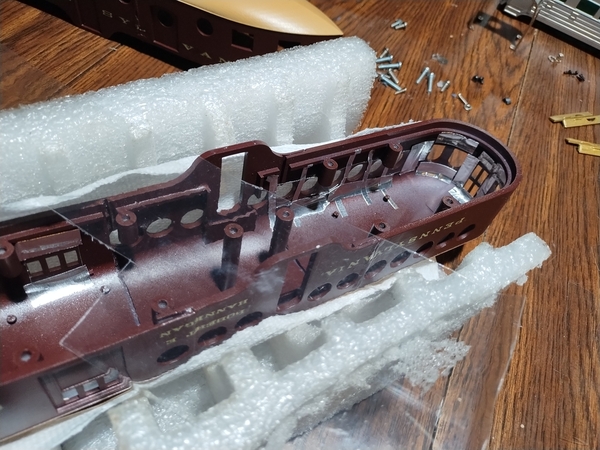
After sealing the decals in with clearcoat, it was time to glaze the windows. I use clear plastic salvaged from food containers and tinfoil tape to hold everything in. Working the glass in around all of the screw bosses and curved surfaces took hours.
At the end, both cars were nicely fitted with windows.
I even salvaged an engineer figure from the donor engine and stuck him in the appropriate window.
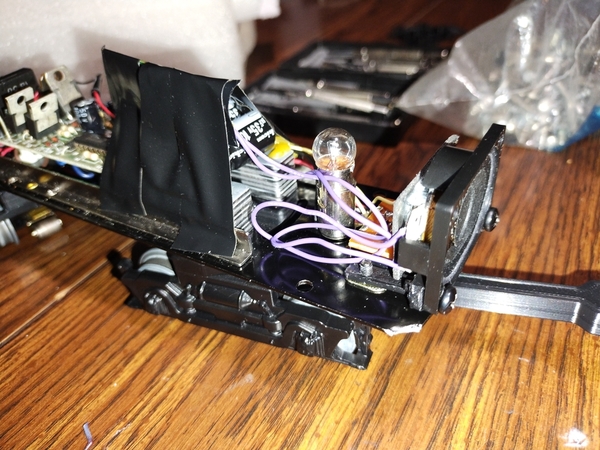
My customer petitioned me with constant changes as I sent regular progress updates, including a sudden request to add sounds at the end. With some effort, I managed to jam a Williams diesel sound system into the back of the locomotive. This required another 3D printed bracket and some clever use of the remaining interior space.
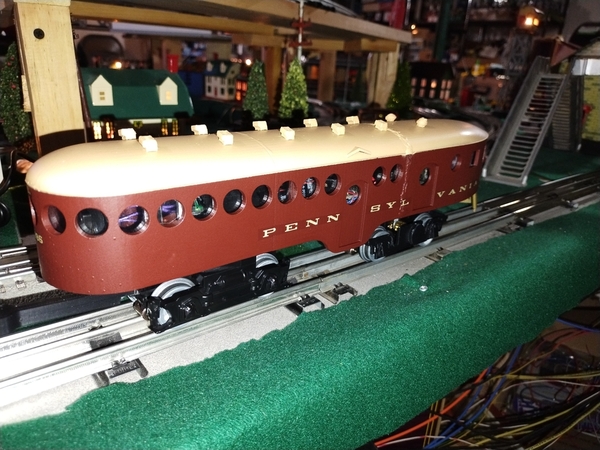
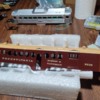
Finally, after an entire month of hard work, the set was ready to roll! Here's the combine.
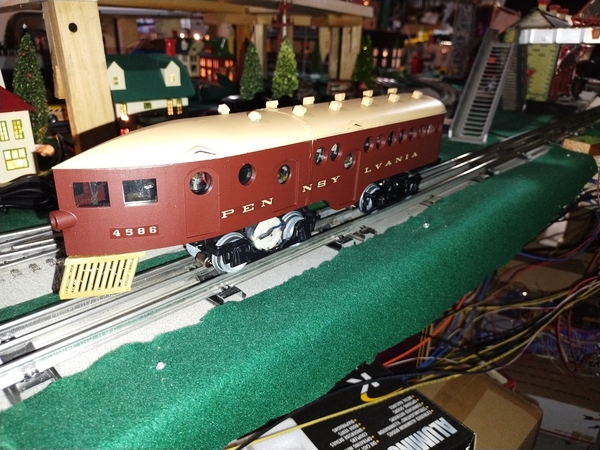
And here is the famous McKeen motor car.
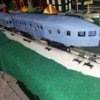
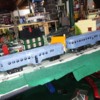
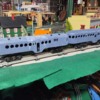
Here's the finished set undergoing trials on the conventional loop.
Unfortunately, this story has an unhappy ending-- due to the package smashers working for the local postal service, this set was badly damaged in shipping, and the set's intended owner was so disappointed that he sent the whole thing back to me and backed out of the project. I have since managed to fully repair the set and am going to be running this very set as part of my operating display at the Southern New England Chapter's train show this weekend in Manchester CT. Come stop by and check it out!


