Granted these are pretty lousy photos, I wanted to share. I will have to take some new photos as I haven't really taken a few "good ones" with a tripod and decent (or as good as I can get it in my basement) light in a long time. I'm currently wiring up buildings (only took about 3-6 years depending on how old the buildings are)! 

Prior to my most recent O gauge layouts, I've had layouts in O gauge Carpet Central (1990s), HO, N, G, etc. 


Originally, in the house I'm in, I started with a 4x7 green carpet layout with one loop and a few loops on the carpet below. I changed the track plan on occasion but still, that got boring real quick. That later evolved into a 7x12, probably my favorite layout. Lots of room, many trains running. I'd like to re-build a similar one sometime way off in the future. 


After the 7x12, I was back at a 4x8, another green carpet variety. I don't have any photos of this one but it had two loops on the tabletop as well as an elevated loop. That lasted a bit but again, got boring quick. 


That 4x8's tabletop was replaced with solid, 1 & 1/2 inch plywood of very good quality and scenery construction began. Below are photos documenting the scenery/development stage. 


These photos were taken a few months after basic scenery work was completed. 

DSC05360

DSC05361

DSC05362

DSC05364


I believe this was taken at Christmas, 2011. You can see new hills in front, many more trees, and a few scenery improvements. The major thing is the track had NOT been reballasted. 

DSCN0034


Another Christmas 2011 photo. This is of the upper level. I've got a small freight station I ordered coming in that I plan to put on the siding. I also just wired up the switch tower. The station won't be lighted because of how the station is "planted" in the layout. The front platform is imbedded in the track area. 

DSCN0036


This was taken last spring. I had just finished re-ballasting the track. The switch in the distance, basically where the C&O Baggage car is, would be replaced a few weeks later.

DSCN0091


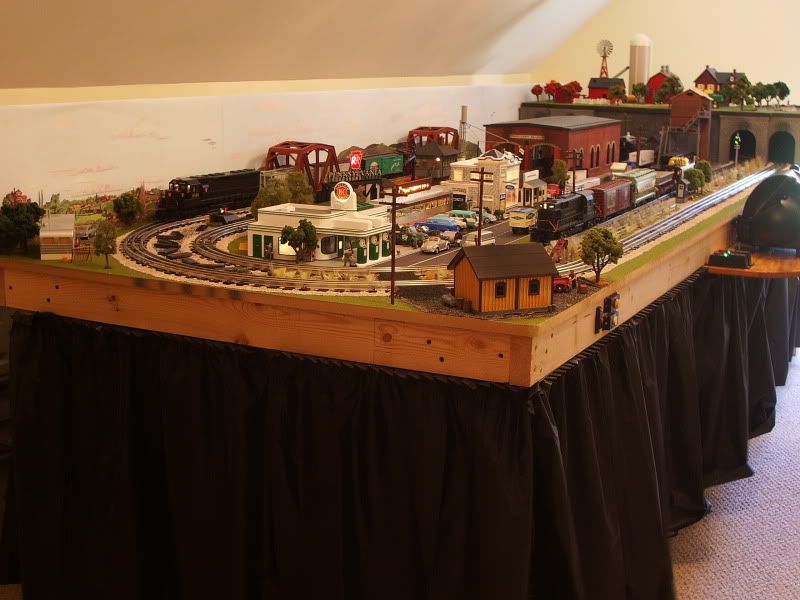
The below photos are the most recent. Note the new Ross Switch, rock "cliff" around the entire layout, all of the sides, etc. All exposed wood except the table legs were covered in the cliffs. The legs got a new good coat of black paint. Also of note is the addition of Z Stuff Signals, I'd like to get a few more installed. I would also like to add a siding or yard extension in the near future. In addition to wiring buildings, I've been putting a few more trees back out that I had removed. I also recently went back and redid every inch of scenery on the layout. No original scenery remains. I'd like to get a skirt around the layout, but that isn't a totally urgent thing at the moment. 

IMG_0015

IMG_0016

IMG_0017

IMG_0018


While these are just a few photos, I've got a lot more but won't post them. I think this post, as it is, generally gets the point across. 

Attachments

Images (11)
  • DSC05360
  • DSC05361
  • DSC05362
  • DSC05364
  • DSCN0034
  • DSCN0036
  • DSCN0091
  • IMG_0015
  • IMG_0016
  • IMG_0017
  • IMG_0018

Here are my two earliest "before" photos.  I'm standing in the hole that will become the basement and slightly later standing in front of the poured basement wall.


1993-02 108 Bart in basement foundation


1993-02 165 Bart by basement window


Here is a typical "before" shot of one part of the unfinished basement.


Copy of 1995-10 003 Bart's train room empty


And here is the scene that now occupies that unfinished space.


etrestle18a


Attachments

Images (4)
  • 1993-02 108 Bart in basement foundation
  • 1993-02 165 Bart by basement window
  • Copy of 1995-10 003 Bart's train room empty
  • etrestle18a

I'll play, but it would take some digging to match Bob's before shot. For me that would go back to 1999, and a picture of an empty lot. I got my first digital camera in 2003 and this is one of the first pictures I took.

1477

 This was a few weeks ago, from about the same spot.


2013-01-31 001 2013-01-31 009

This one is from about 2005. Keep in mind, I did nothing on the layout for 6 years.

874

This was yesterday.

2013-03-09 001 2013-03-09 001

Attachments

Images (4)
  • 1477
  • 2013-01-31 001 2013-01-31 009
  • 874
  • 2013-03-09 001 2013-03-09 001

Now I will try the new layout.....


Before:


IMG_3110


IMG_3180


IMG_3182


IMG_3184


IMG_3187


IMG_3189


IMG_3190


IMG_3250


IMG_3284


IMG_3293


IMG_3307


This was all done in April/May 2011. Putting the roadbed under constituted the "end of the beginning". However, I am nowhere near finished. I have already changed the track plan once.  I am not sure I can say "after". "During" sounds more appropriate.


IMG_3941


IMG_3948


IMG_ogr0001_1


IMG_1038


IMG_0923


I have along way to go before I can say, "after"......


Peter

Attachments

Images (16)
  • IMG_3110
  • IMG_3180
  • IMG_3182
  • IMG_3184
  • IMG_3187
  • IMG_3189
  • IMG_3190
  • IMG_3250
  • IMG_3284
  • IMG_3293
  • IMG_3307
  • IMG_3941
  • IMG_3948
  • IMG_ogr0001_1
  • IMG_1038
  • IMG_0923
Originally Posted by bluelinec4:

We all have different stages in our layout building.  It amazes me when I look at old pictures and videos to see the changes.  I would like to start off the thread with a before and after picture of the same spot  Show us your before and after


Before


After


What a fantastic layout.  Thanks for sharing.  Will try to dig out some before and after photos.

Although none of them are mine, all the pictures on this thread are priceless.
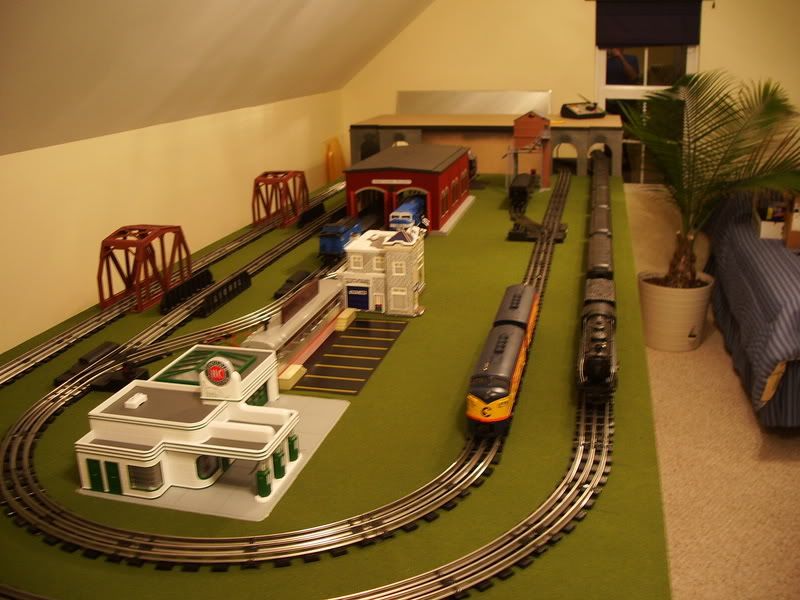
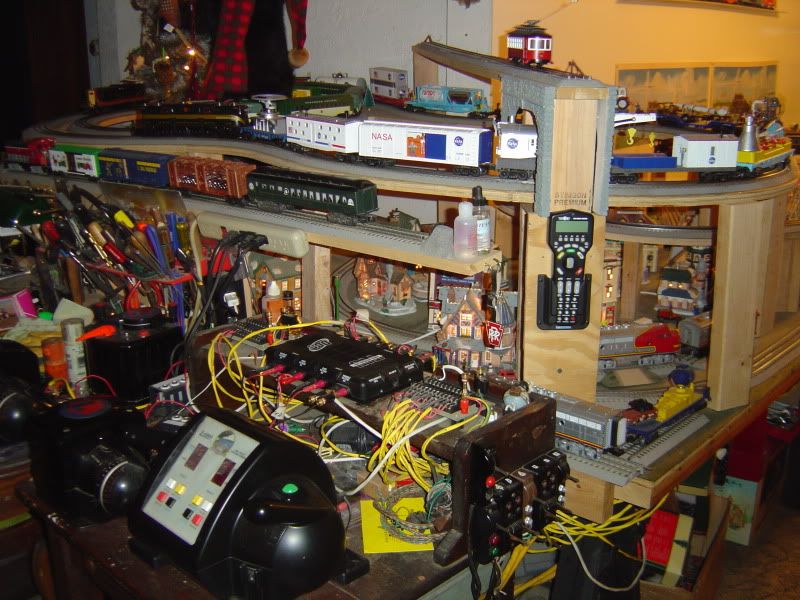
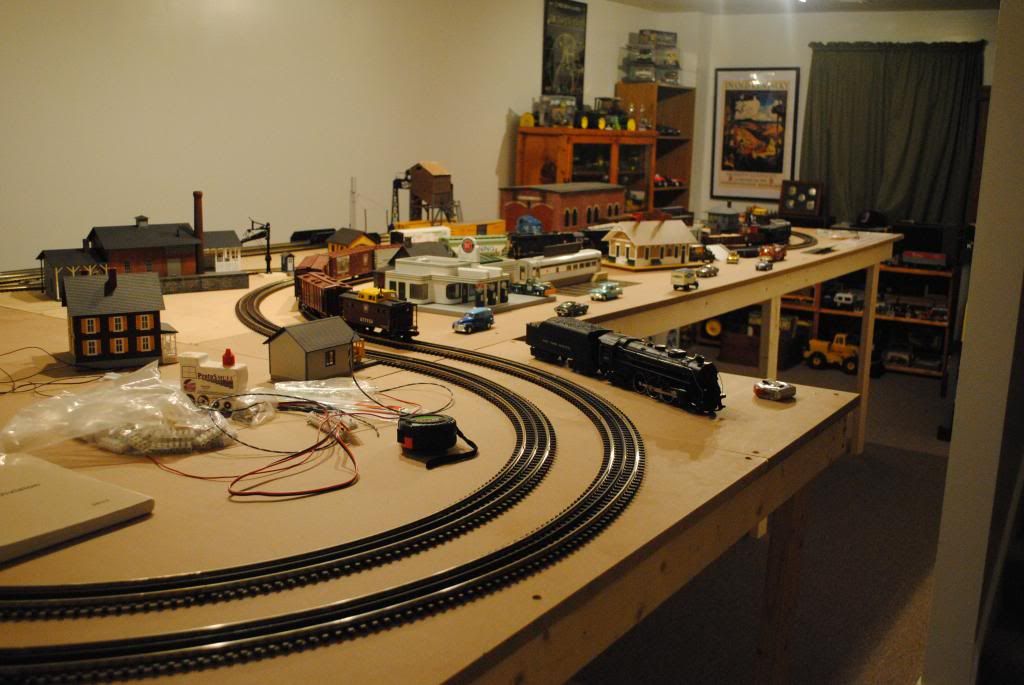
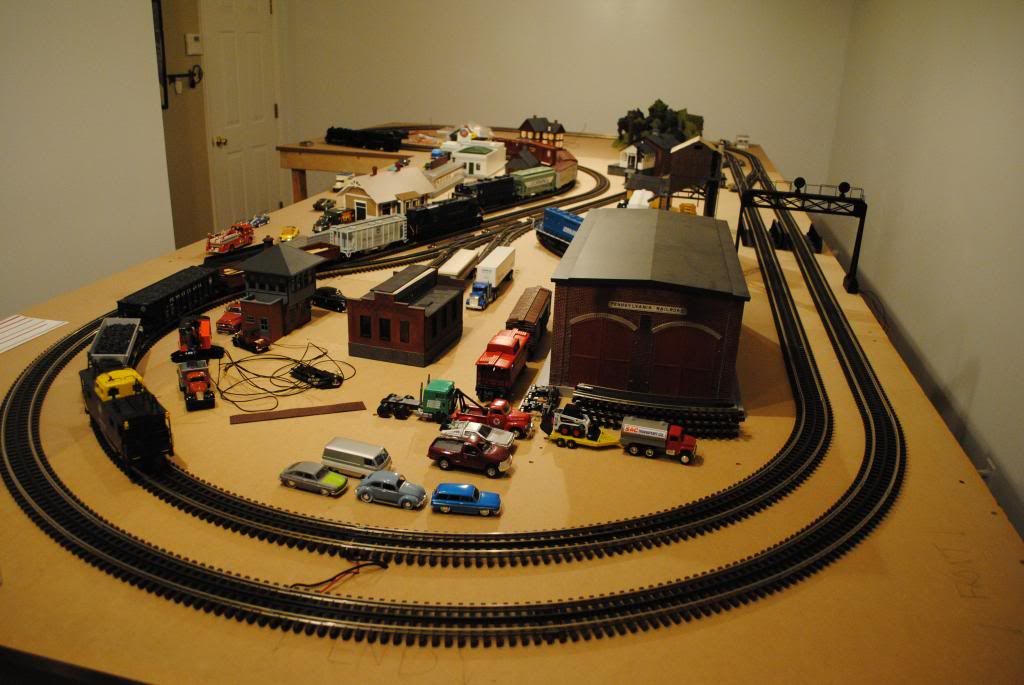
Most of my train layout in the basement hasn't yet come out of the boxes yet.


A  BETTER alternative is to join a club.    I found one in Paterson New Jersey.

AFTER I found the food there is even better than BEFORE when we ate in diners AFTER the meetings at the club, I'm happy to remain a member of the www.njhirailerscom.  

Originally Posted by JohnS:
Originally Posted by Dr. Jack:

Ben, have to say this is one of the best posts you have ever started.  As soon as I get some where close to finished I'll post some pictures.  By the way what happened to the picture of  John S in his avatar & profile.
beach-6-fx-3crop2

Ahhh, I know why the avatar wasn't allowed, that's actually the upper part of actor Wilford Brimley's face. 

Last edited by John Korling
Post

OGR Publishing, Inc., 1310 Eastside Centre Ct, Ste 6, Mountain Home, AR 72653
800-980-OGRR (6477)
www.ogaugerr.com

×
×
×
×
Link copied to your clipboard.
×
×