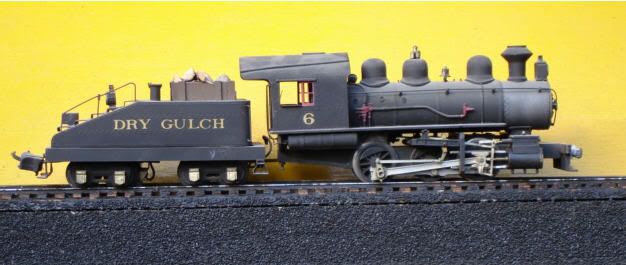
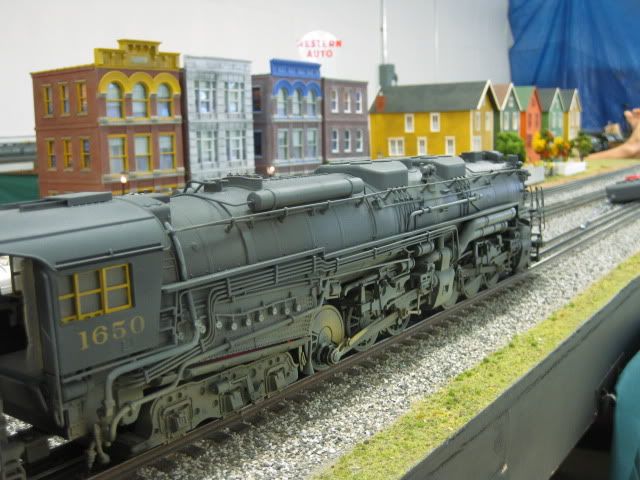
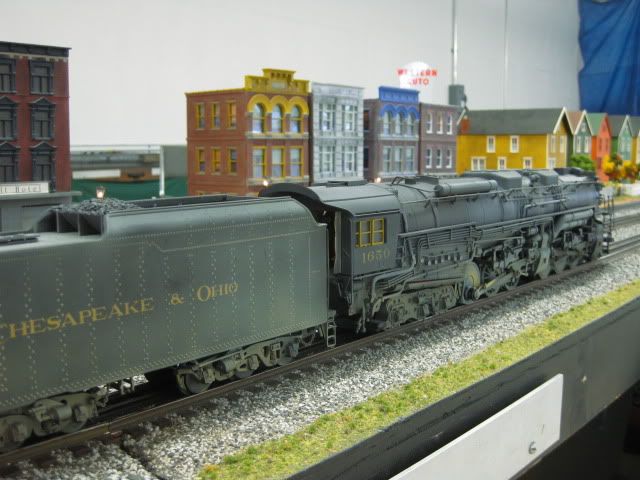
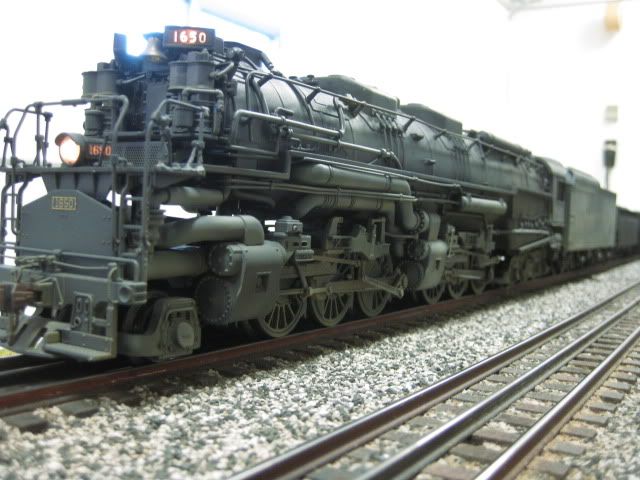
I love looking at O scale locos and dreaming! If you added any thing special or converted them to 3RS tell us how you did it! Also detail parts are great info too! 


_MG_5209


Here are my two! A NS Genset and NS Dash 8.  Both are MTH models with Kadee #815 couplers! I have the GE Hybrid and UP 1988 from MTH on order! Cant wait for them to get in!

Attachments

Images (1)
  • _MG_5209
Original Post

Replies sorted oldest to newest

This is one of the 3RS conversions I started.  It now has a full interior and I am working on some additional lighting.  I have 4 other F3 A-B-B-A sets and 2 A-B-B F7s.  I have converted the Lionel F7's but may dump 3 of the Lionel A-B-B-A F3's because they require a lot of work to get them to look right. 


f317

Attachments

Images (1)
  • f317

Thanks


Whereas many have put spacers between the pilot and body to enable the use of Kadees, I lowered the body on to the chassis so there is less of a gap between the trucks and the body.  It does increase the possibility of clearance problems with electronics, smoke units, and flywheels.  I haven't run these enough to see if there could be a heat problem, but they do look good.  I will probably change out the old Kadees with new ones for a better look.


This is a picture of the interior while I was working on it.  The instrument panel was my first attempt at lighting the gauges of an F unit instrument panel.  The photo exaggerates the lighting of the gauges, I have since used a dimmer lighting scheme.

It also exaggerates what it looks like, the photo blown up somewhat.  The gauge lighting is more subdued.  I have also placed gauge faces in later conversions.


intlight


instlight2


I printed a smaller sized version of this onto clear film and used it for the ammeter


ampgauge

Attachments

Images (3)
  • intlight
  • instlight2
  • ampgauge

marker,


Now that's slicker than snot on glass!


I need to take some photos of my engines.  All of them have been Kadee-fied and fixed pilot-ed, but other than the Atlas GP9 I'm really not sure if the others are close to scale.  Well, the WBB E7 is close, not sure about the MTH RK 2-8-0, RS3, NW2, and RK Imperial 0-6-0.


They're close enough for me though.  I have a RK F3 that's 8 scale feet too short and don't put it on the layout.  I can tolerate 1/2", but 2" is just too much.

I took a Lionel Legacy (highwater) E7AA and lowered the body. Actually raised the trucks.  Body mounted more accurate pilots and added Kadee couplers.  Then replaced the pizza cutters with scale wheels. Each truck on the powered A got a pair of traction tires. Then narrowed the trucks because lowering the body made them look really too wide. And body mounted ladders.

Lionel E-7A

Lionel E7AA close coupled

Scale wheeled truck


http://vimeo.com/2424081


JoeW

Attachments

Images (3)
  • Lionel E-7A
  • Lionel E7AA close coupled
  • Scale wheeled truck
Last edited by JoeW

Have a set of 4 Atlas GP-9s. 2 powered and 2 dummies.  The 2 powered and 1 dummy were 3 rail and 1 dummy a 2 rail.  The 2 rail dummy got sound, lights and pickup rollers. The 3 rail dummy got sound ,lights and scale wheels.  The 2 powered units got scale wheels.  All three 3 rail units got body mounted pilots.  All 4 units got shortened Atlas scale coil couplers. 

The problem with scale wheels and no traction tires. One GP-9 alone will barely pull a few cars but the 2 powered units together will pull the 2 dummies and a fair size train of 12 to 20 cars and maybe more.  But my layout is flat.

103_3809

GP9 powered with scale wheels and couplers, fixed pilot

GP9 scale wheel swap


Lionel A-B-A F3 body was lowered a bit. Body mounted pilots and Kadee couplers.  Sound added to the powered B unit. F3 on the right.


104_4179

104_4105

Lionel F3B with Kadee #806 couplers. Trucks turned around

Above is the F3B with the trucks turned around providing just enough room for mounting the short Kadee #806 couplers.


JoeW

Attachments

Images (6)
  • 103_3809
  • GP9 powered with scale wheels and couplers, fixed pilot
  • GP9 scale wheel swap
  • 104_4179
  • 104_4105
  • Lionel F3B with Kadee #806 couplers. Trucks turned around

Back in 2007, Lionel offered a conventional Standard O F3.  It was the same as all the previous F3's but without the electronics.  They were selling them way below catalog price because the wanted to dump the rest of their single wheel drives and move to another truck.

http://www.lionel.com/Products...E6E7&PageID=1340

I thought it was a great way to pickup something to experiment with.  A few years later there was an unpopular NYC F unit set with Legacy.  The B units became available for less than $200.  I ended up powering the A-B-B-A with 2 Legacy powered B units, which left room for the full cab interiors in the A units.
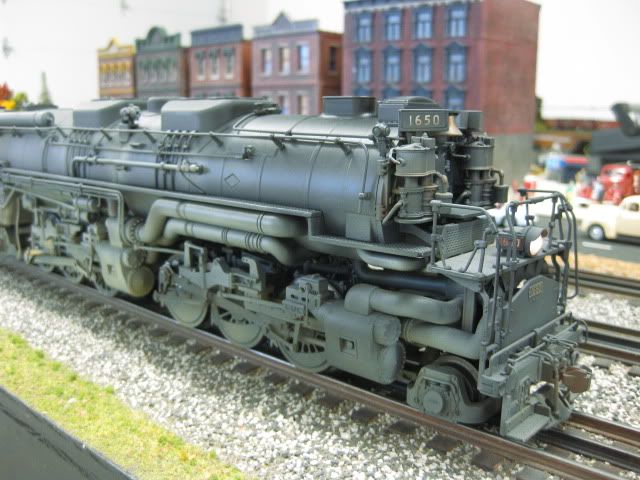
 

BTW the historical aspect of #17 was that it was the first EMD F3 delivered to the Santa Fe.  #16 the first built had some issues which caused #17 to be delivered first.

Not to be annoying... what does this level of customization do to resale value? When I was younger (like 55 years younger), I installed a "scale" interior in my Lionel 2343 Santa Fe. Needless to say, it didn't do much for its collection value, but I loved it. I've been reluctant to take the airbrush to my engines. I've done repairs after wrecks and have added charging ports to all the QSI 3rd Rail engines so I don't have to sit them on the track idling to recharge the Nimh batteries, but haven't done any cosmetic changes.

It is not much different now than when you put the cab in your 2343.  However, I would pay up for an engine that had been modified, if it was well done.  If Sasquatch did a similar job on a D&RGW L-131 I would definitely be interested, as I would with some of JoeW's modifications.  I'm sure there are others that would do the same, but the collector's mentality rules with regard to 3 rail. 

Originally Posted by Trainman2001:

Not to be annoying... what does this level of customization do to resale value? 

Just my opinion, but I could care less about "resale value"! As a 3RS modeler and operator, I try to have all my models look "mid-1950s". I really don't care what my kids/grandkids are able to sell my locomotives and/or rolling stock for. That is NOT why I'm into model railroading!

Originally Posted by Gerry:

can you operate smoke units on weathered engines or does the fluid destroy the weathering?

EXCELLENT question! I do NOT operate any of the smoke units on my models since the smoke "fluid" REALLY screws up the weathering, especially around the top of the smoke box area. I don't even use the smoke units when running at train shows as part of the Independent Hi-Railers, Midwest Division, modular layout.


The smoke "fall out" also screws up the scenery on the up-stairs layout, so I don't even allow any visiting locomotives to use their smoke units.


Here's a K-Line 2-8-2 B&O class Q3. Added Kadee couplers front and rear.  Scale pilot wheels.  Shortened draw bar to close the gap.  Replaced the big loop teather with a short flat one.  Added an apron to finish it.  On my short list to get one of my coil Kadee working couplers. 


882_5824 K-Line Q3

882_5827

882_5832 K-Line Q3


Little changes that made a big difference. Gone from shelf queen to the layout.


I don't worry about resale value.  Have no plans to sell anything that I use or convert.  That will be my wife's problem when I'm gone.  Tried to explain to her the differences of what I have and done with them.  Lobster claws and pizza cutters are 3 rail, not many of them left.  Kadees and pizza cutters are 3RS. Kadees and scale wheels are 2 rail.  But then there are the scale cars with coil couplers.  And the engines that are basically 2 railed but are 3 rail and will probably run only on my modified layout. Probably sell them for parts. Knowing her she will either take them to a train shop and get pennies on the dollar or just toss everything in a dumpster.


JoeW

Attachments

Images (3)
  • 882_5824 K-Line Q3
  • 882_5827
  • 882_5832 K-Line Q3

That's a very mature attitude and I like it. Us operators do stuff that makes us happy. I do keep the boxes, but almost everything I has been run and run a lot. I've also had to replace wreck damage on at least two engines that destroys their collector value, so I agree with your philosophy. In fact, it gives me some more incentive to start making my stuff look more "real". I build lots of craftsman kits with exceptional detail, my motive power and rolling stock should follow suit.

I would think that if you sealed your weathering with flat or semi flat clear you could use the smoke feature on your engine. Most smoke oil is made of mineral oil base, I believe and should not eat through the paint. A friend that paints professionally uses a product called "DEFT" which is a wood refinish product that used to be a lacquer base product similar to dull coat. I have not experimented with any of this to justify the claims so use at your own discretion. I have used it on HO and N models with success,but did not have to contend with smoke oil.I may have to try it out to see if it will work in reality and post the results. I would think that Scalecoat paint that is baked on would work, have to try it .

Frank

fgroza,


I didn't mean to imply that the residue smoke fluid that gloops out of the stack "attacked" or "eats through" the weathering. It's just that all that fluid crap that splatters out of the stack , along with the "smoke" vapor, gets all over the top of the smoke box and boiler. All those oily stains, sure messes up the appearance of the weathering. Thus,,,,I NEVER use the smoke feature! 

DSC01009

s-1.1

s-1.3

s-1.4


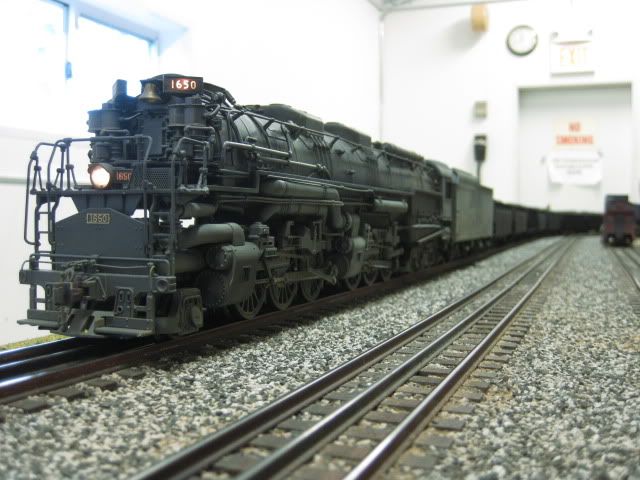
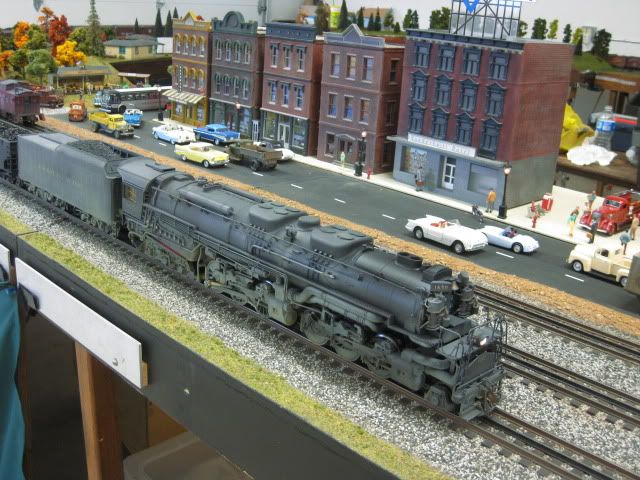
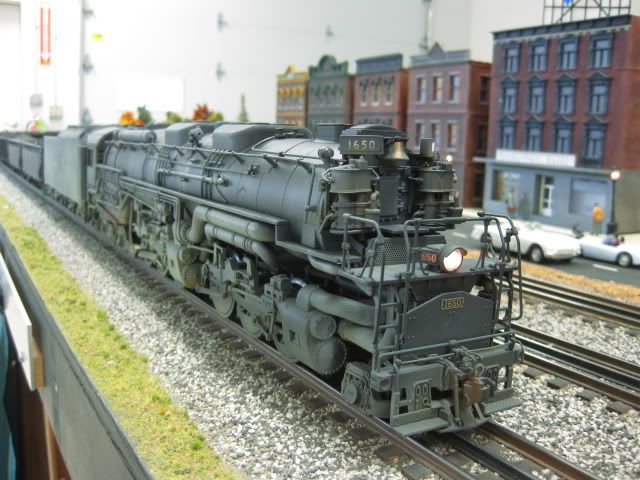
Here is my latest project, which is a Sunset 3rd Rail B&O S-1a.  It was a tough find and I feel very fortunate to have landed it.  So far it has received a Kadee coupler, new crew, blackened engine truck wheels and driver centers and thanks to a loose speaker it ended up with a QSI High Base speaker.  Too bad the tender doesn't have enough room to be fully effective.  Weathering is TBD.  I would have loved to have taken the photo in a better environment, but my current layout doesn't look any better than this anyway and is slowely being taken apart.  You can't beat the look of a 3RS loco on a completed layout.

Attachments

Images (4)
  • DSC01009
  • s-1.1
  • s-1.3
  • s-1.4
Love the Big Six! Favorite B&O engine along with the EM-1 and EL3/5.  Good idea painting the drive wheels.  But what to do with those valve gear and drive rods?
You think it's tight inside the S1 tender.
Last night I was trying to fix some manufacturing screw ups on my Q4. Opened up that tender to check out how to mount a coil for my working Kadee. Now that tender is stuff with the big EOB board, speaker and battery.  And way to much wire all folded back and wadded up. Big job for another day.
I think the T3 was my last engine from 3rd Rail but I would like to get another S1.
I put working Kadees front and rear on the S1 plus scale pilot wheels.


882_5829 S1 2-10-2


Attachments

Images (1)
  • 882_5829 S1 2-10-2
Videos (2)
Remote Coil Kadee coupler on 3rd Rail B&O S1 2-10-2
3rd Rail S1 with remote Kadee coupler
Originally Posted by Trainman2001:
What are these "coil Kadees" you're talking about? That sounds wonderful! Also, only use smoke on an occasional MTH diesel when the grandkids wanted to see it. None of my 3rd Rail steamers have even seen the stuff.

Don't care for lobster claws and pizza cutters but did miss the usefulness of the electro coupler. Figured out a fairly simple way to make a Kadee coupler uncouple. Did this about 4 years ago. Not just engines but freight cars and cabeese. Same principle, different methods of actuation.


JoeW
Originally Posted by Trainman2001:
Can you provide some more details about how you create this kadee hybrid? I'm interested in attempting with some of my engines.


If you click on the thumbnail picture in my last post it takes you to an album that shows how I did the EM-1 and othe stuff.

Standard Kadee couple with a hole drilled through the knuckle for a pull wire.
Cut the coupler end off a coil coupler and mount the coil inside the tender or engine.
Connect the coil pull rod to the coupler pull wire via formed brass linkage rod. May often require cutting a slot in the floor for the linkage to pass through.

2 important little details. The hook on the end of the coupler knuckle must be filled and or filed off to eliminate snagging. Friction or fouling of the linkage to overcome the coupler springs so  the knuckle will hold open until coupler seperation.

If done right this will not effect the normal operation of the coupler using magnets or whatever if you do not cut the horn off as I sometimed do.

Click on thumbnail

Post
×
×
×
×
Link copied to your clipboard.
×
×