
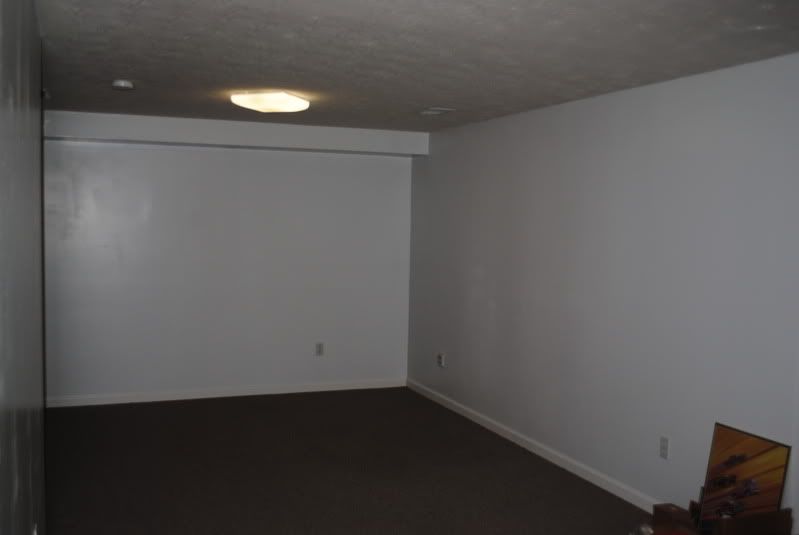
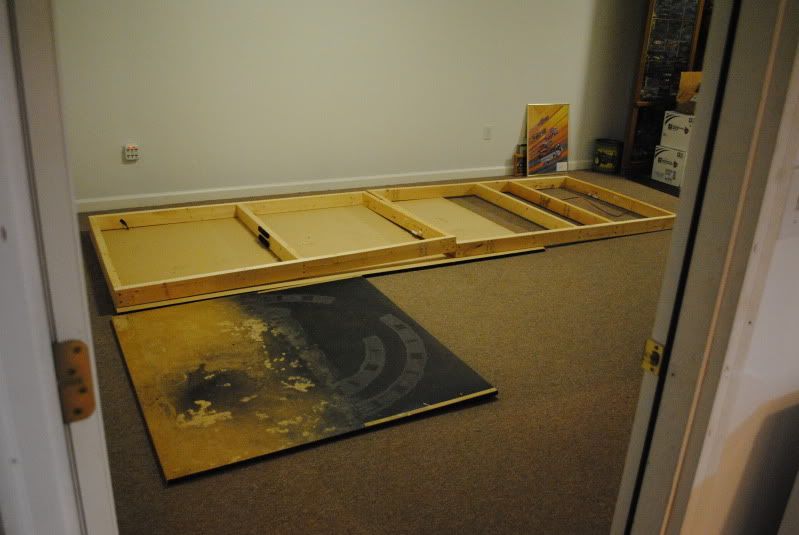
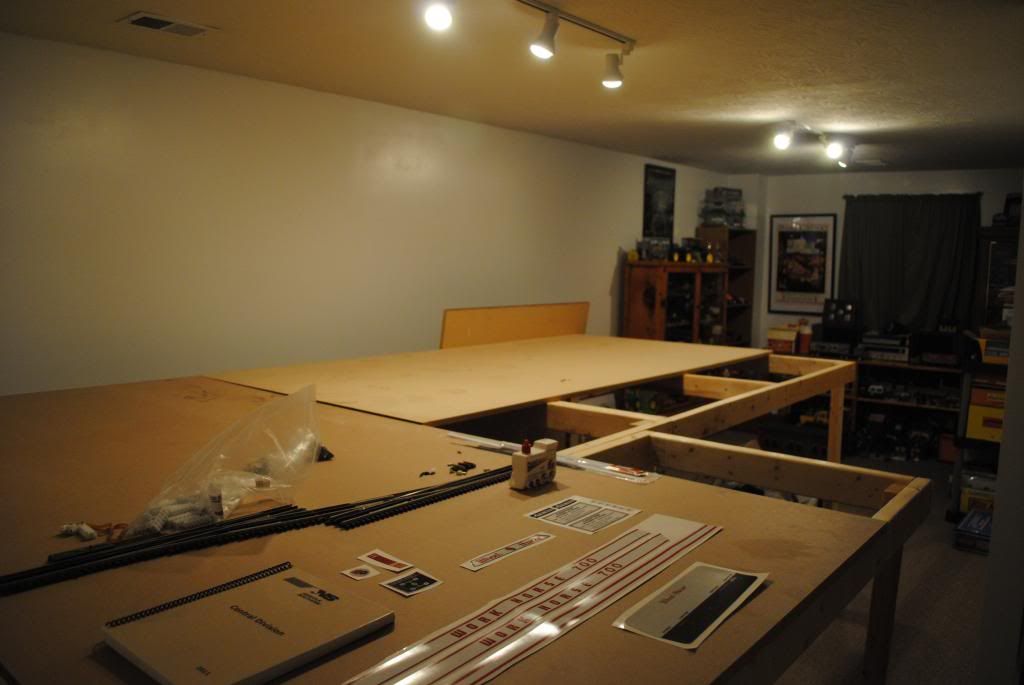
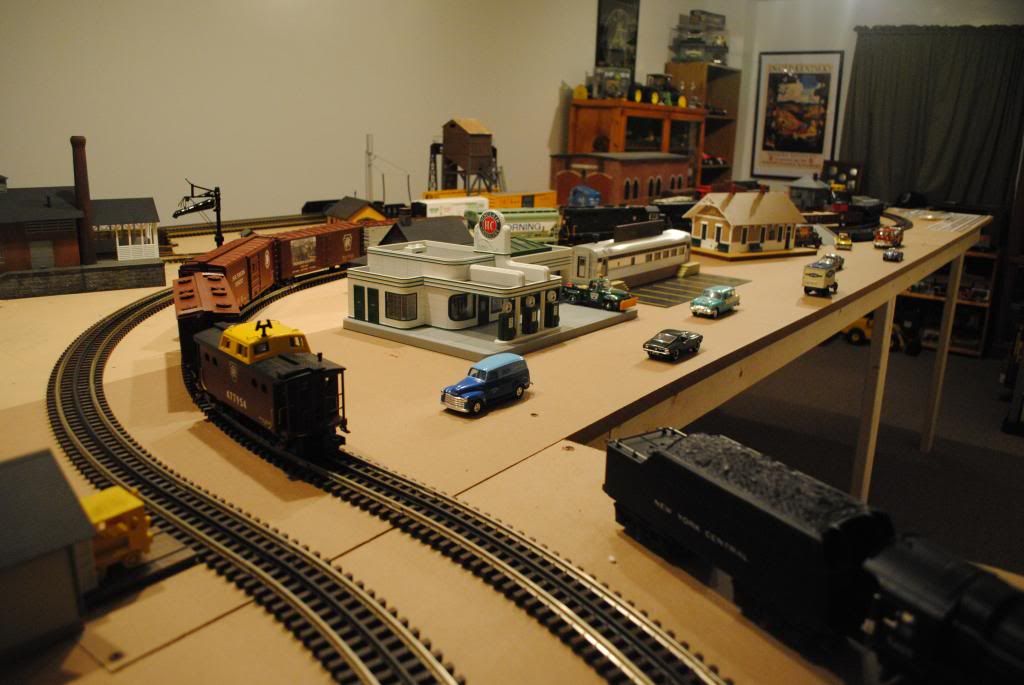
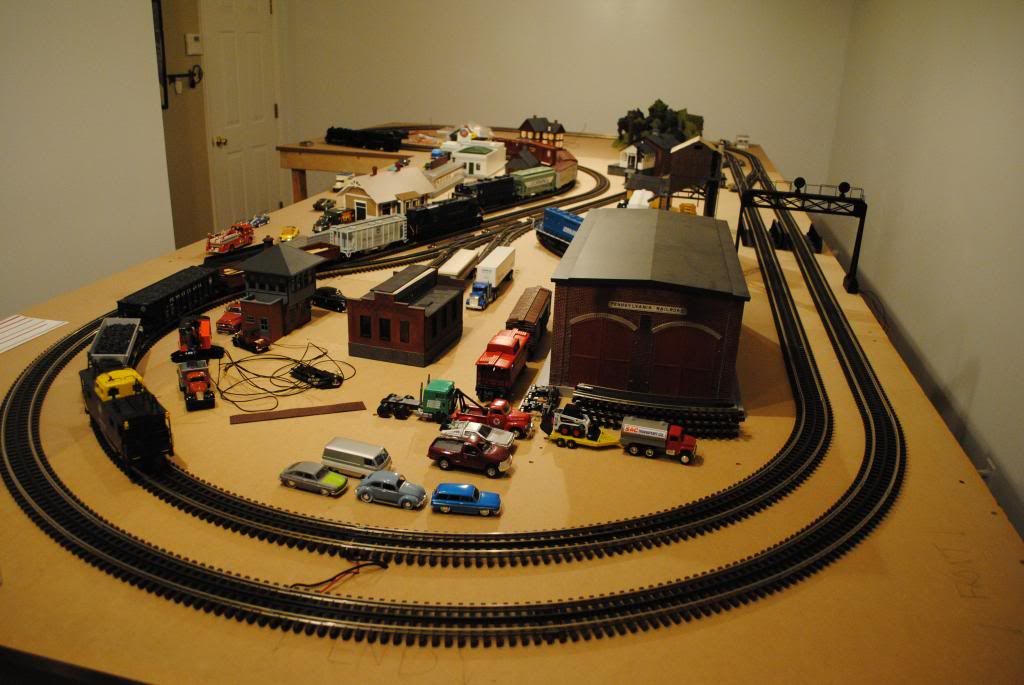
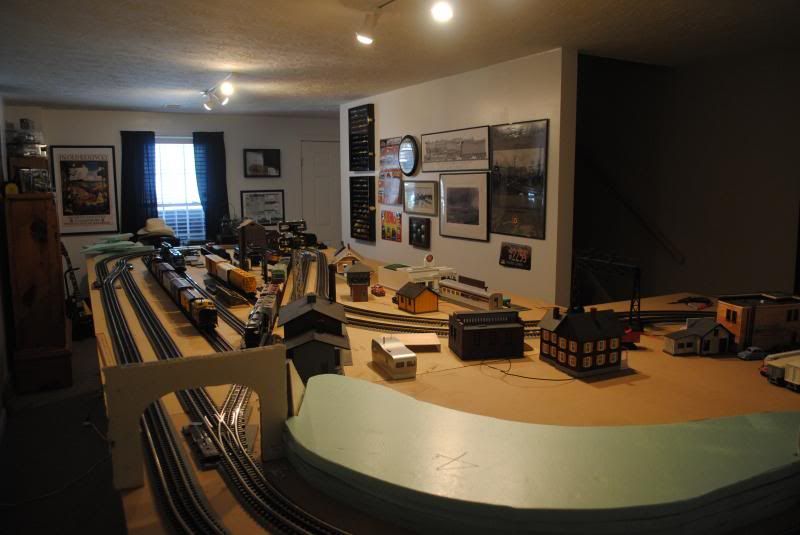
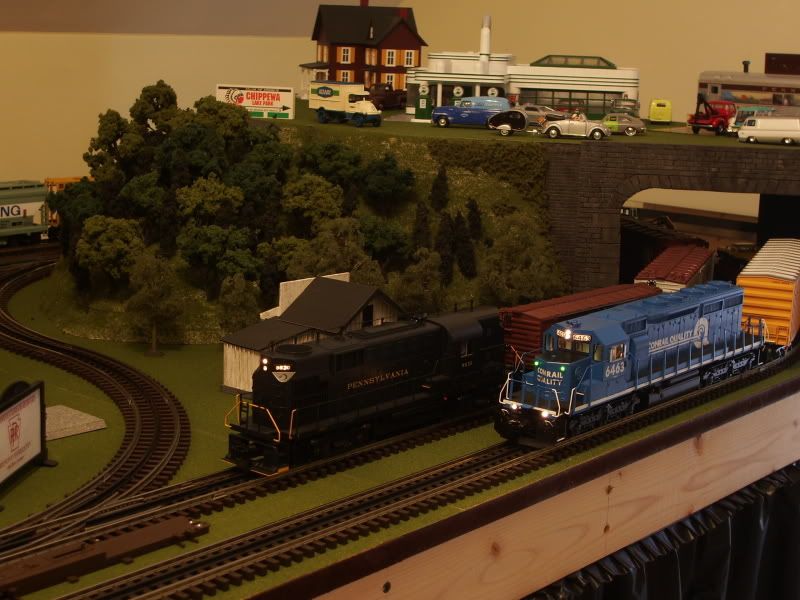
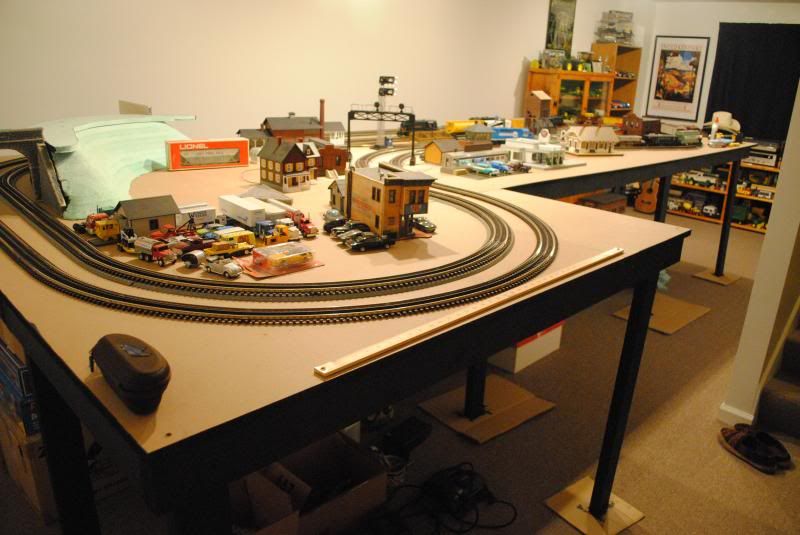
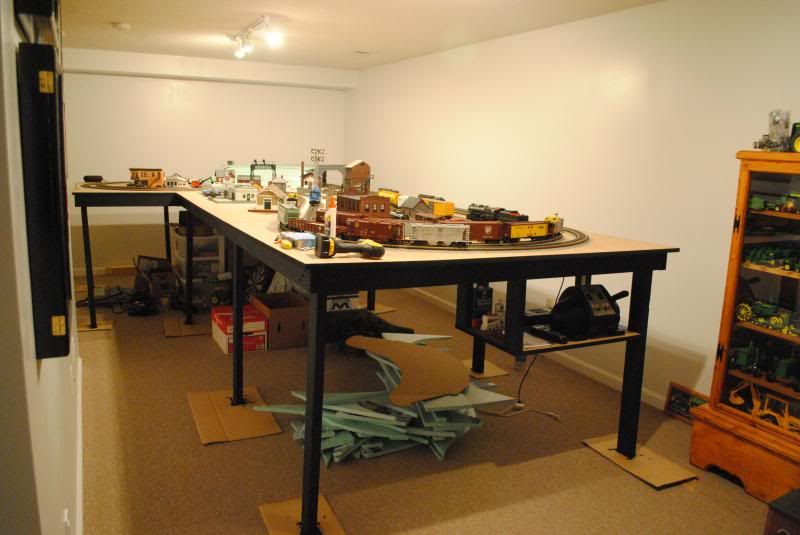
Well I've been married for almost a year now and we just bought our first house. Our new house has a finished room in the basement so I finally get a permanent layout. So it looks like I won't have cabin fever this winter. Unfortunately this layout will not be much larger than my 4x12s. I'm planning a L-shaped layout 12'x 6' and 4'-6" wide. I'll be stuck with the 045 and 036 loops, but I have a pretty cool track plan and am going to try to work in a small 2% grade. And of course, it will be Pennsy themed.

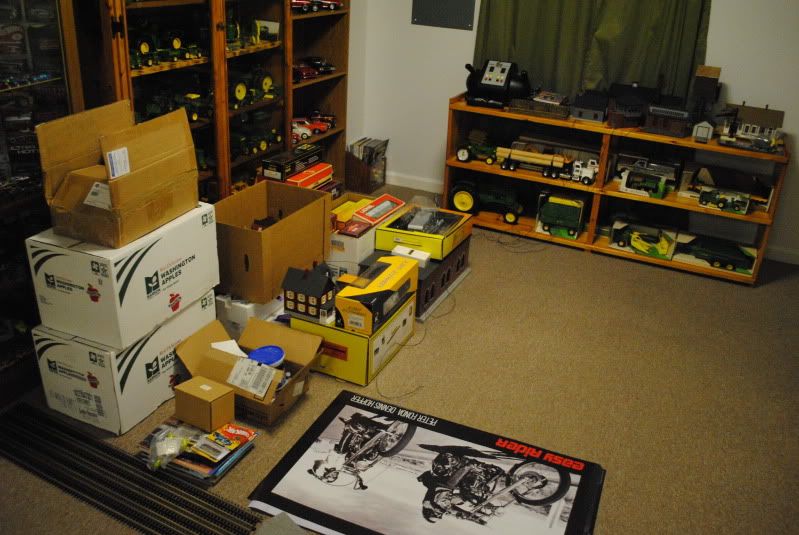
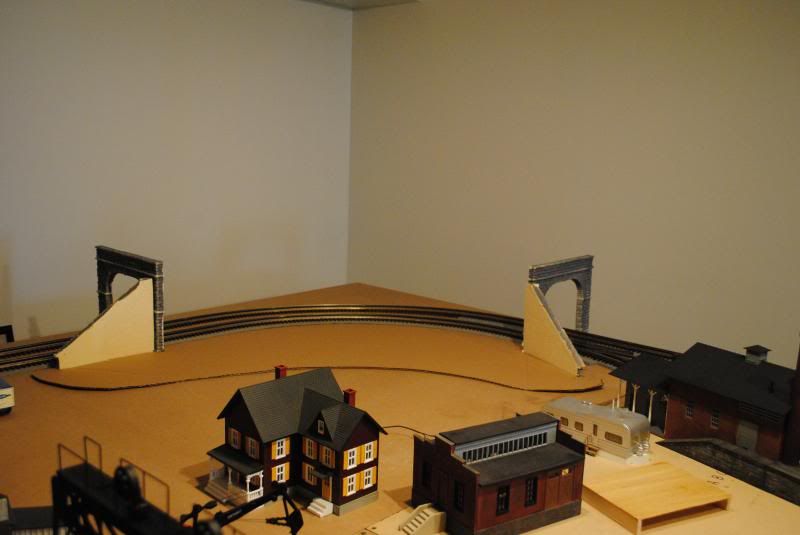
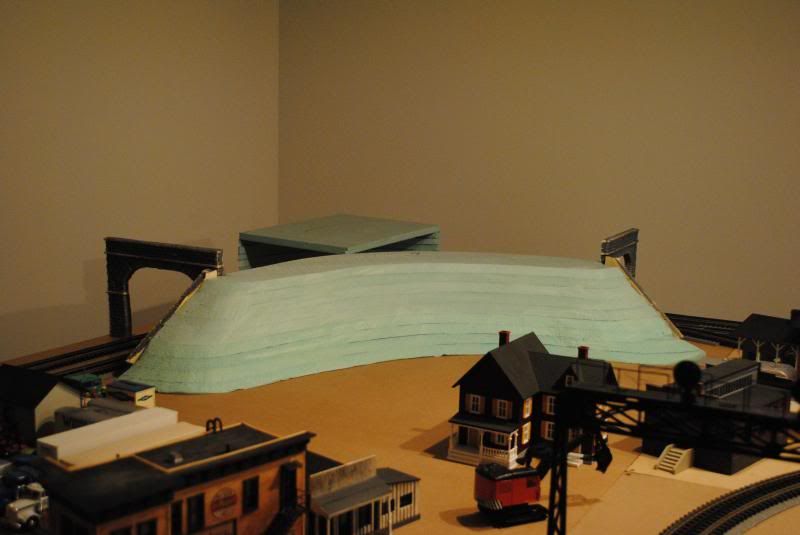
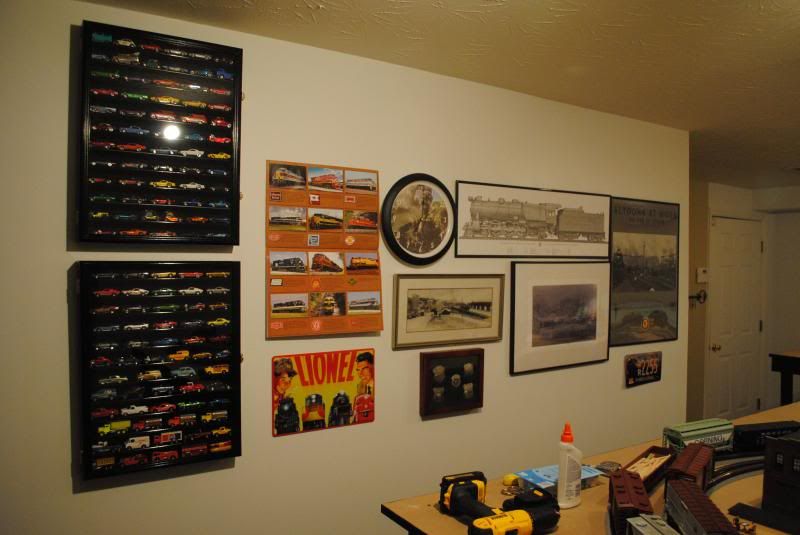
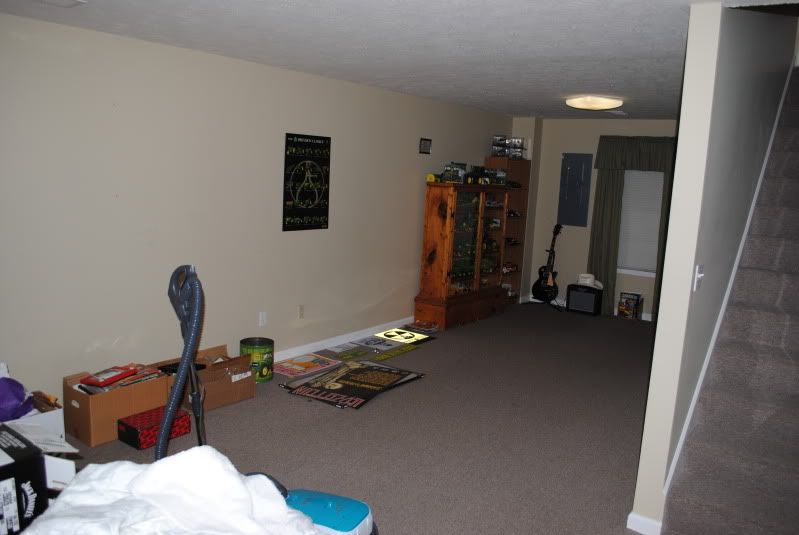
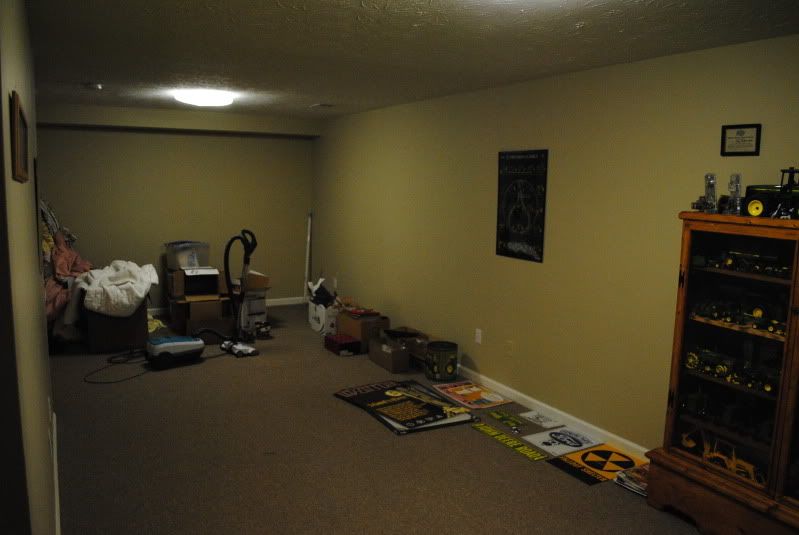
Please excuse the clutter, we're still moving in. The room also needs better lighting.


Last edited by PRRfan
Original Post

Replies sorted oldest to newest

Thought I'd dig up this thread for some updates.

I painted the room white and bought some track lighting, but I haven't installed it yet. Tore down the old layout and brought everything across town. I'll be doing benchwork this week. The new table will be an L-shape; 12'x 5'-6" with a 4'x 5'-6" leg. Also, I think I will go with a 42" table height.


Have you thought about doing the layout around the room? Making it only 10-16" wide and some places wider to accommodate scenes. That way you can have large radius turns to run some large engines you may want in the future. Instead of a duck under you could hinge a bridge or two. Just a thought if it hasn't crossed your mind yet. I recently took my 30x14 foot layout down and doing a around the room layout so I can have a larger layout with more open space.
I had thought about around the room, but it's just an awkward room I didn't think it would look right. I'm now thinking about making the table 5'-6" wide and running O54 and O45 loops. Here you can kinda see how I want the track. I'm thinking a town on the left, mountain/tunnels in the back corner and engine service/yard on the right.

Well this is probably the slowest progress thread in OGR history!  Life has been too busy with the projects in the garage and a new job.


So with Christmas money I bought some track and my layout is back into swing.  This morning I installed the track lighting I've had for a year and a half.  I'm expanding the table to 6' wide and adding another 4' in length for a total of 16'.  


I went out to the garage and laid out my track plan.  The yard will have a small lead and will also serve as a reverse loop.  The outer loop is O54 with one O63 curve and the inner loop is O45 with one O54 curve.  Two pairs of #5 switches will connect the loops while the rest of the switches are O54.  


Also, I pre-ordered a MTH Premiere PRR K4 that I'm really excited about.  I love steam more than diesels, but now I finally can afford a steamer!


Originally Posted by Santa Fe VA:

Layout is really looking good now.  Thanks for the updated pics.

Are you still planning on building a mountain?

Yeah, I'm still planning a mountain and tunnel in the back corner.  I'm planning to use Scenic Express's Pennsy portals and walls.  I'll probably build the mountain out of foam and form it with a rasp like my last one.  Instead of trees, I'd like to cover it with clump foliage to give a fuller look.


Finally have some time to start a mountain.  First I positioned my portals where my equipment had clearance, then cut out a cardboard template for the base-shape I wanted.

Then traced it out on foam and cut...

And cut the next layers similar, but moving the contour lines back to start a grade.

I also have been trying to de-clutter the train room and organize. 

I've been trying to organize my wiring - a lot harder than I ever thought.

Originally Posted by Passenger Train Collector:

I enjoyed your previous layout and your new one is coming along. Keep us posted with photos of your progress.


Has your Bride taken an interest in your new layout?

She's taken a slight interest, as much as any woman in her mid 20's would, LOL.  Her number one thing is a Walthers movie theatre in our downtown - I told her to hope for a re-release from Atlas.  She also has been on me to paint the benchwork and put up some skirting.  


Speaking of skirting, anyone have suggestions?  

Originally Posted by hrspla:

Looks good. I want to know about that beautiful fox body you have. Other than trains mustangs are my passion. I have a built 95 gt vert pushing 422 wrhp and a 04 gt daily driver.

That was my '93 Reef Blue LX.  GT40Ps, Trick Flow cam + full bolt-ons, SN95 5-lug, 4-wheel disc, and some suspension goodies.  It was stock when I bought and needed a lot of TLC.  After four years of building and replacing parts - I got burned out.

She's been replaced with a '14 GT with GT Track Pack and Recaro seats.  Hasn't moved since October with all this bad weather.  

Last edited by PRRfan

Can you please tell me what you did to finish the mountain after you filed it with the rasp? I also am building a new layout and have seen so many ideas on Youtube, but none with the foam board. Every thing I see is with chicken wire, and plaster sheets.

Any help is GOOD Help.

starting over at 56

Brian

That one was my first six years ago, so I hope my new one turns out better.


After I had it rasped it to the shape I wanted, I then painted the foam with a latex paint that has a soil color.  Be sure to use latex paint because it will not melt foam.  While the paint was still wet, I sprinkled on some Woodland Scenics green ground foam in a shaker container.  When the paint dried, the "grass" adhered to the hill pretty well.  


Here's some old pics I found:

I had first painted it with this brown, but it looked way too dark.  I chose a lighter, sandier color.  

PRRFan: You asked about layout skirting; I'm in a similar progress point on my new layout which is 48" high. I managed to find some dark blue denim fabric on sale at a local fabric/drapery store. The fabric was 56" wide, so I lucked out. I had a saleslady who does sewing on the side stitch a hem on both sides of the fabric and she inserted drapery weights in the lower edge that makes the fabric hang taught. It hides the framework nicely and the dark color makes it fade away and draw your eye to the layout.

I stapled the top edge to the layout and will eventually add a wood trim piece over that.


Thanks so much for the pictures and the info. It just makes more sense to build the mountains of the layout and then carry it into place. It will be so much lighter this way also. We are planning more of a Rock Face for our mountains, so I have been using several molds for a variety of different rocks and boulders. Now I am going to put the dye right into the plaster mix and save a step in putting the base coat on the rocks. I am going to use several different colors to mix them up a bit. Both my wife and I are shorter than usual, so we are thinking about 30-32 inches from the floor to the base of the table before the plywood and homosote boards. We want to be able to see the complete layout while sitting at the controls.


I did some shaping on the base of the mountain.

I blacked-out the inside of the tunnel.  I'll also do the floor and ceiling when completed.

Today I pained the benchwork flat black.  Looks MUCH better in person - and will look a lot better with black skirting.  Please excuse the mess!

And have been working on this wall - planning to put up some Glenn Snyder shelves on the upper right spot.


Last edited by PRRfan

Looking good!  Here's what I used for my layout skirt.  I ordered them in sections so I can pull them apart to get to storage on the underside.  


INNOVATIVE SYSTEMS

www.innovative-sys.com


I found it better to call and order over the phone.  Super easy and super CHEAP!  I did my entire layout for under $200 and they are fast to ship.  


These ones are Poly Premier table skirt with velcro in hunter green


Just another idea.


IMG_1124

IMG_1125

IMG_1127

IMG_0996

IMG_0997

Attachments

Images (5)
  • IMG_1124
  • IMG_1125
  • IMG_1127
  • IMG_0996
  • IMG_0997
Post

OGR Publishing, Inc., 1310 Eastside Centre Ct, Ste 6, Mountain Home, AR 72653
800-980-OGRR (6477)
www.ogaugerr.com

×
×
×
×
Link copied to your clipboard.
×
×