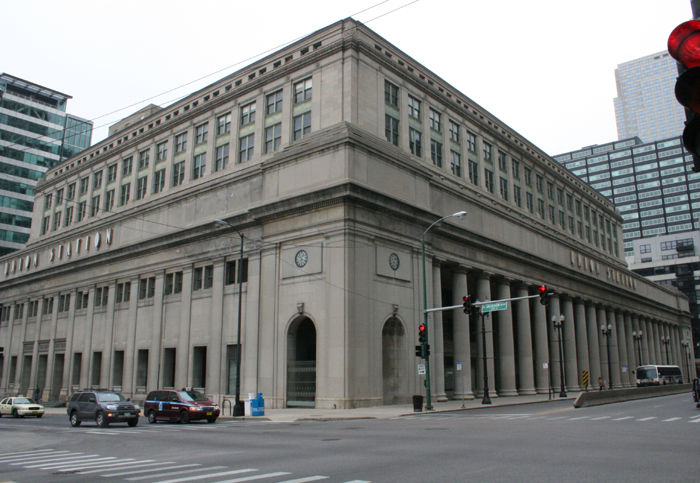
I am way behind in updates, sorry for that but here we go. I am finally getting back to working on the Union Station. I pushed through the summer months getting trackwork and other layout work completed. Now I need to push to get this station finished.
Ill start with two pictures from the 100th Anniversary of the Union Station which was October 14th. The Blackhawk chapter NRHS put on a dinner to commemorate the event. It was a great time. The dinner replicated the menu from 1912 which was a very nice touch. Bill Molony, the president of the Blackhawk NRHS had a few nice displays up in the station, including a GM&O and Michigan Central display. He also displayed his Rock Island Aero train and a GM&O Abraham Lincoln passenger train. Sorry I did not take a picture of those to share.
The ceremony included a slide show at the end showing the history. Here is a shot of my (incredible) wife and I standing out front. George Bush spoke from the balcony you see behind us when he ran for election in 2000.

Here is a shot from inside what is now the grand ballroom. This was the waiting room for passengers in 1912. Gorgeous.

I completed my first pour of the roadway a few weeks ago. I think it turned out amazing. This is only my first attempt so I will make improvements on my next try. I used Durhams water putty and added some black acrylic paint to color. I had to weigh it down to the table because it started to bow when it dried. Remember my roads are going to be removable so I can make changes depending on what era my layout will be modeling. The road seen below is how it appears today.

The trees are here just to get an idea of the finished project. I will use completely different trees in the future. I think the road looks great. I am still working on the sidewalk.

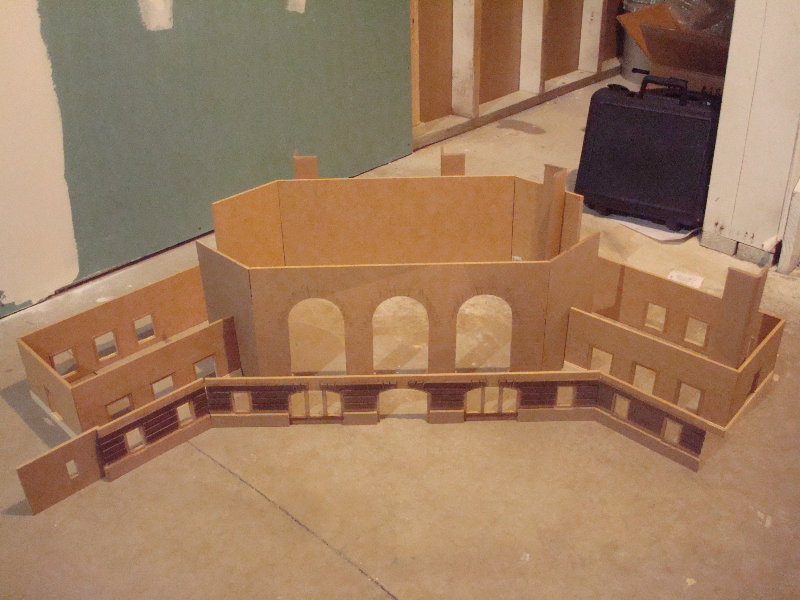
Another poor lighting shot but here is another view. The top level of the station is off to the side while I work on the platform. Thats my uncles MTH PS1 daylight in the background.

Notice the imperfections on the road. I made a few mistakes that I will correct. One is to make sure before it dries that the surface is clear of any imperfections that you dont want. I made a mistake of thinking I could just sand problem areas. Durhams is so hard that this is not the case. The road appears to have an icy look to it below. This is because I have done nothing to the surface after it dried, other than my attempt at sanding. With dullcoat and some weathering powders it should look pretty good. Durham's is very hard and I am very happy with it. Now my nephews can push cars around and I dont have to worry about the road flaking or being damaged.
LESSONS LEARNED ON ROADS: A little color goes a LONG way. Durham's dries fast so you have to work fast. Make sure you flatten or level out the surface because it is almost impossible to fix imperfections later.

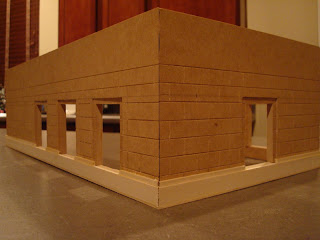
Here is my work that I started on the platform as of last night. This is 3.5" by 8.5" brick scribed by hand. Very tedious but I could not find a good product to purchase (without spending a fortune) to achieve the effect I wanted. I have a long way to go but my goal is to get the entire platform scribed by the end of Thanksgiving weekend.

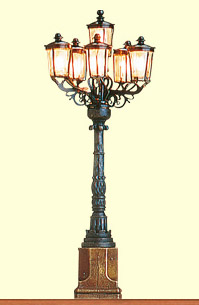
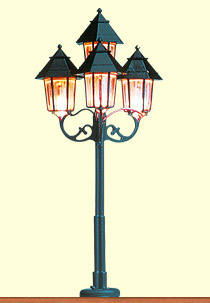
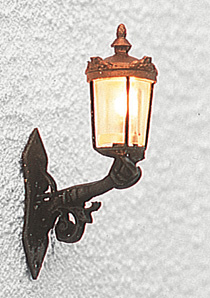
I still have not made a decision on the lights, but thank you all for the suggestions.


