A picture of "High Bridge" over the canal and inter modal yard.....
Alan
|


|
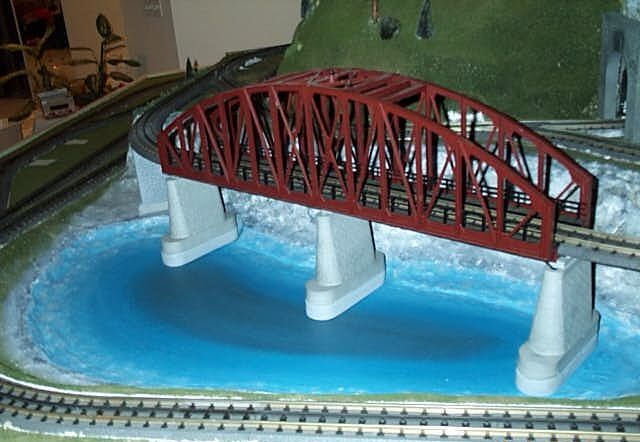
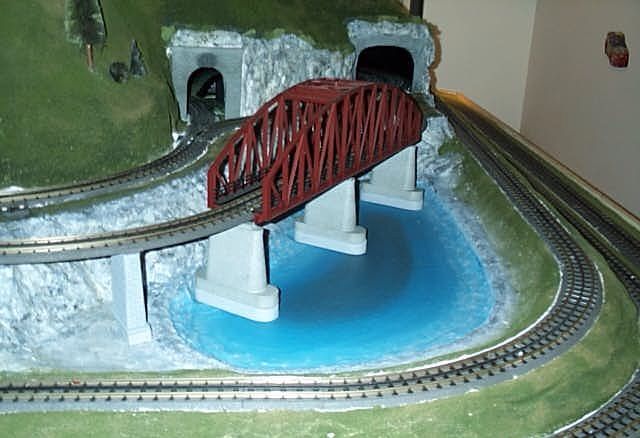
Envirotex lite. Lake is about 42"x21" with fish. Used about 4 of the (32oz) kits, would like to make it a little deaper w/maybe 2 more kits. I really liked the product.
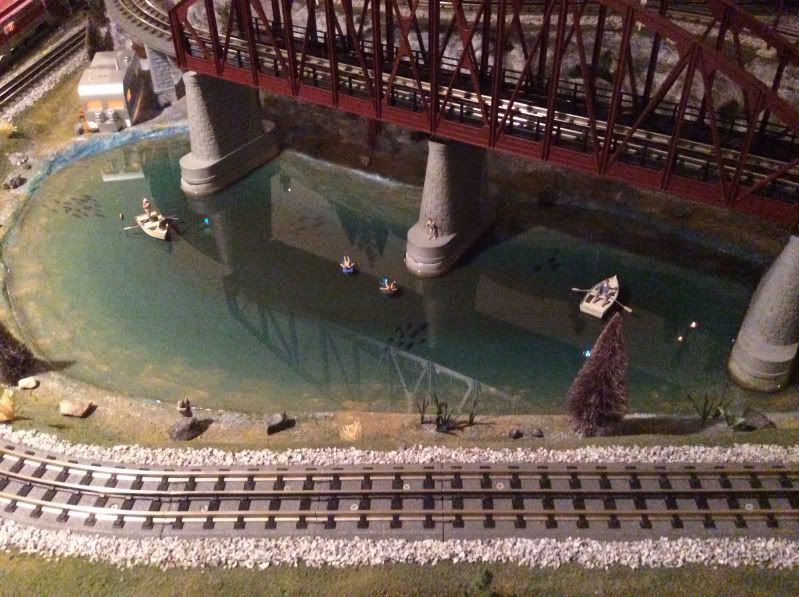
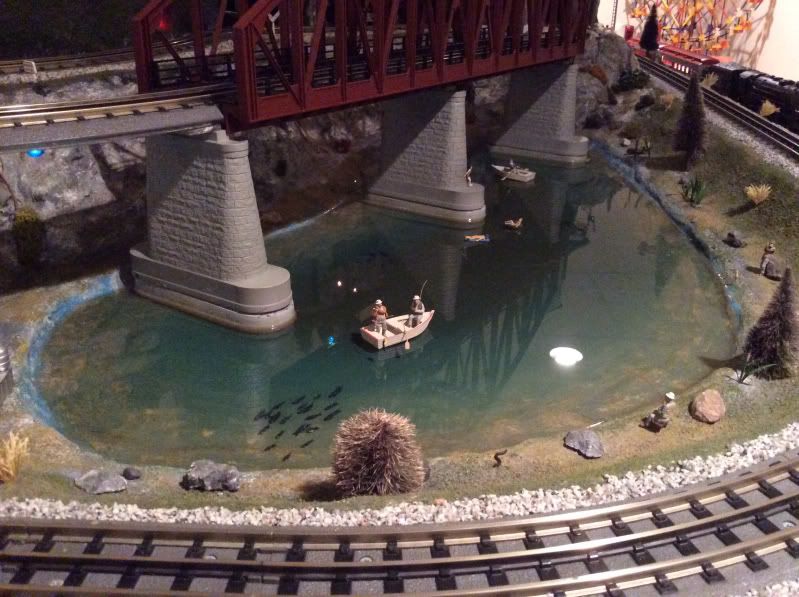
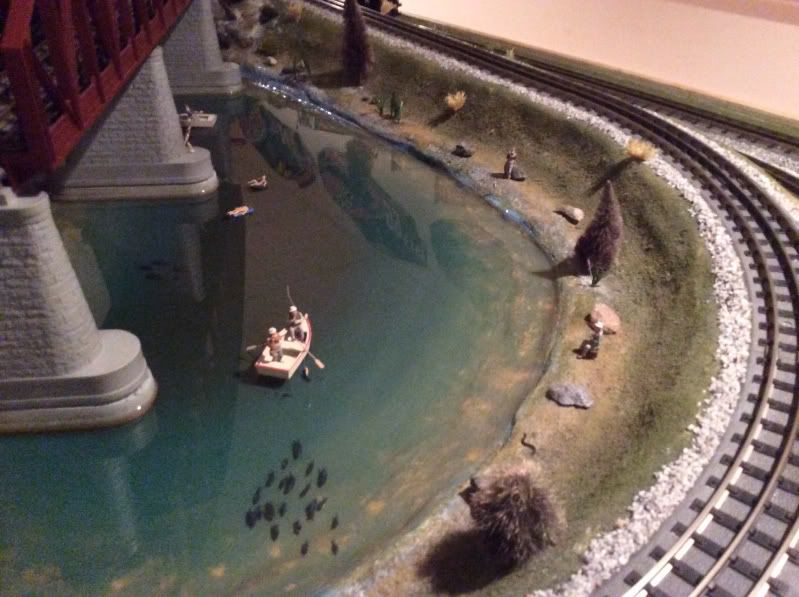
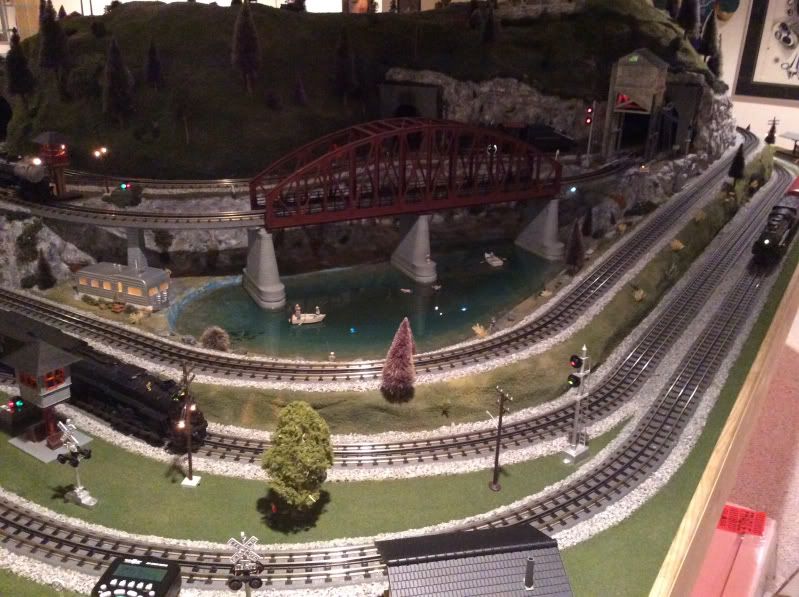
litegide24....very nicely done and beautiful color in the water. Can you tell us more about the process??
Alan
We thought about several ways to model a waterfall under the Hellgate Brigge and settled on a photo I took of nearby Lookinglass Falls. I coated the photo with clear artist medium and simply glued it to backdrop flanked by rocks from rock molds. I used Modge Podge with white paint in the gorge below and another smaller photo for the falls at the bottom.
We also used the medium and a photo blending white paint for the pool above the Third falls under the arch bridge.
Looking closely you should be able to see the boater being warned by the sunbather...
Sam...a wonderful idea. It turned out beautiful. I had not thought about a photo...a lot of nice detail within the water!!
Thanks,
Alan
Alan,
I've admired this urban harbor scene of yours ever since you first posted photos of it. This particular view is simply amazing. Thank you for posting it and starting this great thread.
-Duncan
Thank you so much Duncan...I am glad you enjoy it!!
Alan
I made a lift-off scenery section for our modular club layout. It is constructed of pink foam insulation. Paint is latex an acrylic, the water "texture" was done with spackling compund, with Woodland Scenics "Real Water" to finish it off.
litegide24....very nicely done and beautiful color in the water. Can you tell us more about the process??
Alan
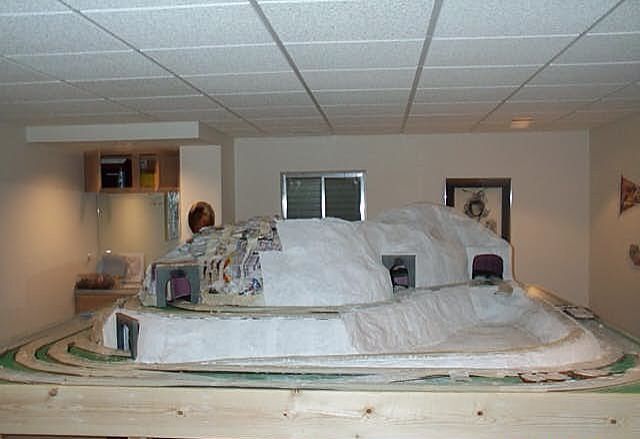
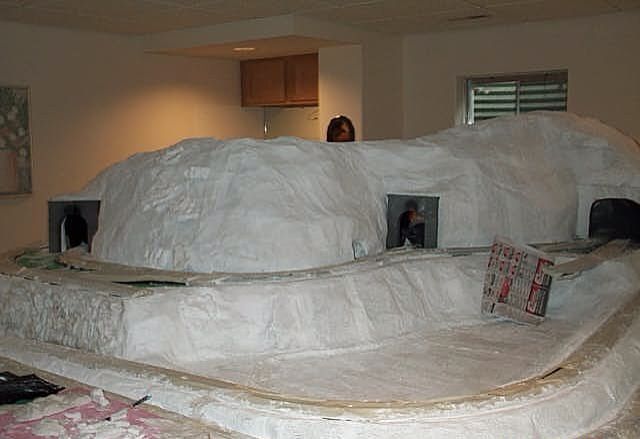
Sure, first I created a plaster lake bed, I removed the 1/2" homosote so the bottom of the lake was actually painted on the layout's plywood base, additionally I built it up around the perimeter with some additional material to give it some more depth.
Once the plaster was complete I started with blue and then mixed black paint in the center to create the look of deeper water, then I blended to a dark blue then lighter blue then some grey and white towards the shoreline to blend with rocky terrain.
i used the 32 oz kits of envirotex lite from the local craft store, wasn't sure how much I would need but the idea was to fill the lake bed until the elevation of envirotex was close to the shore surface. I also wanted to be able to fill the lake with envirotex until the wooden bridge piers supports were flush with the water surface. The MTH bridge has plastic piers which I didn't want to be permanently fixed into the water.
My mom made some very realistic fish that I positioned in school formations. After four trips to craft store I realized this was not going to be a cheap $ lake. IMO it turned out fantastic and is a focal point of the layout. The good part about the envirotex installation is that it gets applied in layers so will eventually add the last two layers (costs about $35 for a 32 oz two part mix). For a lake of this size each kit is about 1/4" of envirotex.
I will include some pictures before I filled it with water ![]() .
.

litegide24...thanks so much for the step by step process above. It certainly is a show stopper!
Alan
There is some really great work here everyone....just beautiful.
Here is a absolutely stunning use of water / scene on Patrick H's layout...
Alan

Well....looks like interest in this thread has run its course so I will post one more and then bid....Bon Voyage...![]()
Alan
I was really inspired by this thread and especially the shower glass water effect. Planning to use it on a harbor layout which will incorporate a dock scene where operating accessories will be used to load barges tied up alongside.
I'm assuming since it's shower glass that 8' is about the longest length this glass can be found in?
Thanks again,
Steve
Steve...sounds and looks as if you have a great layout in the making! To answer your question, I believe that you may be correct. The brand of glass I purchased was only available in 7 foot lengths but it seems someone on here mentioned that they bought an 8 footer. Probably can find out on the internet or your local glass shop...
Alan
TURTLE2....what a beautiful scene and great idea to built it off site and then install it when complete. Nicely done!!
Alan
This is certainly one of the best picture threads of the year by far. Amazing reference material. Keep it coming guys!
Now, I'm wondering if anyone out there has ever incorporated real water into their layout ![]()
Not sure if anybody has ever did anything with lighting to highlight the water...
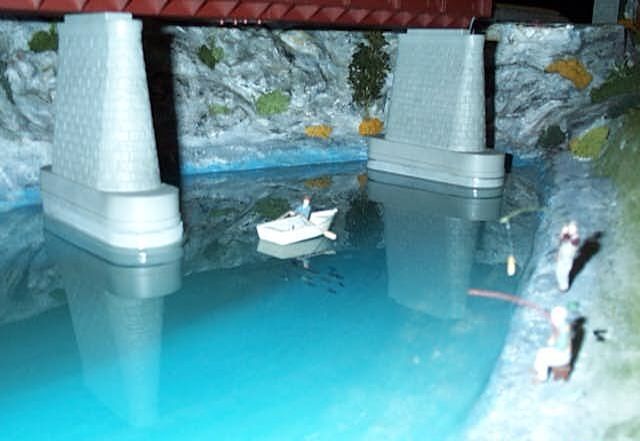
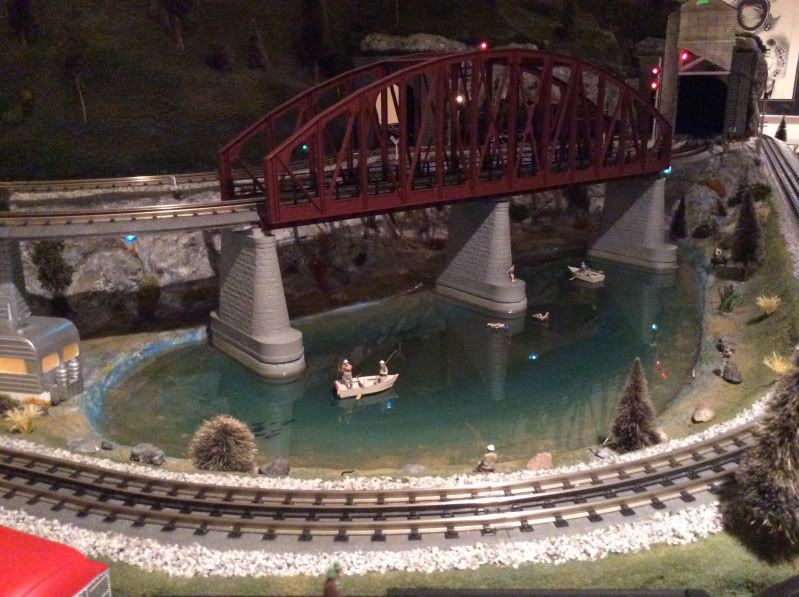
Our layout is primarily mountains, terrain and track, there's not a bunch of room for city lights. Although wanted accent lighting on the water. I wanted a clean blue lake so I thought about how to make the water glow. The idea of a 42x21 lake display a subtle blue glow. Anyway, that was the look I was after when I installed (4) low profile blue lights tucked up in each of 4 bridge bays over the water. i wanted to bring the water to life at night. The camera reflection on the glass shows these but unless you're a really short observer you cannot see these lights shining down under the track.
in this picture you can see the reflection and one of the lamps. Anyway, it works! With the room lights dimmed the blue reflective lense over the lamps (set to 10v) gives a nice indirect blue glow on the water below.
i wasn't sure how to best achieve this but im satisfied with the effect. Originally was going to get some flat blue LED adhesive but saw these low profile blue lamps at radio shack so I just did it. I will try to get a better picture with a DSLR in low light conditions.
i know there are some LED gurus and lighting experts in here, if you have any ideas of how to make the water glow I'd be very interested.
In this picture the 4 blue light reflections are apparent, not so much in person.
This is certainly one of the best picture threads of the year by far. Amazing reference material. Keep it coming guys!
Now, I'm wondering if anyone out there has ever incorporated real water into their layout ![]()
Nick... back on the 5th I posted a lot of photos of real water. I have been using real water in my layouts since 1975. One thing that is really needed to work with real water is patience. Some things you just can not rush into. What you need to also do is to plan out your intentions. One big thing is if you want to have waterfalls in your layout is that you must always work from the bottom up. There also many other considerations that heed to be thought about.
Below is the very first time that I used real water in a layout. The first photo is of the completed water ways and the testing stage with water flowing. There is a pond at the top of the mountain out of view from the photo which runs down from the top right side of of the mountain into the first waterfalls. This empties into the 2nd pond in the upper center of the photo, then it goes into the 2nd waterfalls into the 3rd pond in the middle of the photo. The 3rd pond dumps into the stream behind the girder bridge and then under the girder bridge and then travels on the left side of the track to the front of the layout.
The next photos are of the painted and completed waterways. The waterfalls starts at the top right side of the mountain, down to the front middle part of the mountain and then down between the tracks on the left side to the front of the layout.
In this photo the bottom pond which is in middle left side of the photo to the stream which is in front of the tracks.
Below is one of the last real water waterfalls and lake that I did. This one was for a public display that I did in 2005. The top to the bottom is about 5' in height. This display was the last time that I really worked on it and I had to cut corners due to the lack of help I received. Some members of the fire company wanted the display to be the last and they wanted the display not to open on time for the public as a way to have a excuse not to continue on with the display. Well let me say that I was able to have done in time with the help on my family and a few 18 hour days. So some of the minor detail work did not get done. The display was 20' x 44' and built from scratch in 4 weeks time.
'
litegide24,
Did you tint your Envirotex prior to pouring?
Litegide24....I really like your special lighting and bet it makes the water look really nice at night. I hope you post some pictures of the night effect.
Paul...some really great shots there and I like how you have used real water...
Alan
Access to this requires an OGR Forum Supporting Membership
