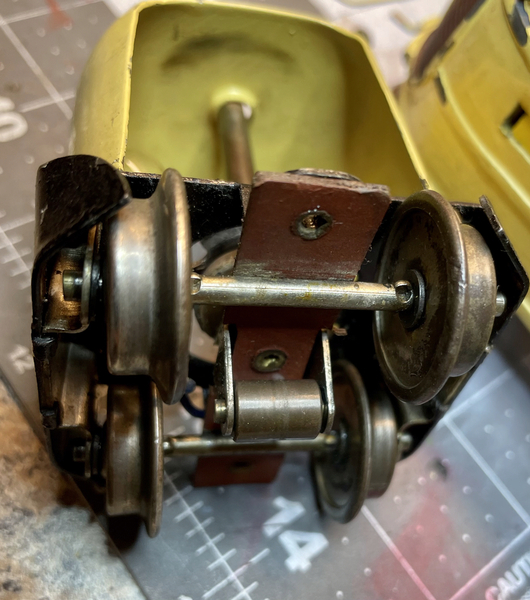
I did my first full train repaint and restoration over the past year. I thought it might be interesting to forum members. When I received the train it basically ran but had been repainted already very poorly so I decided to strip it and repaint and rebuild the entire train. The original engine wheels had been replaced with self made wheels which seemed to operate okay so I left them as they were. I just cleaned up the motor, repaired the whistle and rebuilt all the vestibules and trucks. The last two cars are original but the engine has replacement red lights in the front and replacement side window plastic. The windshield and headlight lens are original I believe.
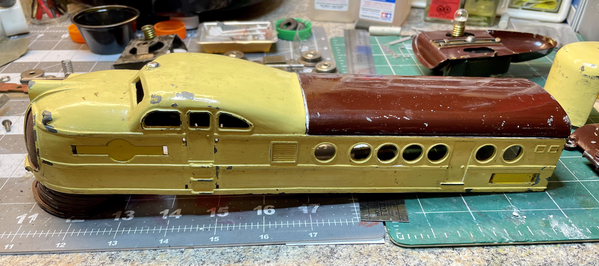
Here's how it looked when I purchased it. I have already removed the numbers and UP emblems.
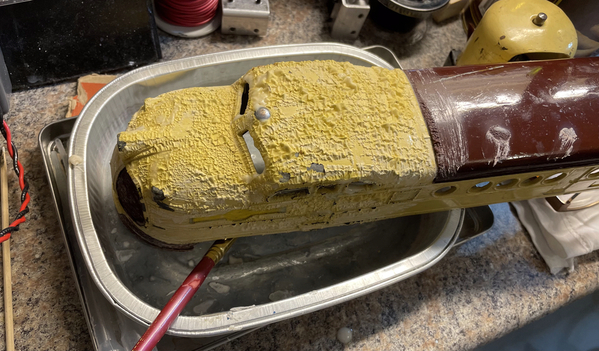
I stripped everything with an excellent product, Hi Speed Ready strip, no odor and works well. Great for Matchbox car restorations!
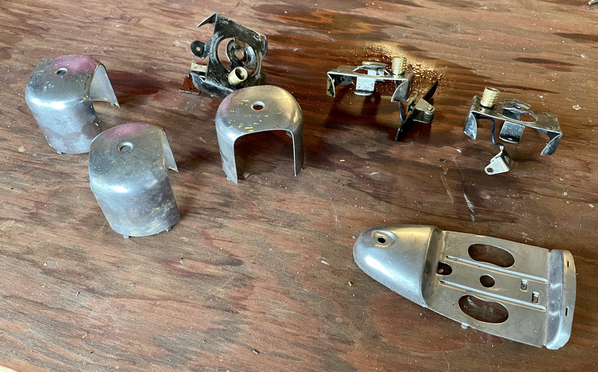
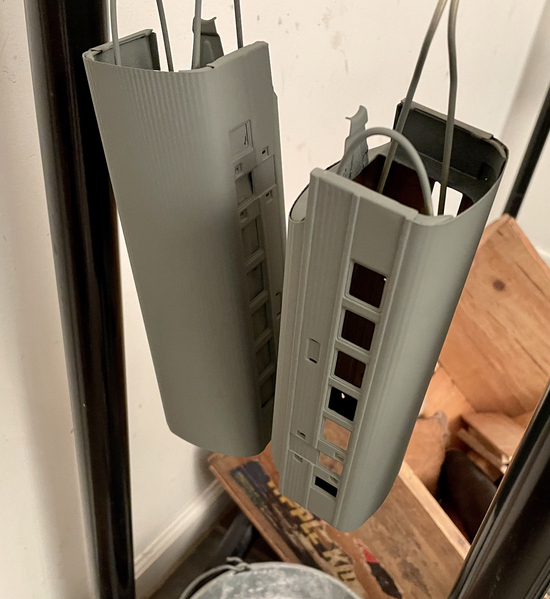
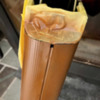
Fortunately I did not have to remove the wire and light bulb socket on the vestibules. The wire was still in good shape.
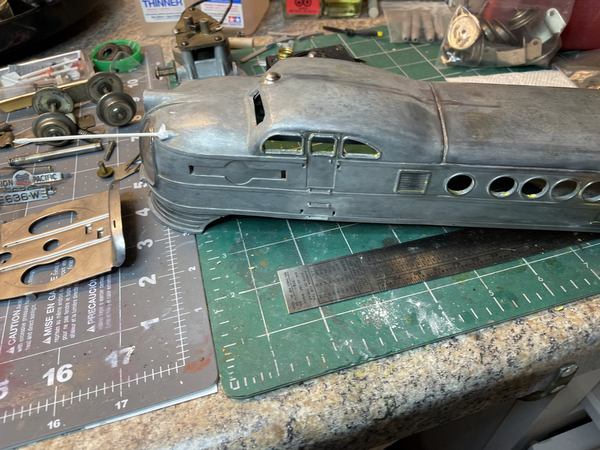
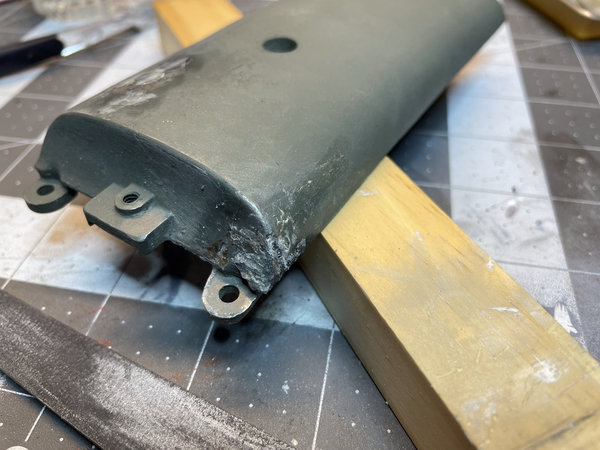
I had to do a little body work on the left red marker light housing.
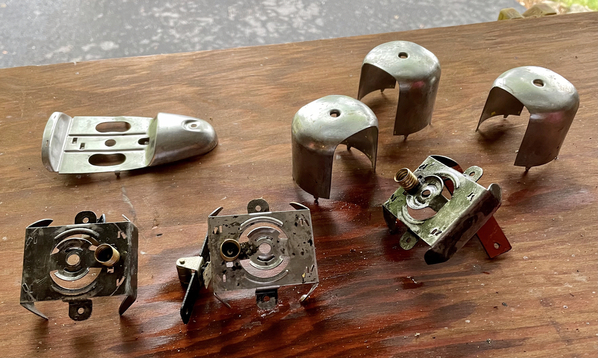
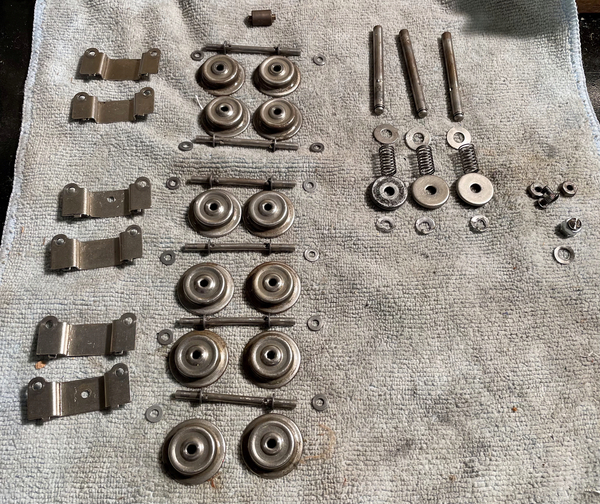
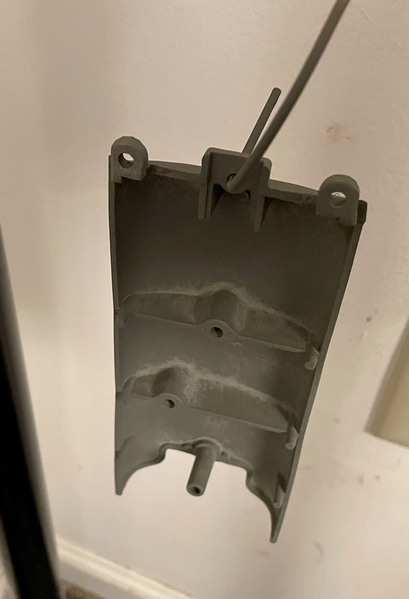
The trucks were the most work, lots of pieces but original and complete. Rebuilding took time because you have to instal the vestibule body first then the truck side supports due to how everything is held together by twisting metal tabs. If you have worked with pre war stuff you know the bending and twisting of the tabs can result in them breaking off. I bought some very thin two sided tape and used it to help hold the wheel axle sides to the inside of the truck frame on the ones where the tabs had broken.
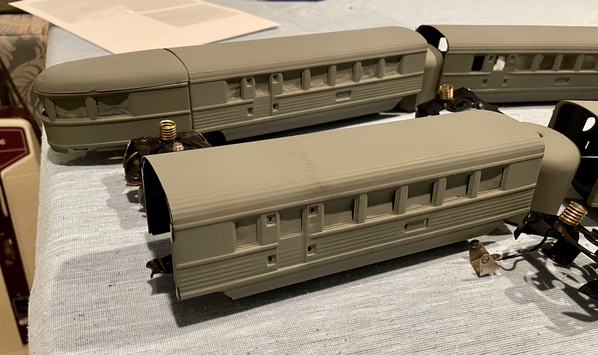
I primed everything before final coats.
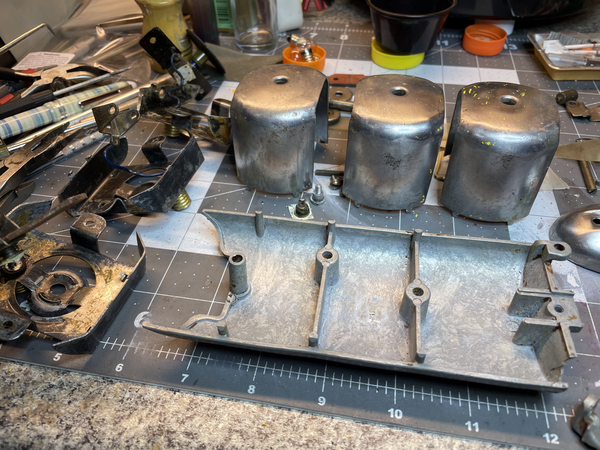
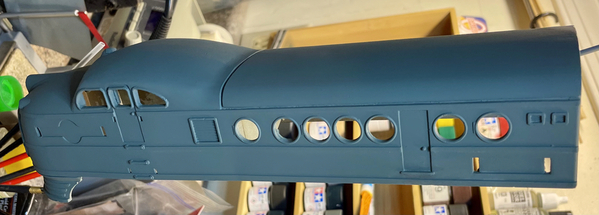
The engine only looks blue, it's the same primer. I was pleasantly surprised by how good the castings were. There were a few dents in some of the passenger cars which I left alone.
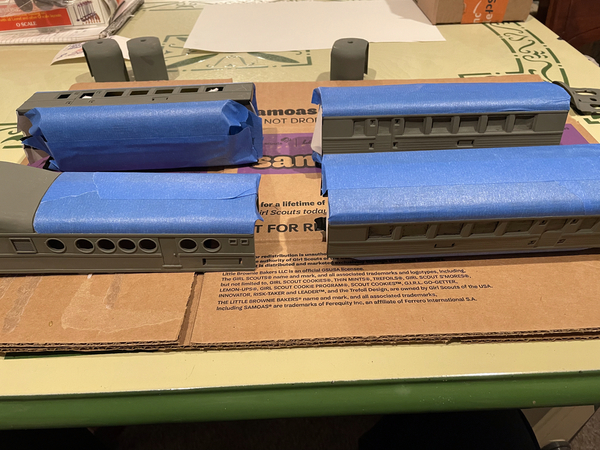
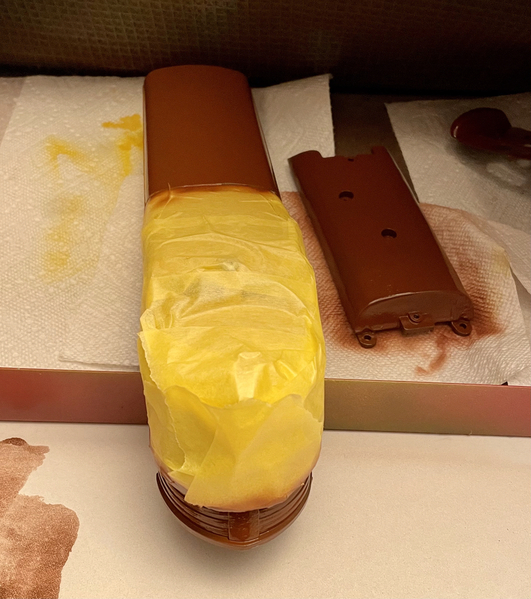
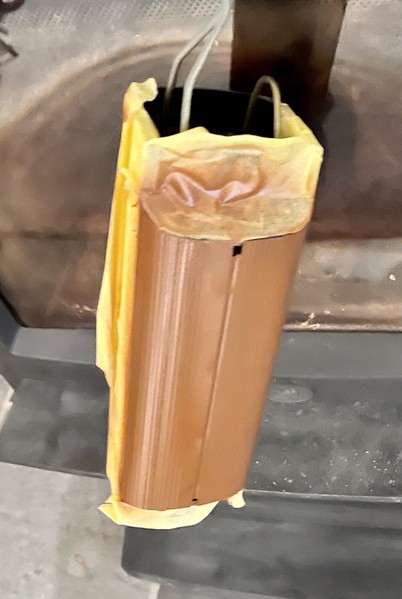
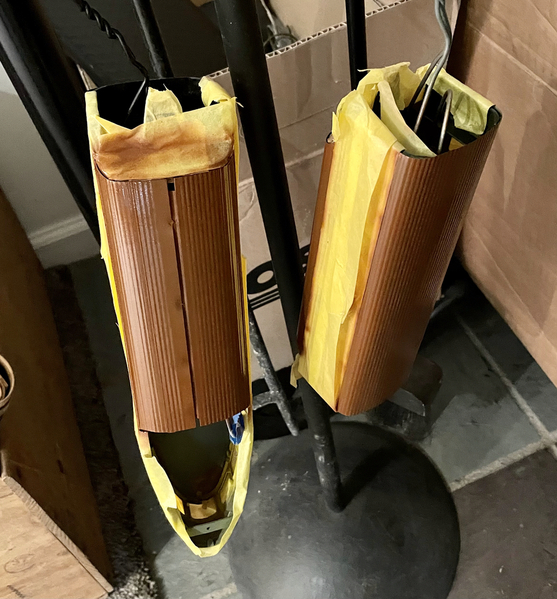
Masking was a big job before painting due to the two tone paint scheme, plus black for the ends of the cars. Initially I just used 3M painters tape.
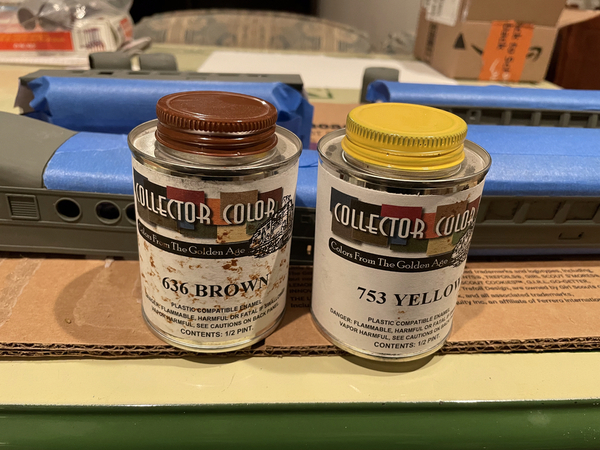
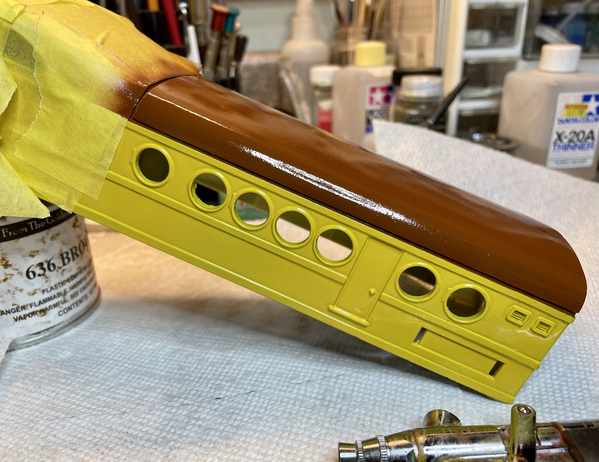
I used the Collector Color from Hennings below. It's enamel but it went thru the air brush well and was easy to use. Of course it took at least a week to dry and I was happy to just let it sit. I over diluted the yellow at first so that required two coats. The brown I did about 70% paint and 30% Naptha. Naptha was recommended by Hennings and it worked well.
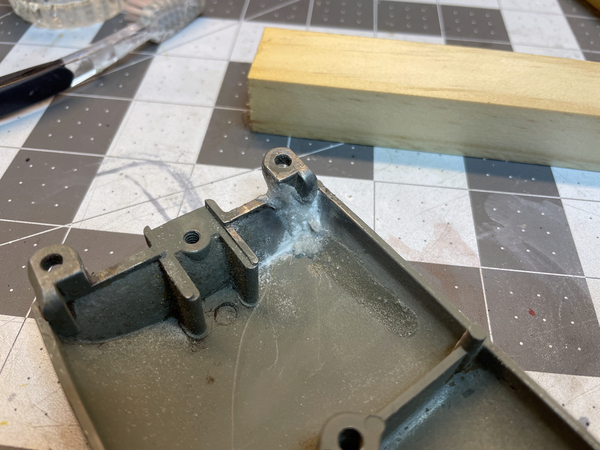
One of the lugs on the engine bottom was broken off and it took me a while to successfully reattach it. I tried super glue with baking soda, which did not work well and finally tried two part epoxy and it worked well on the second attempt.
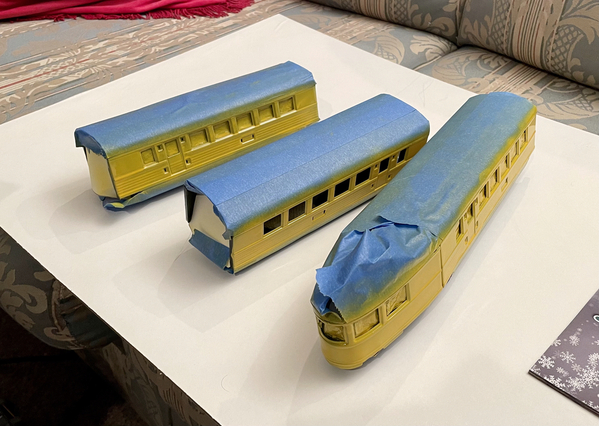
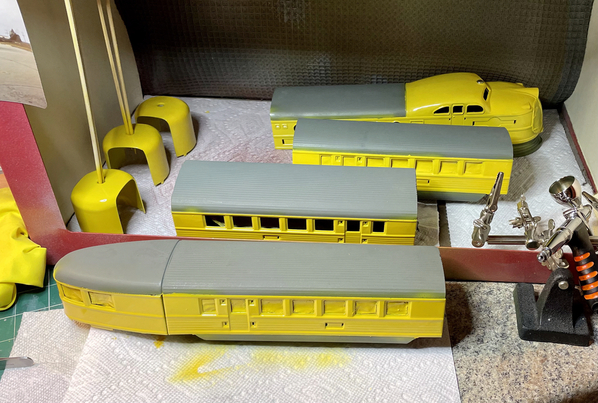
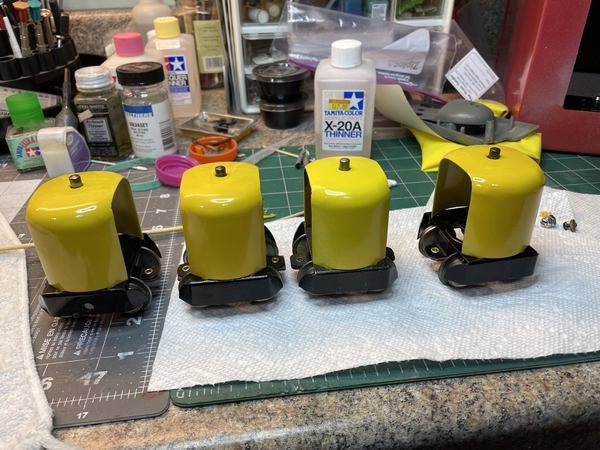
First coat of yellow. I used a pistol grip air brush that I am finally learning to use ok.
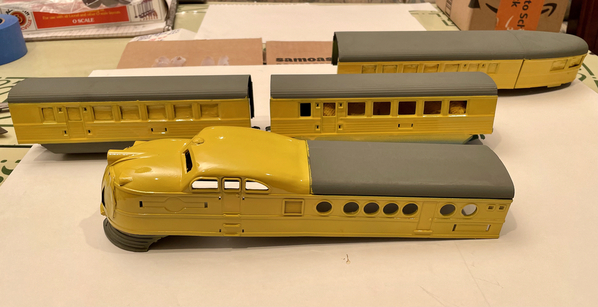
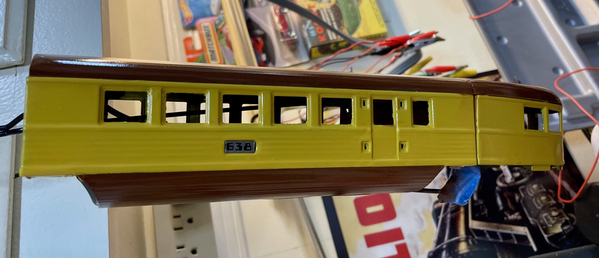
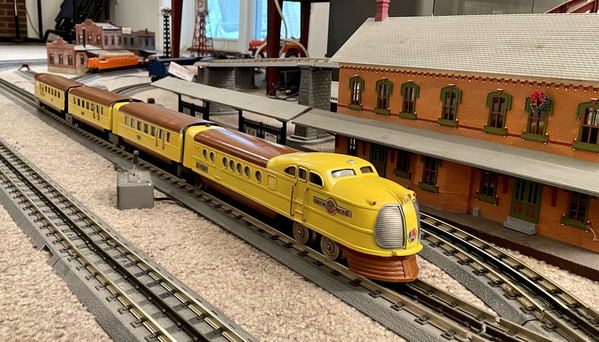
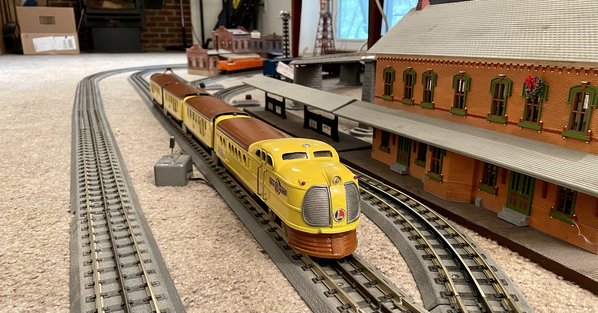
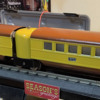
Three of these are mine but the fourth belongs to a friend who has the same set, also repainted. Can you tell which one is different?
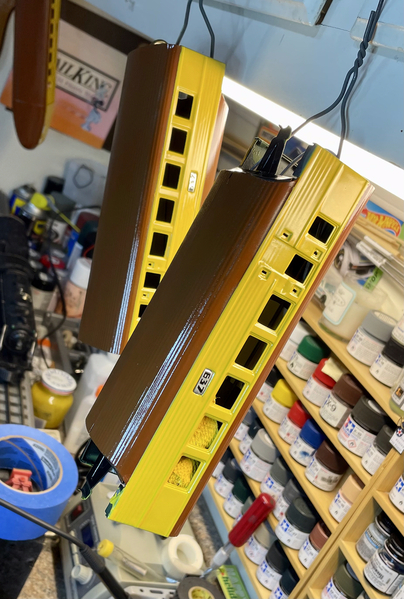
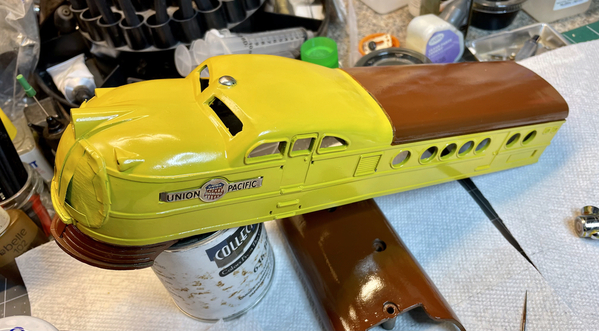
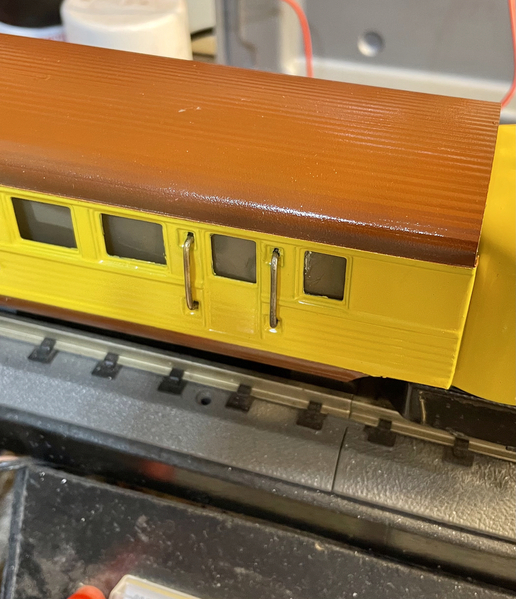
Then the brown, went on well and I am happy with the results. I used FrogTape masking tape and it worked great with no bleed under at all! I recommend it.
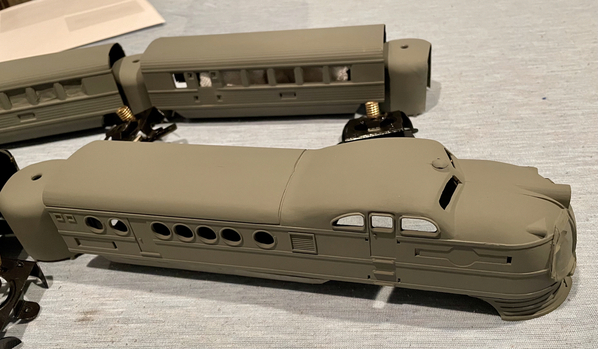
Getting near the end!
I had to make a few grab irons, I bought stock rod from Jeff Kane of The Train Tender. He is great to work with and really seems to know about all the parts he has. I order from him regularly.
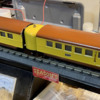
Finished train. I decided to leave the grill unpainted, since they weren't painted on the real trains. After all this was not intended to be a true restoration, just close.
I had to clean and rebuild the whistle and get a relay for it since it was missing. The whistle works great even after 60 years! The pre war whistles are all metal including the box and it is riveted together, so thankfully I did not have to take it apart. I just cleaned the brushes, oiled it and resoldered some wires.
So that's it, was hoping for a video but while engine runs on my test track, it doesn't run well on my CC! Guess I better clean the track.
It took me about a year to complete this due to over thinking and procrastination plus other 'jobs' but I am happy with the result. I forgot to mention that this engine did not have an E unit, so it only runs forward and I left that alone. I'm happy I got the whistle working well.
I hope you enjoyed this, if I can do it, so can you. Make sure you are comfortable with your air brush, it makes all the difference. You will spend more time cleaning the air brush than actually painting, get used to it! If you have any questions I am happy to help.


