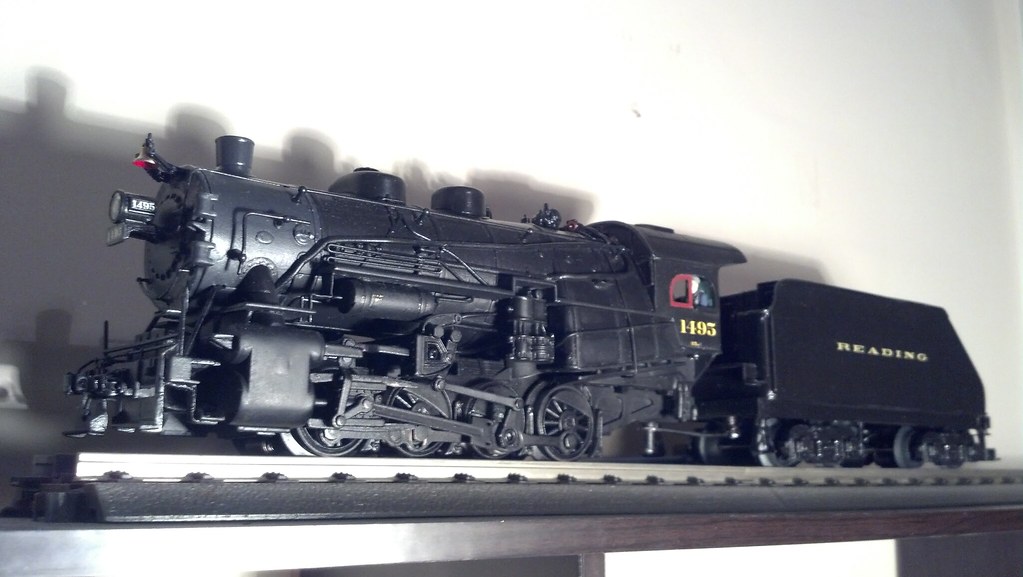
So I picked up a commission to modify 2 engines, and since I'm taking extra care to document the process for the client, I thought I'd share the blow-by-blow here.


Anyway, the client saw my Lionel 0-8-0 to Reading E5sa conversion, and wanted something similar on two MTH USRA 0-8-0s.  They weren't looking for quite as involved a replica, and the way the boiler is cast on the MTH version would have made the modifications to the running boards quite complicated.  What they really wanted was for the engine to have the Reading "look," not a passable E-5.  We talked it over, and decided that there were three key elements to the Reading aesthetic: 


  • Wooten Firebox
  • arched cab windows
  • above center headlight placement


So we agreed on those modifications, and whatever changes were incidental to that (adding a front bell, etc.)  Got both engines in the mail (about a week apart, thanks Post Office for sending one to Maryland for a few days!) and got to work.
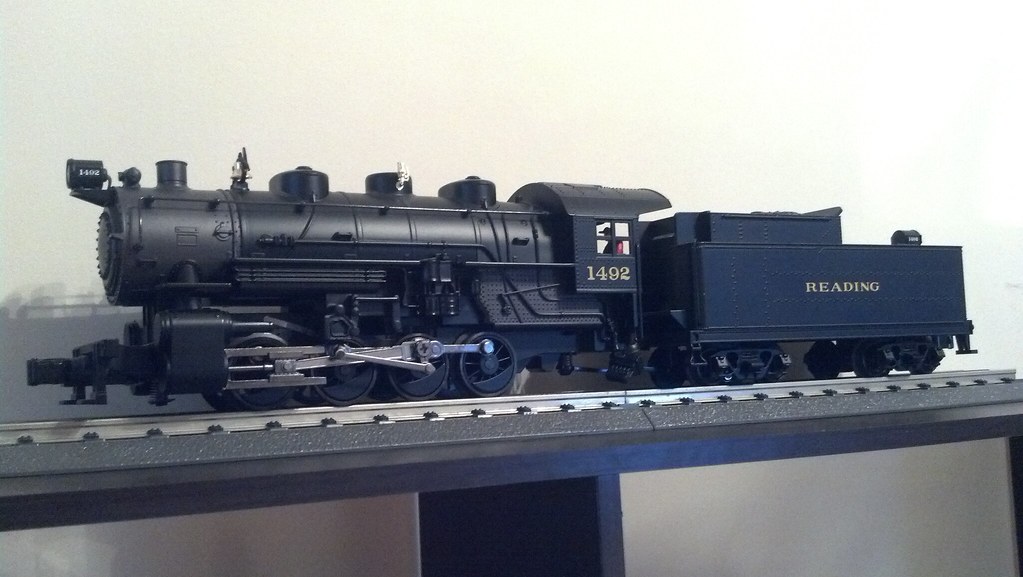
 

Both engines are the Reading version, so there won't be anything to do on the tenders except change the engine numbers.
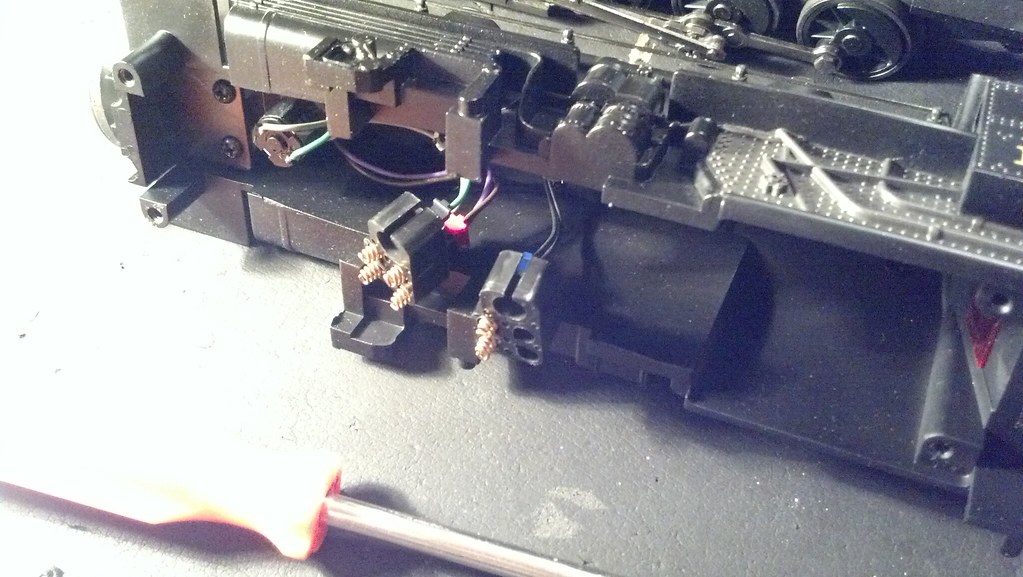
 

took this picture just so I can remember how these contacts are oriented when I put it back together.  (I actually had a couple of head scratchers putting my Lionel 0-8-0 back together, because it had been over 6 months since I took it apart!)
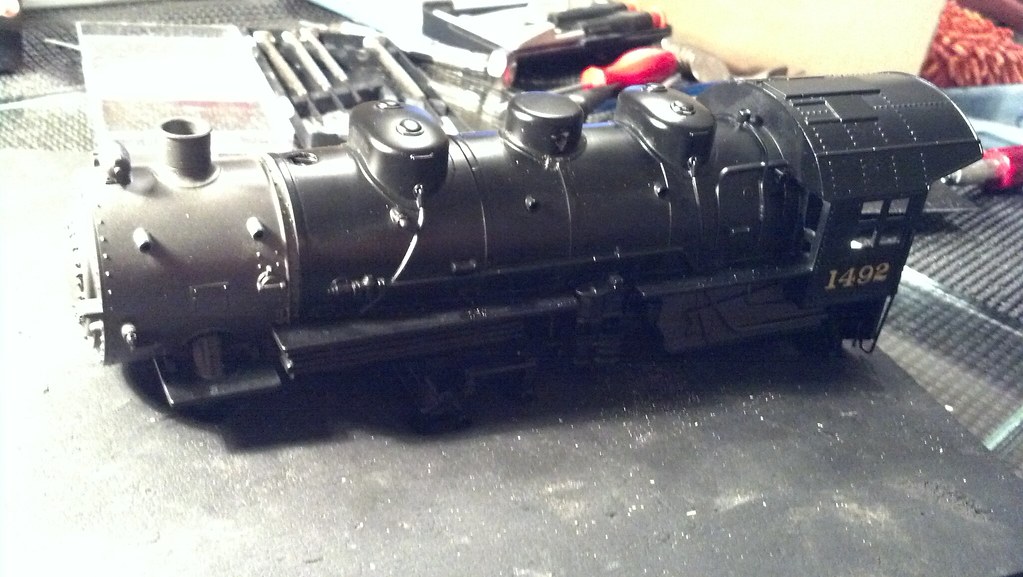
 

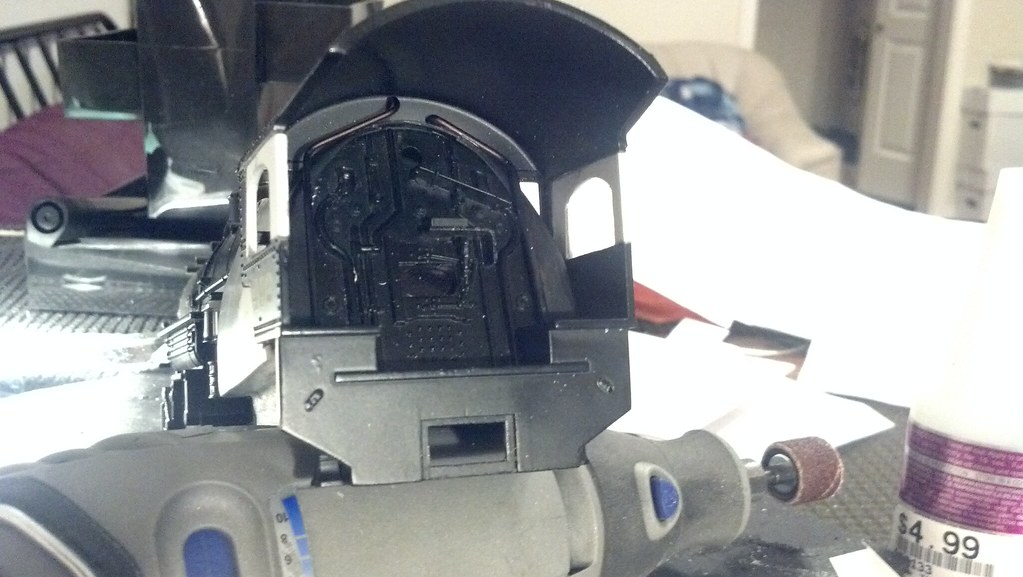
Shell off, handrails off, whistle removed (It occurred to me later that relocating the whistle wasn't exactly part of the job, but it would have bothered me.)
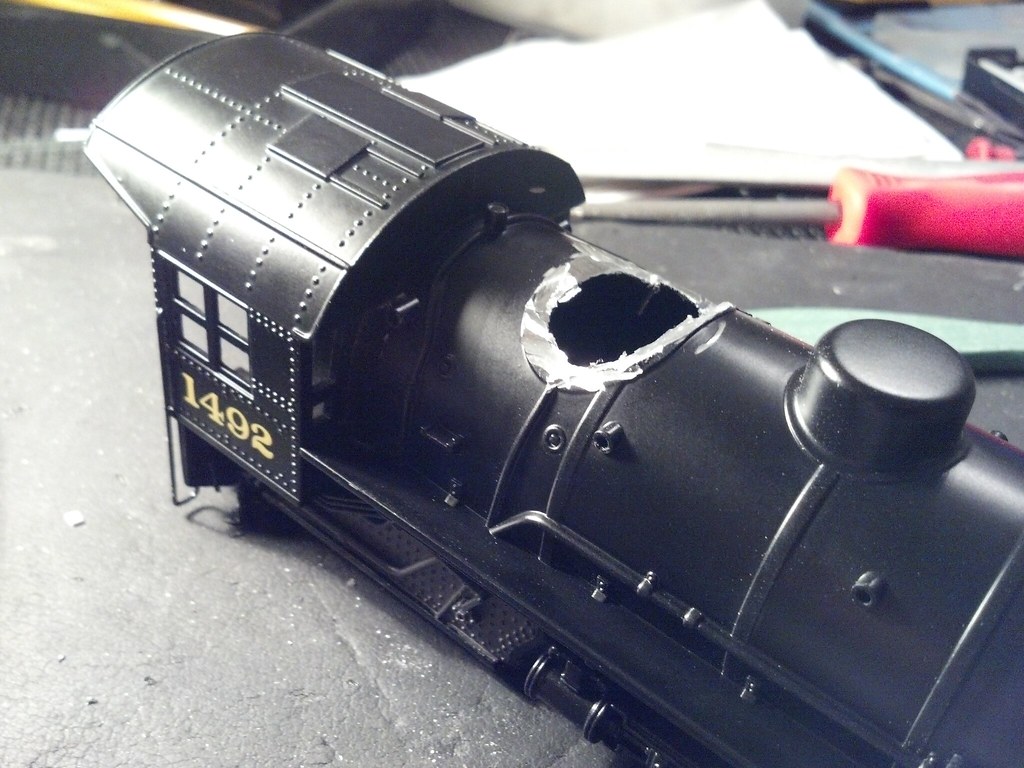
 

Now the scary stuff!  Taking a dremel to a perfectly good locomotive.  (I'm not scared.)


[img]http://farm9.staticflickr.com/...462_7080c569d7_b.jpg[/img]

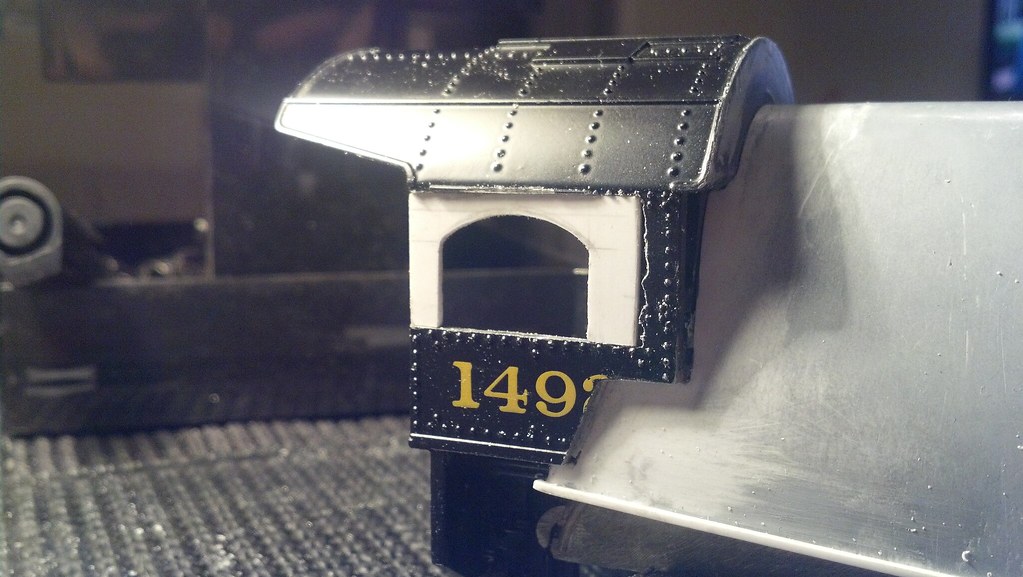
cut off the lump that I suppose was supposed to approximate a steam generator.  Also notched out the cab, and started to cut out the footboard along the firebox.

Last edited by Wowak
Original Post

Replies sorted oldest to newest

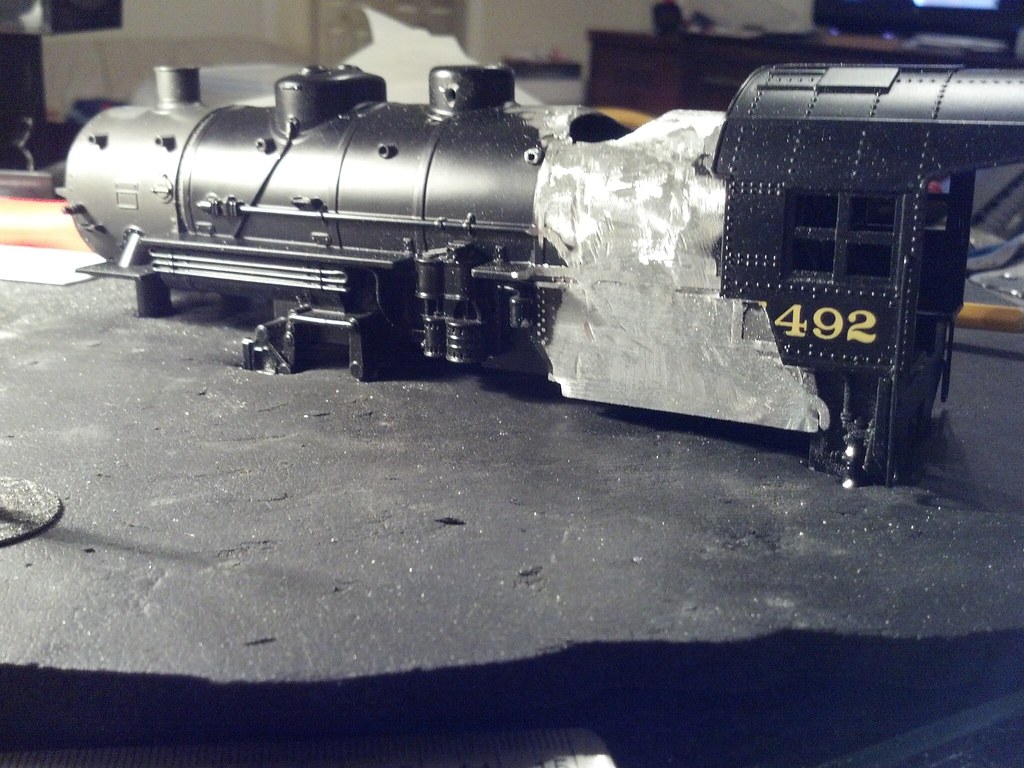
Removing all the cast-on details from the firebox so I have a good clean surface to glue to.


and more grinding, and filing, and sanding, and grinding...


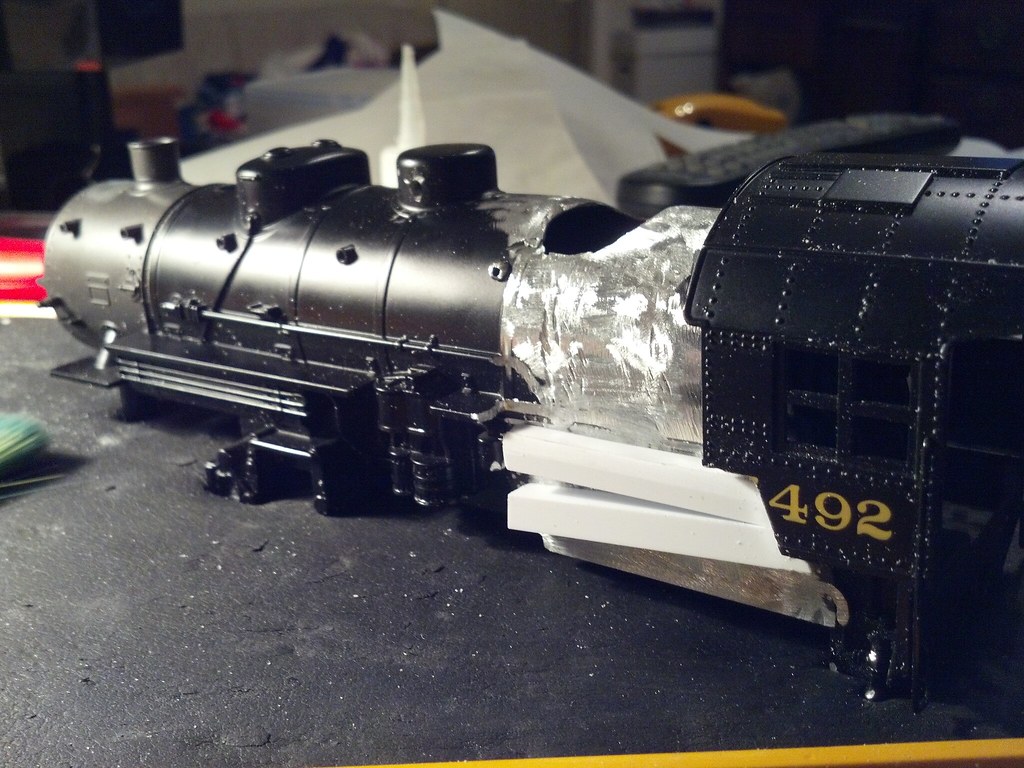
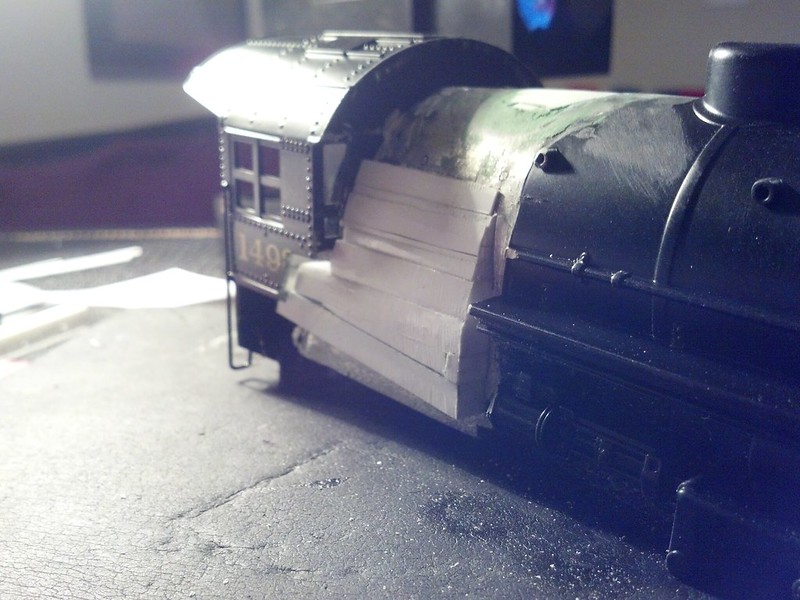
now I can start building up the width of the firebox.  This is just thick square styrene stock cut to fit.


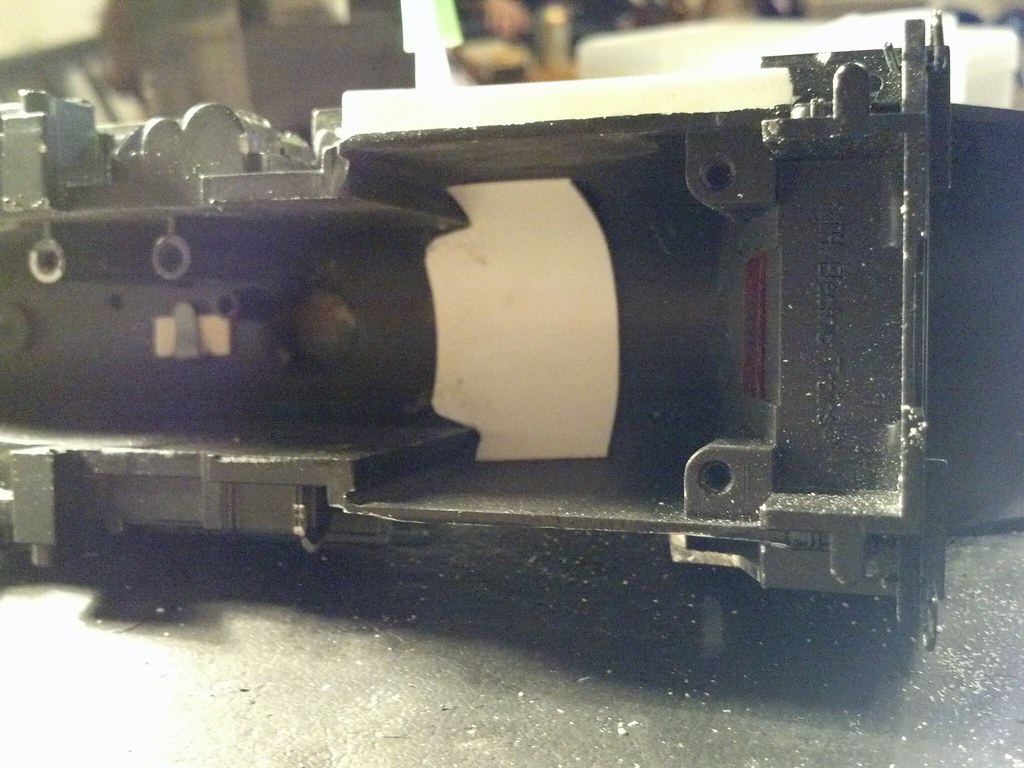
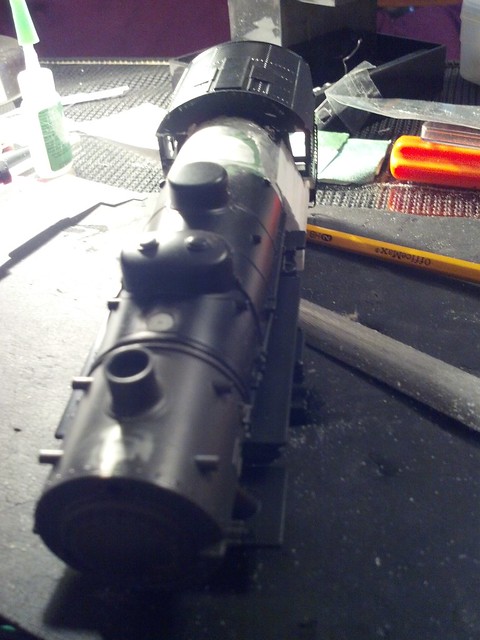
I glued this thin piece of styrene to the inside of the boiler where there was a gaping hole left by removing the 2nd sand dome.  I'll need to build up some material to fill the hole so I can wrap the firebox.
 

filled the hole with some thicker styrene sheet, filled in with green squadron putty.


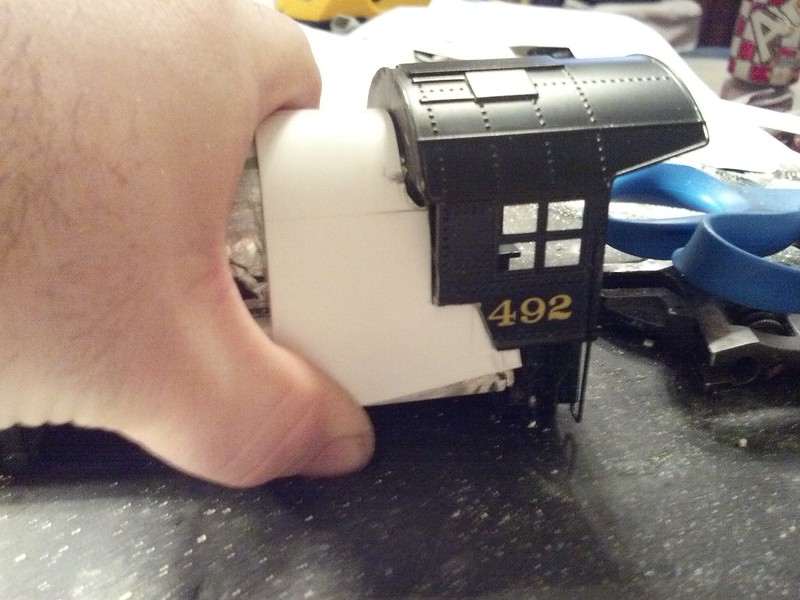
cut a piece of scrap to work out a template for the outer sheet


It doesn't look like much, but filling up the shape with different sizes and shapes of styrene stock.  I could have just wrapped the outer sheet over just the bottom bits and had the right shape, but it wouldn't have any strength to it.  I want to be able to grab it without it caving in.


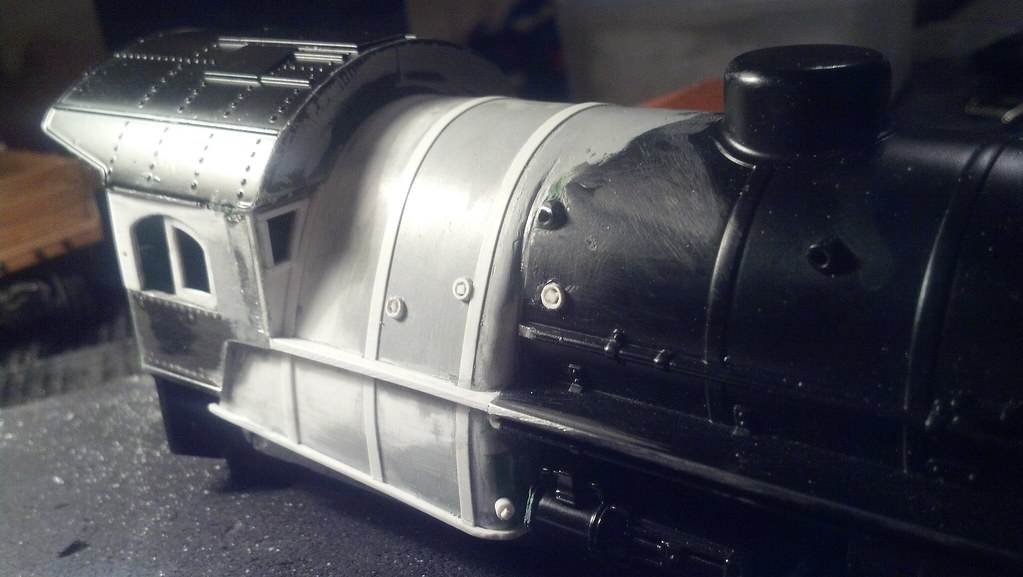
Now it's starting to look like a Wooten.


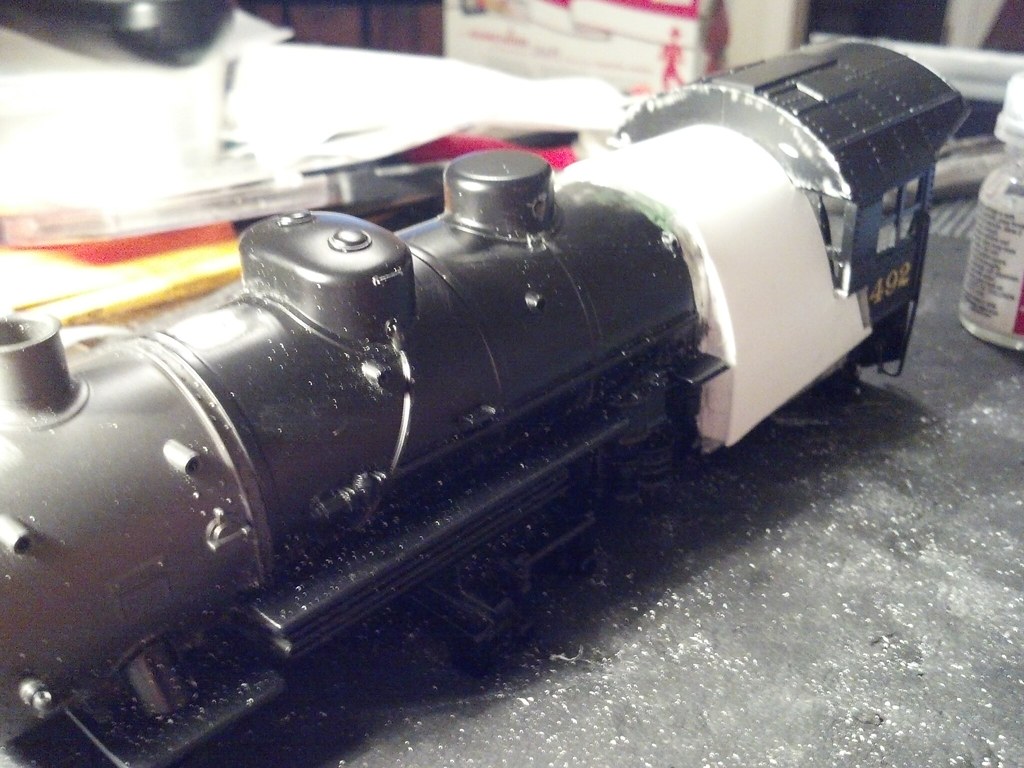
After some careful fitting, my "jacketing" is cut to shape and ready to be installed.  You can't see it here, but I filled down the top of the casting so the sheet won't be too high in relation to the top of the boiler jacket.


That wasn't so scary!  I still have to add the curved panel at the leading edge of the firebox and the ashpan (and some other details.)  Then it's on to the cab windows and moving the headlight.  Oh, and I have a whole second engine I have to do this to!

Ok, this didn't really deserve it's own thread, but I took a couple hours of bench time to spruce up a Williams (KMT dies) Reading hopper.  I weathered it a while ago, and I've been running it, but the wheels rubbing the truck sideframes was noisy and not smooth, so I took some brass and copper tube that happened to fit inside each other and over the axle and made some journal "bearings."  (the wheels turn on the axles, so they don't really need to function as bearings, but they do.)


While it was on the workbench I decided to make a coal load.  I cut out some green floral foam block I bought but didn't use for another project to fill most of the car, and covered the top in black duct tape in case there was anywhere the coal shifted and didn't cover.  For coal, I used chunks of activated carbon (for aquarium filters.) poured it in what I thought were convincing piles, and poured a 50/50 mix of clear matte acrylic and water over it.


Yeah, it's not a prototypical lettering scheme, and the speed lettering are outside of the time window I plan to model, but a sea of black hoppers is a sea of black hoppers, right?


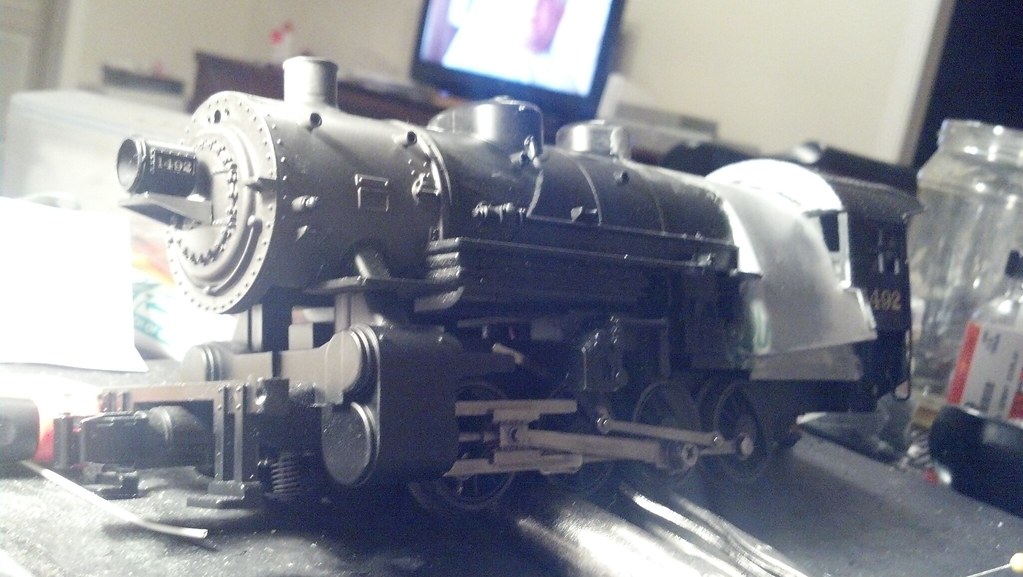
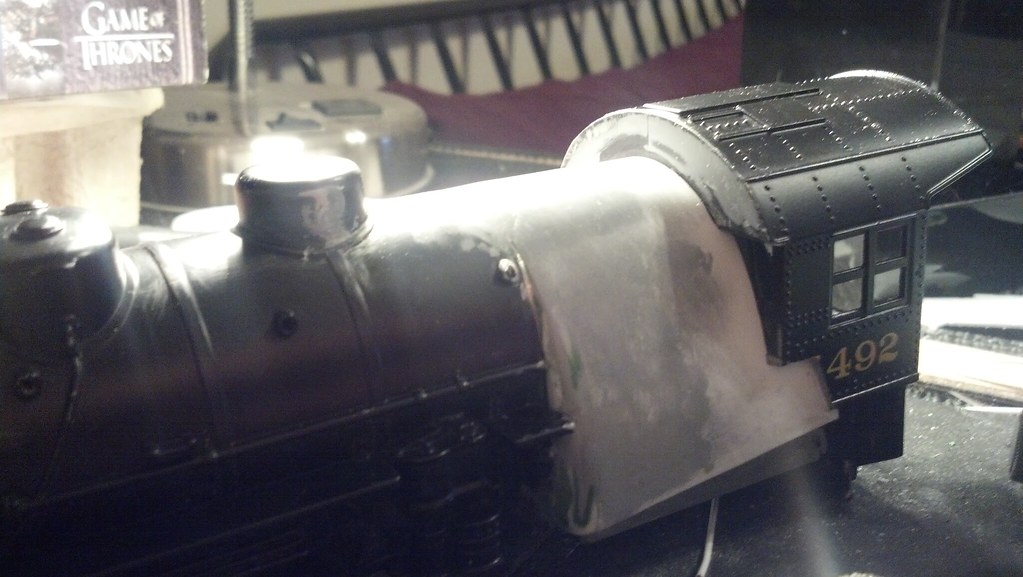
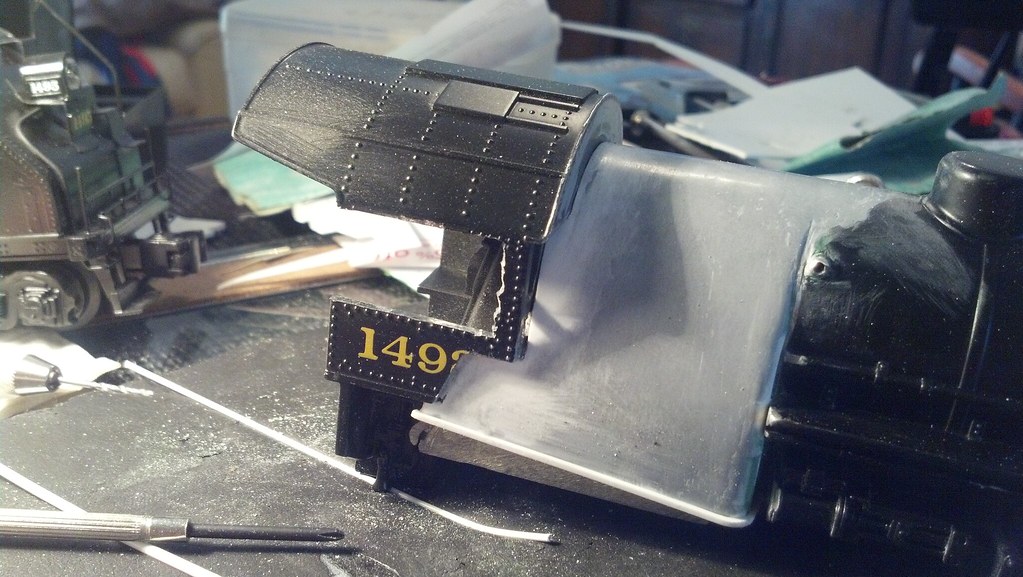
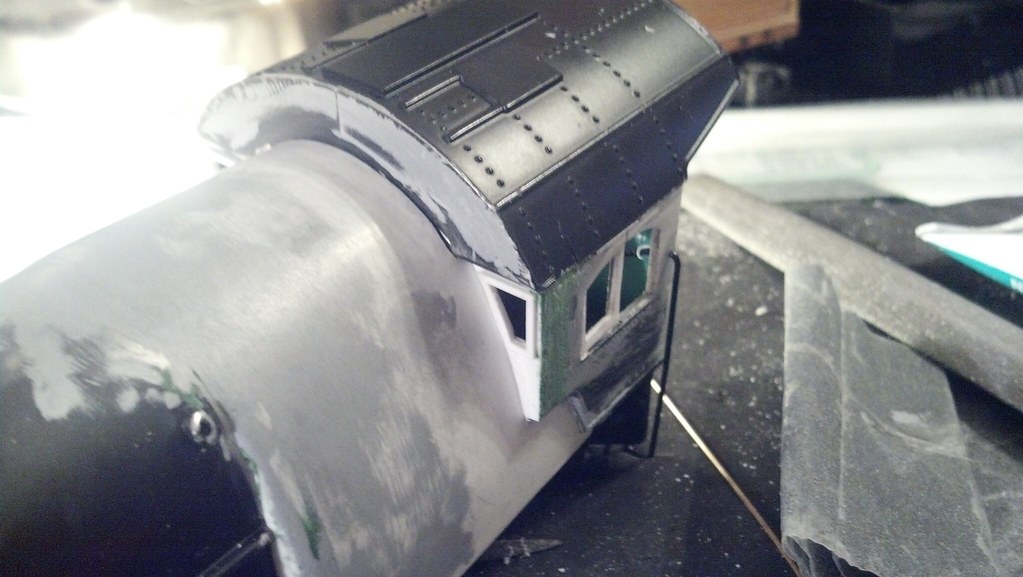
Back at it, spent a couple hours after work doing the final filling/sanding on the firebox.  Sat the boiler on the chassis just to see how it looks:


Here's the nice, smooth transition from the boiler to the firebox.  Even if there were imperfections (none that I can see) the joint between the jacketing panels that will run across the front of the firebox would have distracted from them.


Tomorrow I'm going to hack half of the cab sidewalls off with a dremel to make way for the arched windows.  Everybody get ready to pucker!


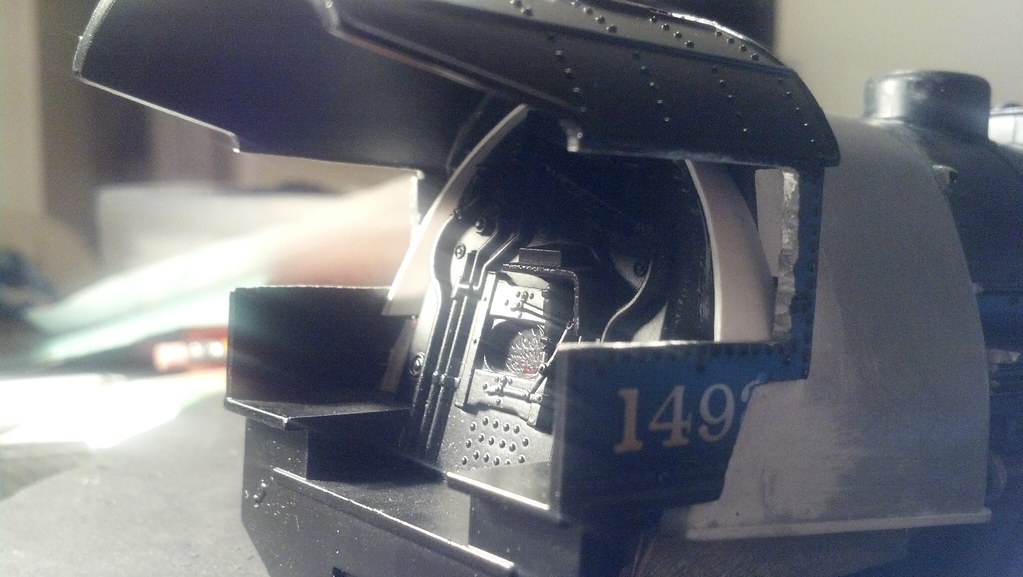
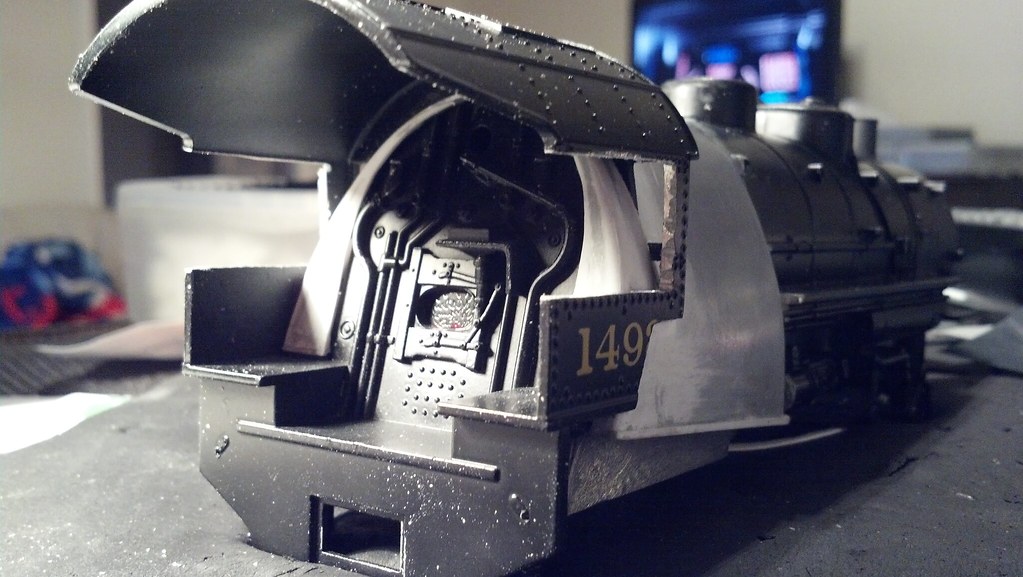
I had one of those rare moments of smartness, and realized it would be easier to build out the sides of the backhead to match the rest of the firebox BEFORE I patch in the new windows.  So I'm working on that.


It'd look pretty silly to look through the cab window and see a standard firebox on a Wooten locomotive, don't you think?

Originally Posted by smd4:

This is a great thread, and the work is very impressive!


I might have left the rear portion of the cab side walls intact for strength, but maybe there's plenty with that beefy cab roof.


The roof is plenty strong as it is.  The weakness is if you try to pick it up by the cab, you can squeeze the added plastic enough to pop the glue joint and squeeze it into the cab.  I'll be adding the rear cab wall to add strength (and realism) in that area.

Post
×
×
×
×
Link copied to your clipboard.
×
×